How to Build a Custom Rolling Tool Trailer Setup (DIY Plans)
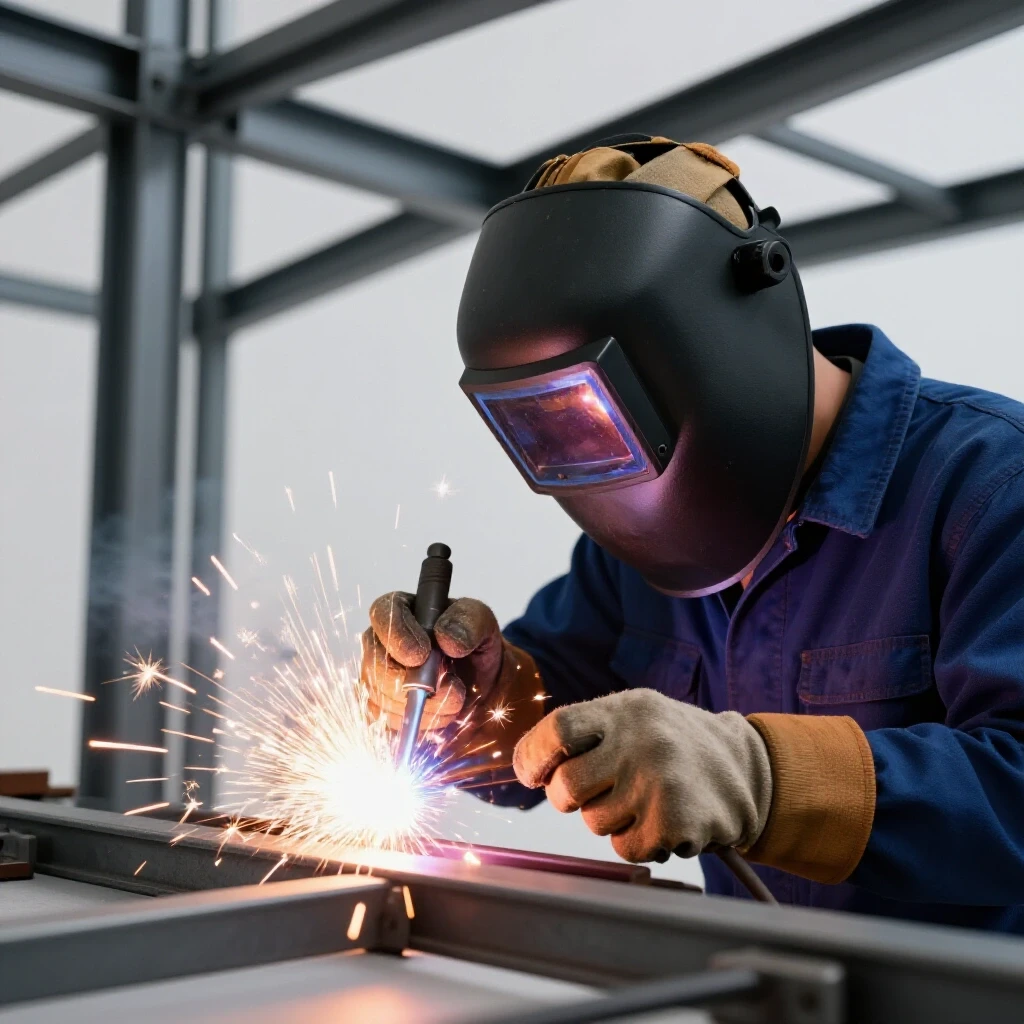
When I first started my fabrication business sixteen years ago, I thought I was making a killing. I would look at the pile of cash from a weekend project and feel like a success. Then, I sat down and looked at my bank statements. After paying for the steel, the replacement grinding wheels, the shielding gas, and the spike in my electricity bill, that “profit” vanished. I was basically paying my customers for the privilege of doing their work.
Transitioning from a hobbyist to a side-hustle metalworker requires a mental shift. You have to stop thinking about what a project is “worth” and start calculating what it actually costs to produce. Whether you are building a heavy-duty mobile workstation or a specialized steel rack, the math remains the same. If you don’t track the small details, your shop will bleed money.
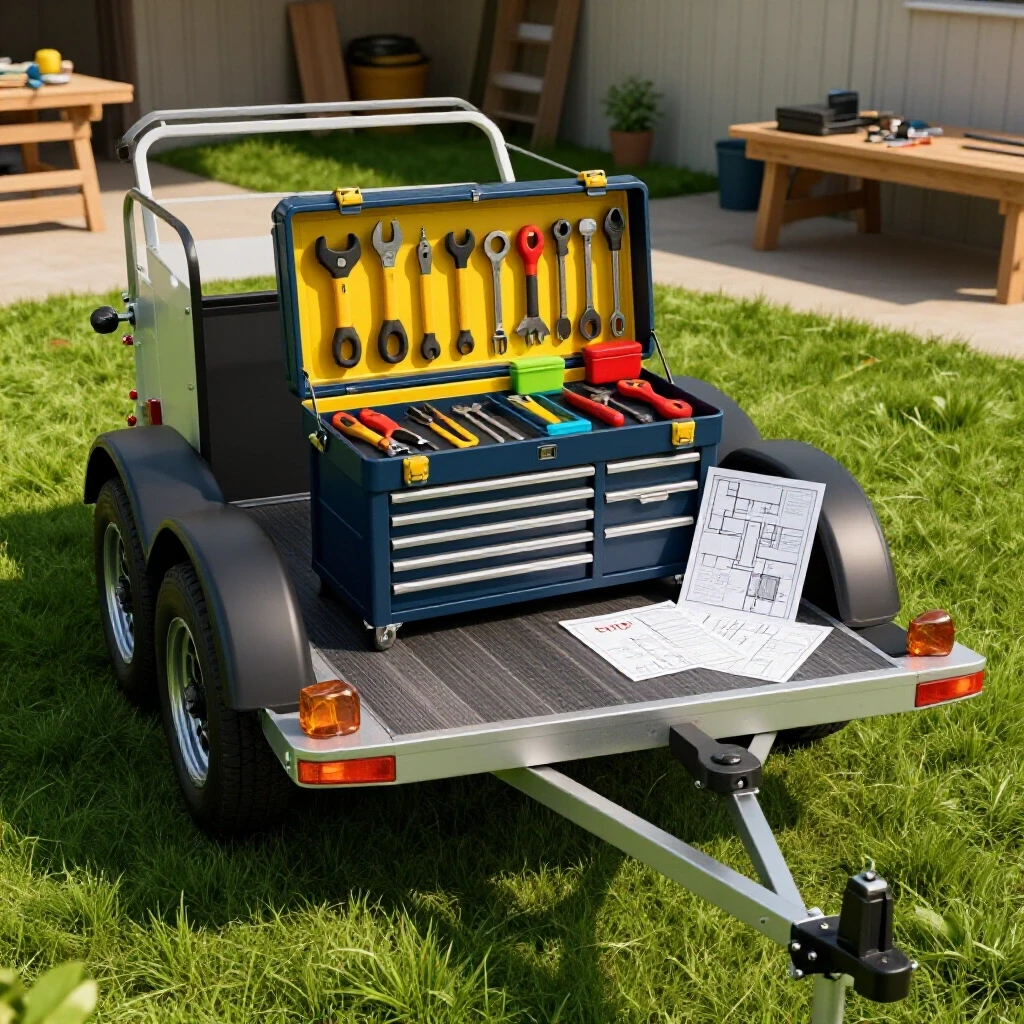
In this guide, I will break down the financial reality of building custom workshop equipment. We will look at how to price your labor, track your consumables, and ensure that every piece of machinery in your shop eventually pays for itself.
Defining Your True Shop Rate for Mobile Projects
A shop rate is the total dollar amount you must charge per hour to cover all expenses and still take home a profit. It is not just your “take-home pay.” It is a composite number that includes your labor, your shop’s existence, and the future of your business.
Many hobbyists moving into side-hustle metalworking pick a number out of the air, like $40 or $50 an hour. In reality, most small professional shops need to be in the $65 to $120 range to stay healthy. To find your number, you must add your desired hourly wage to your hourly overhead and your equipment replacement fund.
- Labor Rate: What you would pay a skilled welder to do the work ($25–$45/hr).
- Overhead Burden: The cost of keeping the lights on, divided by billable hours.
- Profit Margin: The extra 10–20% that stays in the business for growth.
If you spend 20 hours building a steel-framed mobile cart and only charge for the steel, you are losing money. You must account for every hour spent on design, cutting, welding, and assembly.
The Hidden Costs of Workshop Overhead
Overhead represents the ongoing expenses of operating your shop that are not directly tied to a specific piece of metal. This includes rent or mortgage, insurance, electricity, heating, and even the internet you use to research designs.
For a side-hustler working out of a home garage, it is tempting to ignore these costs. However, if you don’t factor them into your fabrication job costing, you aren’t running a business; you are subsidizing a hobby. I recommend calculating your total monthly shop expenses and dividing them by the number of hours you actually spend working on billable projects.
| Expense Category | Monthly Cost (Example) | Hourly Impact (20 hrs/mo) |
|---|---|---|
| Electricity/Utilities | $150 | $7.50 |
| Shop Insurance | $80 | $4.00 |
| Tool Maintenance | $50 | $2.50 |
| Software/Admin | $30 | $1.50 |
| Total Hourly Overhead | $310 | $15.50 |
Building a custom rolling tool unit requires significant power for the welder and the compressor. If you aren’t adding that $15.50 to your base labor rate, that money comes directly out of your pocket.
Calculating Machinery ROI and Amortization
Amortization is the process of spreading the cost of an expensive tool over its useful life. Instead of thinking of a $2,500 welder as a one-time hit, you should view it as a per-hour cost. If that welder lasts for 2,000 hours of arc time, it costs you $1.25 for every hour you use it.
When planning to build a mobile steel cart, you might realize you need a better cold saw or a higher-capacity plasma cutter. Before you buy, calculate the payback period. This is the amount of time or the number of jobs required to earn back the initial investment.
- Identify the tool cost: $1,500 for a new bandsaw.
- Estimate time savings: If it saves 2 hours per project.
- Apply shop rate: 2 hours x $75/hr = $150 saved per project.
- Payback: 10 projects until the tool is “free.”
Tracking these metrics helps you decide if an upgrade is a smart business move or just a “want.” Professional metalworking is about maximizing the return on every square inch of your shop floor.
Material Selection and Sourcing Strategies for Steel Frames
Choosing the right materials is about balancing structural integrity with cost efficiency. For a mobile shop unit, square tubing is often the gold standard. It provides high torsional rigidity and is easier to join than round tubing.
When I source steel for a project, I never buy by the piece if I can help it. Buying “shorts” or small cuts from a local hardware store can cost 300% more than buying full 20-foot lengths from a steel service center. Even if you only need 12 feet, buying the full 20-foot stick often costs less and leaves you with “free” drops for future brackets or braces.
- 11-gauge (1/8″) Square Tubing: Ideal for main frames; balances weight and strength.
- 14-gauge Sheet Metal: Perfect for shelves and side panels without adding excessive weight.
- Casters: Never skimp here. Use total-lock casters rated for 1.5 times your expected total weight.
For a side-hustle metalworking business, keeping a small inventory of common sizes allows you to respond to quotes faster. It also lowers your average cost per foot, which increases your margin on every job.
Tracking Consumables to Protect Your Profit Margins
Consumables are the items that get “used up” during a build, such as welding wire, shielding gas, grinding disks, and drill bits. These are the most common “leaks” in a small shop’s budget. Most fabricators underestimate these costs by 50% or more.
In my shop, I use a “consumable burden factor.” I track how many grinding disks I use for every 10 feet of welding and how long a bottle of 75/25 gas actually lasts. For a standard steel cart project, consumables can easily add $50 to $100 to the total cost.
- Abrasives: Flap disks and cutoff wheels add up quickly. A high-quality $5 disk may last longer than three $2 disks.
- Welding Gas: Factor in the monthly tank rental fee plus the refill cost.
- Fasteners: Nuts, bolts, and washers should be marked up at least 30% to cover the time spent sourcing them.
If you don’t track these, you might find that your “profitable” job barely covered the cost of the wire and gas you used to finish it. I recommend adding a flat 10% “consumable fee” to every quote as a safety net.
The Step-by-Step Bidding Process for Custom Fabrication
Creating a quote for a custom project like a mobile tool station requires a systematic approach. You cannot guess. You must break the build down into specific phases: Design, Prep/Cut, Assembly/Weld, and Finishing.
When I bid a job, I use a simple formula: (Material Cost x Markup) + (Estimated Hours x Shop Rate) + Consumables. The material markup covers the time spent driving to the steel yard and the risk of a mistake. Usually, a 20% to 50% markup is standard for small shops.
- Drafting/Design: 1-2 hours of CAD or hand-sketching.
- Material Sourcing: 1 hour for ordering and pickup.
- Cutting/Prepping: 3 hours for cleaning and mitering.
- Welding: 5 hours for fit-up and final beads.
- Assembly: 2 hours for mounting wheels and drawers.
By breaking it down, you see that a “simple” cart is actually 12 to 13 hours of work. At a $75 shop rate, that’s $900 in labor alone. If you quoted $500 total, you are working for less than minimum wage after expenses.
Post-Build Financial Reconciliation
The most important part of any project happens after the customer picks it up. You must look back at your estimates and compare them to the reality of the build. This is called post-job reconciliation.
Did the welding take 8 hours instead of 5? Did you break three drill bits on the heavy-duty caster mounts? If you don’t record these variances, you will repeat the same pricing mistakes on the next job. I keep a simple log for every project that tracks “Estimated vs. Actual” for both time and materials.
- Time Variance: Identify where the bottleneck happened (e.g., “Sanding took too long”).
- Material Variance: Note if you had more scrap than expected.
- Profit Check: Did the final check cover all costs plus the intended profit?
Over time, this data becomes your most valuable asset. It allows you to quote with confidence and ensures that your side-hustle is actually building wealth rather than just consuming your free time.
Digital Tools for Better Shop Management
In the modern shop, a notebook is great, but software is better for tracking the long-term health of your business. You don’t need expensive enterprise software; a few simple apps can handle your fabrication job costing and invoicing.
- QuickBooks or FreshBooks: Essential for tracking overhead and sending professional invoices.
- Excel or Google Sheets: Build a custom estimator where you can plug in material lengths and hourly rates.
- Toggl: A simple time-tracking app to see exactly how long you spend under the hood.
- Wave Accounting: A free option for basic bookkeeping and payment processing.
Using these tools makes your business look professional to clients. It also makes tax season much less painful because your equipment depreciation and material expenses are already organized.
Building for Efficiency: The ROI of Shop Mobility
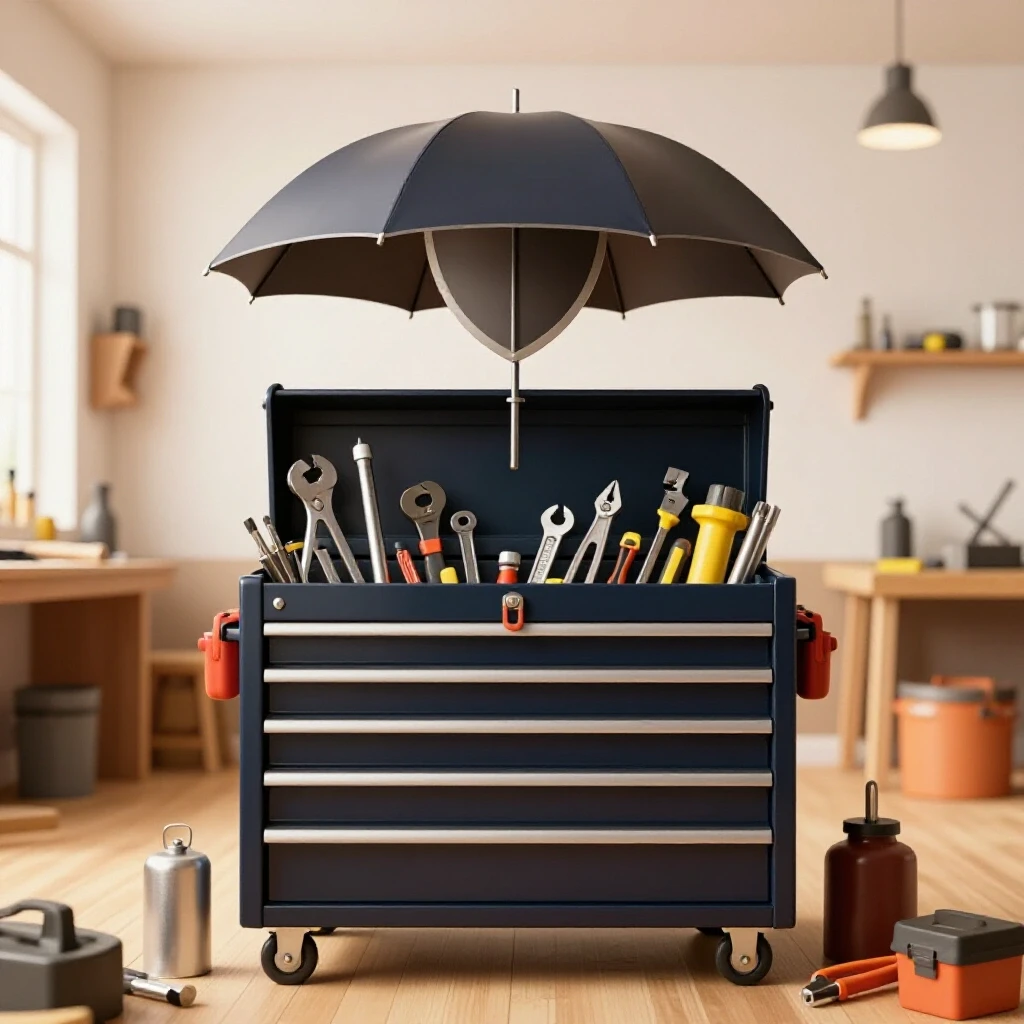
The project itself—a mobile tool setup—is a perfect example of an investment in shop efficiency. In a small space, the ability to move heavy tools out of the way saves “workflow time.” If you spend 10 minutes moving things around every time you need to weld, you are losing billable hours.
Calculate the value of your time. If a mobile cart saves you 15 minutes of setup time per day, that is 1.25 hours per week. At a $75 shop rate, that cart is “earning” you $93.75 every week in recovered time. In less than two months, the cart has paid for itself in efficiency alone.
This is the logic you should use when deciding whether to build equipment for yourself or for a client. Every piece of gear should either make you money or save you time. If it does neither, it’s an expensive hobby.
Common Mistakes in Small Metal Shop Pricing
After years of consulting, I see the same three mistakes over and over. First is the “Friend Discount.” Giving away your labor to friends kills your momentum. If they are truly friends, they should want to see your business succeed by paying your full rate.
Second is failing to charge for “Shop Consumables” like rags, cleaners, and floor dry. These seem small, but they can add up to hundreds of dollars a year. Third is ignoring the “Minimum Shop Fee.” Even a 10-minute weld repair should have a minimum charge (usually 1 hour of labor) to cover the time it takes to set up the machine and talk to the customer.
- Avoid “Flat Fees”: Unless you have built the exact same item ten times, always provide an estimate range.
- Get a Deposit: Never start cutting metal until the customer has paid for the materials.
- Account for Cleanup: Charging for the hour you spend sweeping the shop after a project is finished is legitimate.
By avoiding these traps, you position your shop as a professional operation rather than a backyard hobby. This builds trust with high-value clients who are willing to pay for quality and reliability.
Frequently Asked Questions
How do I calculate a fair material markup?
A standard markup is 20% to 50%. If you spend $200 on steel, you should charge the client $240 to $300. This covers your time spent sourcing the material, fuel for your truck, and the cost of carrying that inventory until the job is paid.
Should I charge for design time?
Yes. If you are sitting at a computer or a drawing board creating plans for a custom unit, that is billable time. Many fabricators charge a lower “office rate” for design, but it should never be free.
How do I track welding gas usage per job?
It is difficult to be exact, but you can estimate based on flow rate. If your regulator is set to 20 CFH (cubic feet per hour), and you weld for 30 minutes of “arc time,” you used 10 cubic feet. Compare this to the total capacity of your tank to find the cost.
What is the best way to handle “scope creep”?
Scope creep happens when a customer asks for “just one more thing” during the build. Always have a written estimate that specifies exactly what is being built. If they want changes, tell them, “I can certainly do that; it will add X hours to the labor and Y to the material cost.”
Is it better to buy new or used machinery?
For a side-hustle, high-quality used machinery often offers the best ROI. However, factor in the time and cost of repairs. If a used welder breaks down in the middle of a rush job, the “savings” disappear instantly.
How do I compete with big-box store prices?
You don’t. You cannot build a cart cheaper than a mass-produced, thin-gauge import. You are selling durability, custom dimensions, and specific features that the mass market doesn’t offer. Target customers who value tools that last a lifetime.
What should my minimum job fee be?
Most professional small shops set a minimum fee of $75 to $100. This ensures that even the smallest “quick fix” is worth the time it takes to invoice the client and move other projects aside.
How do I factor in equipment depreciation for taxes?
In the US, Section 179 allows many small businesses to deduct the full purchase price of qualifying equipment in the year it was bought. Consult with a tax professional to see how this applies to your specific shop setup.
How often should I raise my shop rates?
Review your expenses annually. If your power bill or steel prices have gone up, your rate must follow. A 3–5% increase per year is standard to keep up with inflation and rising overhead.
What is the most overlooked expense in a small fab shop?
The cost of your own “administrative” time. Quoting, invoicing, and talking to potential clients can take up 20% of your week. If your shop rate doesn’t account for these non-billable hours, you will find yourself working long hours for very little pay.
Should I include the cost of casters in my material markup?
Yes. Anything you purchase specifically for the project should be subject to your material markup. This includes specialized hardware, casters, and even specific paints or coatings requested by the client.
How do I estimate the weight capacity of a DIY steel frame?
Use online beam deflection calculators for the specific size of square tubing you are using. Always over-engineer shop equipment. If you expect a cart to hold 500 lbs, build it to hold 1,000 lbs to account for dynamic loads when moving it over uneven floors.
(This article was written by one of our staff writers, Michael Hargrove. Visit our Meet the Team page to learn more about the author and their expertise.)