Avoid Costly Mistakes on Your First CNC Plasma Cuts (Fix)
When I first brought a CNC plasma table into my shop, I thought I had found a shortcut to easy money. I had spent sixteen years in metalworking, but transitioning from manual tools to an automated table was a wake-up call for my bank account. I remember my first “real” client order: twenty custom brackets for a local contractor. I estimated the job would take two hours. I didn’t account for the three sheets of 14-gauge steel I ruined because I hadn’t calibrated my kerf settings. By the time I delivered the parts, I had actually paid the customer to let me do the work.
Many hobbyists and side-hustlers face this same wall. You have the skills to weld and fabricate, but the financial side of running a CNC machine is a different beast. It is easy to look at a piece of scrap steel and a $50 electrode and think your costs are low. However, without a clear system to track your time, machine wear, and material waste, your side business will struggle to stay afloat. My goal is to show you how to look at your workshop through the lens of a business owner, ensuring every arc you strike contributes to your bottom line.
Establishing a True Shop Hourly Rate
A shop hourly rate is the total amount you must charge per hour to cover every expense and generate a profit. This number includes your rent, utilities, insurance, and the value of your own labor. It is the most important number in your business because it dictates whether you are making money or just keeping busy.
When you start a side-hustle, you might be tempted to charge $30 an hour because it feels like a lot compared to a hobby. In reality, most small metal shops need to be in the $65 to $120 per hour range to be sustainable. If you are working out of a garage, your overhead is lower, but you still have “hidden” costs. For example, your electricity bill will jump when running an air compressor and a plasma power supply simultaneously. You must also account for the time you spend quoting jobs and cleaning the shop, which are hours you cannot bill to a customer.
To calculate your rate, add up your monthly fixed costs. This includes shop rent (or a portion of your mortgage), insurance, software subscriptions for CAD/CAM, and a fund for tool replacement. Divide this total by the number of hours you actually spend cutting metal each month. If your overhead is $500 and you work 20 hours a month, your overhead burden is $25 per hour. If you want to earn $40 an hour for your labor, your base rate is already $65 before you even factor in profit or consumables.
Understanding the Burden of Overhead
Overhead burden is the collection of indirect costs required to operate your workshop that cannot be directly billed to a specific project. These costs exist whether you are cutting a sign for a neighbor or a batch of parts for a local factory. Tracking these ensures you don’t lose money on “small” jobs that take up shop space.
In my experience, many new owners forget to include the cost of their air filtration and compressor maintenance. A CNC plasma table requires clean, dry air. If your refrigerated dryer fails or your filters clog, your cut quality drops, and your consumables burn out faster. These maintenance items are part of your overhead. I recommend setting aside 5% of every invoice into a “maintenance and repair” account. This prevents a broken compressor from becoming a financial emergency that shuts down your production.
| Expense Category | Monthly Estimate (Small Shop) | Hourly Impact (20 hrs/mo) |
|---|---|---|
| Shop Space/Utilities | $250 | $12.50 |
| Software Subscriptions | $50 | $2.50 |
| Insurance & Licensing | $75 | $3.75 |
| Maintenance Fund | $100 | $5.00 |
| Total Overhead Burden | $475 | $23.75 |
Mapping Your Machinery Amortization
Amortization is a way to track the “using up” of your expensive equipment over time so you can save enough money to replace it. Instead of seeing your CNC table as a one-time $5,000 expense, you should see it as a cost per hour of operation. This ensures the machine pays for itself during its useful life.
For an entry-level CNC plasma table, I typically use a three-year or five-year lifespan for my calculations. If you paid $6,000 for your setup and expect it to last five years, that is $1,200 per year. If you run the machine for 500 hours a year, the amortization cost is $2.40 per hour. If you don’t include this in your pricing, you are essentially giving away the value of your machine to your customers. When the table eventually wears out or needs a major upgrade, you won’t have the cash on hand to fix it.
Calculating Realistic Tool ROI
Return on Investment (ROI) measures how long it takes for a new tool to pay for itself through the profit it generates. For a side-hustle, a “good” ROI for a major tool like a CNC table is usually between 12 and 18 months. If the machine isn’t paying for itself within that window, you may need to re-evaluate your pricing or your marketing.
I once consulted for a fabricator who bought a high-end torch height controller but only used it for two hours a week. His ROI was projected at nearly six years. We looked at his data and realized he was undercharging for the precision that the new tool provided. By raising his rates for thin-gauge work—where the controller was most valuable—he cut his ROI timeline down to 14 months. Always ask yourself: “How many hours must this machine run at my current rate to cover its own cost?”
Tracking Consumable Usage and Wear Patterns
Consumable tracking is the practice of monitoring how many pierces and inches of cut you get out of a single nozzle and electrode. These parts are the “ink cartridges” of the plasma world. If you don’t track their life, you will find yourself with a drawer full of ruined tips and no profit.
On an entry-level system, a single set of consumables might cost $15 to $30. If you are cutting thick plate with many pierces, you might only get 100 pierces before the cut quality degrades. That means every time the torch fires, it costs you $0.15 to $0.30 just in copper and hafnium. I keep a simple logbook next to my controller. I mark down the date I put in a new nozzle and the number of pierces the software reports at the end of the day. This data allows me to add a “consumable surcharge” to my quotes that reflects the actual wear and tear of the job.
Why Hidden Consumables Bleed Small Shop Profits
Hidden consumables include things like slat replacement, shop rags, and the specialized coolant or anti-splatter spray you use on your water table. While a single slat only costs a few dollars in steel, replacing a whole bed can cost $200 and take three hours of labor. If you don’t account for this, it becomes a “leak” in your business.
I suggest using a “Consumable Burden Factor.” This is a percentage you add to your material cost to cover these small items. For plasma cutting, a 10% to 15% burden is common. If a sheet of steel costs $100, you charge the customer $115 to cover the slats you’ll burn, the air filters you’ll clog, and the tips you’ll wear out. This simple math ensures that small, frequent costs don’t eat your take-home pay.
- Tip: Always inspect your nozzle orifice under a magnifying glass. If it is oval-shaped instead of perfectly round, your kerf will be inconsistent, leading to scrapped parts.
- Metric: Average entry-level systems get 150-300 pierces per nozzle set depending on air quality and material thickness.
- Action: Change your air filters every 20 hours of compressor run time to double your consumable life.
Mastering Kerf Compensation and Calibration
Kerf compensation is the adjustment you make in your CAM (Computer-Aided Manufacturing) software to account for the width of the metal being removed by the plasma arc. Because the plasma stream has physical thickness, you cannot simply cut on the line of your drawing. You must cut to the outside or inside of that line.
If your kerf is 0.060 inches and you don’t account for it, a 10-inch square will come out as 9.940 inches. For a decorative sign, this might not matter. For a mechanical bracket that needs to fit a specific bolt pattern, it makes the part useless. Scrapping a part because of poor calibration is a direct hit to your profit. I recommend performing a “line test” on every new gauge of metal. Cut a simple 2-inch square, measure it with calipers, and adjust your software settings until the part is within 0.010 inches of the target.
Managing Thin-Gauge Ferrous Sheet Behavior
Thin-gauge metals, such as 16-gauge or 14-gauge mild steel, are the bread and butter of many small shops, but they are difficult to cut profitably. These sheets react quickly to the heat of the plasma arc, causing them to warp or “oil-can.” If the metal rises up and hits the torch, it can break the break-away mount or ruin the nozzle.
To prevent this, I use a water table and keep the water level just touching the bottom of the plate. This acts as a heat sink. From a financial perspective, you must charge more for thin-gauge work because the risk of material failure is higher. I typically add a 20% “difficulty markup” for anything thinner than 11-gauge. This covers the extra time spent monitoring the cut and the potential for a heat-warped sheet to ruin a job.
Building a Professional Fabrication Job Quote
Fabrication job costing is the process of totaling all your expenses—material, labor, machine time, and overhead—to create a price that is fair to the customer and profitable for you. A good quote should be broken down so the customer sees the value, but you see the protection of your margins.
I use a simple formula: (Material Cost x Markup) + (Machine Hours x Shop Rate) + (Consumable Surcharge) = Total Price. The material markup is usually 20% to 50%. This isn’t just “extra money”; it covers the time you spent driving to the steel yard, unloading the truck, and the risk of the material prices rising. If you spend an hour designing the part in CAD, that hour must be billed at your full shop rate. Never give away design time for free; it is often the most valuable service you provide.
Small Metal Shop Pricing Strategies
When you are starting out, you will face “price shoppers” who want you to match the prices of mass-produced items from big-box stores. You cannot win that game. Your value is in customization and local service. Instead of lowering your price, explain your process.
I once had a customer complain about a $150 quote for a custom fire pit ring. I showed him the breakdown: $60 for the steel, $20 for consumables and electricity, and one hour of machine time plus design. When he saw that I was only making a modest profit after expenses, he stopped haggling. Being transparent with your own “internal” numbers helps you stay firm on your pricing. If a job doesn’t meet your minimum shop rate, it is often better to turn it down than to work for free.
- Direct Material Cost: The actual price paid for the steel used in the project.
- Scrap Factor: Adding 10% to the material cost to account for the “skeleton” left over after cutting.
- Setup Fee: A flat fee (usually $25-$50) to cover the time spent loading the sheet and zeroing the machine.
- Post-Process Labor: Time spent removing dross (slag) or wire-brushing the parts.
Sourcing Material and Analyzing Post-Job Profits
Material sourcing can make or break your margins. If you buy steel by the single sheet from a retail metal yard, you might pay double what a commercial shop pays. As your side-hustle grows, look for ways to buy in bulk. Even buying three sheets at once can sometimes trigger a price break.
After every job, I do a “post-mortem” analysis. I look at my initial quote and compare it to the actual time and material I used. If I quoted two hours but it took four, I need to know why. Was the dross harder to remove than expected? Did I have to restart the cut because of a tip-up? This data is gold. It prevents you from making the same quoting mistake twice. Over time, these small adjustments turn a struggling side-hustle into a finely tuned machine.
Tools for Tracking and Estimation
You don’t need expensive enterprise software to manage a small shop. In fact, simple tools are often better because you will actually use them. I rely on a few specific resources to keep my finances in order:
- Spreadsheet Templates: Create a sheet where you can plug in the length of your cut (from your CAM software) and it automatically calculates the consumable cost based on your historical data.
- QuickBooks or Wave: Use these for professional invoicing. They allow you to track which customers pay on time and which jobs were the most profitable.
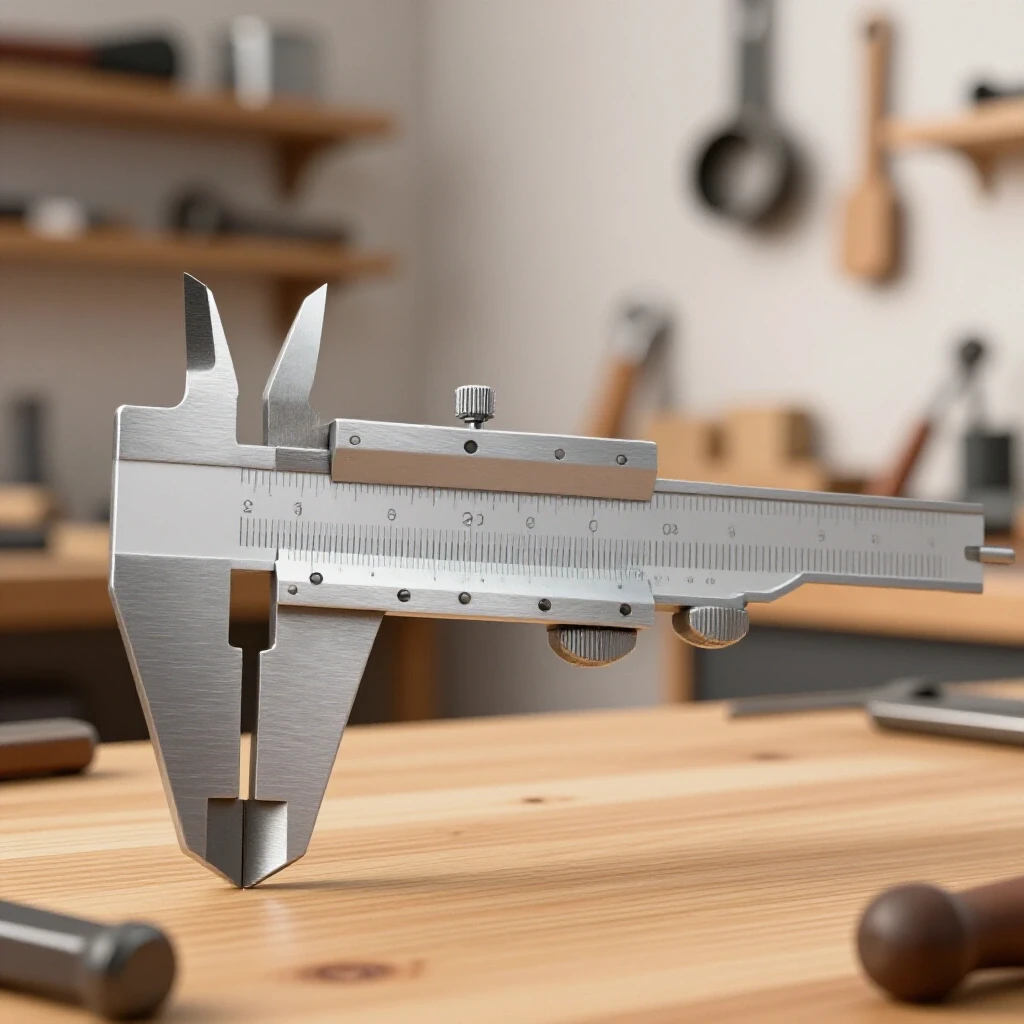
- Calipers and Gauges: These are financial tools. Accurate measurements prevent scrap, and preventing scrap is the fastest way to increase your profit margin.
- Digital Hour Meter: If your CNC controller doesn’t track “arc-on” time, buy a cheap vibration-activated hour meter. Stick it to your plasma power supply to track exactly how much work the machine is doing.
Conclusion and Next Steps
Running an entry-level CNC plasma table is a rewarding way to turn your metalworking skills into a profitable business. However, the difference between a hobby that costs money and a side-hustle that makes money is your commitment to the numbers. By establishing a realistic shop rate, tracking every nozzle and electrode, and accounting for the “hidden” costs of heat warping and material waste, you protect yourself from the common traps that sink new shops.
Your next step should be to sit down with your last three months of bills and calculate your true overhead. Don’t guess. Use the actual numbers. Once you know what it costs to keep your lights on, you can quote with confidence. Remember, every time you fire that torch, you are consuming more than just electricity and air—you are using up your machine, your tools, and your time. Price accordingly, and your shop will grow.
Frequently Asked Questions
What is a realistic hourly rate for a home-based CNC plasma shop?
Most home-based shops should target between $65 and $95 per hour. This covers your labor, utilities, and a small profit margin. If you have specialized design skills or unique material access, you can charge $100 or more. Charging less than $65 often means you are barely covering your true expenses after you factor in taxes and machine depreciation.
How do I calculate the cost of a single plasma cut?
You should total the material cost, the “pierce cost” (consumables), and the machine time. For example, if a part takes 5 minutes to cut and has 10 pierces, you would charge for 5 minutes of your shop rate plus a small surcharge for the 10 pierces. Most shops find it easier to use a “price per linear inch” of cut, which usually ranges from $0.15 to $0.50 depending on material thickness.
Why do my plasma consumables wear out so fast?
The most common cause is poor air quality. Moisture or oil in your air lines will destroy an electrode in minutes. Another cause is “piercing too low,” which allows molten metal to splash back onto the nozzle. Ensure you have a dedicated air dryer and that your “pierce height” is set correctly in your software—usually about twice the height of your “cut height.”
Should I charge for the time I spend designing parts in CAD?
Yes, absolutely. Design time is a professional service. If you spend two hours drawing a custom sign, you should bill those hours at your standard shop rate. Some shops offer the first 15 minutes for free but charge a flat “design fee” for anything more complex. This prevents “window shoppers” from wasting your time.
How much should I mark up the price of steel?
A standard markup is 20% to 50%. If you have to drive an hour to pick up the metal, use a 50% markup to cover your fuel and time. If the metal is delivered to your door in bulk, you might stay closer to 20%. This markup protects you against price fluctuations and covers the cost of handling the heavy material.
What is “dross” and how does it affect my pricing?
Dross is the solidified metal slag that sticks to the bottom of a cut. Removing dross takes time and labor. If your machine is perfectly tuned, you will have “low-speed dross” or “high-speed dross,” both of which should be easy to remove. If you have to spend 20 minutes grinding every part, you must add that labor time to your quote or improve your machine settings to reduce the cleanup.
Is a water table worth the extra cost for a small shop?
For thin-gauge material, a water table is almost essential. It keeps the metal cool, which prevents warping and “oil-canning.” Financially, it saves you money by reducing the number of scrapped parts. It also traps a large percentage of the hazardous dust and smoke, which keeps your shop cleaner and reduces the wear on your other tools.
How do I account for the “skeleton” or scrap metal left over?
You should charge the customer for the “rectangular envelope” of the part, not just the part itself. If you cut a circle out of a 12×12 inch square, the customer pays for the full 12×12 inch piece of steel. The leftover corners are yours to keep as “free” scrap for smaller jobs, which helps boost your overall profit margins.
What is the best way to track my shop’s profitability?
The simplest way is to keep a “Job Log.” For every project, record the total price, the actual time spent (including cleanup), and the material cost. At the end of the month, subtract your expenses from your total income. If the remaining number divided by your hours worked is lower than your target shop rate, you need to raise your prices or increase your efficiency.
How can I compete with large online cutting services?
You compete through service, speed, and customization. Large services often have high shipping costs and long lead times for small orders. If you can provide a local contractor with a part the same day or the next morning, they will often pay a premium for that convenience. Focus on building relationships with local businesses that need “one-off” parts or quick repairs.
(This article was written by one of our staff writers, Michael Hargrove. Visit our Meet the Team page to learn more about the author and their expertise.)