How to Align a Table Saw Motor Pulley Safely (DIY Tutorial)
I remember walking into a high-production cabinet shop three years ago where the lead fabricator was ready to scrap a perfectly good industrial saw. The machine sounded like a cement mixer, and the vibration was so intense it was leaving visible “chatter” marks on every workpiece. He had already replaced the bearings and the belt twice, but the problem persisted. This is the reality of shop life: sometimes the most frustrating issues are not the major component failures, but the subtle mechanical misalignments that hide in plain sight.
In my 18 years as a diagnostic specialist, I have learned that guesswork is the fastest way to lose money and sanity. Whether I am troubleshooting weld porosity in a structural frame or isolating tool chatter solutions on a heavy-duty lathe, the process is always the same. You have to isolate the variables. In the case of that vibrating saw, the culprit was a motor pulley that was sitting just 0.080 inches out of plane with the arbor pulley. It was a small error with a massive impact on performance.
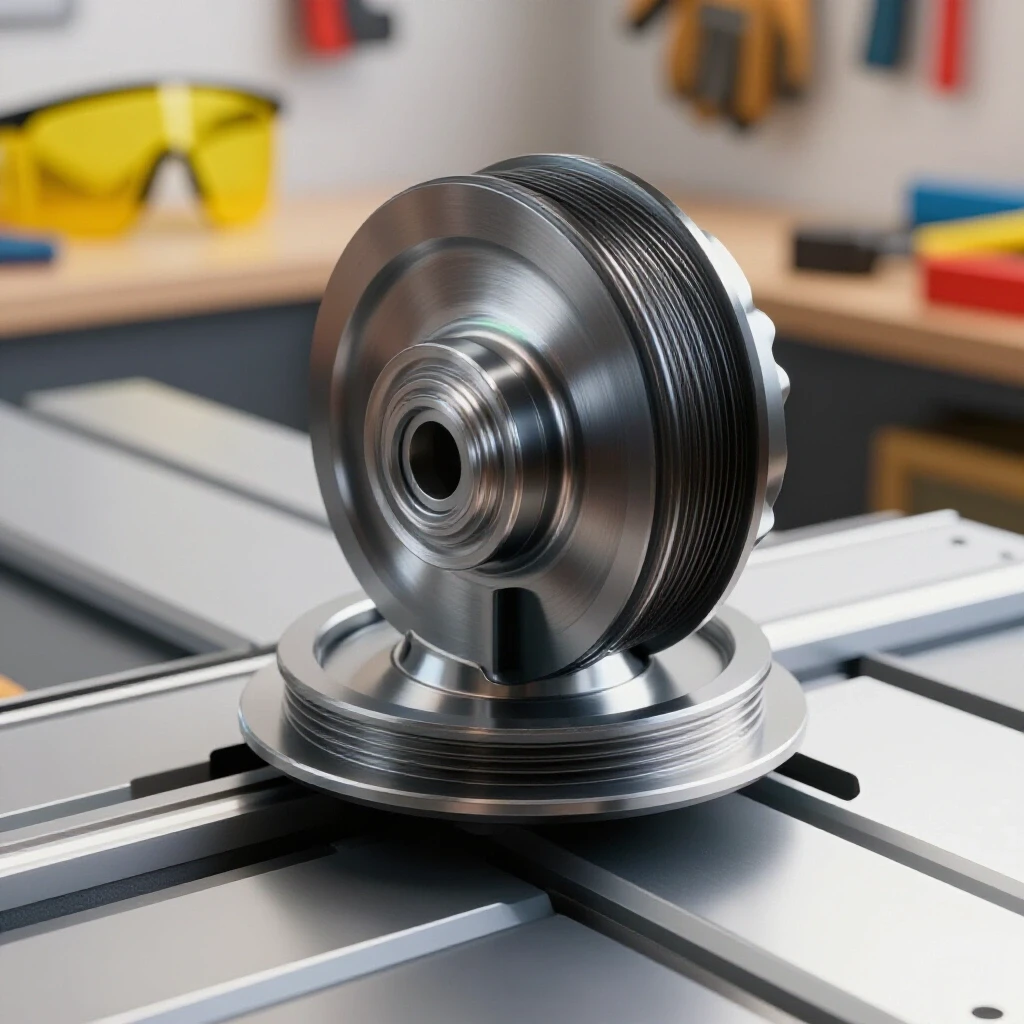
Systematic diagnostic steps are the foundation of any successful repair. When a drive system fails to run smoothly, it creates a chain reaction of wear. Excessive vibration leads to premature bearing failure, heat buildup, and eventually, a loss of precision that ruins your output. By mastering the art of drive-train synchronization, you can extend the life of your equipment and ensure your shop stays productive.
Establishing a Diagnostic Framework for Drive Systems
A diagnostic framework is a structured approach to identifying the root cause of a mechanical failure. Instead of replacing parts at random, you observe the system, isolate specific components, and test them against known tolerances. This method reduces downtime and prevents the frustration of “fixing” a problem only to have it return a week later.
When I approach a machine with excessive vibration or belt wear, I start by clearing the field. I treat it much like a metalworking diagnostic guide for complex fabrication. First, I disconnect the power to ensure total safety. Then, I remove the drive belt to see if the motor runs smoothly on its own. If the vibration disappears when the motor is disconnected from the load, I know the issue lies in the power transfer components—specifically the pulleys and the belt.
I often use a “Fault Tree” to narrow down the possibilities. If the motor is quiet but the system shakes under load, the variables are usually pulley bore fit, shaft parallelism, or axial offset. By checking each of these in a specific order, I avoid the trap of chasing “ghost” problems. This is the same logic I use when diagnosing magnetic arc blow in welding; you look at the environment, the ground, and the settings before blaming the machine itself.
Isolating Mechanical Variables in Belt-Driven Machinery
Isolating mechanical variables means separating the different parts of a machine to test them individually. This process helps you determine if a vibration is coming from a bent shaft, a damaged pulley, or a simple alignment error. By removing the belt and spinning the pulleys by hand, you can often feel “flat spots” or bearing drag that you would miss while the machine is running.
In my experience, many fabricators overlook the condition of the pulley itself. I once worked on a lathe alignment checklist where the operator complained of a persistent “thump” in the headstock. We discovered the motor pulley had a slight “runout” or wobble of about 0.010 inches. While that seems small, at 3,450 RPM, that wobble generates significant centrifugal force.
To check for this, I use a digital dial indicator. I mount the indicator base to the motor frame and place the tip against the inner “V” of the pulley. As I rotate the shaft by hand, I look for any deviation. A high-quality pulley should have less than 0.003 inches of runout. If you find more than that, no amount of alignment will fix the vibration; the pulley itself is the problem and needs to be replaced or re-machined.
| Component | Tolerance Limit | Diagnostic Tool |
|---|---|---|
| Pulley Runout (Radial) | 0.003 inches | Dial Indicator |
| Pulley Runout (Axial) | 0.005 inches | Dial Indicator |
| Shaft Parallelism | 0.5 degrees | Precision Level / Protractor |
| Axial Offset | 1/32 inch per foot | Straightedge / Feeler Gauge |
| Belt Tension (Deflection) | 1/64 inch per inch of span | Tension Gauge |
Measuring and Correcting Parallel Shaft Alignment
Parallel shaft alignment is the process of ensuring that the motor shaft and the arbor shaft are perfectly parallel to each other. If these shafts are “toed-in” or “toed-out,” the belt will try to climb the side of the pulley groove. This creates friction, generates heat, and causes the belt to fray or “roll over” in the track.
To check this, I use a precision straightedge. I lay the straightedge across the faces of both pulleys. If the shafts are parallel, the straightedge should touch both pulleys at four points: the two outer edges of the motor pulley and the two outer edges of the arbor pulley. If there is a gap at any of these points, the motor needs to be pivoted until the gap disappears.
Interestingly, this is very similar to how we handle structural alignment faults in large-scale metal fabrication fixes. If the base of a machine isn’t level, the frame can twist, throwing the shafts out of alignment. I always check the motor mounting bolts first. If they have vibrated loose, the motor may have shifted under the torque of the belt, leading to the very misalignment you are trying to fix.
Addressing Axial Offset and Pulley Coplanarity
Axial offset refers to how far forward or backward a pulley sits on its shaft. Even if the shafts are perfectly parallel, the pulleys must be in the same “plane” so the belt runs in a straight line. If the motor pulley is shifted even 1/16 of an inch away from the arbor pulley, the belt will enter the groove at an angle, leading to rapid wear and power loss.
When I find an offset, I use a set of feeler gauges along with my straightedge to quantify the error. If the straightedge touches the arbor pulley but shows a 0.020-inch gap at the motor pulley, I know exactly how far I need to move the pulley on the shaft. Most pulleys are held in place by a “set screw” that sits on a “keyway.”
- Loosen the set screw using the correct size hex key.
- Clean the shaft with a light abrasive if there are any burrs or rust.
- Slide the pulley to the measured position.
- Re-tighten the set screw, ensuring it seats firmly on the flat of the key or the shaft.
This is a permanent repair that many people skip, preferring to just “eye-ball it.” But in my world, “close enough” is the enemy of precision. Whether I am adjusting spindle backlash or aligning a drive system, I aim for a tolerance of 0.005 inches or better.
The Role of Belt Tension in Mechanical Harmony
Belt tension is the amount of “pull” or tightness in the drive belt. If a belt is too loose, it will slip, squeal, and fail to transfer power. If it is too tight, it puts excessive “radial load” on the motor and arbor bearings, leading to premature failure and increased tool chatter.
I follow a simple rule for tension: 1/64 inch of deflection for every inch of span between the pulleys. For example, if the distance between your pulley centers is 12 inches, the belt should deflect about 3/16 of an inch when you press on it with moderate finger pressure (typically about 4 to 5 lbs of force).
I have seen many fabricators over-tighten belts to stop a squeal, but this is a mistake. A squeal is often a sign of misalignment or a glazed belt, not just low tension. Over-tightening can actually bend a small motor shaft or “wallout” a bearing housing. By using a systematic approach to tension, you ensure the motor runs at its intended RPM without unnecessary strain.
Advanced Vibrational Analysis Using Modern Tools
Vibrational analysis is the study of the frequency and magnitude of machine movements. Modern technology has made this much easier for the average shop owner. You no longer need a $5,000 industrial analyzer to find a “resonant harmonic.” There are several smartphone apps that use the phone’s built-in accelerometer to graph vibrations in real-time.
When I am troubleshooting a machine that has a “sweet spot” where it runs smoothly and a “rough spot” where it shakes, I am looking for resonance. Resonance happens when the vibration frequency of the motor matches the natural frequency of the machine frame. By using a vibration app, I can see the “peaks” in the data.
- 1x Vibration: Usually indicates an unbalanced pulley or bent shaft.
- 2x Vibration: Often points to misalignment (the belt hits the pulley twice per revolution).
- High-Frequency Noise: Typically suggests failing bearings or a “notched” belt.
Using these digital tools allows me to prove that my alignment work actually solved the problem. It is one thing to say a machine “feels smoother,” but it is much more professional to show a data log where the vibration amplitude dropped by 70% after the pulleys were aligned.
Case Study: The “Ghost” Vibration in a 3HP Cabinet Saw
I once consulted for a shop that was experiencing intermittent “ghost” vibrations. They would align the saw, and it would run perfectly for two days, then start shaking again. It was as frustrating as tracking down intermittent electrical gremlins or hidden welding porosity in a critical joint.
After a thorough inspection, I found that the motor pulley’s set screw was slipping. The shaft had a small “burr” from a previous repair that prevented the set screw from seating properly. Under the high torque of starting the motor, the pulley would slowly “walk” along the shaft, ruining the alignment.
We pulled the pulley, filed the shaft smooth, and replaced the set screw with a high-quality “cup-point” screw. We also applied a drop of medium-strength thread locker. This simple mechanical troubleshooting step solved a problem that had plagued the shop for months. It taught the team that the “how” of a repair is just as important as the “what.”
Step-by-Step Execution for Pulley Synchronization
When you are ready to perform the alignment, follow this sequence to ensure accuracy and safety. This process mirrors the precision I use for a lathe alignment checklist or when setting up a milling machine for a high-tolerance job.
- Power Down: Unplug the machine and verify it cannot be turned on.
- Inspect Belts: Look for cracks, glazing, or “missing chunks” in the V-belt. Replace if necessary.
- Check Set Screws: Ensure they are tight and the keyway is not “wallowed out” or loose.
- Initial Alignment: Use a straightedge to check for both parallelism and axial offset.
- Adjust Motor Position: Loosen the motor mount bolts and pivot the motor until the shafts are parallel.
- Adjust Pulley Position: Slide the pulley on the shaft to eliminate axial offset.
- Set Tension: Tighten the motor mounts while maintaining the correct belt deflection.
- Verify: Rotate the system by hand several times, then re-check with the straightedge.
- Test Run: Plug the machine in and listen for changes in sound or vibration.
Common Mistakes in Drive-Train Maintenance
The most common mistake I see is using a “worn-out” belt to perform an alignment. A belt that has been running on misaligned pulleys for a year will have developed a “set” or a specific wear pattern. If you align the pulleys but keep the old belt, the belt will try to “track” back to its old, crooked path, which can make the alignment look wrong.
Another error is ignoring the “bore fit.” If the hole in the center of the pulley is even slightly larger than the motor shaft, the pulley will sit “cocked” when you tighten the set screw. This creates a permanent wobble that no amount of straightedge work can fix. If you can “wiggle” the pulley on the shaft before tightening the screw, you need a new pulley or a shim.
Lastly, don’t forget to check the pulleys for “glazing.” If the inside of the “V” groove is shiny and smooth like glass, the belt will slip regardless of how tight it is. You can sometimes scuff this glazing off with 80-grit sandpaper, but often it is a sign that the pulley is worn out and the belt is “bottoming out” in the groove.
Actionable Tracking and Maintenance Framework
To prevent these issues from returning, I recommend keeping a simple maintenance log. This is a standard practice in industrial mills, and it works just as well in a small fabrication shop. Tracking your adjustments helps you see patterns—if you have to align the same motor every three months, you likely have a mounting plate that is flexing or bolts that are stretching.
- Date of Alignment: Track when the work was done.
- Belt Condition: Note if the belt was replaced or just adjusted.
- Vibration Level: Use a scale of 1-10 or a smartphone app reading.
- Offset Measurement: Record the initial error (e.g., 0.040″ offset).
- Next Inspection Date: Set a reminder for six months out.
By treating your machinery with this level of detail, you move from being a “parts changer” to a true diagnostic specialist. You will find that your tools last longer, your cuts are cleaner, and your frustration levels drop significantly.
Frequently Asked Questions
How can I tell if my pulley is bent without a dial indicator? While a dial indicator is best, you can use a “stationary pointer.” Clamp a stiff wire to the motor frame so the tip just barely misses the pulley edge. Rotate the pulley by hand; if the gap between the wire and the pulley changes, the pulley is warped or the shaft is bent.
What is the maximum allowable offset for a standard V-belt? For most small-shop machinery, you should aim for an offset of less than 1/32 of an inch. Industrial standards often allow for 1/2 degree of angular misalignment, but in a table saw, tighter is always better to prevent tool chatter.
Why does my belt keep vibrating even after I aligned the pulleys? Check for a “set” in the belt. If a machine sits for a long time, the belt can take the shape of the pulleys, creating a “hump” that vibrates every time it passes. Replacing the belt with a high-quality “link belt” can often solve this specific issue.
Should I use belt dressing to stop a squeal? In my opinion, no. Belt dressing is a temporary fix that often masks the real problem, like misalignment or a worn pulley. It also attracts dust and grit, which can act like sandpaper and wear out your pulleys faster.
How tight should the set screw be on the motor pulley? It needs to be very firm, but don’t strip the threads. I usually aim for 15-20 inch-pounds for small screws. Using a drop of blue thread locker is a great way to ensure it stays put without having to over-torque it.
Can a misaligned pulley cause the motor to overheat? Absolutely. Misalignment creates internal friction within the belt fibers and puts extra load on the motor bearings. This extra work generates heat, which can eventually trip the motor’s thermal overload protector.
What is “runout” and why does it matter? Runout is a measurement of how much a rotating part wobbles. Radial runout is “up and down” wobble, while axial runout is “side to side” wobble. High runout causes vibration that ruins surface finish and destroys bearings.
How do I know if my motor bearings are failing? Remove the belt and spin the motor shaft by hand. It should be silent and smooth. If you hear a “growl,” feel “grittiness,” or can move the shaft side-to-side (radial play), the bearings need to be replaced.
Does pulley size affect alignment? The size doesn’t change the alignment process, but it does change the “span.” Larger pulleys or longer distances between shafts are more sensitive to angular misalignment. Always check your parallelism at the furthest points possible for the best accuracy.
Is it better to align the pulleys when the machine is hot or cold? Always align them when cold. While industrial machines sometimes require “hot alignment” due to thermal expansion, shop-scale table saws don’t generate enough heat to change the geometry significantly. Aligning while cold is safer and more consistent.
(This article was written by one of our staff writers, Paul Whitaker. Visit our Meet the Team page to learn more about the author and their expertise.)