How to Weld and Reinforce Weak Metal Corners Safely (Fix)
I have spent 14 years standing over welding tables and inspecting industrial steel frames. In that time, I have learned that the most dangerous part of any project is the one that looks the strongest but lacks structural integrity. I have seen massive equipment frames crack right at the 90-degree intersection because the fabricator focused on the look of the bead rather than the physics of the joint. In my early days, I made those same mistakes, once watching a custom-built shop crane arm sag because I didn’t account for the leverage acting on a single corner. This article is about moving past “good enough” and using material science to ensure your metal projects never fail under pressure.
Understanding Structural Stress and Load Paths in Corner Joints
Structural stress refers to the internal forces acting within a metal component when external loads are applied. Load paths are the specific routes those forces take through a structure, often concentrating at sharp transitions like corners, which can lead to deformation or catastrophic cracking if not properly managed.
When you join two pieces of metal at an angle, you create a point of concentration. In mechanical engineering, we call these “stress risers.” Imagine a piece of flat bar. If you pull it from both ends, the stress is spread evenly. However, if you weld that bar into a corner, any weight applied to the end of one bar acts like a lever. This creates a “moment arm” that tries to tear the weld apart.
The most common failure I see is a brittle fracture in the heat-affected zone (HAZ). This is the area of metal right next to your weld bead that didn’t melt but got hot enough to change its internal structure. If you don’t manage your heat or joint design, this area becomes the “weak link” where the metal will snap like a dry twig under a heavy load.
The Role of Tensile and Shear Stress
Tensile strength is the amount of pulling force a metal can take before it breaks. Shear stress happens when forces push parts of the metal in opposite directions, like a pair of scissors cutting paper. In a corner joint, you are often dealing with both at once.
- Tensile Stress: Pulls the outer edge of the corner apart.
- Compressive Stress: Squeezes the inner edge of the corner together.
- Shear Stress: Tries to slide one piece of metal past the other along the weld line.
Understanding these forces helps you realize why a simple bead on the outside of a corner is rarely enough for structural safety. You must design the joint so the metal itself carries the weight, not just the filler material you added with your welder.
Material Selection and Its Impact on Joint Durability
Material selection involves choosing the correct metal alloy and thickness based on its mechanical properties, such as yield strength and ductility. For structural corners, using the right grade of steel ensures the metal can withstand intended loads without reaching its breaking point or suffering from brittle fracture.
Not all steel is created equal. Most hobbyists and intermediate fabricators use ASTM A36 structural steel. It is predictable, easy to weld, and has a yield strength of about 36,000 PSI. This means if you apply more than 36,000 pounds of force per square inch, the steel will permanently deform.
If you are building something that will hold weight, like a car trailer or a heavy storage rack, you must match your material thickness to the expected load. Using 1/8-inch wall tubing for a project that requires 1/4-inch wall thickness is a recipe for a structural failure. I always recommend a safety factor of at least 2:1 for static loads and 4:1 for anything that moves or carries people.
Metal Load and Stress Tolerances (Common Shop Steels)
| Material Type | Yield Strength (PSI) | Common Use Case | Weldability Rating |
|---|---|---|---|
| ASTM A36 (Mild Steel) | 36,000 | General frames, brackets | Excellent |
| 1018 Cold Rolled Steel | 54,000 | Precision parts, shafts | Good |
| 4130 Chromoly | 63,000+ | Roll cages, bike frames | Moderate (Requires Pre-heat) |
| 6061-T6 Aluminum | 35,000 | Lightweight structures | Difficult (Heat sensitive) |
Essential Workshop Safety and PPE for Structural Welding
Workshop safety protocols involve the use of specialized gear and environment controls to protect the fabricator from UV radiation, toxic fumes, and thermal burns. Proper PPE and ventilation are non-negotiable when performing deep-penetration welds on structural joints to ensure long-term health and immediate physical safety.
Before you even strike an arc to fix a weak corner, your garage fabrication safety setup must be verified. I have seen people weld in t-shirts only to end up with “welder’s flash” on their skin, which is essentially a severe sunburn caused by UV rays. Even worse is the damage to your eyes. A high-quality auto-darkening helmet is your most important tool.
PPE Shade and Rating Recommendations
| Welding Process | Amperage Range | Recommended Filter Shade |
|---|---|---|
| MIG (GMAW) | 60 – 160 Amps | Shade 10 |
| MIG (GMAW) | 160 – 250 Amps | Shade 11 – 12 |
| TIG (GTAW) | 50 – 150 Amps | Shade 10 – 11 |
| Stick (SMAW) | 80 – 200 Amps | Shade 12 |
Beyond the helmet, you need a dedicated ventilation system. Welding produces fumes that contain manganese and hexavalent chromium (especially in stainless steel), which are toxic. If you don’t have a professional fume extractor, position a high-volume fan to pull the smoke away from your face and toward an open door. Never weld in a completely sealed room.
Preparing the Joint for Maximum Fusion and Strength
Joint preparation is the process of cleaning, beveling, and aligning metal edges before welding to ensure the filler metal penetrates the entire thickness of the material. Proper fit-up eliminates gaps that cause weak spots and ensures the weld bead becomes an integral part of the structural geometry.
I cannot emphasize this enough: 90% of a good weld happens before you turn the machine on. If you are welding two pieces of 1/4-inch steel to form a corner, you cannot just butt them together and weld the surface. This results in “lack of penetration,” where the middle of the joint is still two separate pieces of metal.
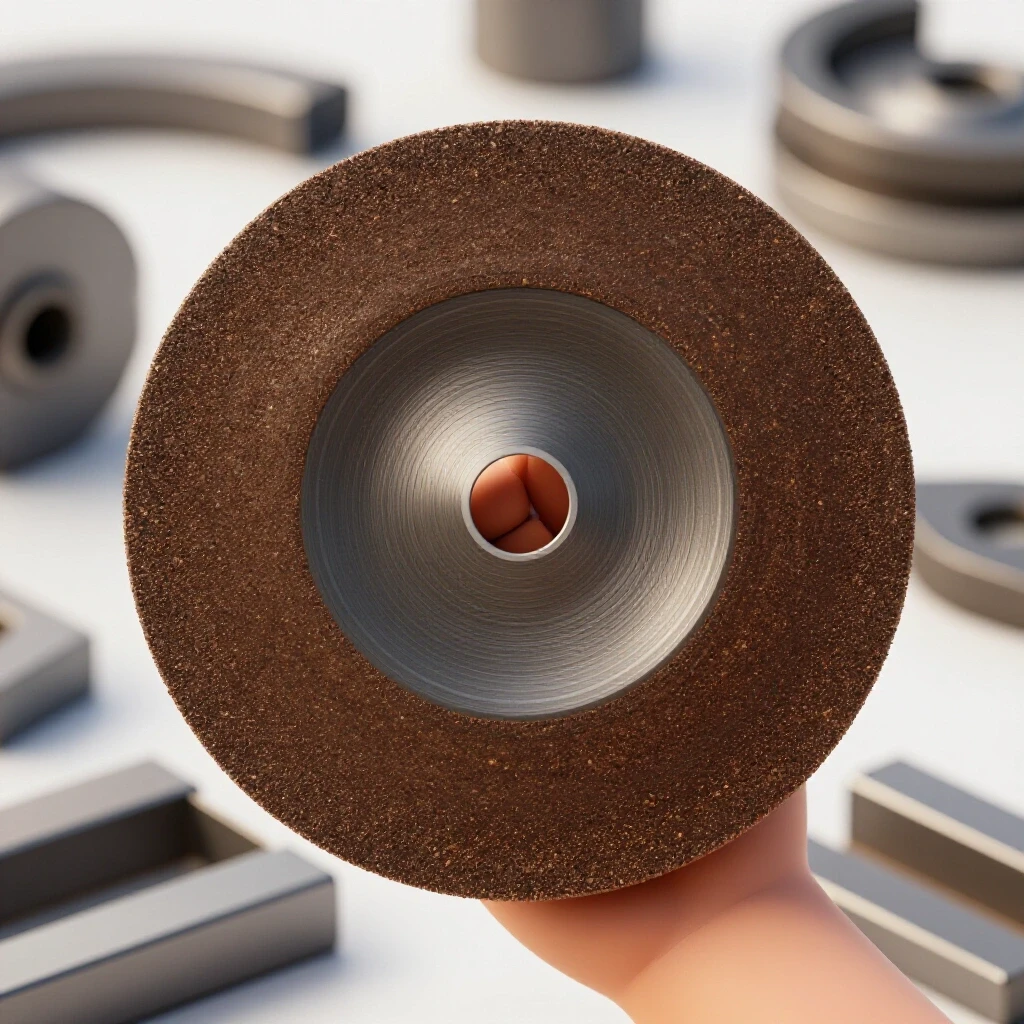
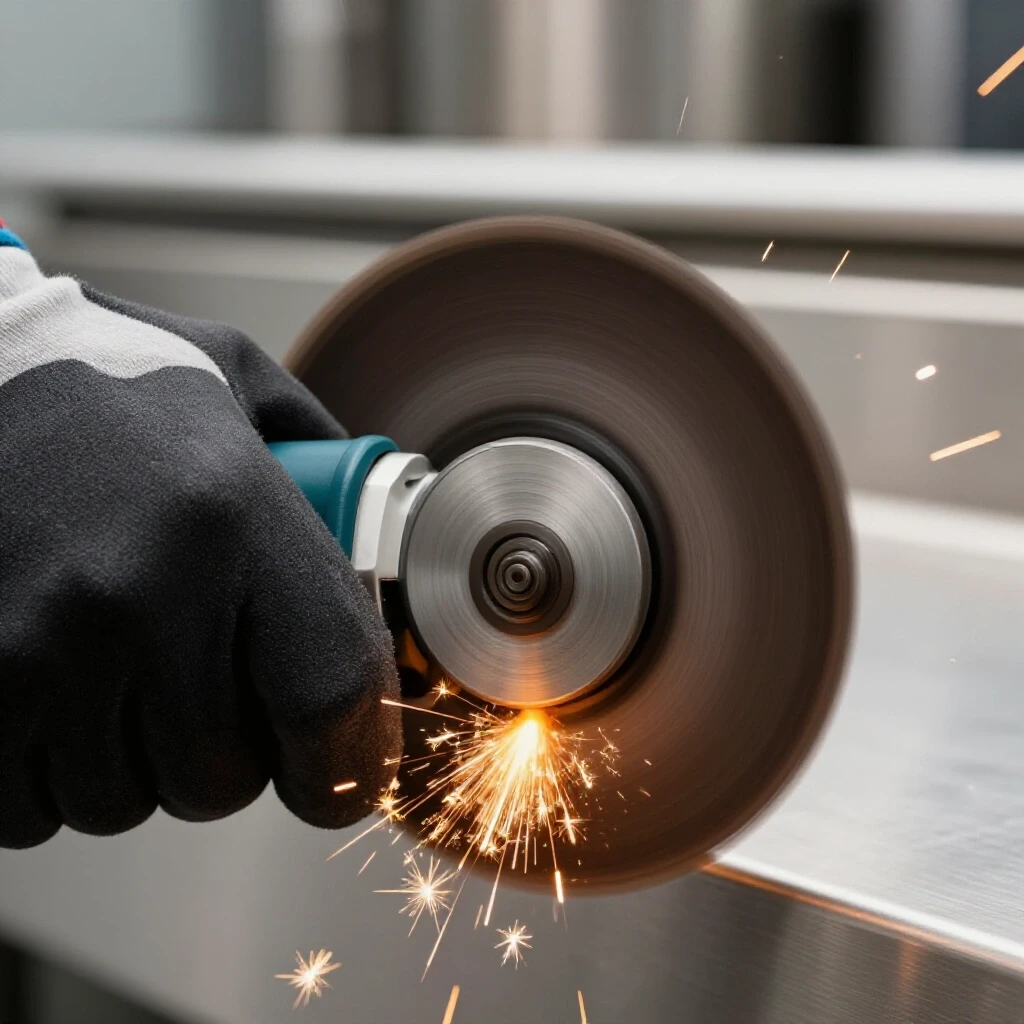
- Remove Mill Scale: Use a flap disc or grinding wheel to remove the dark grey coating (mill scale) until you see shiny silver metal. Mill scale has a higher melting point than the steel underneath and will cause welding gas flow rate issues and porosity.
- Bevel the Edges: Grind a 45-degree angle on the edges of the metal. When you put the two pieces together, they should form a “V” shape. This allows the weld to reach the very bottom of the joint.
- Clean with Acetone: Even if the metal looks clean, oils from your hands or the mill can cause defects. A quick wipe with a solvent ensures a pure weld pool.
- Check Your Fit-up: There should be a small gap (about the thickness of a nickel) between the pieces. This “root opening” allows the weld to pass all the way through.
Managing the Heat Affected Zone (HAZ) Weakness
The heat affected zone weakness occurs when the extreme temperature of welding alters the microstructure of the surrounding base metal without melting it. This region often becomes more brittle or softer than the original material, making it the most likely location for a crack to form under structural load.
When you weld a corner, you are dumping a massive amount of heat into a small area. This heat causes the metal to expand. As it cools, it shrinks. This shrinkage pulls on the joint, creating “residual stress.” If you weld too hot or too fast, the metal in the HAZ can become “grain-coarsened,” meaning its internal crystals grow too large and lose their ability to flex.
To minimize HAZ issues, use a “multi-pass” technique for thick materials. Instead of one giant, hot bead, lay down a small root pass to join the pieces, then add “filler passes” on top. This distributes the heat more evenly and allows the previous layers to act as a heat sink.
Identifying and Preventing Common Weld Defects in Corner Assemblies
Weld defects are structural flaws like porosity, undercut, or lack of fusion that compromise the integrity of a metal joint. Identifying these issues during the fabrication process allows for corrective action before the component is put under load, preventing sudden and dangerous structural failures.
A “pretty” weld isn’t always a strong weld. I’ve seen beads that look like a perfect stack of dimes but are sitting right on top of the metal without actually sticking to it. This is called “cold lap” or lack of fusion. In a structural corner, this is a death sentence for the project.
Weld Defect Troubleshooting Guide
| Defect | Visual Appearance | Primary Cause | Solution |
|---|---|---|---|
| Porosity | Small holes/bubbles in the bead | Low welding gas flow rate or wind | Increase gas to 15-20 CFH; block drafts |
| Undercut | A groove melted into the base metal | Too much heat or wrong torch angle | Lower amperage; point torch at the thicker piece |
| Lack of Fusion | Bead sits on top, edges not melted | Travel speed too fast; low voltage | Slow down; increase voltage for better “wetting” |
| Cracking | Thin line down the center of the weld | High carbon content or rapid cooling | Use correct filler rod; allow to cool slowly |
If you spot an undercut, do not just leave it. An undercut acts like a notch in the metal, focusing all the stress into a tiny line. It is the starting point for almost every fatigue crack I have inspected in the field.
Advanced Reinforcement Techniques: Gussets and Fish Plates
Reinforcement techniques involve adding secondary metal components, such as triangular gussets or flat fish plates, to distribute stress away from a primary weld. These additions increase the surface area of the joint and provide alternative load paths, significantly boosting the overall weight capacity of the corner.
Sometimes, even a perfect weld isn’t enough for the structural metal load capacity you need. This is where reinforcement comes in. If I am building a frame that will see vibration or heavy weight, I never rely on the corner weld alone.
The Power of the Gusset
A gusset is a triangular piece of plate welded into the inside of a corner. It turns a 90-degree angle into a much stronger structure by distributing the load across a larger area. * Placement: Do not weld the gusset all the way into the very tip of the corner. Stop the weld about 1/4 inch short to avoid creating a massive heat sink that could cause a crack. * Thickness: The gusset should be at least as thick as the material you are reinforcing.
Using Fish Plates for Butt Joints
If you are extending a piece of metal near a corner, use a “fish plate.” This is a diamond-shaped piece of metal welded over the joint. We use a diamond shape because it avoids long vertical welds, which are more prone to snapping under side-loads.
Boxing the Corner
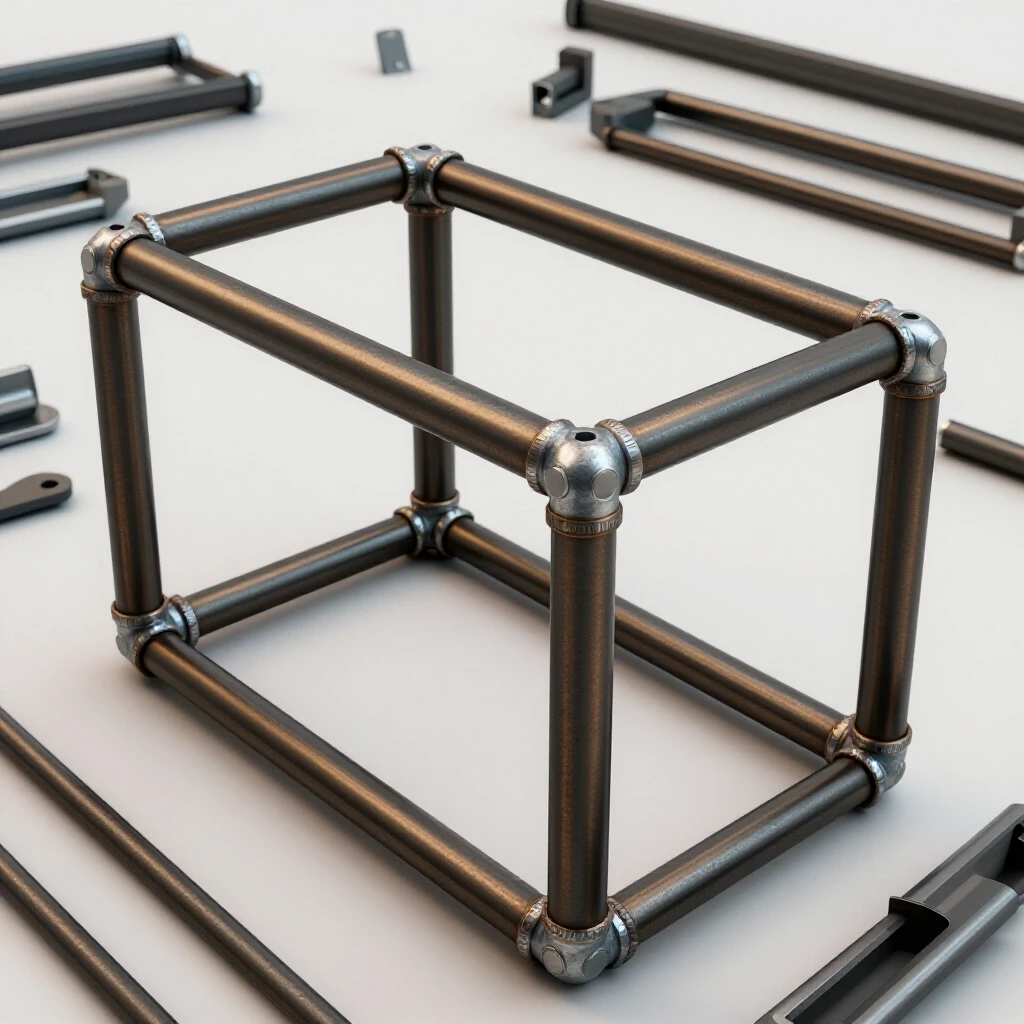
In tube fabrication, “boxing” means welding a flat plate over the open ends of a corner. This prevents the tube from “oil-canning” or twisting. It significantly increases the torsional rigidity of the assembly.
Visual Inspection and Non-Destructive Testing (NDT) Methods
Inspection and testing are the final steps in verifying that a welded corner meets safety standards without destroying the part. Using methods like dye penetrant testing or careful visual measurement ensures that internal cracks or surface irregularities do not hide potential points of failure under stress.
Once the weld is cool, you need to verify your work. In industrial shops, we use X-rays or ultrasound, but you can do a lot with simple tools in a home shop.
- Weld Fillet Gauge: This tool measures the size of your weld bead. A structural weld should generally have a “leg length” equal to the thickness of the metal you are joining.
- Dye Penetrant Kit: This is a three-part spray system. You clean the weld, spray a red dye, wipe it off, and then spray a white developer. If there is a tiny crack you can’t see with your eyes, the red dye will “bleed” through the white developer. It is a cheap way to ensure your structural metal load capacity isn’t compromised by hidden flaws.
- The Hammer Test: For non-critical items, a firm strike with a 2-lb sledgehammer can reveal “cold” welds. If the bead pops off, you had zero penetration. (Note: Never do this on a part you intend to use for a critical load).
Structural Checking Tools and Checklist
To maintain a safe workshop and produce reliable builds, I follow a strict verification process. You should never assume a joint is solid just because it’s finished. Use this checklist for every critical corner you build.
- Digital Protractor: Verify the angle is exactly what your design requires. Distortion from heat can pull a 90-degree corner to 88 degrees easily.
- Caliper: Measure the material thickness after grinding to ensure you haven’t thinned the base metal too much.
- Electronic Gas Flow Meter: Ensure your welding gas flow rate is consistently between 15 and 20 CFH (Cubic Feet per Hour). Too low causes holes; too high creates turbulence that sucks in air.
- Infrared Thermometer: Monitor the inter-pass temperature. If the metal gets above 500 degrees Fahrenheit between welds, let it cool to prevent a massive HAZ.
- Magnifying Glass (10x): Look at the “toes” of the weld (where the bead meets the base metal). Look for any signs of tiny black lines, which indicate lack of fusion.
Real-World Case Study: The Failed Utility Trailer
A few years ago, I was asked to look at a utility trailer that had “folded” while carrying a load of gravel. The fabricator had used heavy 3-inch angle iron, which should have been plenty strong. However, he had simply “butt-welded” the corners without any beveling or gussets.
When we looked at the break, the weld bead was sitting perfectly intact on one piece of steel, while the other piece was clean. The weld had never actually penetrated the metal. He had also used a welding gas flow rate that was too high, which I could tell by the tiny pinholes (porosity) in the bead. By skipping the joint preparation and reinforcement, he turned a 3,000-lb capacity trailer into a 500-lb accident waiting to happen. We fixed it by grinding out the old welds, beveling the edges to a 60-degree included angle, and adding 1/4-inch triangular gussets to every corner.
Conclusion and Next Steps for Your Workshop
Building structures that last requires a shift in mindset. You are no longer just “sticking metal together”; you are managing heat, physics, and material properties. Start by auditing your current projects. Look for corners that are under high stress and ask yourself if they have a clear load path or if they are relying solely on a surface weld.
Your next step should be to practice your joint preparation. Take two pieces of scrap, bevel them properly, and perform a multi-pass weld. Cut that weld in half with a saw and look at the cross-section. If you see a solid piece of metal from top to bottom, you are ready to tackle structural builds. If you see a line in the middle where the two pieces didn’t meet, keep practicing your penetration techniques. Safety in the shop is built on data and verification, not luck.
Frequently Asked Questions
Why does my metal warp when I weld a corner?
Metal warps because it expands when heated and contracts when cooled. In a corner, the weld is usually on one side, which pulls the metal toward the bead as it shrinks. To prevent this, use “tack welds” to hold the piece in place, and consider “pre-setting” the joint a few degrees in the opposite direction so it pulls into the correct alignment.
What is the best welding gas flow rate for structural work?
For most MIG welding in a shop environment, a flow rate of 15 to 20 CFH (Cubic Feet per Hour) is ideal. If you go below 15, you risk porosity from lack of shielding. If you go above 25, the gas becomes turbulent and can actually pull oxygen into the weld pool, weakening the joint.
Can I reinforce a corner after it is already welded?
Yes. You can add gussets or fish plates to an existing joint. However, you must first inspect the original weld for cracks. If the weld is already failing, you must grind it out and reweld it before adding reinforcement. Adding a gusset over a cracked weld will not fix the underlying structural issue.
How do I know if I have enough weld penetration?
The most reliable way is to look at the “root” or the back side of the joint. In a properly penetrated weld, you should see a small “heat tint” or a tiny bead of metal pushing through the other side. If the back side looks like untouched metal, you do not have full penetration.
Is a 45-degree miter joint stronger than a butt joint for corners?
A 45-degree miter joint provides a longer weld surface area than a square butt joint, which can make it stronger if welded correctly. However, miter joints are harder to bevel and fit perfectly. For maximum strength, a square butt joint with a heavy internal gusset is often easier to execute reliably in a home workshop.
What PPE shade do I need for high-amperage structural welding?
If you are welding thick plate (1/4 inch or more) at high amperages (above 200 amps), you should use a Shade 12 or 13. Using a shade that is too light can cause permanent retinal damage over time, even if you don’t feel immediate pain.
Why is mill scale removal so important?
Mill scale is an oxide layer that acts as an insulator. It can cause the arc to wander and prevents the weld pool from “wetting” into the base metal. If you weld over it, the scale can become trapped in the weld, creating inclusions that act like tiny cracks inside your joint.
How thick should a gusset be?
As a general rule, a gusset should be the same thickness as the thinnest piece of metal in the joint. If you are joining 3/16-inch tubing, use a 3/16-inch or 1/4-inch gusset. Using a gusset that is too thick can actually create new stress points because it is too rigid compared to the base metal.
What is the difference between yield strength and tensile strength?
Yield strength is the point where the metal permanently bends. Tensile strength is the point where it actually pulls apart. In structural design, we always design based on yield strength because once a part bends, the geometry of the structure has failed.
How does wind affect my workshop safety and weld quality?
Even a small breeze can blow away your shielding gas, leading to porosity. If you are welding near an open garage door, use welding screens or shields to block the wind. Porosity makes a weld look like Swiss cheese and significantly reduces its ability to hold a load.
(This article was written by one of our staff writers, James Harlan. Visit our Meet the Team page to learn more about the author and their expertise.)