How to Correctly Budget for Custom Fabrication Projects (Fix)
I remember standing over a scrap pile in my garage about twelve years ago, staring at a distorted motorcycle frame that had cost me three weeks of work and four hundred dollars in wasted chromoly tubing. I had tried to save money by using thinner wall thickness than the design called for, and I rushed the welding sequence to save on shielding gas. The result was a warped, structurally compromised mess that eventually ended up in the bin. My 14 years in mechanical engineering and shop floor fabrication have taught me that failing to plan your resources is a direct path to structural failure. In the world of metalwork, your financial plan and your structural integrity are tied together; if you don’t allocate enough for the right materials or the necessary time for joint preparation, the metal will eventually pay the debt in cracks and collapses.
Estimating Raw Material Needs and Local Sourcing Strategies
Accurately calculating the amount of metal required for a project involves more than just measuring lengths; it requires understanding the physical properties of the stock and accounting for the waste generated during cutting and fitting. For small-scale projects, sourcing from local steel yards rather than online retailers can significantly reduce shipping costs, but you must know exactly what to ask for to ensure safety.
When I plan a build, I start with the yield strength of the material. For most home projects, ASTM A36 structural steel is the standard. It has a yield strength of about 36,000 PSI, meaning it can handle 36,000 pounds of force per square inch before it permanently deforms. If you try to save money by using a “mystery metal” from a scrap yard without a mill test report, you are guessing at its load capacity. I always recommend buying new, traceable stock for anything that carries a load, such as a workbench or a vehicle trailer.
To avoid running out of material mid-build—which often leads to making “franken-joints” out of scraps—I use a simple 10% waste factor for straight cuts and a 20% factor for complex angles. This ensures that if a cut goes wide or a miter is slightly off, I have the material to start over rather than compromising the joint fit-up.
| Material Type | Common Use | Yield Strength (PSI) | Safety Margin |
|---|---|---|---|
| ASTM A36 Steel | Frames, Brackets | 36,000 | 3:1 |
| 6061-T6 Aluminum | Light Brackets | 35,000 | 4:1 |
| 304 Stainless Steel | Kitchen, Exhaust | 30,000 | 3:1 |
| 4130 Chromoly | High-Stress Tubes | 63,000 | 2:1 |
Factoring in Consumable Depletion and Tool Wear
Consumables like welding gas, grinding discs, and saw blades are often the most underestimated expenses in a DIY project, yet they are critical for maintaining a clean heat-affected zone (HAZ) and preventing weld defects. If you run out of gas or use a dull blade, the quality of your work drops immediately, increasing the risk of structural cracking.
I’ve seen many intermediate fabricators try to stretch the life of a grinding disc until it’s a tiny nub. This is a mistake. A worn disc requires more pressure, which generates excessive friction heat. This localized heat can alter the grain structure of the steel, creating a brittle area where a crack can easily start. Similarly, skimping on shielding gas is a recipe for disaster. For MIG or TIG welding, I maintain a welding gas flow rate of 15 to 20 cubic feet per hour (CFH). If you drop below this to save money, you get atmospheric contamination, resulting in porosity—tiny holes in the weld that look like a sponge and have almost zero structural strength.
- Grinding Discs: Plan for one 4.5-inch flap disc for every 10 feet of weld cleaning.
- Welding Gas: A standard 80cf tank usually provides about 4 to 5 hours of “arc-on” time.
- Saw Blades: Budget for one replacement blade or a professional sharpening fee for every major project involving thick-walled tubing.
Labor Time and Heat Management Costs
In a home workshop, “labor” isn’t a paycheck, but it is a finite resource that dictates how much heat you put into a part. Rushing a project to finish it in one weekend often leads to poor heat management, resulting in warping and internal stresses that can cause a joint to snap under load.
Heat-affected zone (HAZ) weakness occurs when the area surrounding the weld is kept at high temperatures for too long. To prevent this, you need to budget time for “stitch welding” and cooling periods. Instead of running a long, continuous bead that puts massive heat into the metal, I weld in short two-inch sections and move to a different part of the structure. This allows the heat to dissipate. If you don’t account for this extra time in your project schedule, you will likely get impatient, overheat the metal, and end up with a structure that is pulled out of alignment by several degrees.
- Layout and Tack Welding: Allocate 30% of your total time here. Proper alignment prevents rework.
- Welding and Cooling: Allocate 40%. This includes time for the metal to return to room temperature between passes.
- Finishing and Inspection: Allocate 30%. Never skip the post-weld inspection for cracks or undercut.
Establishing a Structural Safety Buffer
A contingency buffer is a calculated reserve of funds and materials—usually 15% to 25% of the total project cost—that protects you when things go wrong. In my experience, the more complex the joint design, the higher this buffer should be to ensure you don’t cut corners when a mistake happens.
Why 15-25%? Think of it as insurance against “structural fatigue points.” If you are building a heavy-duty storage rack and you accidentally notch a main support beam incorrectly, you need the financial room to go buy a replacement beam. If you don’t have that buffer, you might be tempted to “patch” the mistake with a sloppy weld. A patch creates a stress riser, a point where the load is concentrated, which can lead to a sudden brittle fracture. I always tell my fellow makers: if you can’t afford the extra 20% for mistakes, you can’t afford the project.
- Low Complexity (Straight cuts, thick plate): 15% Buffer.
- Medium Complexity (Mitered tubing, various thicknesses): 20% Buffer.
- High Complexity (Thin wall, exotic alloys, critical loads): 25%+ Buffer.
PPE and Workshop Safety Investment
Safety equipment is not an optional “add-on” to a project cost; it is a fundamental component of the fabrication process. Investing in high-quality Personal Protective Equipment (PPE) ensures that you can perform inspections and welds accurately without the distraction of discomfort or the danger of injury.
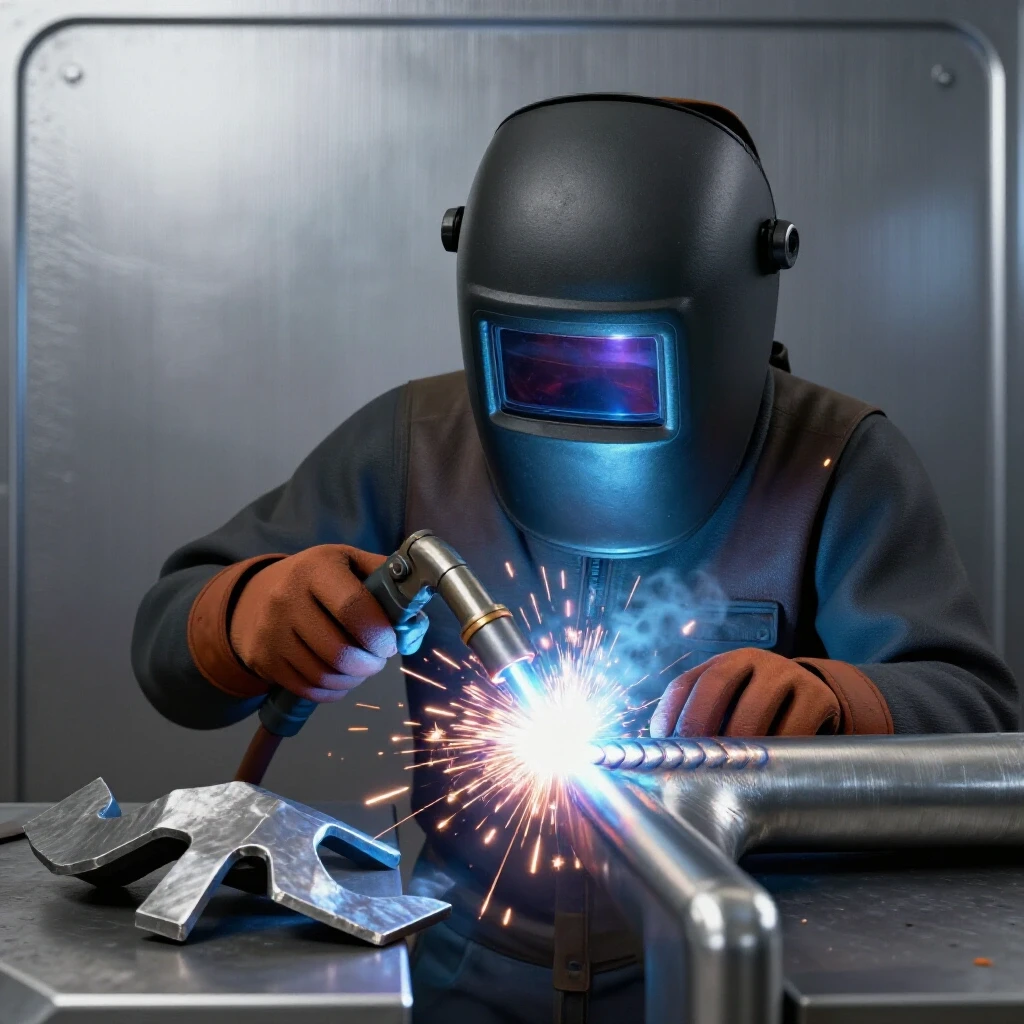
I once worked with a guy who used a cheap, fixed-shade helmet that was too dark for him to see the weld puddle clearly. He ended up with “lack of fusion” in a critical joint because he was basically welding blind. Upgrading to an auto-darkening helmet with a Shade 10-13 filter allows you to see the joint before the arc strikes, ensuring your bead starts exactly where it needs to. Furthermore, garage fabrication safety requires budgeting for proper ventilation. Welding fumes from galvanized steel or even clean mild steel can cause serious respiratory issues. A dedicated fume extractor or a high-CFM exhaust fan is a mandatory part of any shop’s operational cost.
- Eye Protection: Auto-darkening helmet (ANSI Z87.1 rated).
- Respiratory: P100 rated respirator masks for grinding and welding.
- Skin: Heavy-duty leather gloves and a flame-resistant (FR) apron or jacket.
- Fire Safety: A working Class ABC fire extinguisher within arm’s reach of the welding station.
Why Weld Porosity Destroys Structural Integrity
Weld porosity is a hidden defect that occurs when gas pockets are trapped in the cooling metal. It is often caused by trying to save money on cleaning supplies or shielding gas, and it is one of the leading causes of structural failure in hobbyist projects.
When you look at a weld, it should be smooth and consistent. If it looks like Swiss cheese, you have porosity. This happens because the shielding gas was blown away by a draft, the gas flow rate was too low, or the base metal was contaminated with oil or rust. Porosity reduces the cross-sectional area of the weld, meaning a joint designed to hold 5,000 pounds might only hold 1,000. To prevent this, I use a dedicated workshop safety checklist that includes checking for drafts and ensuring the metal is ground to a shiny finish within one inch of the weld zone.
- Clean the metal: Use a dedicated stainless steel wire brush to remove mill scale.
- Check gas flow: Ensure your regulator is set to at least 15 CFH in an enclosed space.
- Shield the area: Close garage doors to prevent wind from stripping away your shielding gas.
Structural Load Capacities and Joint Selection
Choosing the wrong joint type is a common mistake that leads to project failure. Each joint has a different structural metal load capacity, and your choice must be based on the direction of the forces involved—not just which one is easiest to weld.
For example, a butt joint (where two pieces of metal meet end-to-end) is very strong in tension if the weld has full penetration. However, if you are a beginner, achieving full penetration on thick plate is difficult. In those cases, a lap joint or a T-joint reinforced with a gusset is often safer. A gusset is a triangular piece of metal that reinforces a corner. It distributes the load over a larger area, reducing the stress on the weld itself. Adding $20 worth of gussets to a frame can increase its load capacity by 50% or more.
| Joint Type | Strength Level | Common Failure Mode | Best Practice |
|---|---|---|---|
| Butt Joint | High | Lack of Penetration | Bevel edges to 45 degrees |
| Lap Joint | Medium | Shear Stress | Weld both sides of the lap |
| T-Joint | High | Fillet Crack | Use gussets for heavy loads |
| Corner Joint | Low/Medium | Warping | Use corner clamps for alignment |
Final Inspection and Load Testing Protocols
Once the fabrication is complete, the project isn’t “done” until it has been inspected and, if necessary, tested. This phase is about verifying that your resource allocation resulted in a sound structure. I use a simple “visual and tap” method first, looking for any signs of undercut—a groove melted into the base metal next to the weld that acts like a perforated line on a piece of paper.
For critical structures, I perform a non-destructive test using a dye penetrant kit. You spray a red dye on the weld, wipe it off, and then apply a white developer. If there are any cracks too small for the eye to see, the red dye will bleed out into the white developer. This kit costs about $50, but it provides peace of mind that your project won’t fail unexpectedly. Finally, I always test the structure with a “static load” that is 1.5 times the expected working weight, placed in a controlled environment where no one can be hurt if it fails.
FAQ
What is the most common hidden cost in metal fabrication? The most common hidden cost is “rework time.” If you don’t spend the time or money on proper clamps and magnets for fit-up, the metal will warp during welding. Correcting a warped frame can take three times as long as the original build.
How do I know if my welding gas flow rate is correct? A flow rate of 15-20 CFH is standard for indoor welding. If you see brown soot or tiny bubbles in your weld puddle, your gas coverage is insufficient. You may need to increase the flow or move your work away from open windows.
Can I use scrap metal for structural projects? Only if you can positively identify the grade. Using unknown scrap for a load-bearing structure like a car trailer is dangerous because you cannot calculate the yield strength or the proper welding settings.
What is a “safety factor” and why do I need one? A safety factor is the ratio of a material’s strength to the actual load it will carry. A 3:1 safety factor means the structure is three times stronger than it needs to be. This accounts for variations in weld quality and unexpected heavy loads.
Why does my metal warp even when I use clamps? Metal expands when heated and contracts when cooled. If you weld a long bead all at once, the contraction pulls the metal. To fix this, use “tack welds” every few inches and jump around the project to keep the heat localized.
How much should I budget for grinding and cutting discs? As a rule of thumb, budget about 5-10% of your total material cost for abrasives. High-quality ceramic discs cost more up-front but last longer and run cooler, which protects the metal’s integrity.
What is the “Heat Affected Zone” (HAZ)? The HAZ is the area of base metal that didn’t melt but was heated enough to change its properties. In some metals, this area becomes softer or more brittle than the rest of the piece, making it the most likely place for a crack to start.
Is a 110v welder enough for structural work? Generally, no. Most 110v household welders struggle to get deep penetration on material thicker than 1/8 inch. For structural frames, a 220v welder is usually necessary to ensure the weld is as strong as the base metal.
How do I prevent rust on my project after it’s finished? Immediately after cleaning and inspecting your welds, wipe the metal down with an oil-dissolving cleaner and apply a coat of primer. Even fingerprint oils can cause rust to start under your paint.
What should I do if I find a crack in my weld? Do not just weld over it. You must grind out the entire crack until you see solid metal, then re-clean and re-weld the area. Welding over a crack just hides the problem; it doesn’t fix the structural weakness.
By viewing every project as a balance of material properties, time management, and safety protocols, you can move from being a hobbyist who “sticks metal together” to a fabricator who builds lasting, reliable structures. The key is to respect the physics of the metal and never let your desire to save a few dollars compromise the safety of your build.
(This article was written by one of our staff writers, James Harlan. Visit our Meet the Team page to learn more about the author and their expertise.)