How to Get Clean Cuts in Metal with Hand Hacksaws (Guide)
I have spent the last 14 years looking at metal through the lens of failure analysis. In my time as a mechanical engineer and shop floor fabricator, I have seen multimillion-dollar projects grind to a halt because of a single poorly prepared joint. Many people assume that manual tools are for beginners, but I have found that the humble hand-powered saw is often the most reliable way to achieve the precision needed for high-stakes structural work. When you are working in a home shop, the pressure to get things right is high because a mistake usually comes out of your own pocket.
Early in my career, I was tasked with inspecting a series of heavy support frames for a manufacturing facility. One of the frames had developed a hairline fracture near a critical junction. When we cut the joint open for a forensic look, we found that the original fabricator had used a high-heat cutting method that altered the metal’s grain structure, creating a brittle zone. If they had used a manual cutting approach to preserve the material’s properties, that frame might still be in service today. This taught me that how we separate metal is just as important as how we join it.
The Mechanics of Blade Selection and Material Compatibility
Selecting the correct blade is the first step in ensuring a project does not suffer from structural instability. The number of teeth per inch (TPI) determines how the tool interacts with the metal’s surface and influences the amount of friction generated during the process. Using the wrong TPI can lead to blade “stripping,” where the teeth break off, or “clogging,” where the metal chips get stuck and prevent a clean path.
Blade selection is governed by the “three-tooth rule.” This principle states that at least three teeth must be in contact with the material at all times. If you use a coarse blade on thin-walled tubing, the teeth will straddle the metal and snag, likely snapping the blade or deforming the workpiece. Conversely, using a very fine blade on a thick bar will result in slow progress and excessive heat buildup, which can lead to work hardening in certain stainless steels.
| Material Thickness | Recommended TPI | Common Applications |
|---|---|---|
| Over 1/4 inch (6.4 mm) | 14 TPI | Large angle iron, heavy bar stock, solid bolts |
| 1/8 to 1/4 inch (3.2-6.4 mm) | 18 TPI | General purpose, medium-walled square tubing |
| 1/16 to 1/8 inch (1.6-3.2 mm) | 24 TPI | Thin-walled conduit, light gauge sheet metal |
| Under 1/16 inch (1.6 mm) | 32 TPI | Trim, very thin tubing, delicate structural ribs |
Understanding Metal Stress and Workholding Stability
A secure workpiece is non-negotiable for safety and accuracy. If the metal vibrates or shifts during the cut, you introduce lateral stress to the blade, which is the leading cause of premature failure and jagged edges. In my shop, I treat workholding as a structural engineering problem because any movement translates to a wasted effort and potential injury.
When you clamp a piece of metal, you must consider the path of the cut and the support of the “drop” piece. If the end of the metal is not supported, gravity will pull it down as the cut nears completion. This creates a “hinge” effect that pinches the blade and can cause the metal to tear rather than shear. I always use a secondary support or a dedicated stand to ensure the material remains level throughout the entire process. This prevents the formation of a stress riser—a sharp notch that can lead to a structural crack later in the project’s life.
- Vibration Control: Use a heavy-duty vise with serrated jaws for solid stock.
- Surface Protection: Use copper or aluminum “soft jaws” to prevent marring finished surfaces.
- Overhang Management: Keep the cut line as close to the vise jaws as possible (typically within 1 inch) to minimize chatter.
- Structural Alignment: Ensure the workpiece is perpendicular to the floor to allow your body weight to assist the stroke naturally.
The Physics of the Manual Stroke and Pressure Application
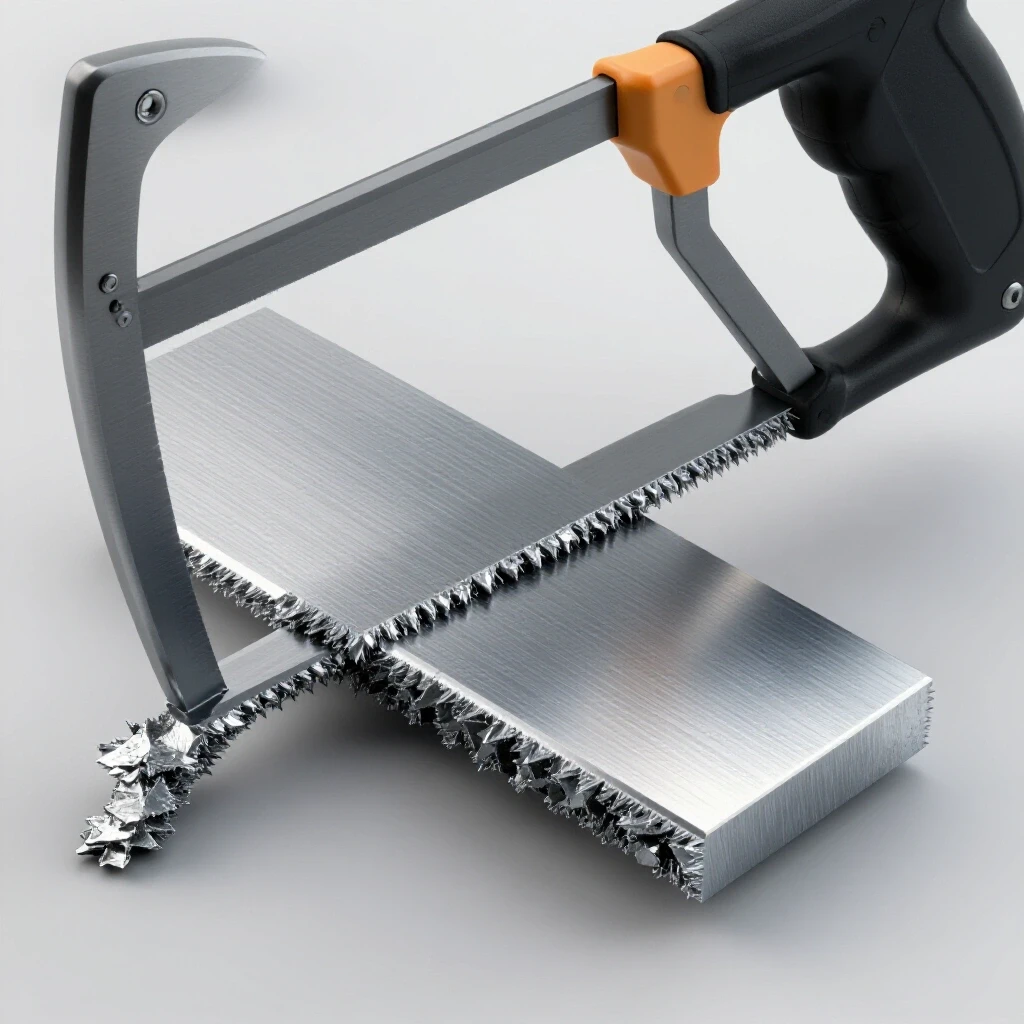
The way you move the saw determines the straightness of the path and the longevity of the blade. Most hand-powered saws are designed to cut only on the forward stroke. Applying pressure on the return stroke is a common mistake that dulls the teeth almost instantly. I think of the forward stroke as the “work phase” and the return stroke as the “reset phase.”
To maintain a straight line, your body mechanics must be consistent. I stand with one foot forward, using my entire arm and shoulder to drive the saw rather than just my wrist. This provides a stable platform and allows for a long, steady stroke. Short, choppy movements only use the middle section of the blade, leading to uneven wear. By using the full length of the blade, you distribute the heat and friction across more teeth, which keeps the temperature of the material below the threshold where the heat-affected zone (HAZ) becomes a concern.
- Stroke Rate: Aim for 40 to 60 strokes per minute. Moving faster generates excessive heat.
- Pressure Distribution: Apply firm downward pressure on the forward push; lift slightly on the return.
- Blade Tension: Tighten the blade until it emits a high-pitched “ping” when plucked. A loose blade will wander.
- Entry Angle: Start the cut at a slight angle (about 10 degrees) to create a notch, then level out.
Preventing Fabrication Failures Through Heat Management
Even though manual cutting is slower than using a motor, friction still generates significant heat at the point of contact. In materials like 304 stainless steel, this heat can cause “work hardening,” where the metal becomes harder than the blade itself. Once this happens, the blade will simply slide over the surface without removing any material.
To prevent this, I use a dedicated cutting fluid or a simple wax stick. Lubrication serves two purposes: it reduces the coefficient of friction and helps carry away the tiny metal chips (swarf). If you are preparing a joint for structural welding, you must be careful with the type of lubricant used. Some oil-based products can leave a residue that leads to welding defect troubleshooting issues like porosity or inclusions. I always perform a thorough degreasing with a solvent like acetone before any welding begins.
- Apply Lubricant: Use a wax stick every 20 to 30 strokes for thick sections.
- Monitor Temperature: If the metal is too hot to touch comfortably, slow down your stroke rate.
- Clear the Swarf: Periodically blow or brush away metal chips to prevent them from being “re-cut,” which dulls the blade.
- Check Blade Health: If you notice a sudden increase in resistance, inspect the teeth for rounding or missing sections.
Workshop Safety Protocols and PPE Integration
Safety in the workshop is about more than just wearing glasses; it is about creating a controlled environment where risks are minimized. When cutting metal manually, the primary risks are eye injuries from flying chips and lacerations from sharp edges. I follow a strict workshop safety checklist before I ever pick up a tool.
While a hand saw doesn’t produce the sparks of a grinder, it does produce sharp “needles” of metal. I always wear Z87+ rated safety glasses. If I am transitioning from cutting to welding, I ensure my workspace is clear of flammable debris. Even though we aren’t welding in this specific step, the preparation of the metal is the foundation for the weld. Proper ventilation is also key, as some coatings on galvanized steel can release dust that should not be inhaled.
- Eye Protection: Always use wraparound safety glasses to block side-entry chips.
- Hand Safety: Wear thin, cut-resistant gloves that allow for a firm grip on the saw handle.
- Footwear: Steel-toed or composite-toed boots are essential when handling heavy structural stock.
- Deburring: Immediately after a cut, use a mill file to remove the “burr” or sharp flash. This prevents cuts during handling.
Structural Inspection and Joint Verification
Once the cut is complete, the work is not over. In my experience as an inspector, the “fit-up” of a joint is where most structural failures begin. A cut that is not square creates gaps. When you try to fill those gaps with a weld, you introduce more heat, which leads to warping and internal stress. I use a precision square to check every cut against two axes.
If the cut is skewed, I use a file to square it up before proceeding. This ensures that when the pieces are joined, the load paths are aligned correctly. In structural metal load capacity calculations, we assume the joints are tight and the geometry is correct. A 1/16-inch gap might not seem like much, but in a critical frame, it can significantly reduce the overall strength of the assembly.
Frequently Asked Questions
Why does my saw blade keep breaking even when I am careful? Blade breakage is usually caused by incorrect tension or lateral twisting. If the blade is too loose, it will flex and snap under pressure. If you twist the frame of the saw while cutting, the blade will bind and break. Ensure the blade is tensioned until it is “tight as a guitar string” and keep your stroke perfectly vertical.
How do I keep the cut from wandering off my marked line? Wandering is often a sign of uneven pressure or a dull blade. If one side of the blade is duller than the other, it will naturally pull toward the sharper side. Also, ensure you are using a high-quality bi-metal blade, which is more rigid and resistant to bending than a standard carbon steel blade.
Is it necessary to use a cutting fluid for every type of metal? While not strictly necessary for soft metals like mild steel or aluminum, it is highly recommended. For aluminum, wax prevents the metal from “loading” or sticking to the teeth. For stainless steel, lubrication is vital to prevent work hardening. A cleaner cut and longer blade life are always worth the small amount of mess.
What is the best way to start a cut on a round pipe? Starting a cut on a curved surface can be difficult because the blade wants to slide. Use a triangular file to create a small “V” notch on your mark. This notch will act as a guide for the saw blade, allowing you to start the cut with precision and without scratching the surrounding material.
How do I know if I have used the right TPI for my project? Check the “feel” of the cut. If the saw feels like it is “snagging” or jumping, you likely have too few teeth in contact with the metal (TPI is too low). If the saw feels like it is sliding without biting, or if the teeth are constantly clogging with metal, your TPI is likely too high for that thickness.
Can a manual cut be as accurate as one made with a machine? Yes, and in some cases, it can be more accurate because you have a higher degree of tactile feedback. You can feel when the blade is starting to wander and correct it instantly. With practice, a manual cut can achieve tolerances within 1/64 of an inch, which is more than sufficient for most structural fabrication.
Does the direction of the blade matter when I install it in the frame? Absolutely. The teeth must point away from the handle. The hacksaw is a “push-cut” tool. If you install the blade backward, it will still remove metal, but it will be incredibly inefficient, and you will not be able to apply the necessary pressure to the cutting stroke.
How do I prevent the metal from rusting after I have cut it? The process of cutting exposes raw, unoxidized metal. If you are not welding or painting immediately, wipe the cut edge with a light coat of machine oil or a dedicated rust preventative. This is especially important in humid environments where “flash rust” can occur within hours.
What should I do if the blade gets stuck halfway through a cut? Do not try to force it out or continue cutting from the same spot. If the blade is pinched, it usually means the material has shifted. Secure the workpiece better, then start a new cut from the opposite side of the metal, aiming to meet the original cut in the middle.
How often should I replace my hacksaw blade? A blade should be replaced as soon as you notice it takes significantly more effort to make progress. If you see “shiny” spots on the tips of the teeth, the hardened edge has worn away. For structural work, I always start a major project with a fresh blade to ensure the highest possible accuracy.
(This article was written by one of our staff writers, James Harlan. Visit our Meet the Team page to learn more about the author and their expertise.)