How to Keep Metal Parts From Slipping While Drilling (Fix)
I have spent 14 years in the metal fabrication industry, and if there is one thing I have learned, it is that metal has a memory for every mistake you make. In my early years as a mechanical inspector, I watched a seasoned fabricator lose a fingernail because a piece of 1/4-inch plate caught the drill bit and spun like a lawnmower blade. That moment changed how I look at workshop safety. It wasn’t a lack of skill that caused the injury; it was a fundamental misunderstanding of how rotational torque overcomes friction. For those of us who spend our weekends in the garage building heavy frames or custom brackets, the anxiety of a part “walking” or spinning is real. A single slip doesn’t just ruin a piece of expensive cold-rolled steel; it can lead to structural failure in your final project or, worse, a trip to the emergency room.
In this guide, I want to break down the mechanics of keeping your workpiece stationary. We will look at the physics of why metal parts shift, the tools you need to lock them down, and the safety protocols that keep your fingers attached to your hands. My goal is to help you move past the “clamp it and hope” phase and into a disciplined approach to structural accuracy.
The Physics of Rotational Torque and Workpiece Stability
Understanding why a metal part wants to spin is the first step in preventing it from doing so. When a drill bit enters metal, it creates an immense amount of friction and downward pressure, but the real danger occurs at the exit point where the bit’s flutes can snag the remaining material.
When you are drilling through a structural joint, you are essentially managing a battle between the motor’s torque and the friction holding the part in place. Most home drill presses have motors that can generate enough torque to snap a small clamp or whip a heavy bar around the column. This is especially true as the bit breaks through the bottom of the hole. At that millisecond, the bit stops cutting and starts grabbing. If your part is not mechanically restrained, the bit will transfer 100% of the motor’s energy into the workpiece, turning it into a projectile.
In my experience inspecting industrial steel components, many structural failures start with an “egged-out” hole. This happens when the metal shifts slightly during the process, causing the bit to cut an oval rather than a circle. This minor error reduces the structural metal load capacity because the bolt no longer has full surface contact with the hole walls. This creates a point of high stress concentration that can lead to a brittle fracture under load.
| Material Type | Yield Strength (PSI) | Typical Friction Coeff. (Dry Steel) | Risk of Snagging |
|---|---|---|---|
| A36 Mild Steel | 36,000 | 0.50 – 0.80 | Moderate |
| 6061 Aluminum | 35,000 | 1.05 – 1.35 | High (Gummy) |
| 304 Stainless | 31,200 | 0.40 – 0.60 | Very High (Work Hardens) |
Mechanical Restraint Systems for Drill Press Operations
Using physical barriers and clamping tools to lock a metal component in place ensures that the energy from the motor goes into cutting, not moving the part. Mechanical restraints are your primary line of defense against the “helicopter effect” where a part spins uncontrollably.
I always tell people that a vise is not a suggestion; it is a requirement. However, simply putting a part in a vise isn’t enough if the vise itself isn’t bolted to the drill press table. I’ve seen many garage fabricators hold the vise handle by hand, thinking they are strong enough to resist the torque. They aren’t. If the bit grabs, that vise will twist out of your hand before you can blink.
- Drill Press Vises: These should be bolted through the table slots using T-bolts. If your table doesn’t have slots, use heavy-duty C-clamps to secure the vise to the table edges.
- Step Block and Clamp Sets: These are excellent for irregular shapes. They use a series of threaded studs and serrated blocks to apply downward pressure directly onto the part.
- V-Blocks: Essential for round stock. Never try to drill a pipe or rod sitting flat on a table; the contact point is too small, and it will almost certainly roll.
Friction-Based Stabilization and Sacrificial Surfaces
Increasing the surface resistance between the metal part and the machine table helps prevent micro-slippage that leads to oval-shaped holes or broken bits.
Sometimes, metal-on-metal contact is too slick. If you are working with polished stainless or oily cold-rolled steel, the part might slide even under clamp pressure. One trick I’ve used in the shop is placing a piece of sacrificial material, like a thin sheet of plywood or a specialized rubber grip mat, between the metal and the drill press table. This “bites” into both surfaces and significantly increases the force required for the part to move.
Building on this, the sacrificial base also protects your drill press table. If you drill through the metal and hit the cast iron table, you’ve just damaged a precision surface. A piece of scrap wood underneath allows the bit to exit the metal cleanly, which reduces the chance of the bit snagging on the exit and spinning the part.
Managing Lateral Forces in Manual Drilling Scenarios
When using handheld tools, the lack of a fixed table requires specific body mechanics and temporary bracing to keep the metal from shifting under pressure. This is where most workshop accidents happen because the operator is often the only thing holding the tool and the part.
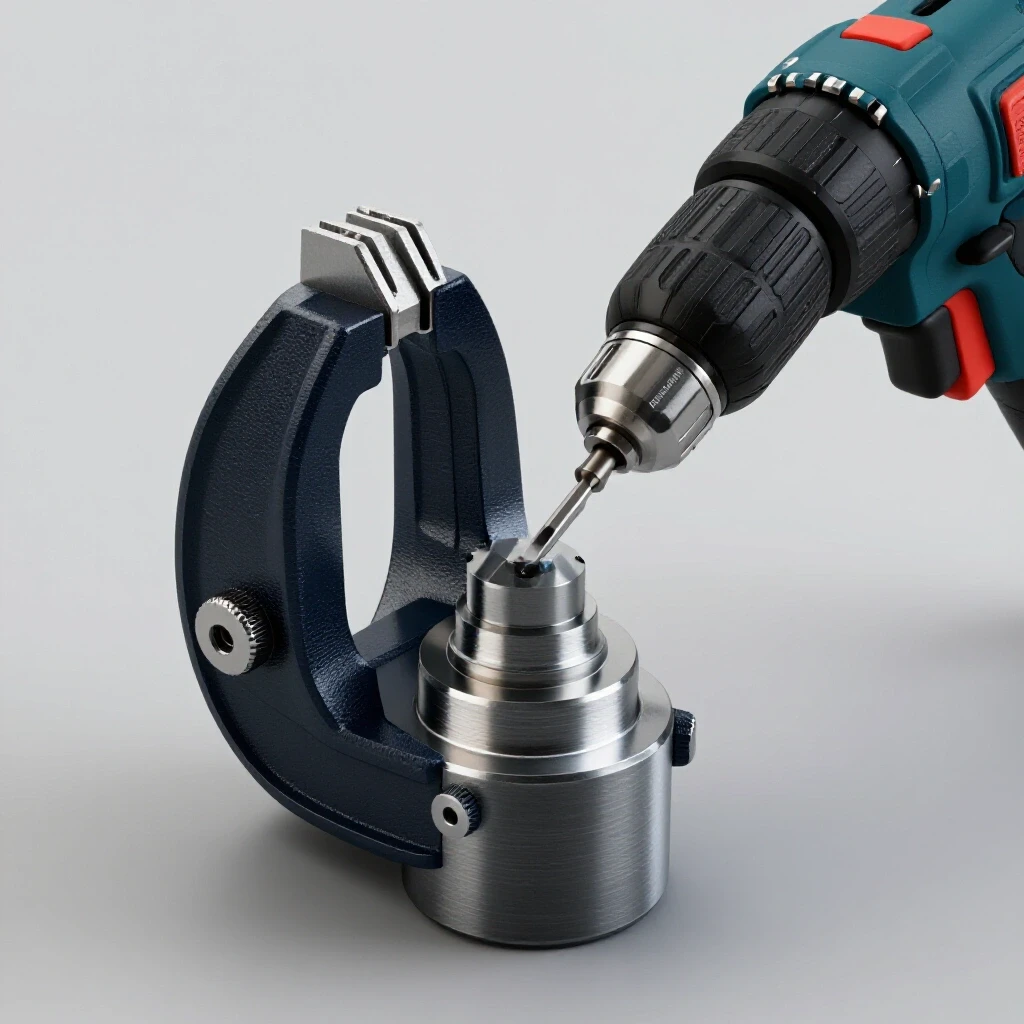
If you must use a handheld drill on a piece of metal, you cannot rely on hand strength alone. I always recommend using a “stop block” or a fence. This is a heavy piece of scrap metal or a sturdy bench vise that you butt your workpiece against. If the part tries to spin clockwise, it should be physically blocked by a fixed object.
Interestingly, the way you start the hole dictates how much the part will want to move later. A deep center punch mark is vital. Without it, the bit will “walk” across the surface, creating lateral forces that encourage the part to slide. By creating a divot, you ensure the bit’s pressure is directed straight down into the material, which helps keep the part pinned to your work surface.
Why Structural Accuracy Depends on Zero Movement
In my 14 years of inspecting heavy frames, I have seen how a hole that shifted by just 1/16th of an inch can ruin a project. When a part slips, the hole is no longer where the engineer intended it to be. This creates a “domino effect” of fabrication errors.
If you are building a suspension component or a weight-bearing bracket, the alignment of your fasteners is critical. A slipped hole often leads to “forcing” a bolt through, which introduces internal stress into the metal. This is similar to a heat affected zone weakness in welding; you are creating a point where the material is compromised. If the hole is misaligned, the bolt will apply uneven pressure to the structural joint, potentially leading to a failure under vibration or heavy loads.
- Layout Verification: Use a scribe and center punch to mark your exact coordinates.
- Primary Clamping: Secure the part to a vise or table.
- Secondary Restraint: Place a backup bolt or stop block to prevent rotation.
- Pilot Hole: Drill a smaller hole (about 1/8″) to establish the path.
- Final Pass: Drill the full-size hole at the correct RPM.
Workshop Safety Checklist for Heavy Drilling
A safe workspace is an organized one. Before you even plug in your drill, you should have a clear path of movement and the correct protective gear. I’ve seen near-misses where a fabricator tripped over a cord while a part was spinning on the press—a recipe for disaster.
Garage fabrication safety starts with the floor. Keep it clear of metal shavings, which can act like ball bearings under your boots. While we often think of welding gas flow rate or PPE Shade/Rating Recommendations for welding, drilling has its own rules. For example, never wear loose gloves while using a drill press. The rotating spindle can catch the fabric and pull your hand into the machine.
- Eye Protection: Use Z87+ rated safety glasses or a full face shield. Metal chips from drilling are hot and sharp.
- Workpiece Clearance: Ensure the part has room to spin without hitting you if a clamp fails.
- Emergency Stop: Know exactly where the power switch is. If the part starts to slip, do not try to grab it. Step back and kill the power.
Technical Terms and Material Science Foundations
To truly master metalwork, you need to understand the “why” behind the “how.” In my years of shop floor work, I’ve found that builders who understand metallurgy make fewer mistakes.
Tensile Strength is the maximum stress a material can withstand while being stretched or pulled before breaking. While we aren’t pulling the metal during drilling, the bit is trying to “tear” the metal apart. Yield Strength is the point where the metal permanently deforms. If your part slips and the bit gouges it, you have exceeded the yield strength of that specific spot.
Another concept is the Heat Affected Zone (HAZ). While usually discussed in welding, high-speed drilling without lubrication can create enough friction heat to change the grain structure of the metal around the hole. This can make the area brittle. Using cutting fluid is not just about keeping the bit sharp; it’s about maintaining the structural integrity of the metal by keeping temperatures low.
Comparative Analysis of Restraint Methods
Choosing the right way to hold your metal depends on the shape of the part and the size of the hole. A small hole in a large plate requires less restraint than a large hole in a small bracket.
| Method | Best For | Pros | Cons |
|---|---|---|---|
| Bench Vise | Small brackets, blocks | Very secure, easy to use | Limited by jaw width |
| C-Clamps | Flat plates, long bars | Portable, inexpensive | Can mar the surface |
| T-Slot Bolts | Production work, repeat holes | Maximum stability | Requires specific table slots |
| Fence/Stop Block | Long pieces of flat bar | Prevents rotation effectively | Doesn’t provide downward pressure |
Establishing a Structural Safety Margin
In engineering, we use safety factors to account for the unknown. If you are building something that people will stand on or that will travel at highway speeds, a 4:1 safety factor is common. This means the joint is four times stronger than the maximum expected load.
When you drill a hole, you are removing material and weakening the structure. If the part slips and you have to “over-drill” the hole to fix it, you are significantly eating into that safety margin. I always recommend a workshop safety checklist that includes a “measure twice, clamp once” rule. If a part moves during drilling, stop immediately. Do not try to “steer” the bit back to center. It won’t work, and you’ll likely break the bit or hurt yourself.
Common Rookie Mistakes to Avoid
- Holding the part by hand: This is the number one cause of injury. No matter how small the bit is, the metal can catch.
- Using dull bits: A dull bit requires more downward pressure, which increases the chance of the part sliding or the bit snapping.
- Ignoring cutting fluid: Heat causes metal to expand and grip the bit, which leads to the part spinning.
- Improper RPM: Drilling too fast in hard metals like stainless creates a “glaze” that makes the bit slide across the surface rather than cutting in.
Actionable Framework for Secure Drilling
To ensure your projects are structurally sound and your shop remains a safe place to work, follow this verification checklist before every major cut.
- Check Table Lock: Ensure the drill press table is tightened and cannot tilt or slide down the column.
- Verify Clamp Tightness: Give the workpiece a firm tug by hand (while the machine is off) to see if it moves.
- Align the Center: Lower the bit (off) to the center punch mark to ensure it seats perfectly.
- Set the Speed: Consult a speed chart for your specific material and bit diameter.
- Clear the Area: Ensure no tools or rags are near the rotating spindle.
By treating every hole as a critical structural element, you elevate your work from “hobbyist” to “fabricator.” The discipline of properly securing your material pays off in the form of parts that fit together perfectly the first time. It saves you money on wasted steel and, most importantly, it keeps you safe to build another day.
Frequently Asked Questions
Why does my metal part always spin right when the drill bit is about to finish the hole? This happens because of a change in resistance. As the bit reaches the bottom of the material, the thin “web” of metal left can no longer support the cutting action. Instead of the teeth shaving off chips, the flutes snag the metal. This creates a massive spike in torque. Since the downward pressure is also decreasing as you finish the hole, the friction holding the part to the table drops, allowing the torque to spin the part.
Can I use magnets to hold metal parts in place while drilling? Magnets are generally not recommended as a primary restraint for drilling. While they can help with positioning, they do not provide the mechanical “lock” needed to resist the rotational torque of a drill motor. Furthermore, metal shavings will be attracted to the magnet, clogging the drill flutes and potentially causing the bit to overheat or seize.
What is the safest way to drill a hole in a very small metal piece? For small parts, never use your fingers. Use a pair of locking pliers (like Vise-Grips) to hold the part, and then brace the handle of the pliers against the left side of the drill press column. This way, if the bit snags, the pliers hit the column and stop the rotation instantly, keeping your hands far away from the danger zone.
How do I prevent “walking” when drilling into a curved surface like a pipe? First, use a V-block to cradle the pipe so it cannot roll. Second, use a center punch to create a deep starting point. Third, start with a very small pilot bit (1/8″ or less). The smaller bit has a narrower “chisel edge” at the tip, which is much less likely to slide off the curve than a large bit.
Does the type of drill bit affect how much the part wants to slip? Yes. Split-point bits are designed to bite into the metal immediately and are less likely to walk than standard 118-degree bits. However, large bits with wide flutes have more “surface area” to snag the metal on exit. Using a step drill bit (unibit) for thin sheet metal is often safer because it cuts in small increments, reducing the chance of a sudden snag.
Is it safe to use a C-clamp on a round drill press column? No. C-clamps are designed for flat surfaces. Trying to clamp something to a round column is unstable and will likely slip under vibration. Always use the T-slots in the table or clamp to the flat edges of the table itself. If your table is round, consider upgrading to a square table with slots or using a dedicated drill press vise that can be bolted down.
What should I do if a part starts spinning while I am drilling? Immediately let go of the feed handle and step back. Do not attempt to grab the part or the vise. Most drill presses have a large “paddle” switch or a prominent stop button; hit it only if you can do so without putting your hand near the spinning workpiece. If you can’t reach the switch safely, just wait for the machine to finish its “event” or unplug it from the wall if the cord is accessible.
How does cutting fluid help keep the part from moving? Cutting fluid reduces the friction between the bit and the metal. While this sounds counterintuitive, it prevents the bit from “welding” itself to the workpiece due to heat. When a bit gets too hot, the metal expands and grabs the bit, which is the primary cause of the part spinning. By keeping things cool and lubricated, the bit continues to cut cleanly rather than grabbing.
(This article was written by one of our staff writers, James Harlan. Visit our Meet the Team page to learn more about the author and their expertise.)