How to Avoid Wasting Money on Duplicate Shop Tools (Tips)
When I first started my journey in metal fabrication twelve years ago, my shop looked like a graveyard of impulse buys. I had four different types of measuring tapes, three sets of cheap calipers, and a drawer full of specialized pliers I never touched. I thought that having more tools would make me a better fabricator. In reality, the clutter just masked my lack of skill. I was trying to buy my way out of the frustration of inconsistent cuts and shaky welds.
Over time, I realized that mastering metal fabrication is about physical consistency and understanding the mechanics of your equipment. When you understand what a tool actually does to the metal, you stop buying duplicates that perform the same function. This guide is designed to help you look at your shop through the lens of functional utility. We will focus on how to audit your current assets and build your skills so that your hands, not your credit card, do the heavy lifting.
Categorizing Shop Equipment by Functional Output
This method involves grouping every item in your shop by the specific action it performs on a workpiece. Instead of seeing a “drill” or a “mill,” you see a “hole-making tool.” By focusing on the mechanical output, you can identify where two tools serve the exact same purpose, allowing you to focus your resources on higher-quality consumables or better practice materials.
When you look at your workbench, you should be able to categorize everything into five main buckets: measuring/layout, cutting, shaping, joining, and finishing. If you have three tools that all fall under “linear measurement,” you have a redundancy. For a beginner, the goal is to have one reliable tool for each category. As you progress, you might add a second tool only if it offers a different level of precision or handles a different material thickness that your primary tool cannot.
I often tell my students to perform a “functional audit” once a month. Lay out every hand tool you own. If you have two tools that both create a 90-degree reference point, ask yourself if one is truly better than the other. If they are identical in function and accuracy, you are holding onto a duplicate that is taking up mental and physical space.
| Functional Category | Primary Tool | Common Redundant Duplicate | Functional Overlap |
|---|---|---|---|
| Linear Measurement | 12-inch Steel Ruler | Cheap Tape Measure | Both provide 1/16-inch accuracy |
| 90-Degree Layout | Combination Square | Fixed Speed Square | Both establish perpendicular lines |
| Material Removal | Angle Grinder | Hand Files (Coarse) | Both reshape metal edges |
| Hole Making | Drill Press | Handheld Power Drill | Both create cylindrical voids |
| Work Holding | C-Clamps | F-Style Clamps | Both provide localized pressure |
Assessing Layout Tool Redundancy through Precision Standards
Precision layout is the foundation of every successful project. This section focuses on selecting a single, high-quality reference tool that can handle multiple measurement tasks. By mastering the use of a versatile tool like a combination square, you eliminate the need for specialized gauges that often provide the same data points but with less reliability.
In my early days, I struggled with “stacking errors.” I would use one ruler for the first cut and a different tape measure for the second. Because no two cheap measuring tools are exactly the same, my parts never lined up. I learned that the secret to consistent fabrication isn’t having more rulers; it’s having one “master” reference that you use for everything.
A high-quality combination square is the ultimate anti-redundancy tool. It acts as a ruler, a 90-degree square, a 45-degree miter, a depth gauge, and a marking scriber. When you learn to use all its functions, you can get rid of three or four single-purpose tools. This not only saves money but also builds your muscle memory. You become faster because your hand always reaches for the same familiar tool.
- Standardize your units: Stick to one measurement system (metric or imperial) to avoid buying duplicate sets of wrenches or gauges.
- Invest in “Class 1” accuracy: One high-end ruler is worth more than five “bargain” versions because it provides a reliable baseline for every other tool in the shop.
- Maintain a “Clean Zone” for layout: Keep your primary layout tools away from the heat and sparks of the welding table to prevent warping.
Streamlining Cutting and Material Removal Assets
Efficiency in cutting comes from understanding how different blades and abrasives interact with metal. This section explains how to identify functional overlaps between saws and grinders. By choosing versatile cutting platforms, you can avoid purchasing specialized machinery that only gets used once a year, keeping your shop lean and your skills sharp.
I spent years thinking I needed a dedicated chop saw, a band saw, and a plasma cutter. What I actually needed was to learn how to use an angle grinder with precision. For most home-based fabricators, a high-quality angle grinder can perform 80% of the tasks that “specialty” saws do. The key is in the technique—learning how to track a straight line and manage the heat of the cut.
When you look at cutting tools, evaluate them by their “kerf” (the width of the material removed) and their “heat-affected zone.” A thin-kerf cutoff wheel on a grinder can be just as accurate as a saw if your hand is steady. If you already own a tool that can cut 1/4-inch plate, you don’t need another tool that does the same thing just because it looks different. Focus on mastering your travel speed and pressure to get the most out of your current inventory.
- Evaluate the Cut Capacity: If your current saw can handle 2-inch tubing, don’t buy another saw for 1-inch tubing.
- Consolidate Abrasives: Use a single-sized arbor for all your grinders so you can share discs between them.
- Practice Straight-Line Tracking: Spend 20 minutes a day practicing freehand cuts on scrap metal. This skill makes expensive guides and jigs redundant.
Optimizing Work-Holding and Fixturing for Versatility
Work-holding is where many fabricators waste the most money on “niche” clamps and magnets. This section covers how to use modular fixturing techniques to replace single-purpose jigs. By learning to build simple, reusable fixtures from scrap metal, you can achieve professional-grade alignment without buying every new clamping gadget on the market.
Early in my career, I bought every “locking” magnet and “corner” clamp I saw. I quickly found that magnets often pull the weld puddle out of alignment due to arc blow, and corner clamps are often not perfectly square. I realized that a flat table and a few standard C-clamps were more versatile than all those gadgets combined.
The “T-joint” is a perfect example. You can buy a specialized 90-degree clamp, or you can use two pieces of scrap angle iron and a standard clamp to create a perfect fixture. The latter costs nothing and teaches you more about metal behavior and heat distortion. When you build your own fixtures, you learn how to anticipate how the metal will “pull” during the welding process.
- The “Rule of Three”: Before buying a new clamp, try to find three ways to hold the part using the tools you already own.
- Modular Thinking: Use a perforated table surface or a heavy steel plate as your primary fixture base.
- Scrap as Tooling: Never throw away straight off-cuts of heavy angle or channel; these are your future “free” jigs.
Developing a Systematic Tool Acquisition and Tracking Log
A data-driven approach to shop management prevents impulse purchases and highlights where your skills might be lacking. This section details how to keep a log of tool usage and project bottlenecks. By tracking what you actually use, you can make informed decisions about when a new tool is a genuine necessity versus a distraction from your practice.
I keep a simple notebook in my shop. Every time I find myself wishing I had a specific tool, I make a mark. I don’t buy that tool until I have at least ten marks next to it. Most of the time, I realize that I only wanted the tool because I was struggling with a technique. Once I practiced the technique and got better, the “need” for the tool disappeared.
This log also helps you track your “consumable” spending. If you are burning through grinding discs at an alarming rate, it might be a sign that your welding technique needs work—perhaps you are leaving too much reinforcement on the bead. By tracking these metrics, you identify the root cause of the expense. Is it a lack of tools, or a lack of consistency?
Tool Usage Tracking Template
| Date | Task Attempted | Tool Used | Frustration Level (1-10) | Potential Tool Solution | Could Skill Replace Tool? |
|---|---|---|---|---|---|
| 10/12 | Cutting 45-degree miter | Angle Grinder | 7 | Miter Saw | Yes, with better layout lines |
| 10/15 | Deburring inside tube | Round File | 3 | Rotary Tool | No, file is faster and cheaper |
| 10/18 | Holding T-joint square | Magnets | 8 | Corner Clamp | Yes, use a scrap-metal jig |
Mastering Torch Control to Reduce Equipment Reliance
High-level physical skill is the ultimate way to avoid buying redundant equipment. This section explains how developing a steady hand and consistent travel speed can replace the need for expensive automated or semi-automated aids. We will look at the mechanics of the “steady-rest” and how body positioning can stabilize your work better than any store-bought accessory.
In welding, many people buy “positioners” or expensive “cheater lenses” before they have mastered the basics of body mechanics. If you can’t hold a steady arc gap of 1/8-inch manually, a fancy new torch won’t help you. I spent months practicing my “dry runs”—moving the torch along a joint without the arc on—just to build the muscle memory for a consistent travel speed of 8 to 12 inches per minute.
When you can control the puddle through subtle changes in your torch angle (usually 10 to 15 degrees) and travel speed, you don’t need specialized pulse settings or expensive power sources to get a clean bead. The tool becomes an extension of your arm. This level of control allows you to use a basic, reliable machine to do the work that others think requires a five-thousand-dollar setup.
- The Three-Point Contact Rule: Always support your torch hand with your other hand or a steady rest to minimize tremors.
- Dry Run Practice: Before every weld, perform a full-motion pass to ensure your clothing or cables won’t snag.
- Visual Cues: Watch the “trailing edge” of the puddle to judge your speed, rather than looking at the arc itself.
Implementing the “One-In, One-Out” Philosophy
This strategy ensures that your shop remains efficient and free of redundant clutter. By requiring yourself to remove a tool of similar function before adding a new one, you force a critical evaluation of your current inventory. This practice encourages you to invest in higher-quality, multi-purpose tools rather than accumulating a mountain of mediocre duplicates.
When I decided to upgrade my shop, I realized I had three different sets of “home center” grade wrenches. I sold all of them and bought one high-quality, professional set. That single set took up less space, felt better in my hand, and was more accurate. By forcing myself to get rid of the duplicates, I freed up space for a dedicated practice area where I could focus on my bead consistency.
This philosophy also applies to power tools. If you want a new, more powerful grinder, you must find a way to make your old one redundant or pass it on. This prevents the “just in case” hoarding mentality that leads to a cluttered, inefficient workspace. A clean shop leads to a clear mind, which is essential for the high-concentration work of metal fabrication.
- Quality over Quantity: One tool that does three things well is better than three tools that do one thing poorly.
- Resale Value: High-quality tools hold their value, making it easier to “trade up” without losing money.
- Space is a Tool: Treat your floor and bench space as a valuable resource that shouldn’t be wasted on duplicates.
Frequently Asked Questions
How can I tell if a tool is a redundant duplicate or a necessary backup?
A tool is redundant if it performs the same function, to the same level of precision, on the same material thickness as something you already own. A backup is only necessary if you are running a high-volume production shop where “down-time” costs money. For a skill-focused learner, a duplicate is usually just a distraction that prevents you from mastering your primary tool.
Should I buy a specialized tool to fix a mistake I keep making?
Usually, no. If you are consistently making the same mistake, such as an uneven cut or a cold weld, it is a sign of a technique plateau. Buying a “fix-it” tool often masks the symptoms without curing the cause. Instead, use that money to buy more scrap metal and spend five hours practicing the specific motion that is causing the error.
Is it better to have multiple cheap grinders or one expensive one?
One high-quality, variable-speed grinder is far superior to three cheap ones. A quality tool has less vibration, which reduces hand fatigue and allows for more precise control. Variable speed also allows you to use the tool for a wider range of tasks, such as polishing or stainless steel work, effectively replacing several single-speed tools.
How do I know when my skill has “outgrown” my current tools?
You have outgrown a tool when your physical technique is perfect, but the tool’s mechanical limitations are preventing a successful result. For example, if you can maintain a perfectly steady hand but your drill press has too much “run-out” (wobble) to hit a precise mark, it is time to upgrade. If the error is inconsistent, the problem is likely your technique, not the tool.
Can I use a digital angle finder to replace my manual squares?
Digital tools are convenient, but they require batteries and can lose calibration. A high-quality manual square is a “forever tool” that never lies. I recommend mastering manual layout tools first. Once you have the “feel” for squareness and angles, a digital tool can be a nice addition for speed, but it shouldn’t replace your physical understanding of geometry.
How does shop organization prevent me from buying duplicates?
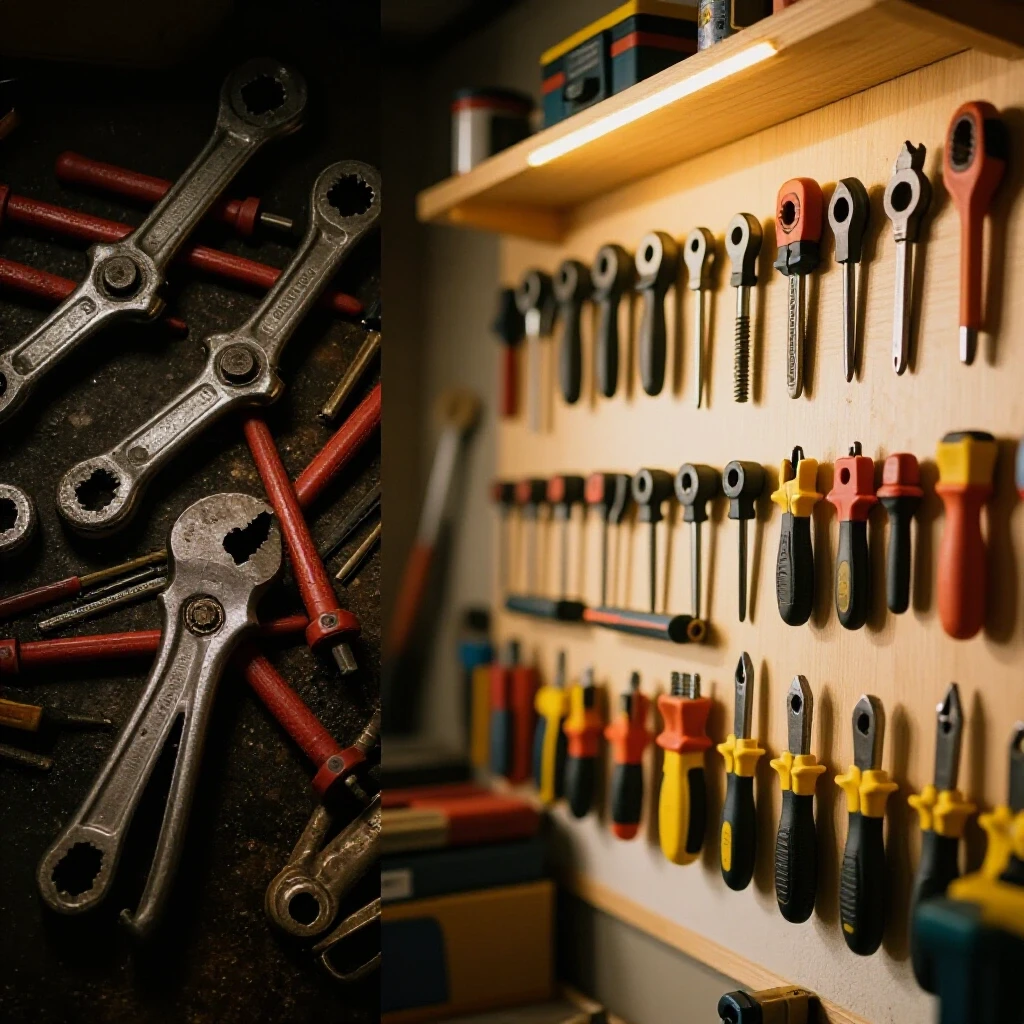
If you can’t find a tool within thirty seconds, you are likely to buy a replacement. A “shadow board” or a strictly organized drawer system ensures you know exactly what you have. When everything has a dedicated place, you immediately notice if you are trying to add a tool that you already own.
What is the most common redundant purchase for beginners?
Measuring tools and clamps are the most common. Beginners often buy multiple sets of “cheap” versions of these, thinking they need a lot of them. In reality, two high-quality clamps and one professional-grade square will serve you better than a bucket full of low-grade alternatives.
How can I practice my “travel speed” without wasting expensive gas and wire?
You can practice by “drawing” your welds. Tape a marker to your torch and practice moving along a joint on a piece of paper. Use a stopwatch to ensure you are moving at the correct speed (e.g., 1 inch every 5 to 7 seconds). This builds the muscle memory of the motion without any cost, making expensive “learning aids” unnecessary.
(This article was written by one of our staff writers, Thomas Langley. Visit our Meet the Team page to learn more about the author and their expertise.)