Step-by-Step Setup Guides for Beginner CNC Routing (Review)
After twenty years of running a fabrication shop, I have learned that scaling up is rarely about buying a bigger hammer. It is about rethinking how every square inch of your floor works for you. I started in a cramped garage with a manual mill and a welder, where I spent half my day moving material just to reach my workbench. As I transitioned into more professional operations, the stress of bottlenecks and electrical limits became real. Integrating your first automated system is a major milestone, but it requires a shift from a “maker” mindset to a “manufacturer” mindset.
The jump to automated cutting tools often feels like a steep mountain. You face space constraints, power issues, and the technical hurdle of new software. I remember the frustration of my first CNC gantry setup. I had the machine, but I didn’t have the power to run it or the air systems to keep the shop clean. This guide is built from those lessons. We will look at how to organize your space, manage your power, and set up your first routing or cutting system for long-term success.
Mapping the Material Flow and Layout Foundations
An advanced workshop layout is the physical map of how raw materials become finished products. It involves analyzing the path of a workpiece from the delivery truck to the shipping crate to minimize wasted movement. Proper planning ensures that your new automated machinery does not become a physical obstacle that slows down your existing manual workflows.
When I first brought in a CNC system, I made the mistake of tucking it into a corner. I soon realized that I couldn’t get a full 4×8 sheet of material to the bed without moving three other machines. Now, I use a “linear flow” model. Material comes in one door, moves through the processing zone, and exits through assembly.
To visualize this, you can use a “Spaghetti Diagram.” Draw your shop floor and trace your steps for a single project. If the lines cross or loop back frequently, your layout is costing you money. For a micro-manufacturer, every foot of travel is a “tax” on your productivity.
Workshop Layout Flow Comparison
| Layout Type | Material Travel | Bottleneck Risk | Best For |
|---|---|---|---|
| Perimeter (Walls) | High | High | Hobbyist/Storage |
| Process Cells | Medium | Low | Specialized Parts |
| Linear Flow | Low | Minimal | High-Output Production |
| U-Shaped Flow | Medium | Medium | Single-Operator Shops |
- Machine Spacing: Maintain a 3-foot minimum access zone around all sides of your CNC table for maintenance.
- Floor Load Ratings: Ensure your concrete slab is at least 4 inches thick to handle the vibration and weight of steel-frame machinery.
- Zoning: Keep “dirty” zones (grinding, plasma cutting) separate from “clean” zones (assembly, electronics, computer stations).
Navigating Electrical Limits and 3-Phase Integration
A 3-phase power converter is often necessary when a shop scales beyond basic residential or light commercial limits. Most professional-grade spindles and motors require three-phase electricity to operate efficiently and provide the necessary torque. Understanding how to bridge the gap between your single-phase utility service and your machinery’s needs is a critical step in shop evolution.
Many fabricators fear the electrical upgrade. In my shop, I had to choose between a rotary phase converter and a Variable Frequency Drive (VFD). A rotary converter uses a physical motor to create the third leg of power. It is robust and can power multiple machines at once. A VFD is better for controlling the speed of a single motor but can be sensitive to electrical noise.
According to the National Electrical Code (NEC), any permanent installation of a phase converter must be properly fused and disconnected. I learned the hard way that “unbalanced” legs—where the voltage on one line is significantly higher than the others—can burn out expensive CNC controllers. Always use a digital multimeter to check your phase balance under load.
3-Phase Power Options
- Static Converters: These are the cheapest but only provide about 2/3 of the motor’s rated horsepower. I generally advise against these for CNC use.
- Rotary Phase Converters: These are the gold standard for home-based shops. They provide clean, balanced power for multiple machines.
- Digital Phase Converters: These use solid-state electronics to create perfect 3-phase power. They are highly efficient but carry a high capital cost.
- VFDs: Excellent for single-spindle control. They allow for soft starts and speed adjustments but require dedicated wiring for each tool.
Designing High-Volume Dust and Fume Management
Effective dust collection duct design is essential for maintaining air quality and protecting the sensitive electronics of your automated tools. It involves calculating the volume of air moved (CFM) and the resistance caused by pipes and bends, known as static pressure loss. A well-designed system prevents fine particles from settling on your linear rails and in your lungs.
I once thought a shop vac was enough for a small router. After a week, the fine dust had coated every surface in my shop, including the inside of my computer. Now, I follow OSHA-style guidelines for air quality. For a standard CNC router, you need at least 1,000 CFM at the tool head to capture fine particulates.
When designing your ductwork, avoid 90-degree elbows. Two 45-degree bends create much less “static pressure loss.” Static pressure is the resistance your blower must overcome. If your ducts are too small or have too many turns, your 2HP collector will perform like a 0.5HP unit.
Air Filtration CFM Requirements by Tool
- CNC Router (Small): 350–500 CFM
- CNC Router (Full Sheet): 900–1,200 CFM
- CNC Plasma Table: 1,500–2,000 CFM (Ducting to exterior)
- Sand Blasting Cabinet: 400 CFM
- General Shop Air Scrubber: 1,000 CFM (Ambient)
Mechanical Assembly and Precision Calibration
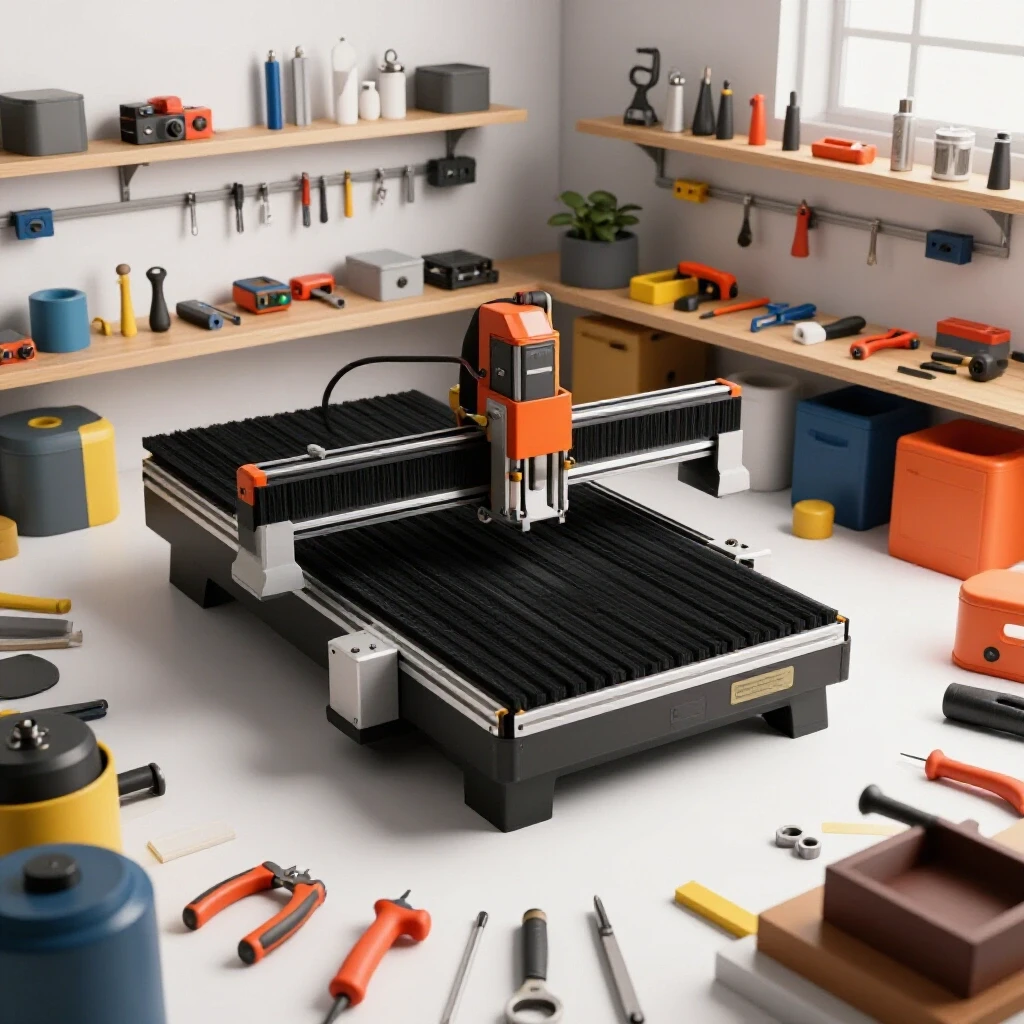
Setting up a CNC plasma table setup or a routing gantry requires a focus on “squareness” and rigidity. Calibration is the process of ensuring that the machine’s physical movements perfectly match the digital commands sent by the software. Without proper leveling and squaring, your parts will never fit together correctly, leading to wasted material and frustration.
When my first gantry arrived, I spent three days just leveling the frame. If the frame is twisted, even by a fraction of an inch, the gantry will bind as it moves. Use a precision machinist’s level, not a standard bubble level from the hardware store.
You also need to understand the difference between stepper motors and servo motors. Steppers are common in entry-level automation. They move in “steps” and are very reliable until they hit an obstacle. If they miss a step, the machine doesn’t know it, and your part is ruined. Servos use “closed-loop” feedback. They have encoders that tell the controller exactly where the motor is. If a servo misses a spot, it corrects itself or shuts down the machine to prevent damage.
Commissioning Checklist for New Machinery
- Frame Leveling: Check all four corners and the center of the bed using a precision level.
- Squaring the Gantry: Use the “3-4-5 triangle” method or a large precision square to ensure the X and Y axes are perfectly perpendicular.
- Belt and Lead Screw Tension: Ensure there is no “backlash” or play in the mechanical drive systems.
- Lubrication: Apply high-quality lithium grease or dry PTFE spray to all linear rails and bearings.
- Limit Switch Testing: Manually trigger all emergency stops and limit switches to ensure the machine halts correctly.
Bridging the Gap with Software and Tooling Files
Workflow optimization tips often center on the transition from a drawing to a physical part. This involves CAD (Computer-Aided Design) for drawing the part and CAM (Computer-Aided Manufacturing) for telling the machine how to cut it. Mastering this software bridge is often the hardest part of scaling a fabrication shop and moving into automation.
In the beginning, I struggled with “feeds and speeds.” This refers to how fast the tool rotates and how fast it moves through the material. If you go too slow, you burn the material. If you go too fast, you break the tool. I recommend keeping a physical logbook of every cut. Note the material type, the bit used, and the settings that worked.
Modern cloud-based systems allow you to design in the office and send the “G-code” (the machine’s language) directly to the shop floor. This reduces the time spent standing at the machine computer. However, always run a “dry run” or a “ghost cut” first. This is where the machine moves through the motions without the tool actually touching the material. It helps you catch errors before they become expensive mistakes.
Software Integration Steps
- Vector Creation: Use software to create clean, closed loops. Open lines will cause the machine to stop or error out.
- Toolpath Generation: Assign specific tools to specific lines. Tell the software if you are cutting “inside” or “outside” the line.
- Post-Processing: This converts your design into the specific dialect of G-code your machine understands.
- Simulation: Use the software’s built-in simulator to watch for potential crashes or “tip-ups” where a cut part might interfere with the gantry.
Executing the First Cut and System Commissioning
The final phase of integrating automated tools is the commissioning run. This is a systematic series of tests designed to verify that the electrical, mechanical, and software systems are working in harmony. It is a slow, methodical process that prioritizes safety and accuracy over production speed during the initial startup phase.
My first real cut was nerve-wracking. I had my hand on the E-stop the entire time. I started with a simple square to test the dimensional accuracy. If you tell the machine to cut a 10-inch square and it gives you a 9.9-inch square, you need to adjust your “steps per inch” in the controller software. This is a common calibration step for all new systems.
Once the dimensions are correct, move on to “nesting.” This is the practice of fitting as many parts as possible onto a single sheet of material. Effective nesting reduces waste and increases your profit margins. As you become more comfortable, you can start exploring advanced fixturing, like vacuum tables or specialized clamps, to hold your workpieces securely.
Actionable Benchmarks for Shop Success
- Scrap Rate: Aim for less than 5% material waste through better nesting.
- Setup Time: Track how long it takes to go from a raw sheet to a running program. Goal: Under 15 minutes.
- Maintenance Interval: Clean and lubricate rails every 20 hours of machine run-time.
- Air Quality: Monitor for dust buildup on high shelves; if it accumulates, your CFM is too low.
Conclusion
Transitioning your workshop into a semi-professional fabrication space is a journey of constant refinement. By focusing on a logical layout, robust electrical systems, and precise mechanical setup, you remove the friction that kills productivity. It is not just about the new machine; it is about the system you build around it.
Start by mapping your current floor plan. Identify one bottleneck and move a machine to fix it. Check your electrical panel and see if you have the overhead for an upgrade. Small, data-driven changes lead to a shop that is not only more productive but also a more enjoyable place to work. Automation is a tool, but your engineering mindset is what makes it successful.
FAQ
What is the difference between a stepper motor and a servo motor for a new CNC? Stepper motors move in fixed increments and are generally more affordable for entry-level setups. However, they lack a feedback loop, meaning if the machine hits an obstacle and misses a step, it will continue the program out of alignment. Servo motors use encoders to provide constant feedback to the controller. If a servo is pushed off course, it knows its exact position and can correct itself or stop the machine to prevent damage.
How do I calculate the CFM needed for my shop’s dust collection? You start by identifying the tool that requires the most airflow, typically a large CNC router or a planer. For a standard 4×8 router table, you generally need between 900 and 1,200 CFM at the machine. You must also account for “static pressure loss,” which is the resistance caused by the length of your ducts and the number of bends. Use a duct loss calculator to ensure your blower is powerful enough to maintain that CFM at the end of the line.
Do I really need 3-phase power for a home-based fabrication shop? Not necessarily, but it becomes essential as you scale. Most high-performance spindles (over 3HP) and industrial-grade motors run on 3-phase power because it is more efficient and provides smoother torque. If you only have single-phase residential power, you can use a rotary phase converter or a Variable Frequency Drive (VFD) to run 3-phase equipment.
What is a “Spaghetti Diagram” in workshop layout planning? A Spaghetti Diagram is a visual tool used to track the movement of a person or a piece of material through a workspace. You draw a map of your shop and use a pen to trace every step taken to complete a specific task. If the resulting drawing looks like a plate of tangled spaghetti, your layout is inefficient. The goal is to reorganize the shop so the lines are as straight and short as possible.
How thick does my shop floor need to be for a CNC plasma or router table? For most light-to-medium fabrication equipment, a standard 4-inch reinforced concrete slab is sufficient. However, if you are installing heavy industrial machinery or high-vibration equipment, a 6-inch slab may be required. Always check the machine manufacturer’s “floor load” specifications before installation to prevent the concrete from cracking or settling over time.
What is “nesting” in CNC fabrication? Nesting is the process of arranging parts on a raw sheet of material to minimize waste. Advanced CAM software can automatically rotate and fit parts together like a puzzle. Efficient nesting can significantly reduce your material costs, which is vital for scaling a micro-manufacturing business.
Why is “backlash” a problem in automated cutting tools? Backlash occurs when there is a tiny amount of play or “slop” in the gears, belts, or lead screws of a machine. When the motor reverses direction, this play causes a delay before the machine actually moves. This leads to inaccurate cuts and poor surface finishes. High-quality machines use ball screws or tensioned belts to minimize backlash.
How often should I calibrate my CNC machine? You should perform a basic calibration check every time you start a new, high-precision project. A full calibration—checking for squareness, leveling the bed, and verifying “steps per inch”—should be done at least once a month or after any major move or mechanical adjustment. Regular maintenance prevents small errors from compounding into major part failures.
(This article was written by one of our staff writers, Edward Sinclair. Visit our Meet the Team page to learn more about the author and their expertise.)