When Should You Upgrade Your Metal Workshop Tools? (Guide)
Transitioning from a hobbyist with a few hand tools to a serious fabricator requires more than just a larger budget. It requires a systematic approach to identifying when your current equipment is no longer capable of meeting the demands of your projects. In 2013, I built my first shop for under $2,000, and the most difficult lesson I learned wasn’t how to weld; it was knowing when to stop struggling with a tool that had reached its mechanical limit.
When you are working within a strict budget, every dollar spent on a replacement machine is a dollar not spent on materials or safety gear. My background in industrial maintenance taught me that tools have a measurable lifespan and a performance floor. If you find yourself spending more time calibrating a machine than using it, you have hit a critical decision point. This guide focuses on the data-backed indicators that suggest it is time to move beyond your starter equipment.
Identifying Mechanical Wear and Tolerance Declines
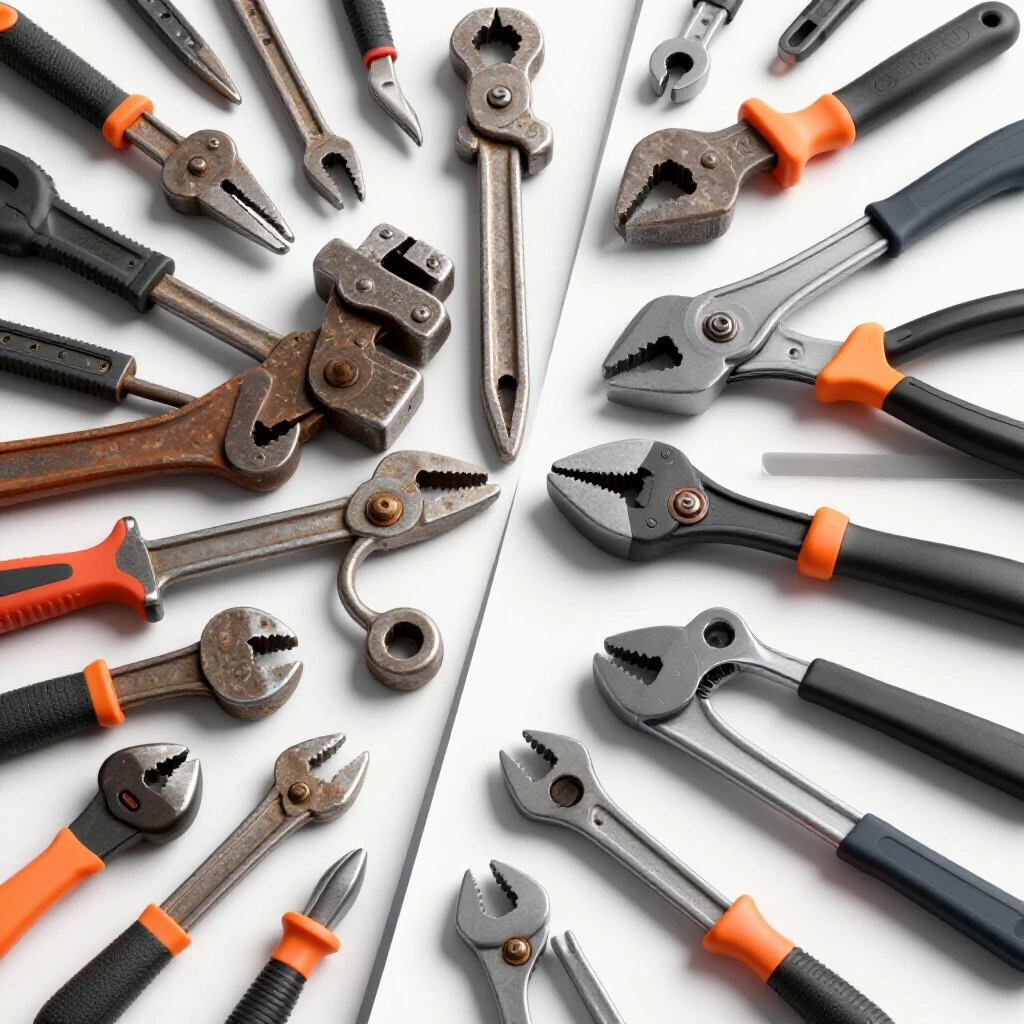
Determining when a machine no longer holds the necessary precision for metal fabrication involves measuring the gap between the intended design and the finished part. Mechanical wear often manifests as “slop” or “backlash” in moving parts, which can lead to scrapped material and wasted time.
In my early garage setup, I used a budget-grade drill press that eventually developed significant “quill runout.” This means the drill bit wobbled slightly as it spun. For basic brackets, it was fine. However, when I began working on projects requiring press-fit bearings, that wobble made the tool useless. If your equipment can no longer repeat a measurement within 0.005 to 0.010 inches, and your projects require that level of accuracy, the machine has reached its functional end for your needs.
Common Indicators of Tool Fatigue
- Increased Vibration: Excessive shaking during operation often points to worn bearings or unbalanced rotating assemblies.
- Heat Buildup: If a motor runs significantly hotter than it did when new while performing the same task, the internal insulation or bearings are likely failing.
- Repeatability Issues: When you set a fence or a stop and the resulting cuts vary by more than a fraction of a millimeter, the locking mechanisms are worn.
- Surface Finish Degradation: A sudden change in the quality of a cut or grind, assuming the abrasive is new, usually indicates a loss of rigidity in the tool’s frame.
Evaluating Electrical Limits and Duty Cycles
Every piece of electrical equipment in a metal shop has a duty cycle, which is the amount of time a tool can operate within a ten-minute period without overheating. Understanding these limits is vital when deciding if your current power setup or machinery needs an upgrade to handle thicker materials.
Many affordable fabrication tools are designed for light-duty use, often featuring a 20% duty cycle. This means for every two minutes of welding or heavy grinding, the tool needs eight minutes to cool down. As your projects grow in complexity and material thickness, these pauses become significant bottlenecks. Upgrading to a machine with a 40% or 60% duty cycle often requires moving from a standard 15A household circuit to a dedicated 20A or even a 230V line.
Power Consumption by Tool Class
| Tool Category | Typical Voltage | Amperage Draw | Recommended Circuit |
|---|---|---|---|
| Entry-Level MIG Welder | 115V | 15A – 20A | Dedicated 20A |
| Small Angle Grinder | 115V | 5A – 10A | Standard 15A |
| Benchtop Drill Press | 115V | 3A – 8A | Standard 15A |
| Mid-Range TIG/Stick | 230V | 30A – 50A | Dedicated 50A |
| Stationary Air Compressor | 230V | 15A – 30A | Dedicated 30A |
If you are frequently tripping breakers or waiting for a welder to cool down, your workshop electrical setup checklists should be the first thing you review. It is often more cost-effective to install a sub-panel and 230V outlets than to keep buying underpowered 115V tools that you will eventually overwork and burn out.
The Maintenance Cost Crossover Point
There is a specific financial threshold where repairing an old tool becomes more expensive than purchasing a newer, more capable model. In the maintenance world, we often use the “50% Rule” to determine if a piece of equipment should be replaced or refurbished.
If a repair estimate—including parts and your own labor time—exceeds 50% of the cost of a new tool with similar or better specifications, replacement is the logical choice. For example, if your starter bandsaw needs a new motor and a set of replacement drive wheels that cost $150, but a more rigid, modern version is $300, the upgrade provides a fresh warranty and better performance for a marginal increase in cost.
Tracking Tooling-to-Machine Cost Ratios
- Consumables (30%): Abrasives, drill bits, and welding wire should be tracked separately from the tool cost.
- Maintenance (10-15%): Annual costs for lubrication, belt replacements, and minor adjustments.
- Replacement Fund: I recommend setting aside 5% of the tool’s original value every month to prepare for the eventual crossover point.
Precision and Repeatability Thresholds in Fabrication
As you move from basic repairs to building functional machinery or structural frames, the need for repeatable accuracy becomes the primary driver for equipment changes. Affordable fabrication tools often rely on stamped steel parts and plastic knobs that flex under pressure, leading to inconsistent results.
When I was refining my starter metal workshop layout, I realized that my hand-held portaband saw was great for rough cuts, but it couldn’t produce the perfectly square ends needed for TIG welding thin-wall tubing. Upgrading to a stationary cold saw or a high-quality abrasive chop saw wasn’t just about speed; it was about reducing the “prep time” spent grinding parts to fit. If you are spending more than 20% of your project time fixing errors made by your tools, your equipment is no longer affordable—it is a drain on your productivity.
When to Move to Stationary Machinery
- Hole Alignment: If you cannot get two holes to line up across a three-foot span using a hand drill, it is time for a stationary drill press with a machined table.
- Angular Accuracy: If your 90-degree welds are consistently off by a degree or two due to poor saw cuts, a precision miter saw is necessary.
- Material Thickness: When you consistently work with steel thicker than 1/4 inch, hand tools struggle to dissipate heat, leading to faster tool failure.
Safety Standards and Modern Equipment Upgrades
Safety is a non-negotiable aspect of metalworking, and older or lower-end tools often lack the safety features found on modern equipment. Adhering to OSHA-adjacent guidelines in a home shop means ensuring your tools have proper guarding, emergency stops, and stable mounting points.
Upgrading your safety gear is just as important as upgrading your welder. For instance, moving from a fixed-shade welding helmet to an ANSI Z87.1+ rated auto-darkening hood can significantly reduce eye strain and improve weld quality. Similarly, if your bench grinder lacks adjustable spark guards or a stable tool rest, it poses a physical hazard that justifies an immediate replacement or upgrade.
Workshop Ventilation and Air Quality
Garage workshop ventilation is often overlooked until the air is thick with grinding dust and welding fumes. A standard box fan in a window is rarely sufficient for a functional fabrication space. * Minimum Target: You should aim for at least 10 to 15 air exchanges per hour in your work zone. * CFM Calculation: For a standard two-car garage (approx. 400 sq. ft. with 8 ft. ceilings), you need an exhaust system capable of moving at least 500 to 800 Cubic Feet per Minute (CFM) to effectively clear fumes. * Filter Ratings: When using air cleaners, look for HEPA or MERV 13+ ratings to capture the fine metallic dust that can damage your lungs over time.
Strategic Sequencing for Equipment Replacement
One of the biggest mistakes beginners make is trying to upgrade everything at once. This leads to “analysis paralysis” and a depleted budget. Instead, I recommend a sequenced approach based on the “foundation first” principle.
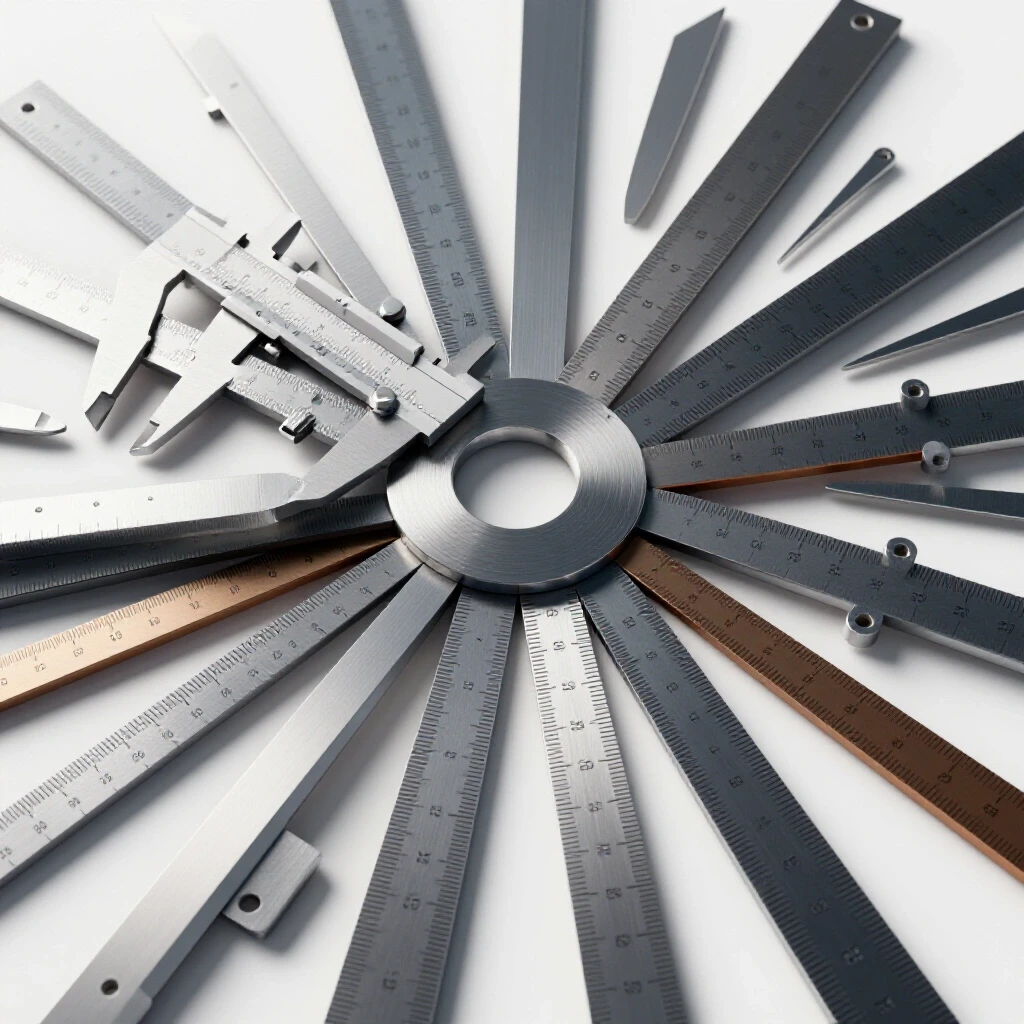
Start by upgrading your measuring and layout tools. A high-quality set of calipers, a precision square, and a reliable scribe will improve the work you do with your existing tools. Once your layout is perfect, you will quickly see exactly which machine is causing your errors. This data-driven approach prevents you from buying a new welder when the real problem was a poorly cut joint from a cheap saw.
Recommended Upgrade Sequence
- Measurement and Layout: Calipers, squares, and height gauges (allocate 30% of your initial upgrade budget here).
- Work Holding: Heavy-duty vises and welding tables with reliable clamping systems.
- Material Prep: Saws and grinders that produce clean, square edges.
- Joining: Moving from a basic flux-core welder to a multi-process machine with gas shielding.
- Finishing: Stationary sanders or blasters for professional-grade surfaces.
Building a Functional and Safe Starter Layout
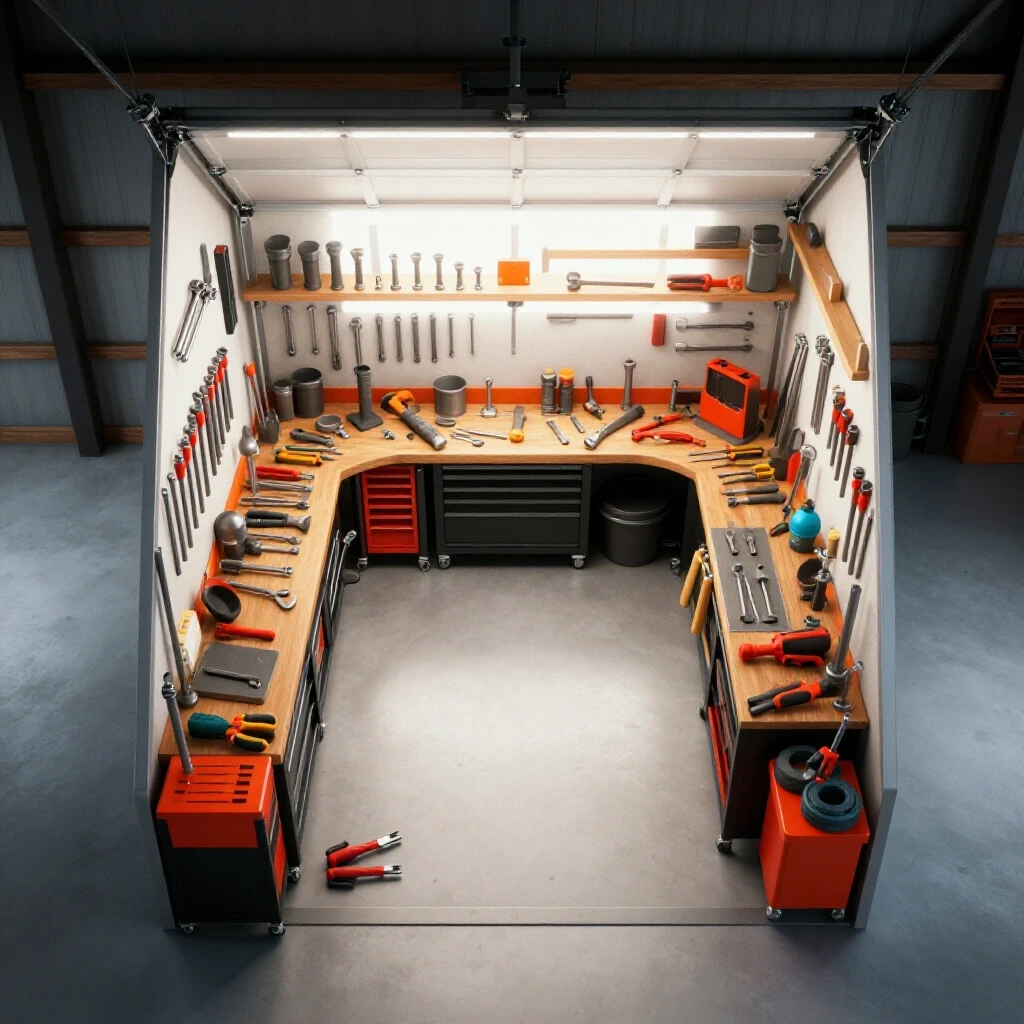
The physical arrangement of your shop impacts how often you will need to upgrade. A cramped, disorganized space leads to tool damage and accidents. When planning your starter metal workshop layout, ensure you have clear boundaries between “hot zones” (welding and grinding) and “clean zones” (layout and assembly).
A common rookie mistake is placing a precision lathe next to a bench grinder. The abrasive dust from the grinder will act like sandpaper on the precision ways of the lathe, destroying its accuracy in months. By creating a layout that protects your high-value tools, you extend their lifespan and delay the need for costly replacements.
Physical Clearance and Footprint Benchmarks
- Welding Zone: Minimum 5-foot clearance from flammable materials.
- Workbench Height: Typically 34 to 36 inches, but adjust so your elbows are at a 90-degree angle when performing layout work.
- Machine Spacing: Allow at least 3 feet of “operator swing” around stationary tools like drill presses or band saws.
- Storage: Vertical storage for metal stock prevents floor clutter and reduces tripping hazards.
Actionable Tracking Framework for Shop Growth
To manage your budget effectively, you need to treat your home shop like a small business. Keep a log of every tool purchase, repair, and project failure. This record-keeping will reveal patterns that your memory might miss.
I use a simple spreadsheet to track my equipment. It includes the date of purchase, the total cost (including shipping and tax), and a “performance grade” that I update every six months. If a tool’s grade drops from an ‘A’ to a ‘C’, I know it’s time to start researching its replacement. This prevents emergency purchases that often lead to overspending on whatever happens to be in stock at the local big-box store.
Tool Vetting Checklist
- Does the tool meet the required tolerance for my next three projects?
- Is the electrical draw compatible with my current workshop circuits?
- Are replacement parts (brushes, belts, bearings) readily available from the manufacturer?
- Does the tool include modern safety features (e.g., electronic brakes, paddle switches)?
- Will this tool fit in my designated “clean” or “hot” zones without restructuring the entire shop?
Conclusion
Upgrading your fabrication space is a marathon, not a sprint. By focusing on measurable data—such as duty cycles, tolerances, and maintenance costs—you can make informed decisions that respect your budget. My transition from a $2,000 garage shop to a fully functional fabrication space was built on these small, calculated steps.
Avoid the temptation to buy the most expensive tool just because it has the best reviews. Instead, buy the tool that solves a specific, documented problem in your current workflow. When you prioritize safety, electrical capacity, and repeatability, you create a shop that grows with your skills rather than one that holds you back.
Frequently Asked Questions
How do I know if my welder is underpowered for my projects? If you are consistently struggling with “cold” welds (where the metal sits on top of the joint rather than penetrating) or if your machine shuts off frequently due to thermal overload, you have exceeded its capacity. Most entry-level 115V welders struggle with material thicker than 3/16 inch. If your work involves 1/4 inch or thicker steel, upgrading to a 230V machine is necessary for structural integrity.
When should I replace my hand grinder with a stationary version? If you find yourself spending more than 30 minutes grinding a single part to fit, or if you cannot achieve a flat surface across a large area, a stationary disc or belt sander is a better choice. Hand grinders are excellent for material removal but poor for precision surfacing.
What is the most important safety upgrade for a beginner shop? Proper ventilation and eye protection are paramount. Moving from basic safety glasses to a full-face shield when grinding, and installing a high-CFM exhaust fan, will protect your long-term health more than any high-end power tool.
Is it worth buying used industrial tools instead of new hobby-grade ones? Yes, but only if you can verify the mechanical condition. An older, American-made industrial drill press often has much lower runout than a brand-new hobby model. However, be prepared to replace bearings or update the wiring to meet modern safety standards.
How much of my budget should I spend on measuring tools? I recommend allocating 30% of your initial setup budget to high-quality measuring and layout tools. You cannot build what you cannot measure. A $500 welder is much more effective when the parts it is joining are cut and measured to within 0.010 inches.
What are the signs that my drill press is failing? The most common signs are “quill chatter” (the spindle shaking during a cut) and the motor stalling under light loads. If you see the drill bit “walking” across the metal even after using a center punch, the bearings in the spindle are likely worn out.
How do I calculate the air exchange rate for my garage? Multiply the length, width, and height of your shop to get the total cubic volume. To achieve 15 air exchanges per hour, multiply the total volume by 15 and divide by 60. This number is the minimum CFM rating your exhaust fan should have.
Should I upgrade my electrical panel before buying new tools? If your current panel is full or if you only have a single 15A circuit for the entire garage, yes. Most metalworking tools require significant “startup current.” Running a welder and a compressor on the same circuit will lead to frequent trips and potential damage to the tool’s electronics.
What is the “50% Rule” in tool maintenance? The 50% Rule states that if the cost of a repair exceeds 50% of the cost of a new, comparable machine, you should replace the tool rather than fix it. This accounts for the value of a new warranty and the reduced likelihood of future breakdowns.
When is a digital readout (DRO) worth the investment? A DRO is worth the cost when you are performing complex layouts on a mill or lathe that require multiple hole patterns or precise depths. It eliminates the “human error” of counting handwheel rotations and significantly speeds up production for repeatable parts.
(This article was written by one of our staff writers, Michael Thompson. Visit our Meet the Team page to learn more about the author and their expertise.)