Essential Underrated Tools for a Home Machine Shop (Guide)
Setting up a first shop is often a lesson in restraint. When I moved my first manual lathe into a cramped single-car garage in 2013, I had spent nearly my entire $2,000 budget on the machine itself. I quickly realized that a lathe without the right supporting equipment is just a very heavy, very expensive paperweight. Many beginners fall into this same trap, focusing on the “big iron” while neglecting the smaller, secondary items that actually make precision work possible.
In my years as an industrial maintenance technician, I learned that the difference between a frustrating afternoon and a successful project lies in the tools you didn’t realize you needed. You might have the power to spin metal, but do you have the means to measure it to within a thousandth of an inch? Can you hold a square block in a round chuck? These are the practical hurdles that cause most newcomers to stall. My goal is to help you navigate these choices by prioritizing the often-ignored essentials that offer the most utility for your dollar.
Measurement Instruments: The Backbone of Accuracy
Measurement instruments are the primary tools used to verify the accuracy of a workpiece against its design specifications. Without these devices, a machinist cannot determine if a part will fit its intended assembly. They provide the necessary feedback to adjust machine settings and ensure consistent, repeatable results in any project.
When you start researching affordable fabrication tools, it is easy to be swayed by cheap digital calipers. While a decent pair of 6-inch calipers is necessary for rough work, they are rarely enough for final fits. In a manual machine shop, you are often working with tolerances of 0.001 inches (one-thousandth of an inch). For this level of precision, a 0-1 inch outside micrometer is an absolute requirement.
I recommend starting with a mechanical “digit” micrometer or a standard vernier model. They do not require batteries and, if cared for, will remain accurate for decades. I still use the same micrometer I bought used for $40 back in my first year. It is a fundamental tool because most of the precision parts a hobbyist makes—bushings, pins, and shafts—fall under that one-inch threshold.
Another overlooked item is the dial test indicator. This is not the same as a standard “plunger” style indicator. A test indicator has a swiveling tip that allows you to “clock in” a part, ensuring it is perfectly centered in your chuck. If your part is wobbling even slightly, every cut you make will be off-center. Learning to use a test indicator is a rite of passage for any new machinist, and it is the only way to guarantee your machine is actually doing what you think it is.
Workholding Solutions for Complex Geometries
Workholding refers to any device used to secure a part firmly during the machining process. While a standard vise or 3-jaw chuck is common, more specialized tools are necessary to handle irregular shapes or ensure parts do not move under heavy cutting loads. Proper workholding prevents tool breakage and ensures operator safety.
Most entry-level lathes come with a 3-jaw self-centering chuck. These are convenient, but they have a major flaw: they are rarely perfectly concentric. If you take a part out and put it back in, it will likely run “out of true.” This is why a 4-jaw independent chuck is one of the most important additions to a starter metal workshop layout.
With a 4-jaw chuck, you can adjust each jaw individually. This allows you to get a part perfectly centered, or even intentionally off-center for specialized tasks. It also allows you to hold square or hexagonal stock that a 3-jaw chuck simply cannot grip safely. It takes longer to set up, but the precision it offers is worth the effort.
On the milling side, a set of machinist parallels is a tool you will use on every single project. These are precision-ground steel bars of various heights. You place them in your vise to support the workpiece, ensuring it sits level and at the correct height for the cutting tool. Without parallels, you are often left guessing if your part is square to the spindle, which leads to tapered cuts and ruined material.
Auxiliary Tooling for Manual Milling and Drilling
These are the secondary items that bridge the gap between a raw block of metal and a finished part. They include devices for finding edges, supporting workpieces at specific heights, and ensuring that holes are started in the exact center of a marked location. These tools prevent common errors like broken drill bits.
If you are using a drill press or a mill, you cannot simply eyeball where a hole should go. A center drill (often called a Slocombe drill) is a short, stiff bit designed to create a small pilot hole. Unlike standard twist drills, center drills do not “wander” or flex when they hit the metal. Starting every hole with a center drill is a habit that separates hobbyists from craftsmen.
Once you move to a mill, you will need an edge finder. This is a small, spring-loaded tool that “kicks out” to the side the moment it touches the edge of your workpiece. It allows you to find the exact zero-point of your part. For under $20, this tool eliminates the guesswork of trying to line up a spinning end mill by eye, which is a common cause of wasted material in new shops.
Maintenance and Lubrication for Machine Longevity
Regular upkeep prevents premature wear on precision surfaces known as “ways.” Using the correct oils and cleaning tools ensures that your equipment remains accurate for decades rather than months, protecting your initial financial investment in the machine itself. Proper maintenance also reduces the physical effort required to operate manual controls.
One of the biggest mistakes I see in budget metalworking tools management is the use of the wrong lubricant. Never use WD-40 or automotive grease on the sliding surfaces of a lathe or mill. These surfaces require “Way Oil,” which contains special tackifiers that help the oil “stick” to vertical surfaces and resist being squeezed out under heavy loads. A single gallon of ISO 68 way oil will last a hobbyist years and save hundreds in repair costs.
Cleanup is equally important. Metal chips are sharp and can easily get trapped under the moving parts of your machine, acting like sandpaper. A simple chip brush (a stiff-bristled natural brush) and a high-quality deburring tool are essential. The deburring tool, in particular, is used to remove the sharp edges left after a cut. It is a safety tool as much as a finishing tool; most shop injuries occur from handling parts with “burrs” or razor-sharp edges.
Strategic Budgeting for Tool Acquisition
A structured approach to purchasing helps avoid the “tool-a-month” trap where funds disappear on non-essential gadgets. Prioritizing tools based on the frequency of use and the required precision level allows a beginner to build a functional shop incrementally. This ensures that the most critical tasks are covered first.
When I plan a shop, I use a “50/50 Rule.” I expect to spend roughly 50% of my total budget on the machine and the other 50% on the tooling and measurement gear required to run it. If you spend $1,500 on a lathe, you should have another $1,500 set aside for the chucks, bits, and micrometers.
The following table illustrates a typical budget allocation for a beginner’s first $2,500 investment in a manual machining setup.
| Category | Item Examples | Budget Percentage | Estimated Cost |
|---|---|---|---|
| Primary Machine | Used Lathe or Mini-Mill | 50% | $1,250 |
| Measurement | Micrometer, Calipers, Indicator | 15% | $375 |
| Workholding | 4-Jaw Chuck, Vise, Parallels | 15% | $375 |
| Cutting Tools | Drill Bits, End Mills, Lathe Bits | 10% | $250 |
| Maintenance/Safety | Way Oil, Safety Glasses, Brushes | 10% | $250 |
By following this ratio, you ensure that you aren’t left with a machine you can’t actually use. It is better to have a smaller, high-quality machine with all the necessary accessories than a large, industrial machine that you cannot afford to tool up.
Organizing Your Tooling and Workflow
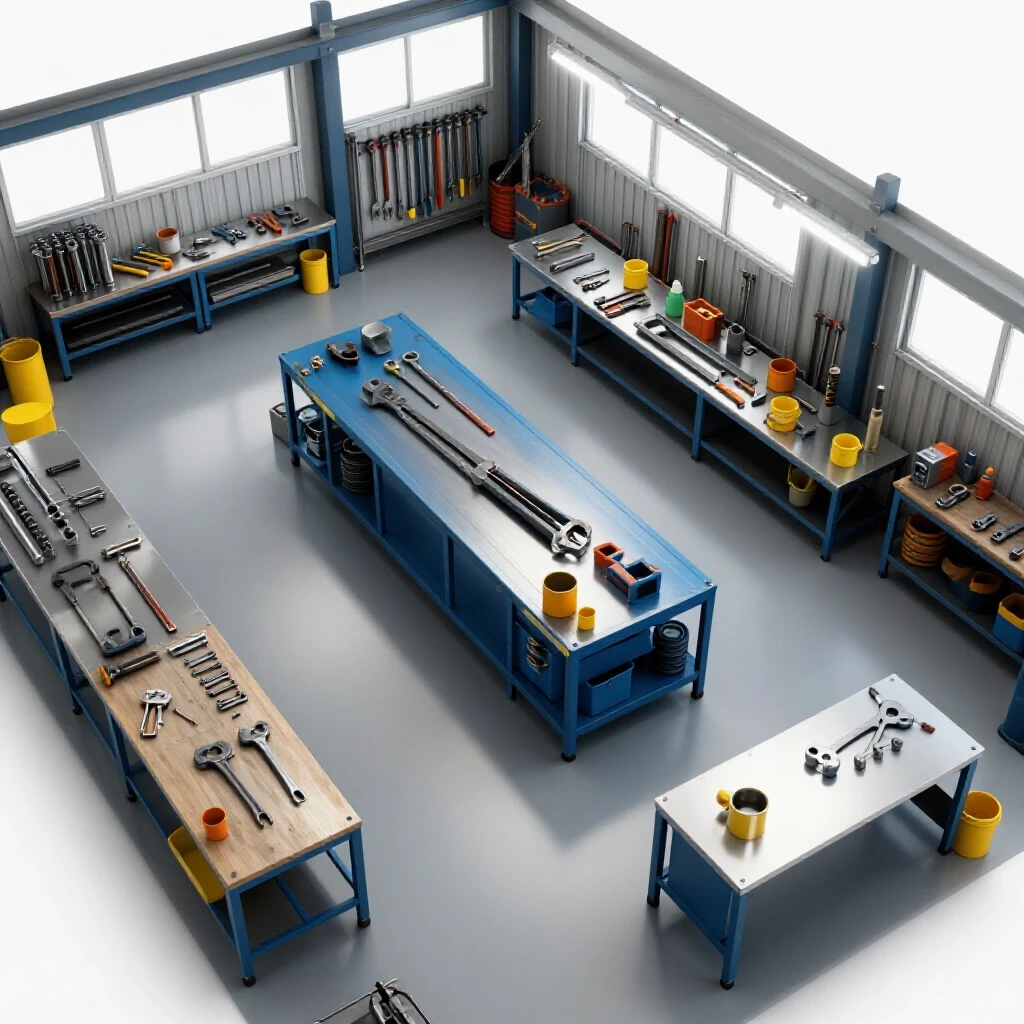
A functional shop layout focuses on minimizing movement and protecting precision surfaces. In a confined space, every square inch must be used effectively. This involves grouping tools by their function and ensuring that heavy accessories are stored within easy reach to prevent strain or accidental drops.
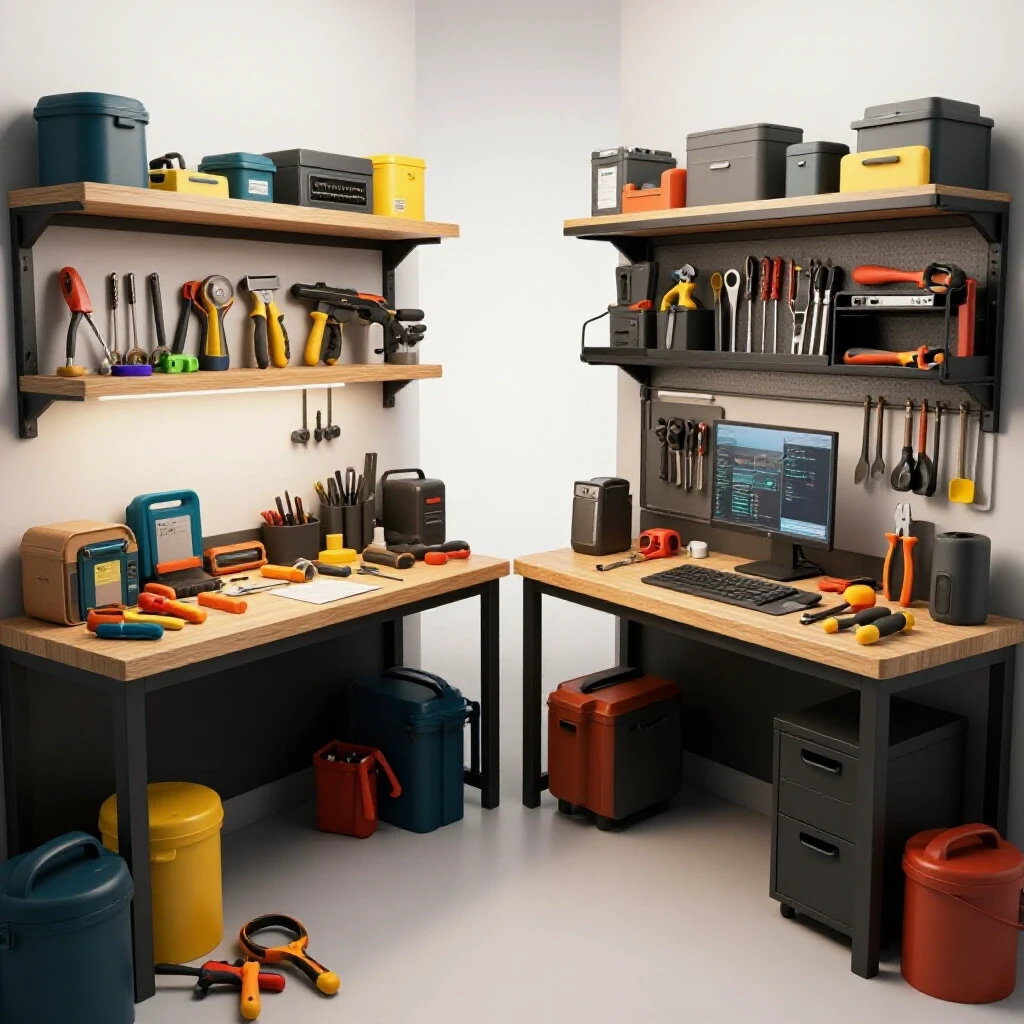
In my current garage shop, I follow a “clean zone” and “dirty zone” philosophy. The “dirty zone” is where the actual cutting happens. This area is designed for easy chip cleanup. The “clean zone” is a separate workbench where I keep my micrometers and layout tools. You never want to set a precision micrometer down in a pile of sharp, oily metal chips.
For tool storage, I avoid deep drawers. Instead, I use shallow organizers where every tool has a specific home. This allows me to see immediately if a tool is missing or if I’ve left a gauge out on the machine. This level of organization might seem obsessive, but in a small shop, clutter is a safety hazard. A stray wrench on a lathe bed can be thrown across the room if the machine is turned on accidentally.
Safety Standards and Personal Protection
Safety in a machine shop is governed by a simple rule: respect the machine’s power. Unlike wood tools, metalworking machines do not stop when they hit resistance. Following established safety guidelines, such as those inspired by OSHA for small shops, is mandatory for preventing life-altering injuries in a home environment.
The most critical piece of safety gear is ANSI Z87.1 rated eye protection. Metal chips from a lathe are not just sharp; they are often hot and traveling at high speeds. I also enforce a strict “no gloves” policy when operating rotating machinery. While it might seem counterintuitive, a glove can get caught in a spinning chuck and pull your hand into the machine. It is much safer to have a small cut on your finger than to risk a much more severe entanglement injury.
Final Steps for the First-Time Shop Owner
Setting up your shop is a marathon, not a sprint. Your first projects should not be complex engines or tools, but rather “shop projects”—tools for the shop itself. Making your own T-nuts for a mill vise or a simple brass hammer is an excellent way to learn the capabilities of your machines without the pressure of a high-stakes project.
As you begin, keep a log of your costs and the tools you find yourself wishing you had. This data will guide your future purchases. Don’t be afraid of the used market; many of the best manual tools were made 40 or 50 years ago and can be restored to perfect working order with a little way oil and patience.
Frequently Asked Questions
What is the single most important tool to buy after the machine itself? A high-quality 0-1 inch micrometer. Without the ability to measure your work accurately, you cannot achieve the precision required for functional mechanical parts. It is the tool that transitions you from “making shapes” to “making parts.”
Why shouldn’t I just buy a large set of cheap high-speed steel (HSS) drill bits? Cheap sets often have poor geometry and inconsistent tempering. They will dull quickly and may break inside your workpiece. It is better to buy a high-quality set of 29 bits (1/16 to 1/2 inch) from a reputable industrial supplier.
What is the difference between a 3-jaw and a 4-jaw chuck? A 3-jaw chuck moves all jaws simultaneously and is “self-centering,” but it is rarely perfectly accurate. A 4-jaw chuck allows you to move each jaw independently, enabling you to center a part with extreme precision or hold irregular shapes.
How often should I lubricate my machine? You should apply way oil to all sliding surfaces every time you use the machine. A thin film of oil prevents metal-on-metal contact and protects the surfaces from rust caused by humidity in a garage environment.
What are parallels used for in a milling vise? Parallels are precision-ground bars used to raise a workpiece so that it sits above the vise jaws. They ensure the part is level and allow the cutting tool to pass over the work without hitting the vise itself.
Why is an edge finder necessary? An edge finder allows you to locate the exact edge of a part relative to the center of the machine’s spindle. This is essential for accurately placing holes or slots according to a drawing.
Can I use a shop vac to clean up metal chips? Yes, but you must be careful. Hot chips can melt plastic hoses or start fires in a vacuum bag filled with dust. It is often safer to use a brush and dustpan for the bulk of the cleanup and save the vacuum for the fine particles once they have cooled.
Is it better to buy new or used tooling? For measurement tools like micrometers, high-quality used tools from brands like Mitutoyo or Starrett are often superior to new, low-budget alternatives. For cutting tools like end mills, always buy new to ensure they are sharp.
What does “tramming” a mill mean? Tramming is the process of ensuring the mill’s head is perfectly square to the table. If the mill is out of tram, it will cut “steps” into your work rather than a smooth, flat surface. This is done using a dial indicator.
Why is a center drill better than a standard drill bit for starting holes? Standard drill bits are long and flexible; they tend to “walk” across the surface of the metal before they start cutting. A center drill is short and very rigid, ensuring the hole starts exactly where you intended.
What is a deburring tool? A deburring tool is a handheld device with a swivel blade used to remove the sharp edges (burrs) from a metal part after it has been machined. It is essential for both safety and the professional appearance of your work.
How do I prevent my tools from rusting in a garage? Maintain a thin coat of oil on all unpainted surfaces. For measuring tools, store them in their original cases with a small desiccant pack. Avoid touching precision surfaces with bare hands, as the oils from your skin can cause corrosion.
(This article was written by one of our staff writers, Michael Thompson. Visit our Meet the Team page to learn more about the author and their expertise.)