Why Reading Machine Tool Manuals Saves Money (Real Lessons)
I remember the day I brought home my first benchtop lathe. It was a used model, slightly rusted but solid, and it represented nearly half of my $2,000 startup budget. In my excitement to make chips, I skipped the grease-stained booklet that came with it. Three days later, a high-pitched squeal and a puff of smoke from the headstock told me I had made a massive mistake. I had neglected a hidden oiling port mentioned on page four. That simple oversight cost me $180 in replacement bearings and two weeks of downtime.
When you are starting a workshop on a tight budget, your biggest enemy is not the price of the tools. It is the cost of avoidable errors. Every time a drill bit snaps because of the wrong spindle speed, or a motor burns out because of an overloaded circuit, your “affordable” hobby becomes a financial burden. I have spent years as an industrial maintenance technician, and the most important lesson I can share is that the manufacturer’s documentation is your most valuable financial asset. It is the roadmap to making your equipment last a decade instead of a season.

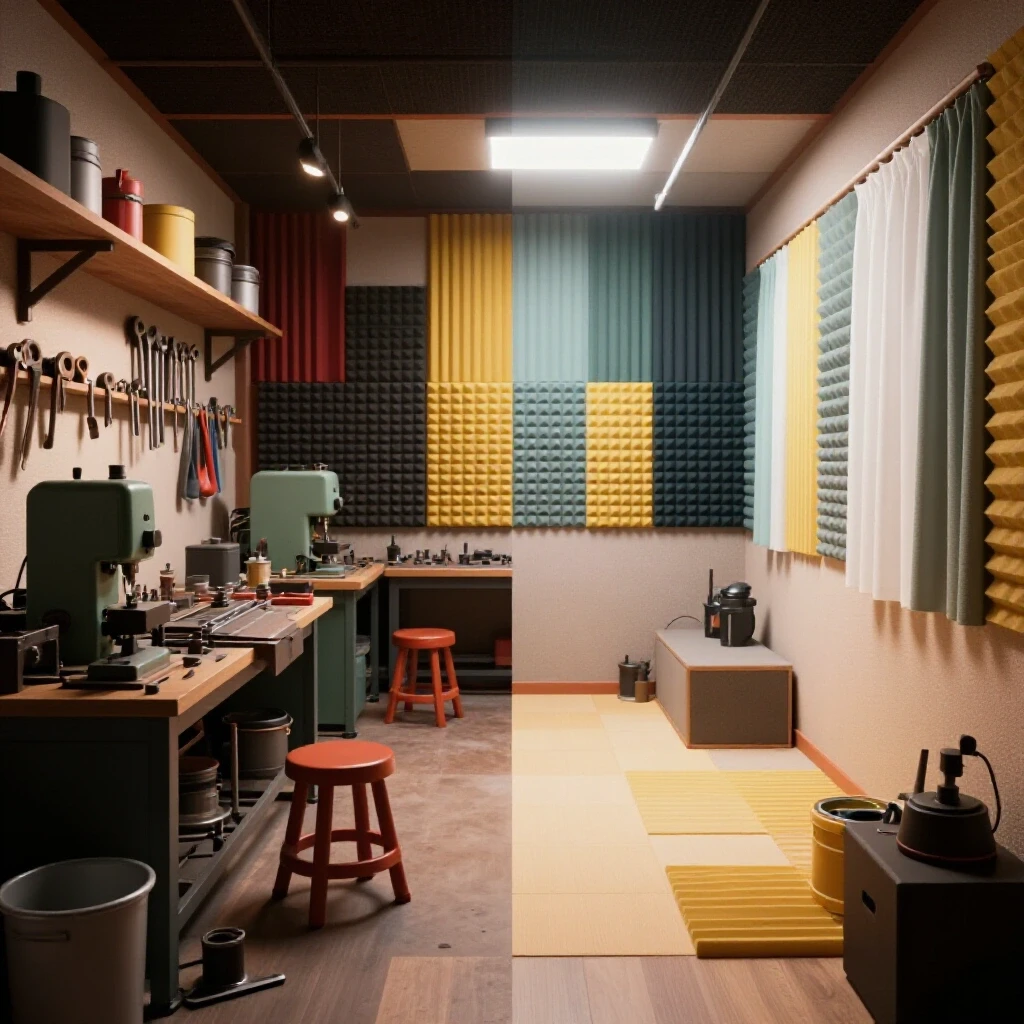
Mapping Your Starter Metal Workshop Layout
A starter metal workshop layout is a strategic plan that accounts for machine footprints, operator clearance, and the flow of raw materials through a confined space. It ensures that every square foot of your garage or basement is utilized safely and efficiently without creating physical bottlenecks.
Planning a layout is more than just finding a spot for a workbench. You have to consider the “swing” of long stock and the “travel” of machine components. For example, a small milling machine might only be two feet wide, but the table moves left and right. If you bolt it too close to a wall, you limit its capacity. I always recommend using a piece of painter’s tape to mark the maximum reach of every moving part. This prevents you from having to drill new anchor holes in your floor later.
Safety zones are another critical part of the plan. Based on my experience with workshop safety, you need at least three feet of clear space in front of any tool with a spinning blade or spindle. This is not just a suggestion; it is about having room to move if something goes wrong. In a small garage, this often means putting tools on heavy-duty locking casters. Being able to roll a welder into the center of the room and then tuck it away saves both money and frustration.
Deciphering Beginner Welder Power Requirements
Beginner welder power requirements refer to the electrical demand a machine places on your home’s wiring, measured in amps and volts. Understanding these needs prevents tripped breakers, damaged electronics, and potential fire hazards in a residential setting.
Most home garages are wired with standard 15-amp or 20-amp circuits. If you plug a 120V MIG welder into a shared 15-amp circuit, you will likely blow a fuse the moment you strike an arc. I tracked my electrical costs during my first year and found that upgrading to a dedicated 20-amp circuit for my welding corner was cheaper than replacing the household appliances I damaged from power surges.
You also need to understand the “duty cycle.” This is a number found in your manual that tells you how long a machine can run in a ten-minute period before it needs to cool down. If a welder has a 20% duty cycle at 90 amps, you can weld for two minutes and must let it rest for eight. Ignoring this leads to thermal overload. Overheating a transformer shortens its lifespan significantly, turning a $400 investment into scrap metal far too soon.
- 15A Circuit: Suitable for small grinders, hand drills, and LED lighting.
- 20A Circuit: Necessary for most entry-level welders and small air compressors.
- 240V Circuit: Ideal for larger machines, offering better efficiency and cooler operation.
The Financial Impact of Factory Lubrication Schedules
Factory lubrication schedules are specific instructions provided by tool makers regarding the type of oil or grease needed and the frequency of application. Following these guidelines prevents friction-based wear that leads to expensive part replacements.
In the world of metalworking, “oil is cheap, but metal is expensive.” I once worked with a student who used standard automotive grease on his lathe ways because it was what he had in his cabinet. Within a month, the fine metal dust had mixed with the thick grease to create an abrasive paste that ground down the precision surfaces. The manual specifically called for a “Way Oil” which is designed to stay tacky but allow chips to slide off.
Replacing a precision lead screw or a set of gears can cost 30% of the tool’s original price. By spending $15 on the correct lubricant, you are essentially buying insurance for your machine. I keep a simple logbook hanging next to each major tool. Every time I use the machine, I check the oil levels. This habit alone has saved me thousands of dollars in repair costs over the last decade.
| Tool Type | Lubricant Needed | Frequency | Potential Repair Cost |
|---|---|---|---|
| Benchtop Lathe | Way Oil / ISO 68 | Every use | $200 – $500 |
| Drill Press | Lithium Grease | Every 20 hours | $50 – $150 |
| Milling Machine | Spindle Oil | Weekly | $300 – $800 |
| Band Saw | Dry Silicone Spray | Monthly | $40 – $100 |
Affordable Fabrication Tools and Their Operational Limits
Affordable fabrication tools are entry-level machines designed for hobbyist use, which often have lower torque and thinner components than industrial versions. Knowing their operational limits prevents you from pushing a tool beyond its capacity and causing catastrophic failure.
It is tempting to try and cut a thick piece of stainless steel with a budget-friendly bandsaw meant for thin aluminum. However, the manual clearly states the maximum material thickness and hardness. When you exceed these limits, you don’t just dull the blade; you strain the motor and flex the frame. I have found that staying within 80% of a tool’s rated capacity is the “sweet spot” for longevity.
One of the best ways to save money is to invest in high-quality consumables for your budget tools. A $100 angle grinder will perform significantly better and run cooler if you use a premium abrasive disc. Cheap discs wear down faster and require more pressure, which puts unnecessary stress on the grinder’s bearings. I allocate about 30% of my startup budget specifically for high-quality drill bits, blades, and measuring tools.
Optimizing Garage Workshop Ventilation
Garage workshop ventilation involves the systems used to remove harmful dust, metallic particles, and welding fumes from your workspace. Proper airflow protects your health and prevents fine metallic dust from settling into your expensive electronics.
Metalworking is a “dirty” hobby. Grinding creates fine dust that can travel across an entire garage. If you don’t have a plan for airflow, that dust ends up in your lungs and your furnace filters. I use a simple calculation for my shop: I aim for at least 10 air exchanges per hour. For a standard one-car garage, this usually means a fan capable of moving 1,200 Cubic Feet per Minute (CFM).
A common mistake is thinking a standard box fan in a window is enough. You need a “source capture” system. This could be as simple as a shop vacuum with a HEPA filter positioned right at the grinder. By capturing the dust at the source, you keep the rest of your tools clean. Metallic dust is conductive; if it gets inside your welder or your computer, it can cause a short circuit. Keeping the air clean is a maintenance strategy, not just a health choice.
- Identify the Source: Place your welding and grinding stations near the largest exit.
- Cross-Ventilation: Use an intake fan on one side and an exhaust fan on the other.
- Filtration: Use a dedicated air cleaner to catch fine particles that fans miss.
- Monitoring: If you can see a haze in the air, your ventilation is insufficient.
Budgeting for Safety Gear and Measuring Tools
This category includes the essential personal protective equipment (PPE) and precision instruments required to work safely and accurately. Prioritizing these items ensures you avoid medical bills and reduces the amount of wasted material from inaccurate cuts.
When you are on a strict budget, it is hard to justify spending $100 on a pair of safety glasses and a respirator when you could buy a new tool instead. But consider this: a single trip to the emergency room to remove a metal splinter from your eye will cost more than your entire workshop. I follow American National Standards Institute (ANSI) Z87.1 ratings for all my eye protection.
Precision measuring is another area where beginners often try to save money. A cheap set of calipers might look like a good deal, but if they are off by 0.005 inches, your parts won’t fit together. You will end up scrapping the material and starting over. I recommend buying one high-quality 6-inch digital caliper and a reliable machinist square. These two tools will prevent the “measure twice, cut three times” cycle that drains your wallet.
- Safety Glasses: Must be ANSI Z87.1 rated ($15 – $25).
- Hearing Protection: Look for a Noise Reduction Rating (NRR) of at least 25dB ($20).
- Respirator: P100 rated filters are essential for welding fumes ($35).
- Calipers: A reputable brand name ensures repeatability ($80 – $120).
Maintaining a Detailed Workshop Expense Log
A workshop expense log is a record-keeping system used to track every dollar spent on tools, materials, and maintenance. It helps you identify where your money is going and allows you to plan for future upgrades without financial stress.
When I started my first shop, I thought I was staying under budget until I looked at my bank statement. I was “nickel-and-dimed” by small purchases like bolts, sandpaper, and cutting fluid. Now, I use a simple spreadsheet to track every purchase. This data allows me to see the “true cost” of a project. For example, if a project uses $50 in steel but $40 in specialized drill bits, I need to know that for next time.
Tracking maintenance is just as important. By recording when you changed the oil in your compressor or replaced the blade on your saw, you can predict when the next expense is coming. This prevents “emergency” spending. If you know your bandsaw blade typically lasts three months, you can buy a replacement when it’s on sale rather than paying full price when it breaks in the middle of a job.
Common Pitfalls in Initial Workshop Setup
These are the frequent errors made by newcomers, such as buying “all-in-one” tool kits or ignoring machine leveling. Recognizing these mistakes early allows you to bypass the learning curve that usually costs hundreds of dollars.
The biggest mistake I see is “analysis paralysis.” Beginners spend so much time researching the “perfect” tool that they never actually start building. My advice is to buy the best tool you can afford that meets your immediate needs, and then read the manual cover to cover. Most budget tools are surprisingly capable if they are set up correctly.
Another pitfall is ignoring the “break-in” period. Many machines require you to run them at a low speed for an hour or change the oil after the first few hours of use. This information is always in the manual. Skipping this step often voids your warranty and leads to early mechanical failure. I treat every new tool like a new car; I follow the manufacturer’s break-in instructions to the letter to ensure everything seats properly.
Essential Startup Framework
- Step 1: Power Audit. Verify your garage’s circuit capacity before buying a welder.
- Step 2: Documentation Review. Download the manual for any tool you are considering.
- Step 3: Tool Prioritization. Buy your safety gear and measuring tools first.
- Step 4: Layout Marking. Use tape to mark machine footprints and safety zones.
- Step 5: Lubrication Setup. Purchase the specific oils required by your manuals.
- Step 6: Test Run. Perform the manufacturer’s break-in procedure before starting a project.
FAQ: Maximizing Your Workshop Investment
How do I find a manual for a used machine? Most manufacturers keep digital archives on their websites. If the company is out of business, sites like VintageMachinery.org or enthusiast forums often have scanned copies. Never operate a machine without at least finding a similar model’s guide for lubrication points.
Why are duty cycles so important for budget welders? Budget welders often have smaller transformers and less efficient cooling fans. If you exceed the duty cycle, the internal heat can melt the wire insulation, causing a permanent short. This is the most common way entry-level welders are destroyed.
Can I use any oil for my metalworking tools? No. Standard motor oil often contains detergents that can damage certain types of bearings or seals in machine tools. Always use the specific ISO grade oil recommended in the documentation to ensure the chemical properties match the machine’s needs.
What is the “30% rule” for tooling? I recommend spending 70% of your budget on the machine itself and 30% on the accessories, safety gear, and measuring tools. A $1,000 lathe is useless without $300 worth of cutting tools, calipers, and safety equipment.
How does a manual help with “scrap rates”? Manuals provide recommended speeds and feeds for different materials. If you try to cut stainless steel at the same speed as aluminum, you will ruin the part and the tool. Following the charts in the manual ensures you get it right the first time.
Is an expensive respirator really necessary for a home shop? Yes. Welding and grinding produce microscopic particles that can cause long-term respiratory issues. A $35 respirator with P100 filters is a small price to pay to avoid chronic health problems that could end your hobby prematurely.
What should I look for in a workshop’s electrical setup? Look for dedicated circuits. If your lights flicker when you turn on a tool, you are overloading that circuit. Ideally, your “heavy” tools like welders and compressors should each have their own 20-amp breaker to ensure steady power and safety.
How do I know if my workshop layout is safe? A safe layout has clear paths to all exits, no tripping hazards like extension cords across the floor, and enough room to move around a machine without bumping into another tool. If you feel cramped or have to “squeeze” past a machine, the layout needs to change.
Does reading the manual really affect the resale value of my tools? Absolutely. A tool that has been maintained according to the manual will look and perform better. Keeping the original documentation and a maintenance log proves to a future buyer that the machine was cared for, allowing you to ask for a higher price.
What is the most common maintenance task people skip? Leveling and alignment. Most people just bolt a tool down and start working. However, if a lathe or mill isn’t perfectly level, the frame can twist over time, leading to inaccurate cuts and uneven wear on the moving parts. This is always detailed in the setup section of the manual.
(This article was written by one of our staff writers, Michael Thompson. Visit our Meet the Team page to learn more about the author and their expertise.)