Affordable Tools That Deliver Reliable Fabrication (Review)
I have spent the last 15 years in my shop with a digital caliper in one hand and a maintenance logbook in the other. My shelves are lined with journals detailing exactly when a motor brush failed or how many linear feet of 1/4-inch mild steel a specific bandsaw blade cut before it dulled. In the world of small-scale manufacturing, the biggest hurdle isn’t finding equipment; it is filtering out the marketing noise that promises professional-grade performance at a fraction of the cost.
We have all seen the advertisements for $200 welders that claim to do it all. Most of these claims fall apart the moment you strike an arc on a hot July afternoon. Over a decade of testing has taught me that reliability in budget-friendly gear isn’t about finding a “perfect” machine. Instead, it is about understanding the mechanical limits of what you are buying. By tracking duty cycles, input power efficiency, and thermal protection triggers, I have identified which entry-level tools actually hold up to daily use and which ones are destined for the scrap heap.
Understanding Duty Cycle and Thermal Protection in Budget Machinery
Duty cycle is a rating that defines how many minutes out of a ten-minute period a tool can operate at a specific output before it must rest to cool down. For fabricators, this is the most critical metric because it dictates the rhythm of your work and the lifespan of internal components like transformers and capacitors.
When I look at a new piece of equipment, I ignore the peak amperage or “max power” listed on the box. Instead, I look for the 100% duty cycle rating. For example, a budget-friendly flux-core welder might boast 140 amps, but its 100% duty cycle might only be 60 amps. If you try to run it at 100 amps for twenty minutes straight, the thermal protection circuit will trip. This is a safety feature that cuts power to prevent the internal wiring insulation from melting.
In my experience, budget tools often use Class B or Class F motor insulation. Class B is rated for 130°C, while Class F can handle 155°C. When I am evaluating a tool under $300, I check the manual for these ratings. A tool with Class F insulation will consistently outlast a Class B unit in a hot shop environment.
Why Duty Cycle Realities Matter for Project Planning
This metric determines whether you can finish a project in an afternoon or if you will spend half your time waiting for a cooling fan to stop spinning. If you are welding a 4-foot seam on 1/8-inch steel, a machine with a 20% duty cycle at your required amperage will force you to stop every two minutes.
Understanding these breaks is essential for maintaining weld quality. If the machine shuts down mid-pass, you risk creating a cold start or a weak point in the structure. I always recommend choosing a tool where your average project requirements fall within the 60% duty cycle range to ensure the electronics aren’t constantly pushed to their thermal limit.
| Tool Type | Typical Max Output | 100% Duty Cycle Rating | Expected Lifespan (Hours) |
|---|---|---|---|
| Budget Flux-Core Welder | 125A – 140A | 50A – 65A | 300 – 500 |
| Portable Bandsaw | 10A Motor | 6A Continuous | 400 – 600 |
| 4.5″ Angle Grinder | 7A Motor | 4A Continuous | 150 – 250 |
| Bench Grinder | 3/4 HP | 1/2 HP Continuous | 800+ |
Evaluating Inverter Welder Efficiency and Input Power Needs
Inverter technology has revolutionized the accessibility of metalworking by replacing heavy copper transformers with high-speed electronic switches. This allows for a much smaller footprint and the ability to run on standard 120V or 240V household outlets while providing a stable, smooth arc for mild steel and aluminum projects.
When I started, a reliable welder weighed 80 pounds and required a dedicated 50-amp circuit. Today, many inverter units under $300 weigh less than 20 pounds. However, these machines are sensitive to input voltage drops. If you run a budget inverter on a 50-foot extension cord, the voltage drop can cause the arc to stutter or the machine to overheat. I have logged several instances where a machine performed perfectly on a direct outlet but failed to penetrate 3/16-inch steel when used with a thin 14-gauge cord.
The Importance of Dual-Voltage Flexibility
A dual-voltage machine allows you to plug into a standard 120V outlet for light repairs or switch to a 240V outlet for heavier fabrication. This is a game-changer for the home shop. On 120V, you are usually limited to about 90 amps of output. On 240V, that same machine can often push 140 amps or more with a much higher duty cycle.
I always look for machines that include the adapter cord in the box. Interestingly, the internal bridge rectifiers in these budget units are often the first point of failure. I track the temperature of the casing during long sessions; if the back of the machine feels hot to the touch, the internal heat sinks are likely undersized for the advertised power.
Precision Cutting with Affordable Portable Bandsaws
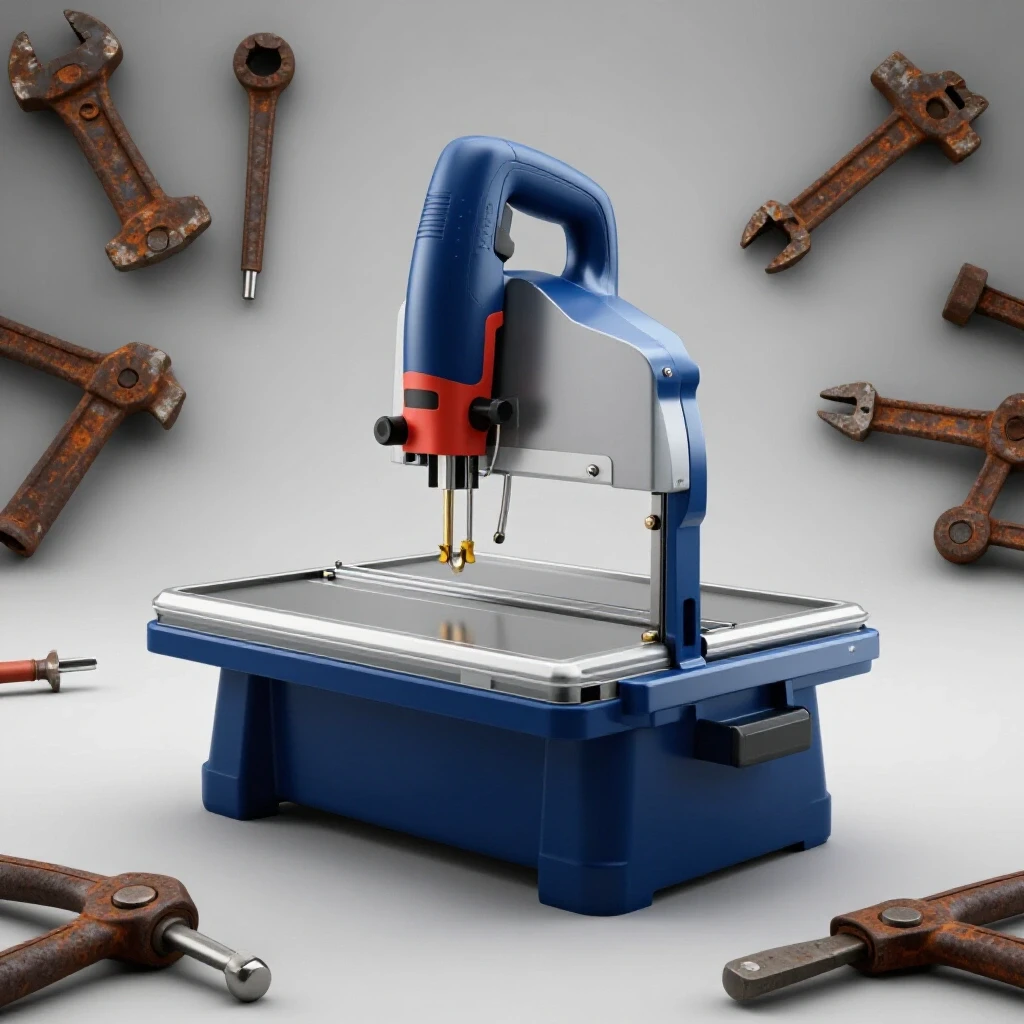
A portable bandsaw is one of the most versatile tools for a small shop, offering cleaner, cooler cuts than an abrasive chop saw. For under $300, these tools provide a way to cut square tubing and solid bar stock with minimal sparks and almost no heat-affected zone on the metal.
I have found that the reliability of these saws depends heavily on the tracking mechanism and the quality of the guide bearings. In my maintenance logs, I have noted that budget bandsaws often arrive with the blade guides slightly out of alignment. Spending thirty minutes squaring the guides before the first cut can prevent the blade from “walking” and extend the life of the motor by reducing lateral friction.
Why Blade Speed and Motor Torque Define Cut Quality
Most budget portable bandsaws feature a variable speed trigger or dial. When cutting mild steel, a slower blade speed (around 200 surface feet per minute) is essential to prevent the teeth from overheating and dulling. If you run the saw at max speed on thick material, you will ruin a $15 blade in under a minute.
I prefer models with a constant speed control circuit. This feature senses the load on the motor and increases power to maintain a steady RPM. Without this, the blade tends to bog down in the middle of a cut, which can lead to snapped blades or burnt-out motor brushes. I typically replace the factory brushes on these units every 200 hours of trigger time to ensure consistent performance.
- Check blade tracking every 10 cuts.
- Use a wax-based lubricant on the blade for solid stock.
- Never force the saw; let the weight of the tool do the work.
- Inspect the rubber drive tires for cracks every six months.
Maximizing the Lifespan of Budget Angle Grinders
The angle grinder is the workhorse of the fabrication shop, used for everything from removing mill scale to cleaning up weld spatters. While high-end grinders can cost hundreds of dollars, the $50 to $80 range offers surprising durability if you understand how to manage the tool’s heat and dust intake.
The primary killer of budget grinders is metallic dust being sucked into the motor housing. This dust is conductive and can cause a short circuit in the armature. In my shop, I have extended the life of my grinders by over 50% simply by blowing them out with compressed air after every hour of use. I also look for models with “labyrinth” seals, which are designed to divert dust away from the sensitive internal bearings.
Managing Gearbox Heat and Lubrication
Budget grinders often ship with a minimal amount of low-quality grease in the head. One of my standard protocols is to open the gearbox of a new grinder and replace the factory “peanut butter” grease with a high-quality synthetic molybdenum lubricant. This reduces friction and keeps the head temperature significantly lower during heavy grinding.
I also track the vibration levels of my grinders. If a tool starts to vibrate excessively, it is usually a sign that the lower bearing is failing or the disc is unbalanced. Excessive vibration doesn’t just ruin the finish on your metal; it leads to “white finger” or hand-arm vibration syndrome over long periods. If a $60 grinder starts to shake, I retire it immediately rather than risking nerve damage or a catastrophic disc failure.
Essential Maintenance Logs for Shop Equipment
Maintaining a detailed log of your equipment’s runtime and repair history is the only way to move from reactive repairs to proactive maintenance. This data allows you to see patterns, such as a specific brand of cutoff wheel wearing down faster or a welder’s fan becoming noisier over time.
I use a simple spreadsheet to track my tools. Every time I finish a project, I estimate the “trigger time” spent on each machine. This helps me stay ahead of wear items like motor brushes, contact tips, and drive rolls. For example, if I know my flux-core welder typically needs a new liner every 50 hours of use, I can order the part at 40 hours and avoid downtime mid-project.
Establishing a Preventative Maintenance Schedule
A good maintenance schedule is based on actual usage rather than calendar dates. In a hobbyist shop, a tool might sit for a month and then run for eight hours straight. By logging hours, you ensure that the tool is serviced when it actually needs it.
- Every 10 Hours: Clean air intakes and inspect power cords for nicks or burns.
- Every 50 Hours: Check motor brushes and blow out internal electronics with dry compressed air.
- Every 100 Hours: Lubricate gears, check bearing play, and tighten all external fasteners.
- Annually: Perform a full teardown and inspection of high-wear components like switches and cord strain reliefs.
| Component | Inspection Frequency | Sign of Failure | Replacement Cost |
|---|---|---|---|
| Motor Brushes | 50 Hours | Excessive sparking/loss of power | $5 – $15 |
| Power Cord | Before every use | Exposed wires/cracked jacket | $20 – $40 |
| Cooling Fan | Every 10 Hours | Grinding noise/low airflow | $15 – $30 |
| Drive Rolls | 100 Hours | Wire slipping/erratic feed | $10 – $25 |
Navigating Warranties and Parts Availability
When buying tools in the sub-$300 category, the warranty is often your only protection against a “lemon.” However, not all warranties are created equal. I have dealt with companies that require you to ship a 40-pound machine back at your own expense, which can cost nearly as much as the tool itself.
I prioritize brands that offer a “no-hassle” over-the-counter exchange for the first 90 days. For longer-term protection, I look for manufacturers that provide detailed parts diagrams on their websites. If I can’t buy a replacement switch or a set of brushes online, I won’t buy the tool. A $200 welder becomes a paperweight if a $5 trigger switch breaks and you can’t find a replacement.
Real-World Reliability vs. Marketing Claims
Marketing materials often use vague terms like “heavy duty” or “professional grade.” In my experience, these terms have no technical meaning. Instead, I look for NEMA (National Electrical Manufacturers Association) ratings or IP (Ingress Protection) ratings. An IP21 rating, for example, means the tool is protected against vertical drops of water and large solid objects.
I also pay close attention to the “Open Circuit Voltage” (OCV) on welders. A higher OCV (usually between 50V and 80V) makes it much easier to strike an arc, especially with E7018 stick electrodes. Many budget machines have a low OCV to save on transformer costs, which makes them frustrating to use for beginners. I always cross-reference my logs to see if a machine’s performance matches its stated OCV over time.
Strategies for Building a Reliable Shop Inventory
Building a shop on a budget requires a strategic approach to purchasing. I never buy all my tools at once. Instead, I buy the highest quality tool I can afford for the task at hand, then log its performance to see if it earns a permanent spot on my bench.
I recommend starting with a high-quality angle grinder and a portable bandsaw. These two tools handle 90% of the cutting and prep work in a fabrication shop. For welding, a 140-amp flux-core or MIG inverter is the most versatile starting point. By focusing on these essentials and maintaining them meticulously, you can produce professional-quality work without spending thousands of dollars on industrial machinery.
- Buy tools with standardized consumables (e.g., Tweco-style MIG tips).
- Avoid “multi-process” machines under $300; they often do three things poorly.
- Invest in a high-quality auto-darkening helmet; your eyes are the only part you can’t replace.
- Keep a dedicated “repair kit” for each tool containing brushes and common fasteners.
Diagnostic Checklist for Equipment Purchases
Before I commit to a new piece of equipment, I run through a specific checklist based on my years of repair logs. This helps me spot potential failure points before the tool ever leaves the store or the shipping box.
- Cord Quality: Is the power cord thick (12 or 14 gauge) and flexible, or is it thin and stiff? Stiff cords crack easily in cold shops.
- Fan Noise: Does the cooling fan sound smooth, or is there a high-pitched whine indicating a cheap sleeve bearing?
- Switch Feel: Does the power switch click firmly, or does it feel “mushy”? Mushy switches are prone to internal arcing.
- Casing Material: Is the housing made of thick stamped steel or thin, brittle plastic?
- Manual Depth: Does the manual include a wiring diagram and a parts list, or is it just a few pages of safety warnings?
By following these guidelines and keeping your own maintenance journals, you can navigate the world of budget fabrication tools with confidence. Reliability isn’t about the price tag; it’s about the care you put into the selection and upkeep of your gear.
Frequently Asked Questions
What is the most common reason budget welders fail?
Most budget welders fail due to thermal overload or capacitor failure. Inexpensive machines often use undersized cooling fans and heat sinks. When pushed beyond their duty cycle, the heat builds up and eventually pops the internal capacitors or melts the transformer windings. Keeping the machine clean and staying within the rated duty cycle can prevent most of these failures.
Can I really weld 1/4-inch steel with a $200 welder?
While many budget welders claim to handle 1/4-inch steel, they often struggle with penetration on a single pass. To do this reliably, you usually need a 240V input. On 120V, you are limited by the amperage the outlet can provide. For 1/4-inch material, I recommend using a multi-pass technique and beveling the edges of the steel to ensure the weld goes all the way through.
Why do my angle grinder discs keep shattering?
Disc failure is usually caused by excessive side pressure or using the wrong disc for the job. Budget grinders often have more spindle runout (wobble) than expensive models, which puts extra stress on the disc. Always ensure the disc is rated for the RPM of your grinder and never use a cutoff wheel for grinding tasks.
Is a portable bandsaw better than a chop saw?
For a small shop, a portable bandsaw is often better because it is quieter, safer, and produces no sparks. Chop saws use abrasive discs that create a lot of dust and leave a hot, burred edge on the metal. A bandsaw provides a “cold cut” that is ready for welding immediately, though it may be slightly slower on very thick material.
How often should I change the brushes in my power tools?
You should inspect motor brushes every 50 to 100 hours of use. If the brush has worn down to less than 1/4-inch in length, it is time to replace it. Running a tool with worn-out brushes can cause heavy sparking, which damages the copper commutator and can ruin the motor entirely.
What does “Inverter” actually mean in a welder?
An inverter welder uses electronic components to convert AC power to DC and then “switches” it at very high frequencies. This allows the machine to use a much smaller, lighter transformer. The result is a machine that is portable and offers much better control over the welding arc compared to old-fashioned “transformer” or “buzz box” welders.
Do I need to worry about input voltage drops?
Yes, especially with inverter-based tools. If you use a long or thin extension cord, the voltage at the tool will drop when you start a cut or strike an arc. This causes the tool to draw more current to compensate, which generates extra heat and can trip your circuit breaker or damage the tool’s electronics. Always use the shortest, thickest cord possible.
Why is my flux-core wire tangling inside the machine?
This is usually caused by incorrect drive roll tension or a dirty liner. Budget welders often have plastic drive systems that can flex under pressure. If the tension is too tight, it crushes the wire; if it’s too loose, the wire slips. I recommend cleaning the wire liner with compressed air every time you start a new roll of wire to ensure smooth feeding.
Can I use a budget welder for aluminum?
Welding aluminum with a budget machine is difficult. Aluminum requires a lot of heat and usually needs a spool gun to prevent the soft wire from tangling. Most welders under $300 are not set up for this. If you must weld aluminum on a budget, look for a machine that specifically lists “spool gun ready” in the specs, but be prepared for a steep learning curve.
Are “no-name” brands on online marketplaces worth the risk?
It depends on parts availability. Many of these brands are “white-labeled,” meaning the same machine is sold under five different names. If you can identify the original manufacturer and find a source for replacement parts, they can be a great value. However, if the brand has no website or customer support, you are essentially buying a tool with no warranty.
(This article was written by one of our staff writers, David Reynolds. Visit our Meet the Team page to learn more about the author and their expertise.)