Best Heavy Duty Workbench Drawer Storage Systems (Review)
Setting up your first metalworking shop is an exercise in managing both physical space and financial constraints. Back in 2013, I stood in a cramped single-car garage with exactly $2,000 and a dream of building a functional fabrication space. I quickly learned that while the welder gets all the glory, the success of your shop depends on the structural integrity of your workspace and how you organize the hundreds of pounds of steel tools you are about to accumulate.
The anxiety of overspending is real. You see professional shops with rows of gleaming cabinets and wonder if you can ever compete on a budget. The truth is, you don’t need the most expensive setup, but you do need equipment that won’t buckle under the weight of a 20-pound sledgehammer or a collection of heavy iron clamps. I’ve spent over a decade tracking every dollar spent and every drawer slide that failed, and I can tell you that the foundation of a safe shop is how you house your gear.
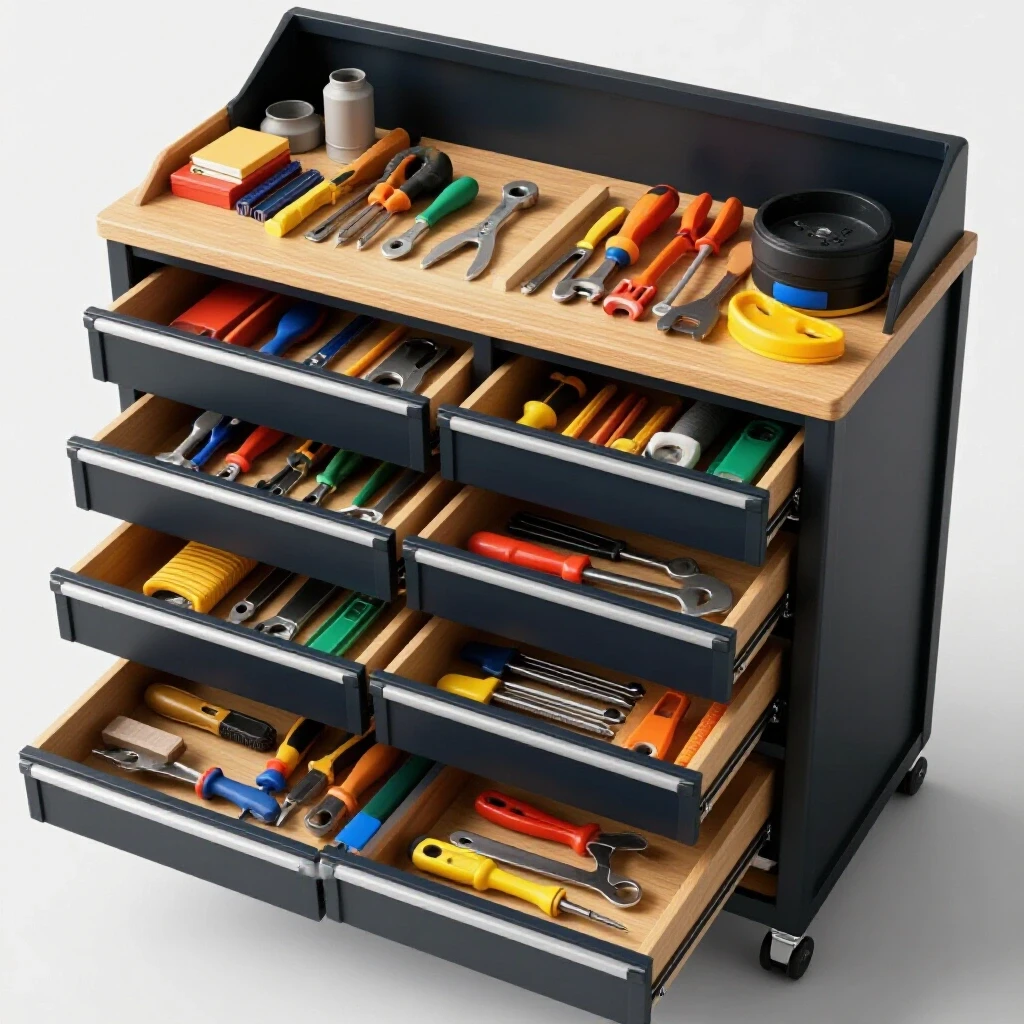
Designing a High-Capacity Workshop Layout
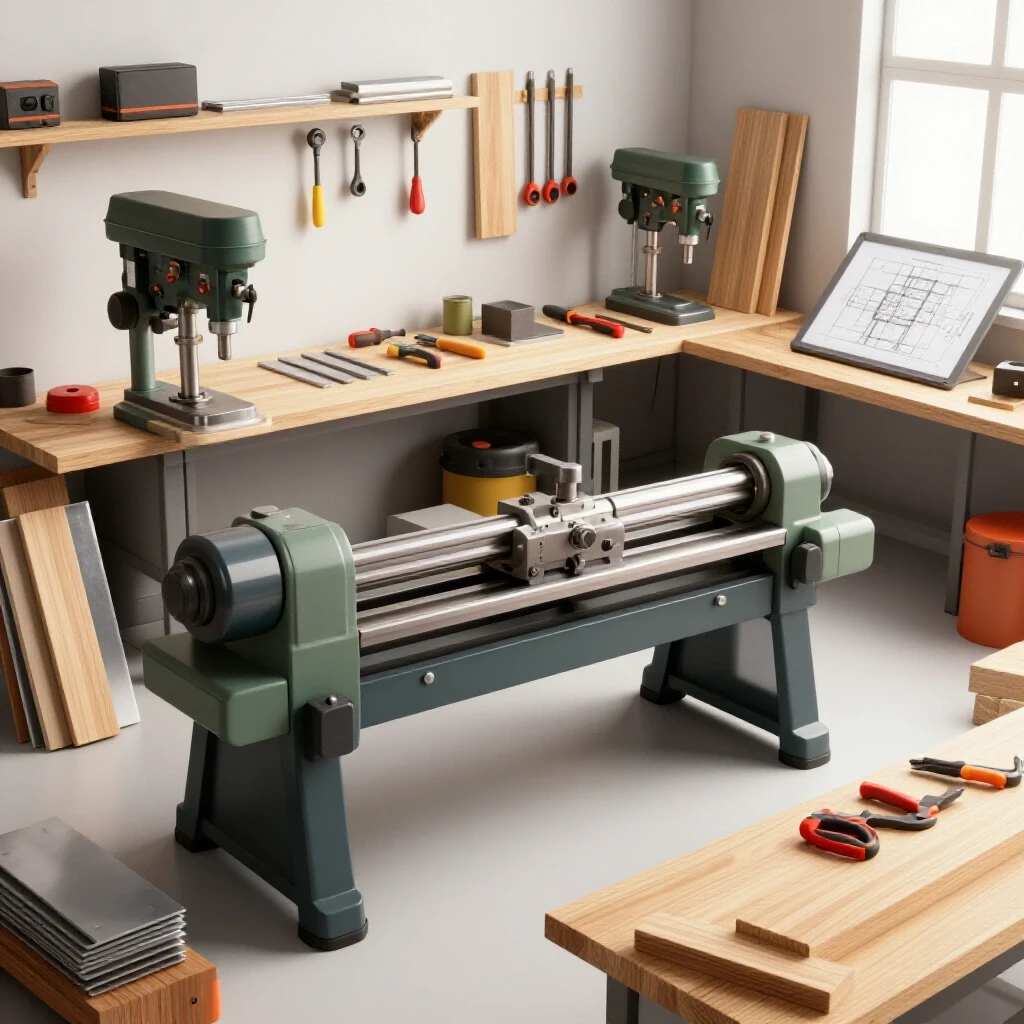
A strategic workshop layout involves more than just placing tools where they fit; it requires assessing the floor’s weight capacity and the proximity of storage to your primary work zones. This planning phase ensures that heavy steel components are accessible without creating ergonomic strain or safety hazards in a confined residential garage.
When I planned my first layout, I ignored the “work triangle” concept used in kitchens, but I soon realized metalworking has its own flow. You need a “clean zone” for measuring and marking, a “hot zone” for welding, and a “dirty zone” for grinding. Your high-capacity storage should sit right at the intersection of these zones. I recommend mapping your floor plan with masking tape before buying a single bolt. Ensure you have at least 36 inches of clearance around your main workbench. This isn’t just for comfort; it’s a safety requirement to ensure you can move quickly if a spark starts a small fire or if a heavy workpiece begins to shift.
Evaluating Structural Integrity in Workbench Storage Units
Selecting storage components for a metalworking environment requires a focus on steel gauge and mechanical load ratings. Unlike general household storage, fabrication tools like degreasers, welding magnets, and die grinders require drawer systems rated for at least 100 pounds of continuous weight to prevent structural warping.
In my maintenance career, I saw countless “budget” cabinets fail because the user treated them like kitchen drawers. For a starter metal workshop layout, you want to look for 18-gauge steel as a minimum, though 14-gauge is the gold standard for heavy-duty applications. The gauge refers to the thickness of the metal; the lower the number, the thicker the steel. If you choose a system with flimsy walls, the entire frame will rack (twist) when you load the drawers, eventually preventing them from closing.
| Component | Minimum Specification | Why It Matters |
|---|---|---|
| Steel Thickness | 18-Gauge | Prevents frame twisting under heavy loads. |
| Slide Type | Ball-Bearing | Ensures smooth movement with 100+ lbs of tools. |
| Load Rating | 100 lbs per drawer | Supports heavy items like hand shears and chucks. |
| Finish | Powder Coated | Resists chips and corrosion from grinding dust. |
Managing Electrical Loads and Workshop Power Safety
A functional fabrication space relies on a calculated electrical setup that can handle the high amperage of welders and grinders without tripping breakers. This involves verifying your home’s circuit capacity and ensuring that your heavy storage units do not obstruct access to panels or dedicated outlets.
One of my earliest mistakes was plugging a 120V MIG welder into the same circuit as my shop lights and a space heater. The result was a tripped breaker mid-bead, which ruined the weld and left me in the dark. For a beginner welder, power requirements usually dictate a dedicated 20A circuit for 120V machines. If you plan to grow, having a 240V outlet installed is the single best investment you can make. When arranging your heavy-duty storage, keep it at least 12 inches away from electrical outlets to allow for thick power cords and to prevent heat buildup.
Why Load-Rated Slides Are Non-Negotiable
The mechanical slides that allow a drawer to move are the most common failure point in affordable fabrication tools and storage. For a metalworker, these slides must be made of reinforced steel and utilize ball bearings rather than plastic rollers to handle the vertical pressure of dense metal objects.
I once tracked the lifespan of three different drawer systems in my shop. The ones with “friction slides” (metal sliding on metal) lasted six months before the grease became contaminated with grinding dust, turning it into a gritty paste that seized the drawer. The ball-bearing slides, however, are still smooth after eight years. Interestingly, many industrial suppliers now offer “over-travel” slides. These allow the drawer to pull out past the edge of the workbench, giving you full access to the tools tucked in the very back. This is a lifesaver when you’re looking for that one specific 1/2-inch drill bit buried under a pile of files.
Budgeting for Tooling and Organization Systems
Allocating a workshop budget requires a balance between purchasing the machines that do the work and the storage systems that protect that investment. A realistic financial plan often involves spending approximately 30% of the total startup cost on high-quality safety gear, measuring tools, and durable organizational units.
It is tempting to spend your entire $2,000 budget on a high-end welder, but you will quickly regret it when you have no place to put your grinders, hammers, and consumables. I suggest a “tiered” acquisition strategy. Start with the essentials and build the storage into your bench from day one.
Starter Tooling-to-Machine Cost Ratio Example: 1. Welding Machine (Entry Level): $600 (30%) 2. Heavy-Duty Workbench and Integrated Storage: $500 (25%) 3. Safety Gear (Auto-darkening helmet, jacket, gloves): $300 (15%) 4. Hand Tools (Grinders, clamps, levels): $400 (20%) 5. Consumables and Scrap Metal: $200 (10%)
Safety Standards and Fire Prevention in Fabricated Storage
Aligning a home workshop with safety guidelines involves more than just wearing goggles; it requires a fire-resistant environment where sparks cannot settle in flammable areas. Using all-metal drawer systems instead of wood or plastic significantly reduces the risk of a “smoldering fire” caused by stray grinding sparks.
The American Welding Society (AWS) emphasizes the importance of a clutter-free work area. In my shop, I keep a dedicated drawer just for “hot” tools—things like chipping hammers and wire brushes that might still be warm. Because the drawer is heavy-duty steel, I don’t have to worry about a warm tool melting a plastic tray or charring a wooden divider. Furthermore, OSHA-adjacent guidelines suggest that all heavy storage should be “tip-resistant.” If you have multiple drawers open at once, a poorly designed unit can tip forward. Always bolt your storage units directly to your workbench frame or the floor to prevent accidents.
Integrating Modular Storage with Welded Workbench Frames
A robust metalworking bench often serves as the anchor for the entire shop, and mounting heavy-duty drawer units directly to the frame creates a unified, stable workstation. This integration improves the bench’s overall mass, which helps dampen vibrations during heavy grinding or hammering tasks.
When I built my current bench, I used 2×2 inch square steel tubing for the frame. I then sourced individual steel drawer modules and bolted them directly to the underside of the 3/8-inch thick steel top. This “modular” approach allowed me to add more storage as my budget grew. If you are just starting out, you can buy pre-made steel drawer banks and slide them under a sturdy table, but ensure they are rated for the environment. Garage workshop ventilation is also key here; if your storage is tucked under a bench, dust will settle in the tracks. I make it a habit to blow out my drawer slides with compressed air once a month to keep them moving freely.
Essential Checklist for Workshop Setup
- Verify Floor Level: Heavy steel storage will not track correctly if the floor has a significant slope. Use shims to level the base.
- Calculate Total Weight: Estimate the weight of your heaviest tools (vises, anvil blocks, sets of clamps) and ensure the drawer ratings exceed this by 20%.
- Check Electrical Clearance: Ensure you aren’t covering up the only 20A outlet in the garage with a permanent cabinet.
- Assess Ventilation: Place your primary work area near a door or window, and ensure your storage doesn’t block the airflow from your exhaust fans.
- Audit Safety Gear: Confirm you have a fire extinguisher (Class ABC) within three seconds’ reach of your workbench.
Why Cheap Abrasives and Storage Cost More Over Time
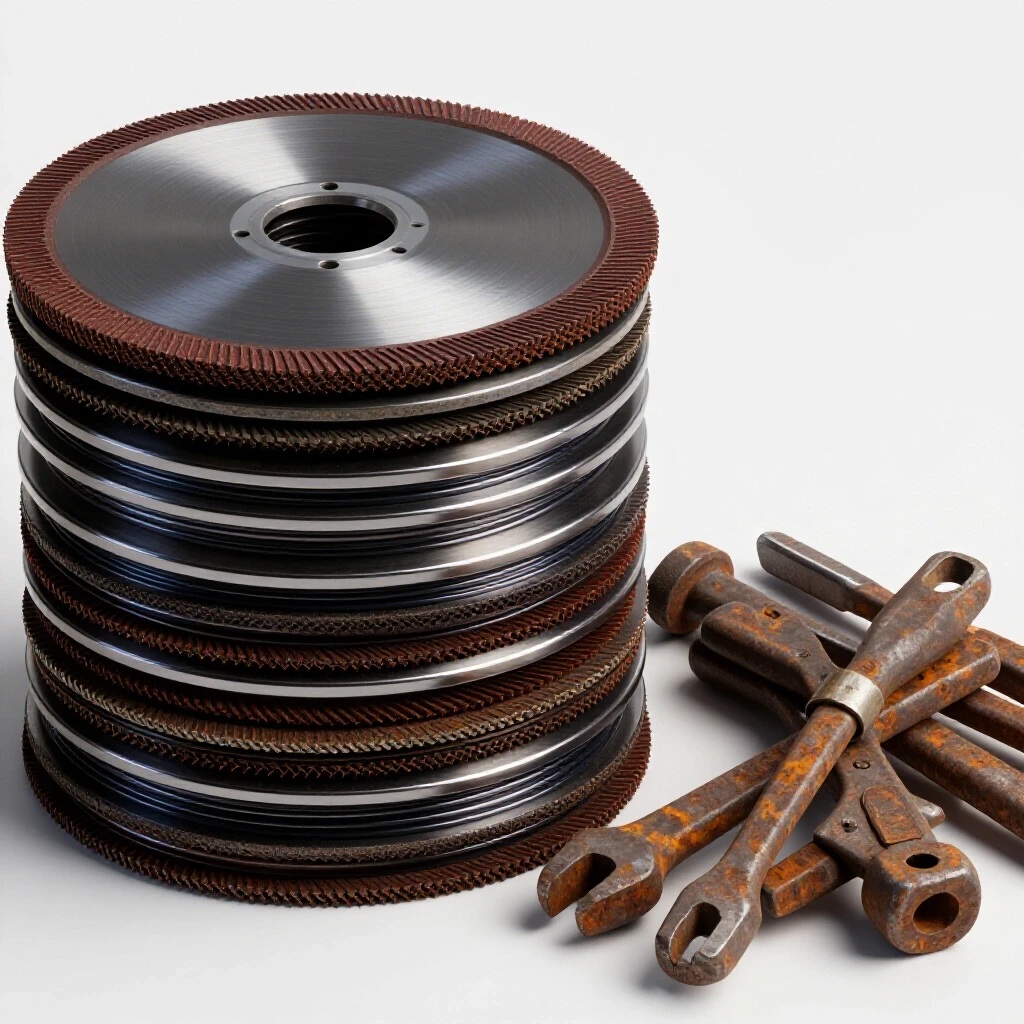
In the world of metalworking, “cheap” often translates to “disposable.” Just as a low-quality grinding wheel wears down in minutes, a low-quality drawer system will fail under the constant vibration and weight of a fabrication shop. I’ve found that spending 20% more upfront for a unit with a higher load rating saves hundreds of dollars in replacement costs over a five-year period.
Think of your storage as a tool itself. If you can’t find your square or your marking dye because your drawers are jammed or disorganized, you’re losing time and money. I keep a “safety log” and a “maintenance log” in my top drawer. Every 50 hours of shop time, I check the bolts on my bench and the slides on my drawers. This data-driven approach is what separates a hobbyist who struggles with equipment from a fabricator who can rely on their shop every single day.
Common Rookie Mistakes to Avoid
- Buying for “Now” instead of “Later”: Don’t buy a 50-lb rated drawer if you plan on eventually owning a set of heavy iron welding clamps.
- Ignoring the “Tip” Factor: Never load the top drawers of a freestanding unit with heavy items while the bottom is empty.
- Neglecting Dust Protection: Grinding dust is abrasive. If your drawer slides aren’t shielded or cleaned, they will grind themselves into failure.
- Overloading the Circuit: Remember that some high-end storage units come with built-in power strips. Don’t plug your welder into these; they aren’t designed for the 15A-20A draw of a transformer or inverter.
Establishing a Testing Workflow
Once your storage is installed and your bench is set, perform a “load test.” Fill your drawers with your current tools and open/close them ten times. Listen for grinding or clicking. Check for any sagging in the middle of the drawer. If the steel flexes more than a fraction of an inch, you may need to redistribute the weight. This simple test ensures that when you’re in the middle of a complex project, your equipment won’t let you down.
Building a shop is a marathon, not a sprint. By focusing on high-capacity, steel-constructed storage from the start, you create an environment that is safe, organized, and ready for the heavy demands of metal fabrication. You don’t need a massive budget to get it right; you just need to prioritize the structural components that will hold your shop together for years to come.
Frequently Asked Questions
What is the minimum drawer weight rating I should look for? For a metalworking shop, you should aim for a minimum of 100 pounds per drawer. Fabrication tools like hammers, clamps, and heavy steel hardware add up quickly. A standard 50-pound residential slide will likely fail or seize within the first year of heavy use.
How can I tell if a drawer unit is made of high-quality steel? Check the “gauge” of the steel. In the US, a lower gauge number means thicker metal. For a heavy-duty workbench, 18-gauge is the minimum acceptable thickness for the cabinet body, while 14-gauge or 16-gauge is preferred for the drawer fronts and structural supports.
Should I choose ball-bearing slides or friction slides? Always choose ball-bearing slides. Friction slides (where metal parts simply slide against each other) are difficult to move under heavy loads and are easily ruined by the fine metal dust and grit common in fabrication shops. Ball bearings provide a much smoother action and longer lifespan.
How do I prevent my heavy-duty drawers from tipping over? The safest method is to bolt the storage unit directly to your workbench frame or the floor. If the unit is integrated into a heavy workbench (which might weigh 200-500 lbs), the weight of the bench itself acts as a counterweight, but mechanical fasteners are still recommended.
Is it okay to store my welder on top of a drawer unit? Yes, provided the top surface of the unit is rated for the weight of the welder (usually 40-100 lbs) and the unit is stable. However, ensure that the welder’s cooling vents are not blocked and that the unit is not so high that it becomes top-heavy.
How does grinding dust affect my storage systems? Grinding dust is highly abrasive and can act like sandpaper inside your drawer slides. It can also be a fire hazard if it accumulates near flammable materials. Using all-metal storage and regularly cleaning the slides with compressed air or a vacuum is essential for shop safety.
Can I use wooden workbenches with metal drawer inserts? While possible, a wooden bench is a fire risk in a welding environment. If you do use a wooden bench, ensure the top is covered with a thick sheet of steel (at least 1/8 inch) and that the metal drawer units are securely bolted to the wooden frame using heavy-duty lag bolts.
What is the best way to organize heavy metal tools in a drawer? Use modular dividers or “foam shadowing” to keep tools from sliding around. Place the heaviest items (like vises or large clamps) in the bottom drawers to keep the center of gravity low, which improves the stability of the entire workbench.
Do I need a dedicated circuit for my workshop tools? Yes. Most metalworking tools, especially welders and large grinders, pull significant amperage. A dedicated 20A circuit is the standard for a home shop. Avoid using thin extension cords, as they can cause a voltage drop that damages your tools or creates a fire hazard.
How much should I spend on storage when I’m on a $2,000 budget? I recommend allocating about 20-25% of your budget ($400-$500) to a high-quality workbench and drawer system. It may seem like a lot, but protecting your other $1,500 worth of tools and having a stable place to work is worth the investment.
(This article was written by one of our staff writers, Michael Thompson. Visit our Meet the Team page to learn more about the author and their expertise.)