How to Install Leak-Free Workshop Compressor Lines (Guide)
When I built my first garage shop back in 2013, I had exactly $2,000 and a lot of ambition. I quickly learned that a metalworking space is only as good as its infrastructure. While most beginners obsess over the welder or the lathe, the way you move power and air around the room dictates your daily frustration levels. A leaky air system is more than a nuisance; it is a hidden tax on your electricity bill and a constant drain on your compressor’s lifespan.
In my years as an industrial maintenance technician, I saw how professional plants handled fluid power. When I transitioned to my home shop, I applied those same rigorous standards to a much tighter budget. You do not need a factory-sized bank account to build a reliable, rigid air distribution system. You just need a methodical plan, the right materials, and a commitment to precision during assembly.
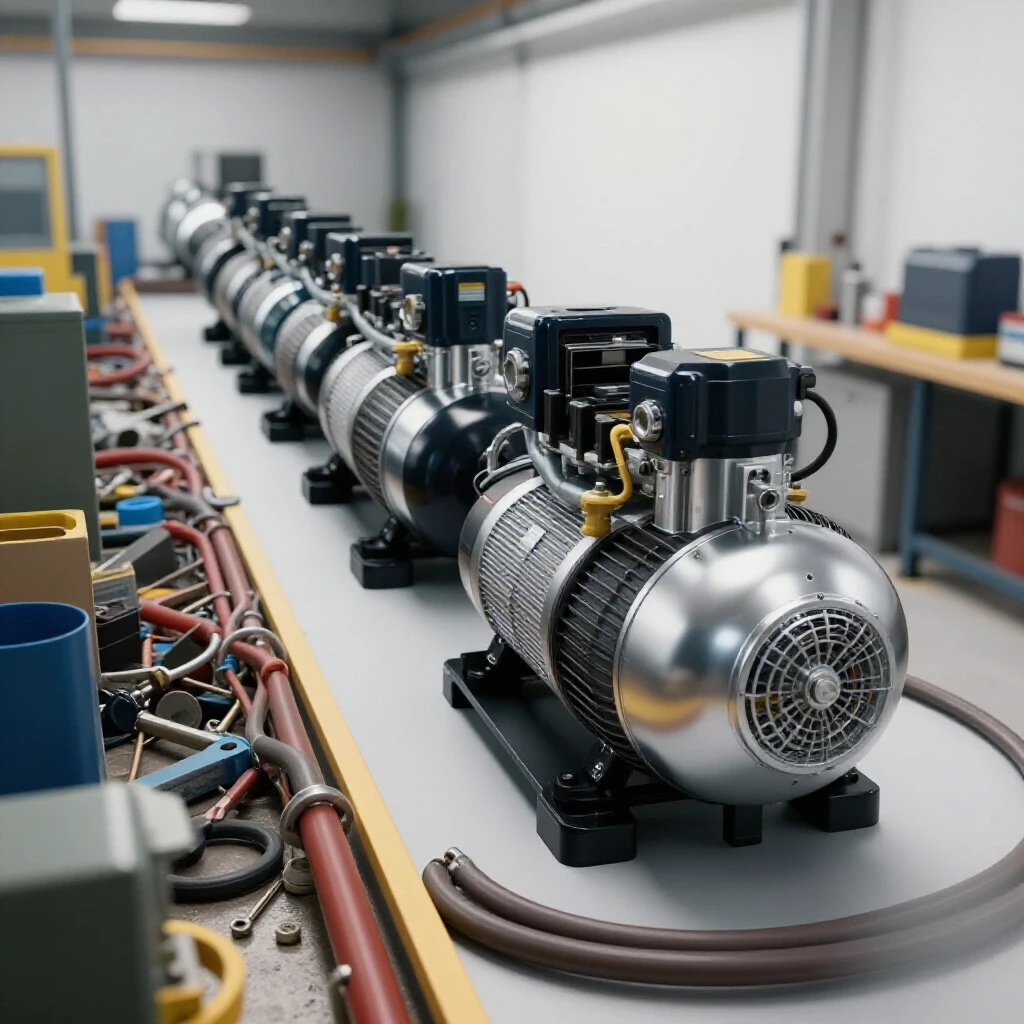
Planning Your Rigid Air Distribution Network
Designing a layout for your air lines requires a clear understanding of your shop’s physical boundaries and workflow. You must identify where your primary workstations sit, such as your welding bench or grinding station, to ensure air drops are placed within reach. A well-planned layout minimizes the total length of pipe needed, which directly reduces both your initial costs and potential leak points.
In a starter metal workshop layout, space is usually at a premium. I recommend sketching your floor plan on graph paper first. Mark the location of your compressor and then plot a “main trunk” line that runs along the ceiling or high on the walls. From this trunk, you will drop vertical lines down to your work areas. This “loop” or “header” system ensures consistent pressure across all outlets.
When I planned my current 20×20 shop, I prioritized keeping the lines away from high-heat areas like the welding zone. Heat can cause expansion and contraction in metal pipes, which eventually stresses the joints. By keeping your lines at least three feet away from direct heat sources, you maintain the integrity of your seals over the long term.
| Layout Component | Purpose | Budget Allocation |
|---|---|---|
| Main Trunk Line | Carries bulk air volume | 40% |
| Vertical Drops | Brings air to tool level | 30% |
| Moisture Traps | Removes water from lines | 20% |
| Mounting Hardware | Secures pipes to walls | 10% |
Selecting Reliable Piping Materials for Metalworking Spaces
Choosing the right rigid material is the most critical decision for a budget-conscious builder. While it is tempting to look for the cheapest option, you must use materials rated for compressed air, such as copper, black iron, or specialized aluminum. These materials handle the vibration and pressure of a fabrication environment without the catastrophic failure risks associated with non-rated alternatives.
Copper (Type L or M) is a favorite for many DIYers because it is corrosion-resistant and relatively easy to join with solder. It has a smooth interior that promotes high flow rates with minimal friction. However, the price of copper fluctuates wildly. If you choose copper, I suggest buying in bulk from a local plumbing supplier rather than a big-box retail store to save roughly 15% to 20% on your total material cost.
Black iron pipe is the industrial standard. It is incredibly durable and can withstand accidental impacts from heavy metal stock. The downside is the weight and the need for a pipe threader. If you are on a strict budget, you can often find used pipe threading sets at estate sales or pawn shops. Black iron is prone to internal rust if your air is wet, so a robust moisture management strategy is non-negotiable when using this material.
- Copper: High corrosion resistance, easy to install, higher material cost.
- Black Iron: Extremely durable, low material cost, requires threading tools.
- Aluminum: Lightweight, easy to assemble, highest initial cost but zero corrosion.
Mastering Leak-Free Joint Preparation
The secret to a system that holds pressure overnight lies in the preparation of the joints. Whether you are threading black iron or soldering copper, the mating surfaces must be surgically clean and properly treated. A single microscopic gap in a threaded fitting can leak several cubic feet of air per hour, forcing your compressor to cycle even when you aren’t working.
For threaded black iron, I use a two-step sealing process. First, I apply a high-quality PTFE tape, wrapping it in the direction of the threads so it doesn’t unspool as I tighten the fitting. Second, I apply a thin layer of pipe joint compound, also known as “pipe dope,” over the tape. This combination fills the valleys of the threads and provides a lubricated surface that allows for a tighter mechanical fit.
If you are soldering copper, cleanliness is your best friend. Use an abrasive pad to buff the pipe ends and the inside of the fittings until they shine. Apply flux sparingly but evenly. When heating the joint, remember that the solder follows the heat. I always aim the flame at the fitting, not the pipe, to draw the solder deep into the joint. This creates a structural bond that can easily handle the 125 to 175 PSI found in most home shops.
- Wrap tape 3 to 4 times around threads.
- Avoid over-tightening, which can crack cast-iron fittings.
- Clean copper until no oxidation remains.
- Use lead-free solder for all workshop air applications.
Optimizing Air Flow and Minimizing Pressure Drops
Pressure drop is the loss of energy as air travels through your pipes, and it can make a powerful compressor feel weak at the tool. To prevent this, you must size your pipes correctly based on the distance of the run and the CFM requirements of your tools. For most garage-sized shops, a 3/4-inch main trunk with 1/2-inch drops is the standard for maintaining consistent performance.
When I was an industrial technician, we calculated pressure drops using specific flow charts. For a hobbyist, a simpler rule applies: every 90-degree elbow adds the equivalent of several feet of straight pipe in terms of friction. Where possible, use large-radius bends or 45-degree fittings to keep the air moving smoothly. This is especially important if you plan on using high-draw tools like sandblasters or pneumatic grinders.
| Pipe Diameter | Max CFM (50 ft run) | Best Use Case |
|---|---|---|
| 1/2 Inch | 20-25 CFM | Individual tool drops |
| 3/4 Inch | 45-50 CFM | Main shop trunk lines |
| 1 Inch | 90+ CFM | Large multi-user shops |
Building on this, I always recommend installing a pressure gauge at the furthest point from the compressor. If your compressor gauge reads 120 PSI but your end-of-line gauge reads 90 PSI while a tool is running, you have a flow restriction or an undersized pipe. Tracking these metrics early helps you avoid wasting money on “upgrading” a compressor that is actually just fighting poor plumbing.
Implementing Effective Moisture Management
Water is the enemy of pneumatic tools and high-quality paint finishes. As air is compressed, it heats up and holds moisture; as it cools in your lines, that moisture condenses into liquid water. To keep your lines dry, you must design your rigid system with “drop legs” and sloped horizontal runs that direct water toward specific drain points.
A drop leg is a simple vertical extension of the pipe that continues past the point where you draw air for your tool. Gravity pulls the water down into this extension, where it can be drained via a ball valve at the bottom. I install a drop leg at every single workstation in my shop. It is a low-cost insurance policy that costs about $10 in fittings but saves hundreds in tool repairs.
Interestingly, you should always pull your air from the top of the main trunk line rather than the bottom. By using a “gooseneck” or a “top-tap” configuration, you ensure that any water running along the bottom of the main pipe stays in the main line and heads toward a central drain, rather than entering your expensive impact wrench or spray gun.
- Slope horizontal lines 1 inch for every 10 feet toward a drain.
- Install ball valves at the bottom of every vertical drop.
- Use a high-quality filter-regulator unit at the start of the system.
- Drain the entire system at the end of every work session.
Safe Installation and Pressure Testing Protocols
Safety is paramount when dealing with pressurized gases. A failure in a rigid line can send metal fragments flying, which is why we never use non-rated materials like PVC. Following AWS and OSHA-adjacent safety mindsets, you must secure your pipes with robust hangers every 5 to 8 feet to prevent vibration from loosening the joints over time.
Once the assembly is complete, do not simply turn the compressor on and walk away. I follow a strict “step-up” pressure test. First, I pressurize the system to 20 PSI and brush every joint with a mixture of dish soap and water. If I see bubbles, I stop, depressurize, and fix the leak. Only after the system holds 20 PSI for an hour do I increase the pressure in 30 PSI increments until I reach the working pressure.
This methodical approach prevents small issues from becoming dangerous failures. I also keep a “leak log” in my workshop records. Every six months, I pump the system up to 100 PSI, turn off the compressor, and check the gauge after two hours. If the needle has moved more than 2 PSI, I know it is time to go hunting for a slow leak. This level of record-keeping is what separates a professional-grade home shop from a disorganized one.
Budgeting for Your Air Distribution System
Setting up an air system requires a balance between upfront costs and long-term reliability. I typically advise beginners to allocate about 10% to 15% of their total shop setup budget to air and power infrastructure. While it isn’t as “fun” as buying a new plasma cutter, it is the foundation that allows that cutter to work properly.
To save money without compromising safety, I look for “contractor packs” of fittings. Buying 10 elbows at once is often 30% cheaper than buying them individually. Also, consider the “tooling-to-machine cost ratio.” If you spend $500 on a compressor, spending $150 on quality rigid lines is a proportional and wise investment.
- Piping: $1.50 – $4.00 per foot depending on material.
- Fittings: $2.00 – $8.00 per joint.
- Valves/Regulators: $40.00 – $100.00.
- Mounting Hardware: $20.00 total for a small shop.
As a result of this careful budgeting, you avoid the “buy it twice” syndrome. Many beginners start with cheap, temporary solutions that leak and eventually need to be replaced. By starting with a rigid, permanent system, you spend your money once and focus your future funds on expanding your fabrication capabilities.
Workshop Organization and Safety Integration
A functional fabrication space is an organized one. Your air lines should be integrated into your shop layout so they don’t interfere with the movement of large metal sheets or the operation of overhead hoists. I prefer to run my lines high on the wall, just below the ceiling joists, which keeps the floor clear of trip hazards.
Referencing OSHA workshop safety guidelines, clear labeling is also a good practice. I use small stickers to indicate “Compressed Air – 125 PSI” on my lines. This is helpful if you ever have a friend helping in the shop or if you eventually sell the property. It also reminds you of the potential energy stored in those pipes.
Finally, consider the “clean zone” in your shop. Keep your air outlets near your assembly and finishing areas, but ensure the piping itself is protected from the heavy sparks generated by grinders. Metal sparks can pit copper over time, so if your lines are in the “line of fire,” a simple sheet metal shield or a coat of high-quality paint can provide an extra layer of protection.
- Keep lines 7 feet above the floor to avoid head impacts.
- Use cushioned clamps to reduce vibration noise.
- Place outlets near the workbench vise for easy access.
- Maintain a 3-foot clearance around the compressor for cooling.
Frequently Asked Questions
Why shouldn’t I use PVC pipe for my air lines? PVC is not rated for compressed air. When it fails, it does not just leak; it shatters into sharp, plastic shrapnel. The heat from the compressor also makes PVC brittle over time. Always use copper, black iron, or aluminum to ensure a safe, OSHA-compliant environment.
What is the best way to find a tiny leak in a metal pipe joint? The most reliable method is the “bubble test.” Mix a few drops of liquid dish soap with water in a spray bottle. Spray the solution onto every joint while the system is pressurized. Even a microscopic leak will create a growing cluster of bubbles within seconds.
Can I mix different types of metal in my air system? You can, but you must be careful of galvanic corrosion. If you connect copper directly to black iron, the two different metals can react and corrode the joint. Use a brass fitting or a dielectric union between them to act as a buffer and prevent this chemical reaction.
How often should I drain the water from my air lines? In a humid environment or during heavy use, you should drain your drop legs daily. At a minimum, do it at the end of every work session. This prevents water from sitting in the pipes and causing internal rust in black iron or entering your tools.
Is 1/2-inch pipe enough for a small home garage? For most hobbyist tools like impact wrenches and nail guns, 1/2-inch is sufficient for short runs. However, if you are running lines longer than 30 feet or using high-CFM tools like a sandblaster, a 3/4-inch main trunk is a much better choice to prevent pressure drops.
Do I really need a regulator at every drop? It is not strictly necessary, but it is highly recommended. Different tools require different pressures. A paint gun might need 30 PSI, while a grinder needs 90 PSI. Having a regulator at the drop allows you to fine-tune the pressure for the specific task without walking back to the compressor.
How do I secure the pipes to a finished drywall shop wall? Use heavy-duty wall anchors or, ideally, screw your pipe hangers directly into the wall studs. Compressed air lines vibrate when tools are in use, and this vibration can pull light-duty anchors out of drywall, leading to sagging lines and stressed joints.
What is the “gooseneck” method for air outlets? A gooseneck involves taking the air from the top of the main horizontal line using a 180-degree turn. This prevents liquid water and heavy debris traveling along the bottom of the pipe from falling into your vertical drop, acting as a primary filter for your tools.
How much should I expect to spend on a basic rigid system? For a standard two-car garage, you can expect to spend between $150 and $300 on materials if you do the labor yourself. This includes the pipe, fittings, valves, and mounting hardware. It is a one-time investment that adds significant value to your workspace.
Can I use a propane torch to solder copper air lines? Yes, a standard propane or MAPP gas torch is perfect for soldering copper. Just ensure you have proper ventilation and a fire extinguisher nearby. Since air lines are not used for drinking water, you can use standard plumbing solder, though lead-free is the modern standard.
How do I transition from the compressor to the rigid pipe? Never connect the compressor directly to the rigid pipe. The vibration of the motor will eventually crack the rigid joints. Use a short, high-pressure braided stainless steel or reinforced rubber “jumper” hose to isolate the vibration between the compressor and the wall-mounted pipe.
What should I do if I find a leak in a soldered copper joint? You cannot simply add more solder to a leaky joint. You must depressurize the system, drain it, heat the joint to disassemble it, clean the pipe and fitting back to bare metal, apply fresh flux, and re-solder the joint from scratch.
(This article was written by one of our staff writers, Michael Thompson. Visit our Meet the Team page to learn more about the author and their expertise.)