How to Identify and Overcome Workshop Space Constraints (Fix)
When I stood in my first single-car garage back in 2013, I had a $2,000 budget and a lot of ambition. My background as an industrial maintenance technician taught me that precision and safety aren’t just for big factories. However, translating those industrial standards to a 12-by-20-foot concrete box was a challenge. I spent weeks moving a heavy welding table back and forth, trying to find a spot where I wouldn’t trip over my grinder cord or set my workbench on fire.
The biggest hurdle for most beginners isn’t just the cost of the tools. It is the reality of fitting those tools into a space that was never designed for metal fabrication. You are likely dealing with limited electrical outlets, low ceilings, and a floor plan that feels smaller every time you bring home a new piece of steel. Over the years, I have learned that a functional shop is built on meticulous planning and measurable data, not just buying more gear.
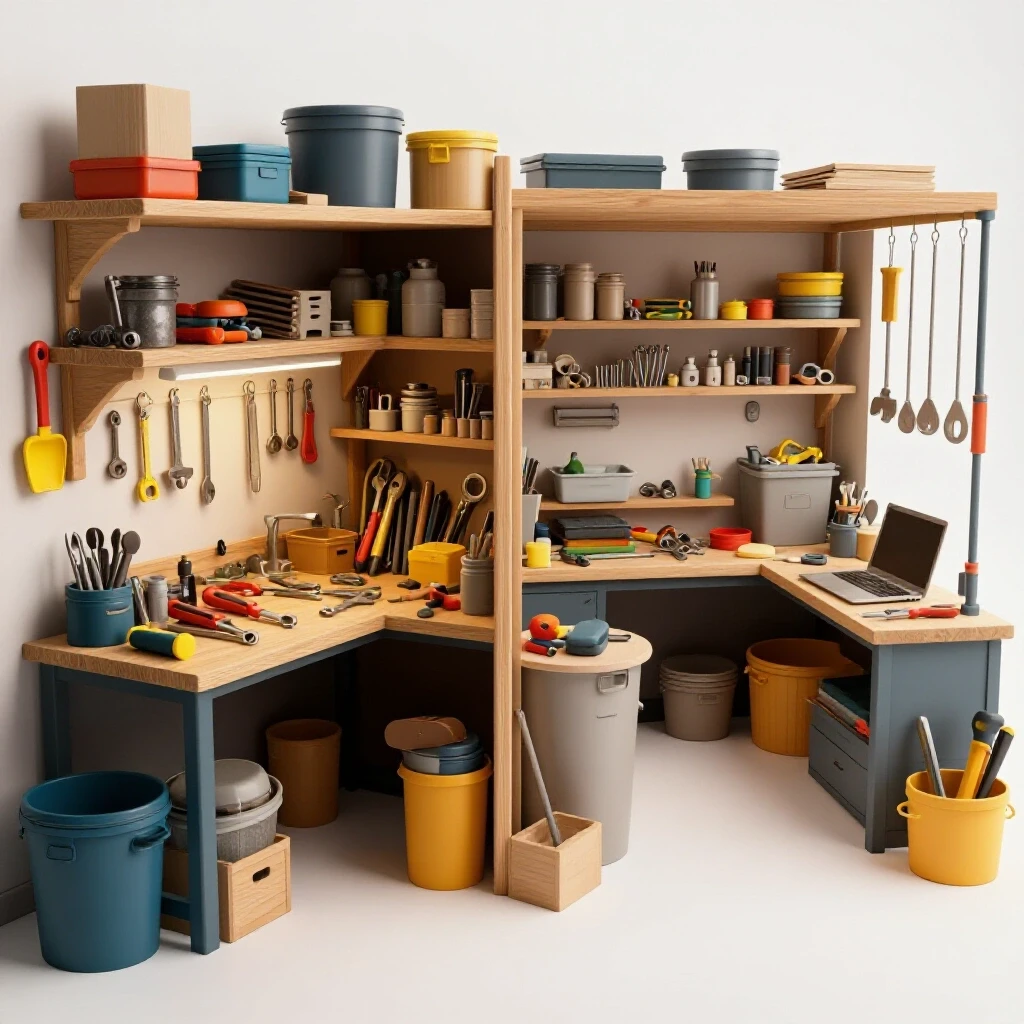
Mapping the Physical Boundaries of Your Fabrication Area
Analyzing the dimensions of your workspace ensures there is enough room for both the equipment and the operator to move safely. This process involves measuring the total square footage and subtracting the “dead zones” created by permanent fixtures like water heaters or support beams.
Before you bolt anything to the floor, you need a realistic map. I use a simple 1/4-inch scale drawing on graph paper to represent my shop. This allows me to move paper cutouts of my machines around without breaking my back. In a small residential garage, your biggest enemy is “static footprint.” This refers to tools that take up permanent floor space regardless of whether they are in use.
To keep a small shop functional, I follow the 60/40 rule. This means 60% of your floor space should remain open for movement and material handling, while only 40% is occupied by machines and storage. If you exceed this ratio, you will find yourself constantly shuffling items just to make a single cut. This leads to frustration and, more importantly, safety hazards like tripping over power leads.
Evaluating Electrical Infrastructure for High-Draw Tools
Assessing the electrical panel and outlet ratings prevents circuit overloads when using high-amperage tools like welders or plasma cutters. Most residential garages are wired with a single 15-amp or 20-amp circuit, which is often shared with lights and other rooms in the house.
When I first started, I tripped my main breaker three times in one afternoon. I was trying to run a small flux-core welder while my wife was running the vacuum cleaner inside. Metalworking tools are “high-draw” devices. A standard 120V welder can easily pull 20 amps at its peak setting. If your garage is on a 15-amp breaker, you are limited before you even strike an arc.
I recommend performing a circuit audit. Turn off the breaker labeled “Garage” and see what else loses power. If your shop shares a circuit with the kitchen or laundry room, you will need to reorganize your work schedule or consider a dedicated line. For a basic fabrication space, a dedicated 20-amp circuit for your tools and a separate 15-amp circuit for your lights is the bare minimum for safe operation.
Table 1: Common Power Draw and Circuit Requirements
| Tool Type | Typical Amperage (Start/Run) | Recommended Circuit | Voltage |
|---|---|---|---|
| Angle Grinder (4.5″) | 6A – 10A | 15A Standard | 120V |
| Entry-Level MIG Welder | 15A – 20A | 20A Dedicated | 120V |
| Small Air Compressor | 12A – 15A | 20A Dedicated | 120V |
| Bench Top Drill Press | 3A – 5A | 15A Standard | 120V |
| Chop Saw (14″) | 15A | 20A Dedicated | 120V |
Implementing Mobile Layouts to Solve Footprint Issues
Mounting heavy equipment on locking casters allows for a flexible floor plan that adapts to different project sizes. This approach turns a cramped room into a modular workspace where tools are only brought into the “active zone” when needed.
In a small shop, every stationary tool is a liability. I realized early on that if my welding table and band saw were on wheels, I could push them against the wall when I needed to pull a car in or work on a large gate project. When choosing casters, look for “total lock” versions that stop both the wheel rotation and the swivel. This is critical for stability when you are applying force to a workpiece.
A common mistake is using cheap, small-diameter wheels. Metal chips and floor debris will stop a 2-inch plastic wheel instantly. I use 4-inch polyurethane wheels with a weight rating that exceeds the machine’s weight by at least 50%. This ensures the tool stays level and moves smoothly over uneven concrete.
Optimizing Workflow Sequences in Limited Square Footage
Arranging tools in the order of the fabrication process—cut, prep, weld, finish—minimizes unnecessary movement and clutter. This logical flow prevents “bottlenecks” where materials pile up in the middle of the shop.
Think of your shop as a small assembly line. Ideally, your material storage should be near your cutting station. From there, the metal should move to a prep area for grinding or cleaning, then to the welding table, and finally to a finishing or painting zone. In a tight space, you might not have room for a linear line, so a “U-shaped” or “circular” flow is often more effective.
- Zone 1: Raw Material. Keep long bars and sheets vertical to save floor space.
- Zone 2: Processing. This is where your chop saw or band saw lives.
- Zone 3: Fabrication. Your central welding table, which should have at least 3 feet of clearance on all sides.
- Zone 4: Finishing. A clean area away from the grinding dust where you can apply paint or coatings.
Mitigating Fire Hazards and Spark Risks in Enclosed Spaces
Implementing safety barriers and non-combustible surfaces protects a residential structure from the heat and sparks inherent in metalwork. In a confined garage, sparks can travel up to 35 feet, making fire prevention a primary layout concern.
The American Welding Society (AWS) and OSHA have strict guidelines for “hot work” that we should mirror at home. Since many garage walls are made of flammable drywall or wood studs, you must create a “fire-safe envelope.” I use flame-resistant welding blankets or galvanized sheet metal panels to protect my walls.
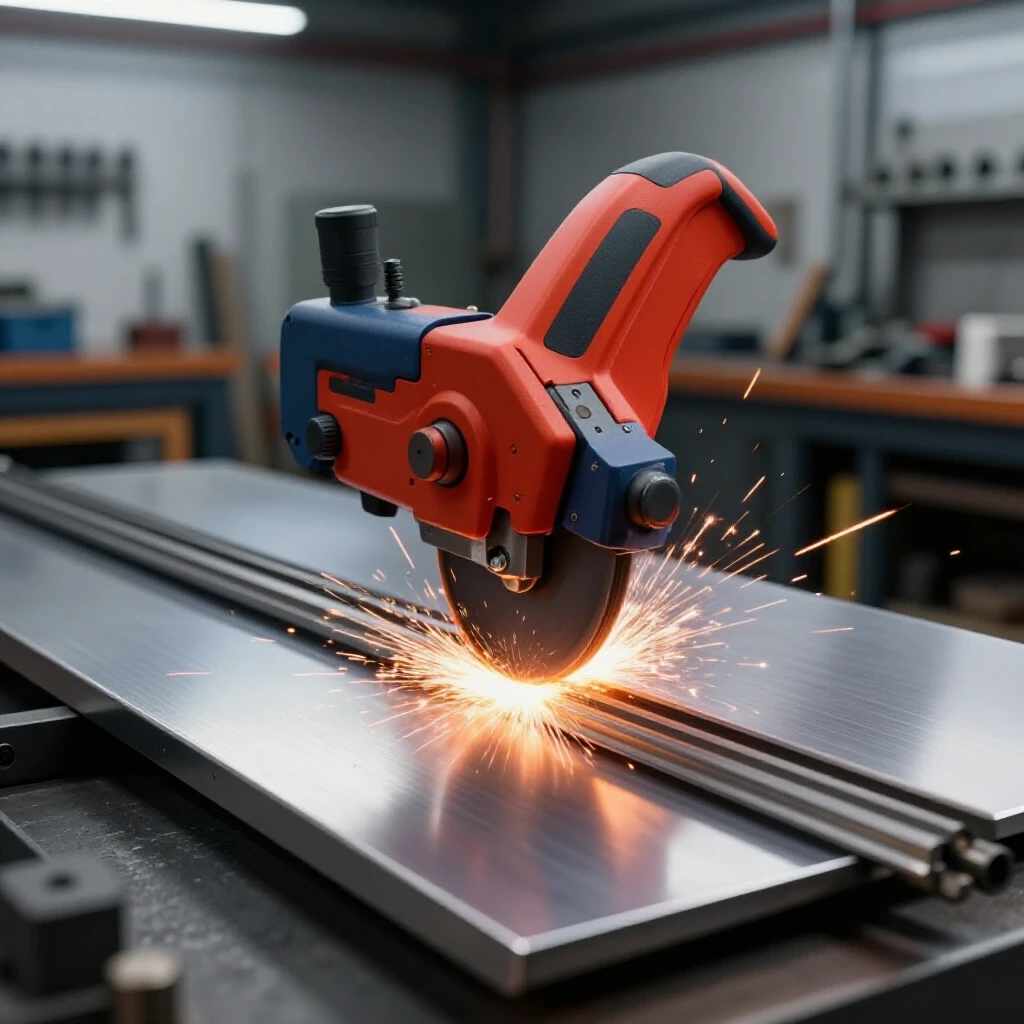
Another often overlooked risk is the “spark path.” When you use an angle grinder, the sparks are thrown in a specific direction. If your layout forces you to grind toward a pile of cardboard boxes or a lawnmower with a gas tank, you are asking for trouble. Always position your grinding station so that sparks are directed toward a clear concrete floor or a dedicated spark shield.
Table 2: Minimum Safety Clearances for Small Workshops
| Hazard Source | Required Clear Space | Recommended Protection |
|---|---|---|
| Welding Arc | 3 Feet Radius | Welding Screen or Curtain |
| Grinding Sparks | 5-10 Feet Path | Spark Shield / Concrete Floor |
| Gas Cylinders | 20 Feet from Fuel | Chained to Wall / Upright |
| Flammable Liquids | 35 Feet from Heat | Fire-Rated Cabinet |
Managing Air Quality and Dust Collection in Compact Shops
Designing a ventilation system effectively cycles air to remove fine metal particles and toxic welding gases from the breathing zone. In a small, enclosed space, fumes can reach dangerous concentrations in minutes.
Many beginners rely on “natural ventilation,” which is just opening the garage door. While helpful, it isn’t always enough, especially in winter or on windless days. You need to calculate the Cubic Feet per Minute (CFM) required to clear your air. A standard two-car garage is about 3,000 to 4,000 cubic feet. To achieve a complete air exchange every 5 minutes, you need a fan rated for at least 800 CFM.
I use a two-stage approach. First, I have a high-velocity floor fan positioned to blow fumes away from my face and out the door. Second, I use a dedicated shop vacuum with a HEPA filter attached directly to my stationary grinders. This captures the heavy metal dust before it settles on every surface in the shop. Remember, metal dust is conductive; if it gets inside your power tools or electrical outlets, it can cause a short circuit.
Utilizing Vertical Space for Tool and Material Storage
Maximizing wall height for storage frees up valuable floor area for active fabrication projects. In a small shop, the floor should be reserved for things that move; the walls are for things that stay.
I stopped using deep, wide shelving units years ago. They become “junk collectors” where items get buried and forgotten. Instead, I use shallow shelving (no more than 12 inches deep) and French cleat systems. This allows me to hang my grinders, hammers, and clamps exactly where I need them.
For material storage, I built a vertical rack out of 1-inch square tubing. Storing 20-foot lengths of steel horizontally is impossible in a small garage, but leaning them vertically against a reinforced wall section works perfectly. Just ensure the top of the rack has a safety chain to prevent the material from tipping over.
- Inventory your most-used hand tools. Group them by task (measuring, marking, cleaning).
- Install a pegboard or slat-wall. Use heavy-duty hooks that won’t pull out when you grab a tool.
- Label everything. In a small shop, organization is the only thing that prevents chaos.
- Use overhead storage. Store seasonal items or rarely used tools in racks suspended from the ceiling joists.
Establishing a Dedicated “Clean Zone” for Precision Work
Designating a specific area for measuring, marking, and electronics prevents contamination from metal dust and oil. Even in a tiny shop, keeping your precision tools separate from your grinding area is vital for accuracy.
One of my early mistakes was keeping my calipers and squares on the same bench where I was welding. The heat and grit quickly ruined my expensive measuring tools. Now, I use a small, separate mobile cart with a wooden top as my “clean station.”
This cart holds my layout fluid, scribes, and measuring tapes. When I am done marking my metal, I move the cart away and cover it with a heavy vinyl sheet before I start cutting. This simple habit has extended the life of my precision tools by years and improved the quality of my fabrication.
Final Inspection and Testing Your New Configuration
Conducting a “dry run” of your workflow helps identify hidden bottlenecks or safety issues before you start a real project. This involves walking through a project from start to finish without actually turning on the machines.
Once you think your layout is perfect, grab a 4-foot piece of scrap steel and move through your shop. Can you reach the chop saw without hitting the welding gas tank? Is there enough room to stand comfortably at the bench while someone else walks past? Do your power cords reach the outlets without becoming trip hazards?
I perform this layout audit every time I add a new tool or change my storage system. It only takes ten minutes, but it prevents the “analysis paralysis” that comes from working in a cluttered, inefficient space. Record your findings in a simple notebook. Tracking what works and what doesn’t is the hallmark of a professional maintenance mindset.
FAQ: Common Challenges in Small-Scale Metalworking Layouts
How can I safely weld in a garage with a wooden floor or benches? You should never weld directly over wood. If your bench is wood, cover the top with a sheet of 1/8-inch thick steel or a cement backer board. For floors, use a fire-resistant welding mat that extends at least 5 feet around your work area. Always keep a fire extinguisher (Class ABC) within arm’s reach.
What is the minimum amount of space I need for a welding table? A standard starter table is usually 2 feet by 3 feet. However, you need at least 3 feet of “operator space” on all sides to move freely. This means a 2×3 table actually requires an 8×9 foot footprint to be used effectively and safely.
Can I run a welder on a standard 15-amp household outlet? Technically, some small 120V welders will run on 15 amps at their lowest settings. However, you will likely experience “nuisance tripping” of the breaker. For consistent results and to prevent overheating your house wiring, a 20-amp circuit is highly recommended.
How do I prevent metal dust from getting into the rest of my house? Metal dust is incredibly fine and travels easily on clothes and shoes. Establish a “threshold” at the garage door. Use a heavy-duty walk-off mat and consider keeping a dedicated pair of “shop shoes” that never leave the garage. A high-quality air filtration unit can also help pull dust out of the air before it settles.
Is a 120V welder enough for a beginner shop? For most hobbyist projects like furniture, brackets, or light repairs, a 120V welder is sufficient. They can typically weld steel up to 3/16-inch or 1/4-inch thick in a single pass. If you plan on working on heavy truck frames or thick structural steel, you will eventually need to upgrade to 240V power.
How do I store gas cylinders safely in a confined space? Gas cylinders (like Argon or C25) should always be stored upright and secured with a chain or heavy strap to a wall stud or a dedicated welding cart. Never store them near heat sources or where they could be struck by falling objects. Ensure the valve cap is on whenever the regulator is not attached.
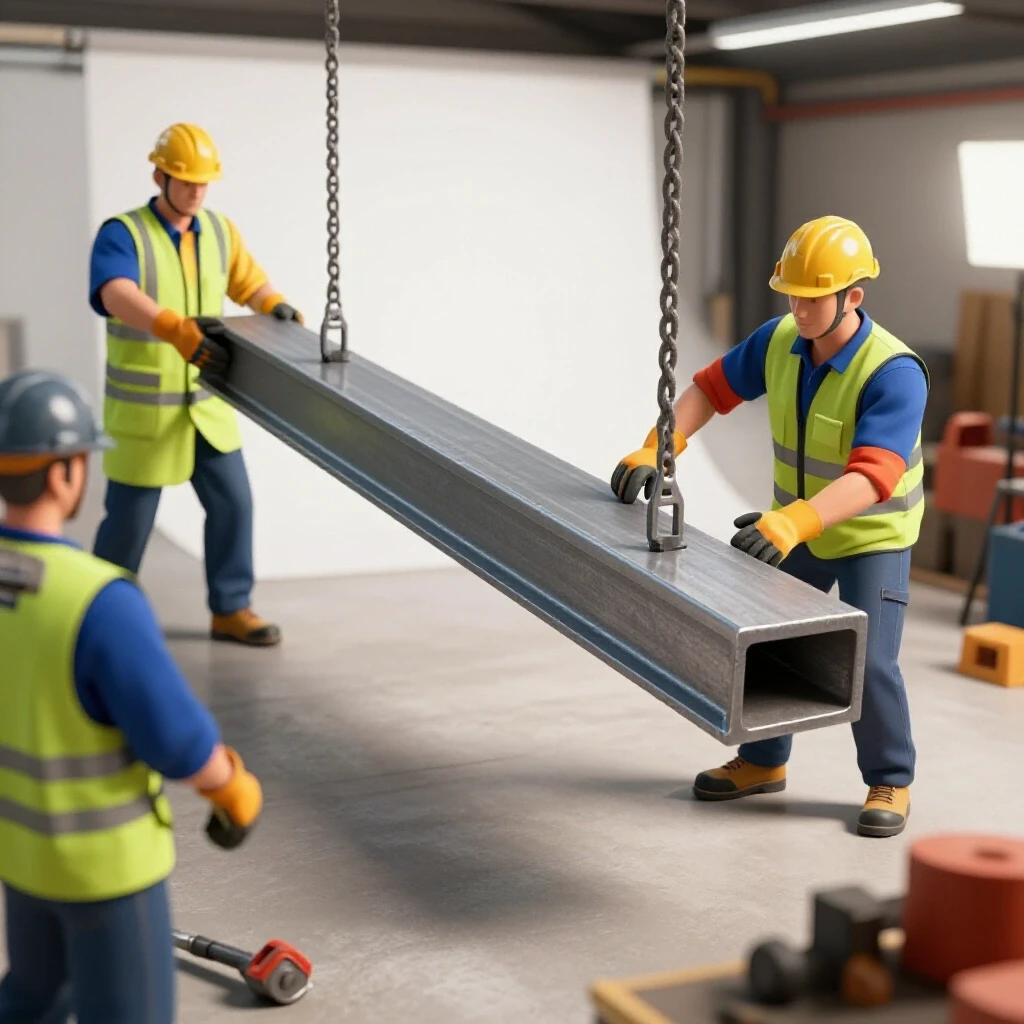
What is the best way to handle long pieces of steel in a small shop? Use “outfeed” supports or rollers. If you are cutting a 10-foot tube on a bench-mounted saw, the end of the tube will hang off and potentially tip the saw. Portable roller stands are inexpensive and can be folded up when not in use.
How often should I clean my shop to maintain safety? In a small metal shop, you should do a “sweep down” after every work session. Metal chips are sharp and can get embedded in your shoes or tires. Every month, perform a deep clean to remove dust from window sills, light fixtures, and tool motors to prevent fire hazards and equipment failure.
Why shouldn’t I use a standard shop vac for all grinding dust? Standard shop vac filters can be easily pierced by hot sparks, leading to a fire inside the vacuum. If you use a vacuum for grinding, ensure it has a flame-resistant filter or use a “cyclone” separator that drops the heavy, hot particles into a metal bucket before they reach the vacuum bag.
Can I use extension cords for my welder or saws? Avoid extension cords whenever possible. If you must use one, it must be a heavy-duty 10-gauge or 12-gauge cord and as short as possible (under 25 feet). Using a thin, long cord causes a “voltage drop,” which can damage your tool’s motor or result in poor weld quality.
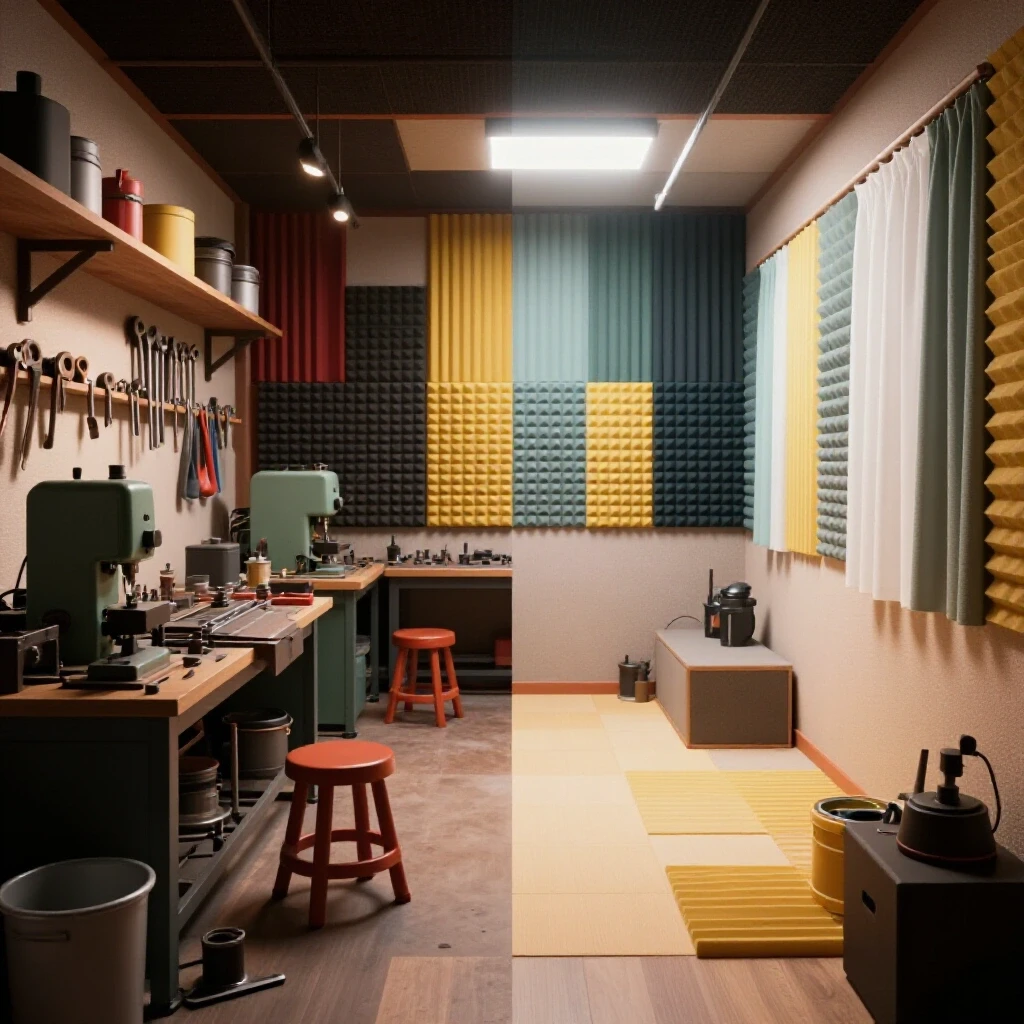
How do I manage noise in a residential neighborhood? Metalwork is loud. To stay on good terms with neighbors, insulate your garage door and walls. Use “quiet” tools when possible, such as a cold-cut saw instead of a high-speed abrasive chop saw. Limit your loudest activities (grinding and hammering) to mid-day hours.
What should I do if I run out of floor space? Go vertical or go mobile. If you can’t move, you must purge. Look for tools you haven’t used in six months and consider selling them or moving them to off-site storage. A cramped shop is a dangerous shop; sometimes the best “fix” is simply having fewer things.
(This article was written by one of our staff writers, Michael Thompson. Visit our Meet the Team page to learn more about the author and their expertise.)