How to Move Heavy Steel Bars and Plates Safely (DIY Guide)
When I first set up my garage shop in 2013, I had exactly $1,850 in my pocket and a lot of ambition. I had spent years as an industrial maintenance tech, so I knew my way around a wrench, but doing it on my own dime was a different story. One of the first things I learned—the hard way—was that buying a welder is the easy part. The real challenge is figuring out how to get a 20-foot stick of steel tubing or a 300-pound plate from your driveway to your workbench without ending up in the emergency room.
In those early days, I didn’t have the luxury of overhead cranes or forklifts. I had to rely on physics, a few pieces of scrap wood, and a methodical approach to moving weight. If you are currently staring at a stack of metal and wondering how you’ll ever manage it alone, take a breath. You don’t need expensive machinery to handle dense materials safely; you need a plan that respects the weight and utilizes basic mechanical advantage.
Assessing Your Starter Metal Workshop Layout for Weight Management
A starter metal workshop layout is the strategic arrangement of your equipment and storage to minimize the distance heavy materials must travel and ensure a clear path for transport. This phase focuses on mapping out “flow zones” where long bars or wide plates can be maneuvered without hitting expensive tools or electrical panels.
When you are planning your space, the floor is your most important tool. I’ve seen many beginners pack their garages so tightly that they have no room to actually move their raw materials. I recommend allocating at least 40% of your floor space to “clear zones.” This isn’t wasted space; it is your safety buffer. If you have to shimmy a heavy plate past a delicate drill press, you’re asking for an accident.
Building on this, consider your entry point. Most of us use a standard garage door. Your heavy storage should be as close to this door as possible. In my first shop, I tracked my movements for a week and realized I was carrying heavy bars 15 feet further than necessary because I put my rack in the back corner. By moving the rack near the door, I reduced my physical strain by nearly 60% over the course of a project.
- Minimum Clearance: Maintain a 36-inch wide path for walking with materials.
- Floor Surface: Ensure the concrete is level; even a 1/4-inch crack can stop a roller and cause a load to tip.
- Lighting: Shadows hide “trip hazards” like cords or scrap metal, which are deadly when you are carrying weight.
Affordable Fabrication Tools for Manual Material Relocation
Affordable fabrication tools for material handling include manual aids like pry bars, steel rollers, and heavy-duty dollies that allow you to move hundreds of pounds using leverage rather than raw strength. These tools are often the most overlooked part of a budget, yet they provide the highest return on safety and efficiency.
Interestingly, some of the most effective tools for moving heavy steel are the simplest. A set of three or four 2-foot lengths of 1-inch thick-wall steel pipe can act as a conveyor system for massive plates. By placing the plate on the pipes and “rolling” it forward, you can move weight that would otherwise be impossible to lift. As the plate moves off the back pipe, you simply pick that pipe up and move it to the front.
I also swear by a high-quality pinch bar or “spud bar.” This is a long steel lever with a tapered end. It allows you to get under the edge of a heavy plate to lift it just enough to slide a piece of wood or a roller underneath. In my budget tracking, I found that spending $40 on a professional-grade pry bar saved me from replacing a $200 workbench that I would have otherwise dented by trying to “manhandle” steel onto it.
| Tool Type | Purpose | Estimated Cost | Priority |
|---|---|---|---|
| Pinch/Pry Bar | Lifting edges for dunnage placement | $35 – $50 | High |
| Steel Pipe Rollers | Moving flat plates across the floor | $10 – $20 (Scrap) | High |
| Heavy-Duty Dolly | Moving long bars or heavy sub-assemblies | $60 – $120 | Medium |
| C-Clamps | Securing loads to dollies during transit | $15 – $30 | High |
| Wooden Dunnage | Creating finger clearance under loads | $0 (Scrap 2x4s) | Essential |
Understanding Load Dynamics and the Physics of Leverage
Load dynamics refers to how the weight of a metal object shifts during movement and how you can use pivot points and levers to control that weight with minimal effort. Mastering this concept allows a solo hobbyist to manage materials that weigh three to four times their own body weight.
One of the most common mistakes I see is the “dead lift” attempt. Beginners often try to pick up a steel plate like they are at the gym. In a fabrication shop, we don’t lift; we “walk” or “pivot.” If you need to move a standing plate, you don’t carry it. You tilt it slightly and pivot it on one corner, then the other. This “walking” method keeps the majority of the weight on the floor at all times.
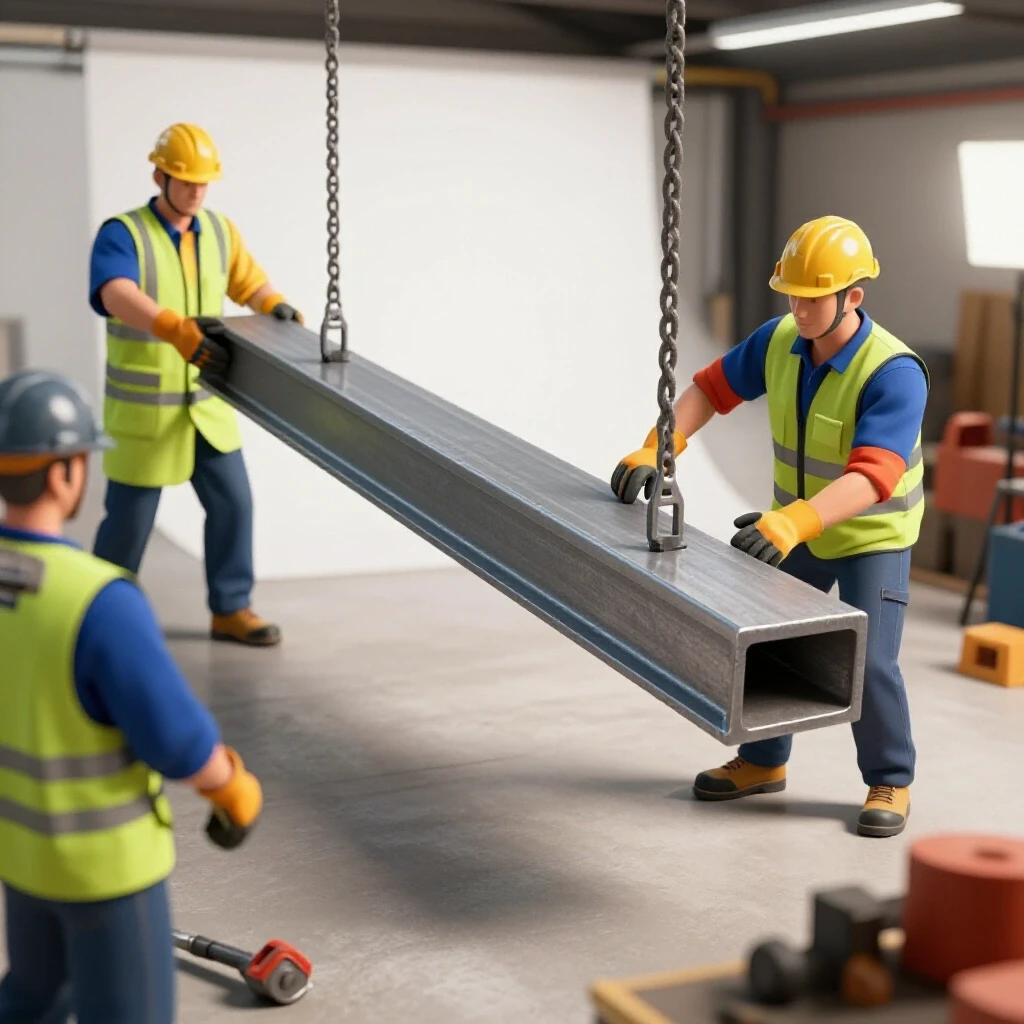
As a result of using these techniques, you significantly lower your center of gravity. When moving long bars, find the balance point—the “teeter-totter” spot. If you support a 20-foot bar at its center of gravity, it feels weightless. If you grab it by the end, it feels like it weighs a thousand pounds. I always mark the center point of my long stock with a soapstone marker before I move it; it’s a small habit that prevents a lot of tilted-load accidents.
- Pinch Points: Always be aware of where your fingers are. If the load shifts, can your hand get trapped?
- Dunnage: Never lay a flat plate directly on the floor. Always place it on 2×4 wood blocks (dunnage) so you can get a pry bar or your fingers under it later.
- Friction: Smooth concrete is your friend, but sawdust or metal shavings act like ball bearings under your feet, which is dangerous. Keep the floor swept.
Workshop Electrical Setup Checklists and Pathway Safety
A workshop electrical setup checklist for material handling ensures that power cords, outlets, and conduits are positioned so they do not interfere with the movement of heavy steel or create tripping hazards. Proper cord management is a foundational safety step that prevents catastrophic falls while carrying dense loads.
When I was refining my second shop layout, I realized my welder cord was a major hurdle. I was constantly stepping over it while carrying heavy square tubing. Building on this, I installed overhead cord reels and ensured my 20A dedicated circuits were placed high on the walls. This kept the floor “clean.” If you are on a budget, even simple “J-hooks” to keep cords off the ground will make moving metal much safer.
Furthermore, consider the “swing” of your materials. A 10-foot bar of steel can easily knock a cord out of a socket or, worse, crush a plastic conduit. I recommend using EMT (Electrical Metallic Tubing) for any wiring below 4 feet in height. It’s a bit more work to install, but it protects your shop’s nervous system from the inevitable bumps and scrapes of moving heavy stock.
- Identify Trip Hazards: All cords must be either overhead or covered by a heavy-duty floor ramp.
- Outlet Height: Install outlets at 48 inches high to keep them above the “bump zone” of most steel plates.
- Clearance Zones: Ensure no electrical panels are blocked by “temporary” metal storage.
- Emergency Stops: Keep access to your main breaker or E-stops clear, even when a large project is in the middle of the floor.
Establishing a Safe Fabrication Zone with Proper Ventilation
A safe fabrication zone is a designated area where material movement and prep work happen, supported by garage workshop ventilation to ensure that any dust or fumes from cleaning the metal don’t linger in the workspace. While moving metal doesn’t create fumes, the prep work immediately following the move—like grinding off mill scale—certainly does.
Before you even move that heavy steel onto your table, you need to think about the air. I’ve found that a simple 20-inch box fan in a window is rarely enough. For a standard 2-car garage, you want a ventilation system capable of at least 1,000 to 1,500 CFM (Cubic Feet per Minute) to clear out grinding dust. Why does this matter for moving metal? Because a dusty floor is a slippery floor.
Interestingly, the “clean zone” concept helps with both safety and tool longevity. By keeping your heavy material storage and initial “rough” prep (like de-greasing and scale removal) near the garage door with high-volume airflow, you keep the rest of your shop—and your lungs—cleaner. I spent about 15% of my initial budget on a decent exhaust fan and high-quality respirators, and it was the best investment I made.
- CFM Calculation: Aim for 15-20 air changes per hour in your fabrication zone.
- Dust Management: Use a shop vac with a HEPA filter for immediate cleanup after moving and prepping metal.
- Airflow Direction: Always pull air away from your face and toward the outdoors.
Beginner Welder Power Requirements and Machine Placement
Beginner welder power requirements dictate where your welding machine sits in relation to your metal storage, which in turn determines how far you have to move heavy workpieces. Most entry-level machines run on 120V (15A or 20A) or 240V, and their placement is key to a functional workflow.
I often see beginners put their welder in a corner because that’s where the outlet is. Then they spend the rest of the year lugging heavy steel across the shop to reach the welder. Instead, I suggest building a mobile welding cart. This allows you to bring the machine to the metal rather than the metal to the machine. This is a huge win for your back and your budget.
When tracking costs, remember that a longer heavy-duty extension cord for a 240V welder can be expensive ($100+). However, compare that to the cost of a back injury or the time wasted moving a 200-pound welding table. In my shop, I prioritized a 25-foot lead for my welder so I could keep my heavy steel stock stationary once it was in the “work zone.”
| Machine Type | Voltage/Amperage | Ideal Placement | Movement Strategy |
|---|---|---|---|
| Entry-level MIG | 120V / 20A | Mobile Cart | Bring machine to stock |
| Multi-process Welder | 240V / 50A | Near Power Drop | Move stock to machine |
| Plasma Cutter | 120V or 240V | Near Air Supply | Bring machine to stock |
| Grinder/Stationary | 120V / 15A | Fixed Bench | Move stock to machine |
Body Mechanics: The “Industrial Athlete” Approach
Body mechanics in the workshop involves using your legs, maintaining a neutral spine, and keeping the load as close to your body’s center of gravity as possible to prevent musculoskeletal injuries. Think of yourself as an industrial athlete; you wouldn’t sprint without a warm-up, so don’t lift a 50-pound bar without preparing your posture.
In my years of maintenance work, I saw more injuries from “light” loads moved poorly than from “heavy” loads moved with equipment. When you pick up a steel bar, your feet should be shoulder-width apart. As you lift, keep the bar close to your shins and then your thighs. The further the weight is from your torso, the more “leverage” it has against your lower back.
As a result of staying disciplined with my posture, I’ve managed to stay injury-free for over a decade of solo shop work. I also recommend wearing a high-quality pair of leather boots with a steel or composite toe. I once dropped a small 10-pound off-cut of 1-inch plate; it didn’t look heavy, but it would have crushed a toe in sneakers. ANSI Z41.1 or ASTM F2413 rated footwear is non-negotiable in my shop.
- The “Hug” Method: For compact, heavy items, “hug” the load to your chest to keep the weight centered.
- No Twisting: Never twist your torso while carrying weight. Pivot your entire body with your feet.
- Know Your Limit: For most people, the solo “safe lift” limit is about 50 pounds. Anything heavier should be rolled, slid, or pivoted.
Measuring and Marking: The “Move Once” Rule
The “move once” rule is a productivity principle where you measure and plan your cuts while the material is still in its storage location, ensuring that you only move the heavy stock when it is absolutely necessary. This reduces the total physical labor required for any given project and minimizes the risk of handling errors.
I keep a tape measure, a square, and a soapstone marker right next to my steel rack. Before I even think about pulling a 20-foot stick of tubing off the rack, I measure it. If I only need 4 feet, I might even use a portable bandsaw or a hacksaw to cut it right there on the rack (if safe and clear of sparks). Moving a 4-foot piece is 80% easier than moving a 20-foot piece.
Building on this, I track my “movement efficiency” in my shop log. If I find myself moving the same piece of steel three times before I actually spark the welder, I know my layout is failing me. A well-organized shop is one where the material moves in a straight line from the rack to the saw, then to the welding table, and finally to the paint/finish area.
- Stage 1: Storage (Near the door).
- Stage 2: Rough Cut (Immediately adjacent to storage).
- Stage 3: Fabrication (The central welding table).
- Stage 4: Finishing (Opposite end from the welder to avoid contamination).
Budgeting for Safety: Where to Spend and Where to Save
Budgeting for safety means allocating a specific percentage of your startup funds—I recommend 30%—to high-quality personal protective equipment (PPE) and material handling aids, rather than spending it all on the power tools themselves. A $500 welder is useless if you can’t afford the $100 boots that protect your feet from the metal you’re welding.
When I look back at my 2013 budget, I see that I spent more on my welding helmet and boots than I did on my first angle grinder. That was a conscious choice. You can get a decent “entry-level” grinder for $40, but “entry-level” safety gear is often a gamble with your health. In the context of moving heavy metal, this means investing in high-grip, cut-resistant gloves.
Interestingly, you can save money by being a “scavenger” for handling tools. Old lawnmower wheels can be repurposed into a small dolly. Scrap 4×4 posts make excellent dunnage. You don’t need to buy a “professional material cart” for $400 when you can weld one yourself using $50 of steel and some $20 casters from the local hardware store. This is the essence of the budget-conscious metalworker: spend on what protects your body, and build what assists your work.
Frequently Asked Questions
How can I move a 4×8 sheet of steel by myself? Use the “tipping and rolling” method. Use a pry bar to lift one end and slide a pipe roller underneath. Repeat this until the sheet is supported by three rollers. You can then push the sheet across a smooth floor with one hand. Always ensure the path is clear before you start.
What is the safest way to store long steel bars in a small garage? Vertical storage is tempting but can be dangerous if the bars tip. I recommend horizontal wall racks with at least three support points to prevent sagging. Ensure the rack is bolted directly into the wall studs using heavy-duty lag bolts.
Do I really need steel-toed boots for a hobby shop? Yes. Steel bars and plates are incredibly dense. Even a small piece falling from waist height can cause permanent bone damage. Composite toe boots are also a great option as they are lighter and don’t get as cold in the winter.
How do I prevent “pinch points” when setting down a heavy plate? Always use dunnage (wood blocks). Never lay a plate flat on a table or floor. By placing it on 2×2 or 2×4 wood blocks, you leave a gap for your fingers or a pry bar to be removed safely without getting crushed.
Can I use a furniture dolly to move steel? Standard furniture dollies are often rated for only 200-300 pounds and have plastic casters that can crack under the concentrated weight of steel. If you use one, ensure it has a solid wood or steel frame and “hard” rubber or steel casters rated for the specific weight of your material.
What should I do if a load starts to tip? Let it go. This is the hardest rule to follow, but your instinct to “catch” a 200-pound plate will only result in injury. If you have maintained a clear “escape zone” in your shop layout, you can simply step back and let the material fall.
How do I calculate the weight of a steel plate before moving it? A good rule of thumb for mild steel is that a 1-foot by 1-foot square of 1-inch thick plate weighs about 40 pounds. So, a 1/4-inch plate of the same size weighs 10 pounds. A full 4×8 sheet of 1/4-inch steel is 32 square feet, so it weighs roughly 320 pounds.
What is the best way to move metal over an uneven floor or driveway? Rollers won’t work well on gravel or cracked asphalt. In these cases, a heavy-duty wheelbarrow or a cart with large pneumatic (air-filled) tires is best. The larger the wheel diameter, the easier it will be to roll over bumps.
Is it safe to move steel bars by “walking” them? Yes, for vertical bars or plates, “walking” them on their corners is a standard industrial technique. It keeps the weight on the floor and requires very little lifting force. Just be careful of the “swing” radius so you don’t hit anything.
How much of my budget should go toward material handling? I suggest about 5% to 10% of your initial $2,000–$3,000 budget. This covers a good pry bar, some rollers, casters for a DIY cart, and wood for dunnage. It’s a small price for long-term back health.
(This article was written by one of our staff writers, Michael Thompson. Visit our Meet the Team page to learn more about the author and their expertise.)