How to Reduce Hand Fatigue While Grinding and Cutting (Fix)
When I set up my first garage shop back in 2013, I had exactly $1,850 in the bank and a massive amount of ambition. I remember spending four hours straight cleaning up some reclaimed steel with a cheap, vibrating angle grinder. By the end of the day, my hands were buzzing so badly I couldn’t even hold a pencil to mark my next cut. I realized then that saving money on the wrong tools and ignoring how I stood at my bench wasn’t just a comfort issue; it was a productivity killer.
Establishing a functional fabrication space on a budget requires more than just buying the cheapest tools you can find. It involves understanding how your equipment interacts with your body. If your tools are fighting you, or if your workbench is at the wrong height, you will tire out long before the job is done. This guide focuses on setting up your space to minimize physical strain while maximizing every dollar of your startup budget.
Organizing Your Starter Metal Workshop Layout for Better Control
A well-planned layout ensures you have the physical clearance to move naturally while operating heavy machinery. By positioning your workbench and stationary tools to allow for a full range of motion, you avoid the awkward reaching and twisting that leads to early muscle exhaustion.
When you are working in a confined garage, every inch of floor space matters. I’ve found that a “clean zone” and a “hot zone” are essential for a safe, efficient workflow. Your hot zone is where the sparks fly, and it needs to be clear of trip hazards. If you are cramped, you tend to grip your tools tighter to compensate for a lack of balance. This “white-knuckle” grip is the primary cause of forearm tension.
Building on this, consider your workbench height. A standard 34-inch kitchen counter height is often too low for detailed metalwork. For most people in the 25–45 age range, a bench height that sits just below elbow level allows you to keep your wrists straight while grinding. When your wrists are neutral, you don’t have to squeeze the tool as hard to maintain control.
Essential Starter Tool Sequencing
Starting with the right tools in the right order prevents you from overspending on equipment that might actually make your work harder. This table outlines a logical progression for a beginner budget.
| Priority | Tool Category | Purpose | Impact on Physical Strain |
|---|---|---|---|
| 1 | Solid Workbench | Stable base for all tasks | Reduces vibration and improves posture |
| 2 | 4.5-inch Angle Grinder | Primary cutting and cleaning | High-quality models reduce hand vibration |
| 3 | Bench Vise (4-6 inch) | Securing workpieces | Eliminates the need to hold metal by hand |
| 4 | Personal Protective Equipment | Safety and comfort | Dampening gloves and earpro reduce stress |
| 5 | Portable Band Saw | Clean, low-effort cutting | Significant reduction in manual effort vs. grinding |
Selecting Affordable Fabrication Tools with Ergonomics in Mind
Choosing tools based on their weight, balance, and switch design can drastically change your experience in the shop. Affordable tools often skip vibration-dampening features, so knowing which mid-range options offer the best value for your physical health is a key part of budget planning.
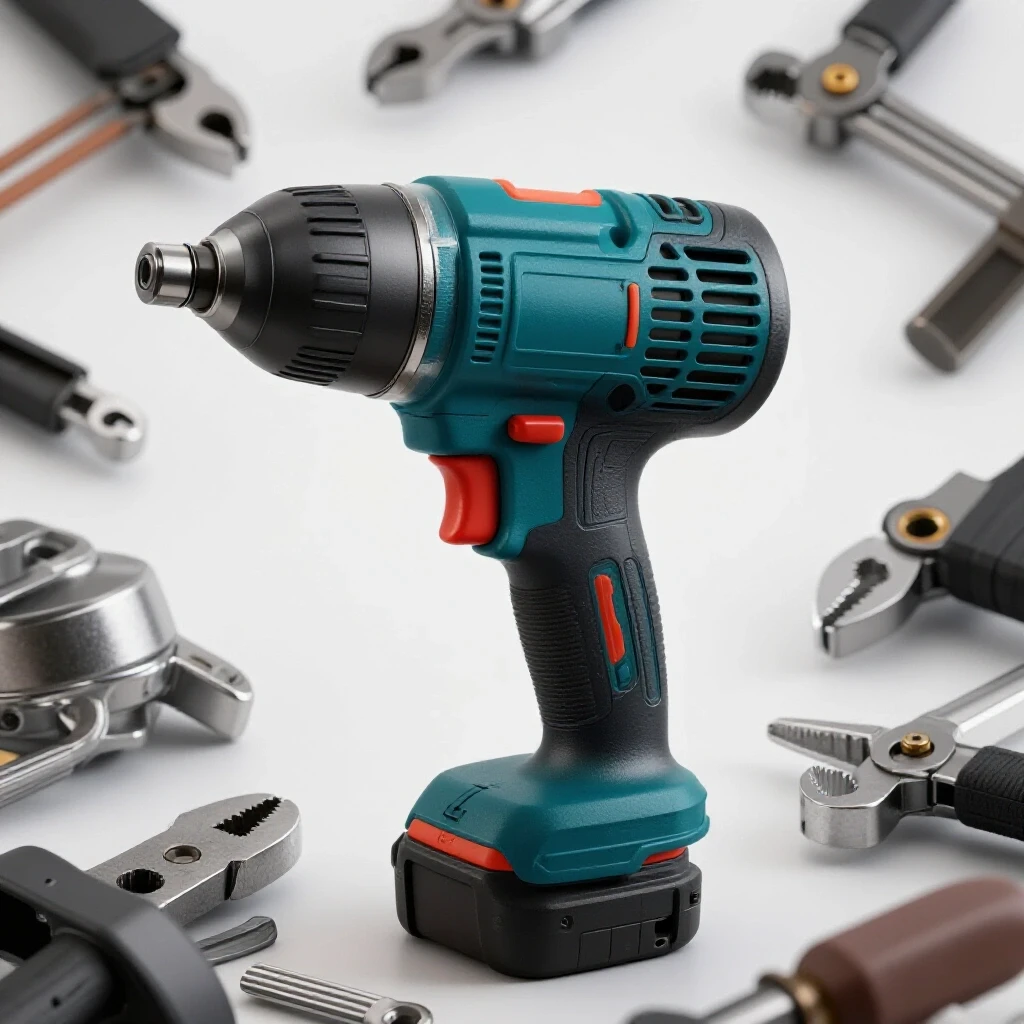
Interestingly, the heaviest tool isn’t always the most tiring. A well-balanced grinder with a slim body allows your hand to wrap around it more naturally. When I was starting out, I bought a bulky, $30 grinder that was so wide I had to strain my thumb just to reach the switch. Switching to a model with a paddle switch—which you squeeze with your whole hand rather than just a thumb—immediately reduced my hand cramps.
As a result of my maintenance background, I always look at the handle design. Many entry-level tools come with hard plastic side handles. Replacing these with inexpensive, rubberized, anti-vibration handles is one of the most cost-effective upgrades you can make. It’s a small change that absorbs the high-frequency “tingle” before it reaches your joints.
Tooling-to-Machine Cost Ratios
It is a common mistake to spend 90% of your budget on the machine and only 10% on the accessories. In reality, the “consumables” like wheels and discs do the actual work.
- Grinding Machine: 60% of the budget. Look for a 7-amp to 10-amp motor.
- High-Quality Abrasives: 20% of the budget. Better discs cut faster with less pressure.
- Ergonomic Accessories: 10% of the budget. Anti-vibration handles and grips.
- Maintenance Supplies: 10% of the budget. Gear grease and replacement brushes.
Managing Vibration and Grip Pressure in Small Spaces
Vibration is the hidden enemy of the metalworker, leading to a loss of dexterity and increased fatigue over time. By using specific techniques and accessories, you can dampen these forces and work for longer periods without the “buzzing” sensation in your fingers.
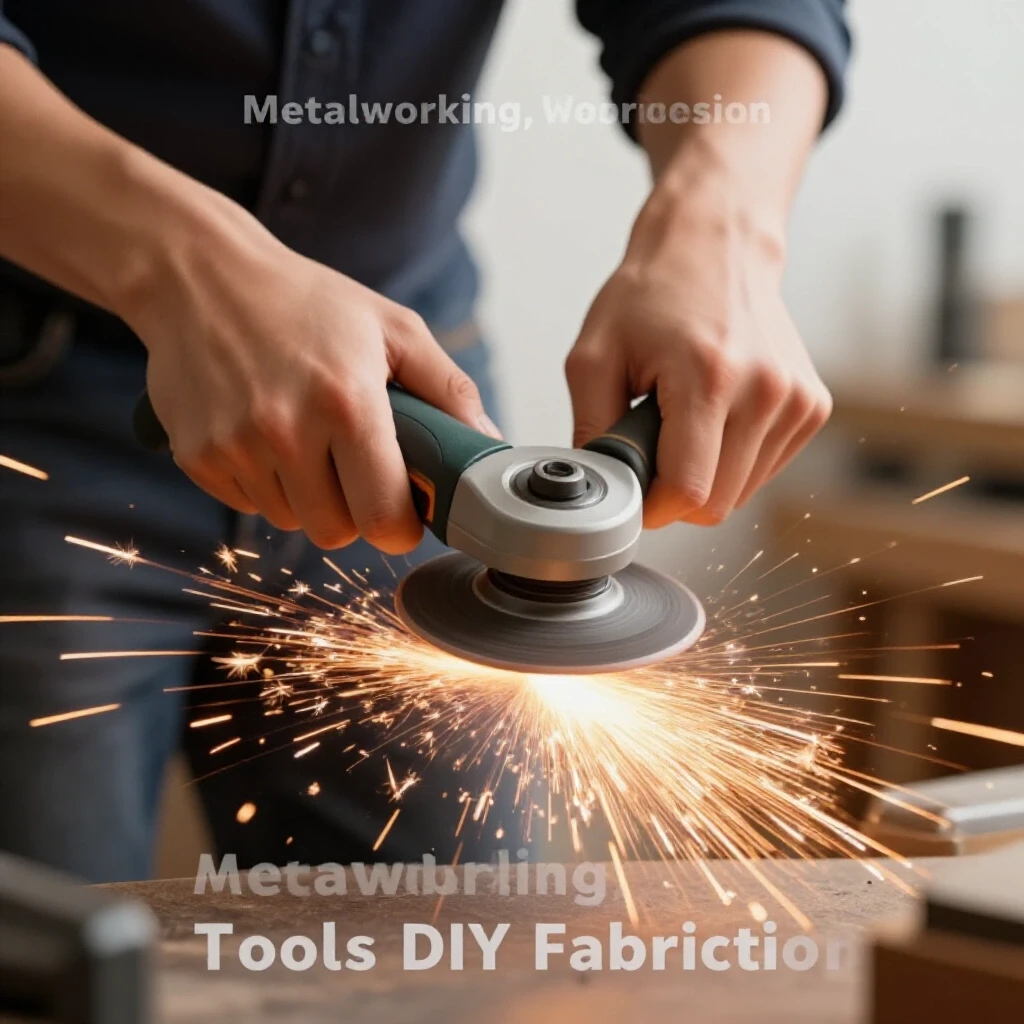
One of the most effective ways to lower manual strain is to let the weight of the tool do the work. Beginners often feel the need to lean into the grinder, thinking it will cut faster. In reality, modern abrasive grains work best under consistent, moderate pressure. If you find yourself pushing hard, your disc is likely glazed or poor quality. Using a premium ceramic or zirconia flap disc allows you to use a lighter touch, which saves your wrists and your motor.
Building on this, the way you hold the tool matters. I recommend a “staggered” grip. Keep your dominant hand on the body of the tool and your secondary hand on the side handle, but keep your elbows slightly bent. Locking your arms sends every vibration directly into your shoulders. By keeping a soft bend in your joints, your muscles act as natural shock absorbers.
Vibration Dampening Checklist
- Check Disc Balance: If a disc is chipped or off-center, it will wobble. Replace it immediately.
- Use Padded Gloves: Look for gloves with gel or foam palms specifically rated for vibration reduction.
- Upgrade the Handle: Swap stock plastic handles for those with internal springs or rubber over-molds.
- Secure the Workpiece: A vibrating metal sheet acts like a speaker cone for vibration. Clamp it tightly to a heavy table.
- Rotate Tasks: Never grind for more than 15 minutes without a 5-minute break to stretch your hands.
Power Requirements and Electrical Safety for Consistent Tool Performance
Inconsistent power delivery can cause tools to bog down, forcing the operator to compensate with more physical force. Ensuring your workshop electrical setup can handle the draw of your fabrication tools is a fundamental step in reducing the effort required for metal removal.
Most residential garages are wired with 15-amp circuits, often shared with a refrigerator or garage door opener. When you start a 10-amp grinder on a shared circuit, you may experience a voltage drop. This makes the motor work harder and spin slower. When the RPMs drop, the abrasive doesn’t cut as efficiently, and you instinctively push harder to make up for it. This cycle is a fast track to hand fatigue.
If you can, have a dedicated 20-amp circuit installed for your welding and grinding area. This ensures your tools maintain their rated speed under load. I tracked my own power usage early on and found that a stable 120V supply kept my tools running cooler and smoother, which directly translated to less vibration felt in my hands.
Power Consumption by Tool Class
Understanding the draw of your tools helps you plan your layout and avoid overloading your breakers.
| Tool Type | Average Amperage | Recommended Circuit | Impact of Low Power |
|---|---|---|---|
| Small Angle Grinder | 6A – 10A | 15A Dedicated | Increased vibration, slower cutting |
| Large Angle Grinder | 13A – 15A | 20A Dedicated | High torque kickback, heavy strain |
| Bench Grinder | 3A – 5A | 15A Standard | Easy to stall, requires more pressure |
| Entry-Level Welder | 15A – 20A | 20A Dedicated | Poor arc stability, increased cleanup |
Why High-Quality Abrasives Reduce Manual Effort
The quality of the abrasive material determines how much physical energy you must expend to remove metal. Investing in professional-grade discs, even for a hobbyist shop, pays off in reduced muscle strain and faster project completion.
I used to buy the “10-pack for $5” cutting wheels from big-box stores. They were thin, flexed easily, and wore down in minutes. Because they weren’t efficient, I had to move the tool back and forth constantly, which tired out my wrists. When I switched to high-performance ceramic wheels, the tool stayed in one place and sank through the steel. I wasn’t “working” the tool anymore; I was simply guiding it.
This is a key area where budget-conscious beginners can actually save money. A $4 high-quality flap disc will often outlast five $1 cheap discs. More importantly, the high-quality disc stays balanced longer. As a cheap disc wears unevenly, it begins to vibrate violently, which is the leading cause of hand numbness during long grinding sessions.
Abrasive Material Comparison
- Aluminum Oxide: The budget standard. Good for general use but wears fast and requires more pressure.
- Zirconia Alumina: A significant step up. It “self-sharpens” and is excellent for stainless steel and heavy grinding.
- Ceramic Grain: The top tier. It cuts the coolest and fastest, requiring the least amount of operator lean-in.
Optimizing Workshop Ventilation to Reduce Physical Stress
Proper garage workshop ventilation is often overlooked as a factor in physical fatigue. Inhaling dust and fumes causes systemic stress on the body, leading to tension in the neck and shoulders that eventually migrates down to the hands and wrists.
When you grind metal, you’re creating a cloud of metallic dust and abrasive grit. If your ventilation is poor, you tend to hunch over your work to see through the haze, or you hold your breath subconsciously. Both of these habits lead to muscle tightness. A simple box fan in a window is a start, but for a fabrication space, you want an airflow that pulls dust away from your face.
I recommend a “source capture” approach. If you can’t afford a professional fume extractor, place a high-velocity fan behind you, blowing across the workpiece toward an open door. This creates a cross-draft that keeps your line of sight clear. When you can see what you’re doing clearly, you don’t have to tense up or lean into the “danger zone” of the sparks.
Ventilation Metrics for Small Shops
- Minimum Air Exchange: Aim for 15-20 air changes per hour in a small garage.
- CFM Requirements: A standard 20-inch box fan moves about 2,000 CFM, which is usually sufficient for a single-car garage if placed correctly.
- Safety Clearance: Keep your intake fans at least 6 feet away from your grinding spark path to avoid fire hazards.
Workshop Organization Tools for Long-Term Efficiency
Maintaining an organized space reduces the “mental fatigue” that often manifests as physical tension. When every tool has a dedicated home, you spend less time digging through drawers and more time focusing on proper technique.
One of the best things I did for my shop was creating a “grinding station.” I mounted a French cleat system on the wall to hold my grinders, spare discs, and wrenches. Before this, I would leave my grinders on the floor or a cluttered bench. Picking them up from a proper height and having the right wrench immediately available meant I didn’t get frustrated. Frustration leads to rushing, and rushing leads to a tight, fatiguing grip.
Essential Layout Design Templates
- The “Golden Triangle”: Position your vise, your scrap bin, and your tool rack within three steps of each other.
- Vertical Storage: Use pegboards or slatwalls to keep the floor clear. A clear floor means a stable stance.
- Mobile Bases: Put heavy tools on locking casters so you can adjust your work angle to catch the best light.
- Shadow Boards: Paint the outline of your tools on the wall. This makes it obvious when something is missing, preventing “search fatigue.”
Actionable Tracking Framework: The Shop Startup Checklist
To avoid the analysis paralysis that many beginners face, use a structured checklist. This helps you track your costs and ensures you don’t skip the small items that make a big difference in comfort.
- Electrical Audit: Map your garage breakers. Identify which 20A circuit is available for your heavy tools.
- Ergonomic Baseline: Stand at your workbench. If your shoulders are hunched, add a riser to your vise or bench legs.
- Tool Vetting: Before buying a grinder, hold it in the store. Can you operate the switch comfortably with one hand?
- Consumable Budget: Set aside $100 specifically for high-quality ceramic discs and anti-vibration gloves.
- Safety Log: Record how long you work and note when your hands start to feel tired. This helps you identify if a specific tool is the culprit.
Final Steps for a Sustainable Workshop Setup
Setting up your first metalworking space is a marathon, not a sprint. By prioritizing ergonomics and proper tool selection from day one, you protect your hands and wrists from the cumulative strain of fabrication. Remember that the “fix” for hand fatigue isn’t just one thing; it’s a combination of a stable workbench, high-quality abrasives, and a dedicated electrical setup that allows your tools to run at peak efficiency.
Start small, track your costs meticulously, and never compromise on the accessories that sit between you and the machine. Your future self—and your hands—will thank you for the extra planning you do today.
Frequently Asked Questions
How does the weight of an angle grinder affect hand fatigue? While a heavier grinder can feel more stable, it requires more muscle effort to maneuver and hold steady during vertical or overhead work. For most beginners, a 4.5-inch grinder weighing between 4 and 5 pounds offers the best balance of power and manageable weight. If you find a tool is too heavy, use a vise to hold the work at a height where the tool can rest on the metal rather than being held up by your arms.
Can wearing thicker gloves reduce the vibration I feel? Not necessarily. While thick leather welding gloves protect from heat, they can actually increase hand fatigue by making it harder to grip the tool. Look for specialized “anti-vibration” gloves that have gel or foam padding in the palms. These are designed to absorb high-frequency tremors without adding excessive bulk, allowing you to maintain a lighter, more relaxed grip.
Why does my hand go numb after only ten minutes of grinding? Numbness is usually caused by high-frequency vibration or a grip that is too tight. Check if your grinding disc is centered and not chipped, as an unbalanced disc is a major vibration source. Also, ensure you aren’t “death-gripping” the tool. If the numbness persists, it may be a sign that your workbench is too low, causing you to bend your wrists at an awkward angle.
Is a paddle switch better than a slide switch for reducing hand strain? For most users, yes. A paddle switch allows you to engage the tool using the strength of your entire hand grip. A slide switch requires a specific thumb movement that can become tiring or even painful during repetitive start-and-stop tasks. Paddle switches also offer a “dead-man” safety feature, meaning the tool stops as soon as you relax your grip.
How does workbench height relate to arm and hand exhaustion? If your workbench is too low, you have to hunch your shoulders and bend your wrists downward to apply pressure. This puts strain on the tendons in your forearm. A bench that is roughly 36 to 38 inches high (for an average-height adult) allows you to keep your elbows at a 90-degree angle and your wrists straight, which is the most ergonomic position for power tool use.
Do cordless grinders cause more or less fatigue than corded ones? Cordless grinders are often heavier because of the battery pack, which can increase fatigue during long sessions. However, the lack of a cord means you aren’t fighting the weight and resistance of a thick rubber cable, which can be a benefit in tight spaces. For a beginner on a budget, a corded grinder usually provides more consistent power and less weight per dollar.
How often should I replace my grinding discs to prevent strain? You should replace a disc as soon as you notice you have to push harder to get the same results. A worn-down disc loses its abrasive “bite,” forcing you to use physical strength to compensate. Using a fresh, high-quality ceramic disc can reduce the time and effort required for a task by 50% or more.
What is the best way to secure small parts to reduce vibration? Small parts vibrate the most, which sends shockwaves back into your hands. Always use a heavy bench vise or C-clamps to secure your workpiece to a solid table. If the part is too small for a vise, consider using a “sacrificial” piece of wood or metal to provide extra clamping surface area. The more mass you have behind the cut, the less vibration you will feel.
(This article was written by one of our staff writers, Michael Thompson. Visit our Meet the Team page to learn more about the author and their expertise.)