How to Track and Manage Your Workshop Setup Costs (Guide)
When I stood in my empty two-car garage back in 2013, I had exactly $2,000 and a lot of ambition. As a former industrial maintenance technician, I knew how to fix massive CNC machines, but setting up a personal fabrication space from scratch was a different challenge. I felt the same anxiety many of you feel today. You spend hours looking at welder reviews and floor plan sketches, worried that one wrong purchase will drain your bank account. I realized quickly that the key to a functional shop isn’t just buying tools; it is about how you document and control your spending to ensure every dollar adds capability to your bench.
My first shop taught me that a lack of structure leads to “analysis paralysis.” I spent three weeks deciding on a grinder, only to realize I hadn’t budgeted for the electrical circuit needed to run it. By treating your shop setup like a maintenance project, you can avoid these pitfalls. We are going to look at how to categorize your spending, prioritize your initial purchases, and lay out a space that respects both your wallet and safety standards.
Establishing a Realistic Financial Roadmap for Your Fabrication Space
Creating a budget for a new workshop requires a clear understanding of where your money actually goes. It is not just about the price tag on a welder; it involves allocating funds for electrical upgrades, safety gear, and the consumables that keep the machines running. A structured approach prevents overspending on flashy tools.
When I started, I used a simple 50/30/20 rule to keep my finances in check. I allocated 50% of my total budget to primary machinery like welders and saws. I set aside 30% for high-quality safety gear and precision measuring tools. The final 20% went toward consumables like grinding wheels, welding wire, and shielding gas. This ratio ensures you don’t end up with a high-end welder but no way to protect your eyes or clean your metal.
To keep track of these numbers, I recommend a basic spreadsheet or a dedicated notebook. I call this my “Shop Ledger.” Every time I buy a box of flap discs or a new set of magnets, it goes into the ledger. This habit allows you to see the true cost of your hobby over time. You might find that you are spending more on abrasives than you realized, which might prompt you to look for better bulk pricing from industrial suppliers.
- Primary Machinery (50%): Welder, chop saw, bench grinder, and drill press.
- Safety and Precision (30%): Welding helmet, respirators, fire extinguishers, calipers, and squares.
- Consumables and Small Parts (20%): Abrasives, drill bits, hardware, and raw material.
Analyzing Electrical Capacity and Hidden Infrastructure Expenses
Before you buy a single tool, you must understand the power limits of your garage. Most residential garages have a single 15-amp or 20-amp circuit that shares power with the lights and the garage door opener. Running a welder on these circuits often leads to tripped breakers and frustration during your first few practice beads.
In my first setup, I didn’t account for the “inrush current” of my old transformer-style welder. Every time I struck an arc, the lights dimmed, and the breaker popped. I had to spend $300 of my tool budget to have a dedicated 20-amp circuit installed. This is a “hidden cost” that many beginners miss. You should check your breaker panel early. Look for a 20-amp breaker (usually labeled with a ’20’) and ensure it isn’t powering your refrigerator or deep freezer.
Understanding your tool’s duty cycle is also vital for cost management. A duty cycle is the amount of time a machine can run in a 10-minute window without overheating. If a welder has a 20% duty cycle at 90 amps, you can weld for two minutes and must let it cool for eight. Buying a machine with a duty cycle that matches your planned work prevents you from burning out expensive equipment prematurely.
| Tool Class | Typical Amp Draw | Recommended Circuit | Priority Level |
|---|---|---|---|
| Entry-Level MIG Welder | 15A – 20A | Dedicated 20A | High |
| 4.5-inch Angle Grinder | 6A – 10A | Standard 15A | High |
| Bench Drill Press | 5A – 8A | Standard 15A | Medium |
| Portable Air Compressor | 10A – 15A | Dedicated 20A | Medium |
Ranking Essential Metalworking Tools by Utility and Price
It is tempting to buy every tool in the catalog, but a functional shop only needs a few core items to start. Prioritizing your purchases based on how often you will use them prevents your budget from being tied up in specialized tools that sit on the shelf. Focus on cutting, joining, and finishing first.
I have found that the most important tool in any metal shop isn’t the welder; it is the angle grinder. You will spend 70% of your time preparing metal or cleaning up welds. I suggest starting with two grinders if the budget allows. Keeping a grinding stone on one and a flap disc on the other saves time and reduces wear on the tool’s locking mechanism. This is a practical way to manage your time and equipment lifespan.
When choosing a welder, many beginners struggle between MIG (Metal Inert Gas) and Stick welding. For a budget-conscious garage, a small inverter-based MIG welder is often the best balance of ease of use and cost. However, remember to factor in the cost of the gas bottle. A 40-cubic-foot cylinder can cost between $150 and $200 to purchase outright. If that is too high, starting with flux-core wire (which doesn’t need gas) is a valid way to get moving while you save for a bottle.
- Angle Grinder: The workhorse for cleaning, cutting, and smoothing.
- MIG Welder: The most accessible entry point for joining steel.
- Metal Cutting Saw: A dedicated chop saw or portaband ensures square cuts.
- Hand Tools: Clamps, hammers, and a solid metal-marking kit.
Designing an Efficient Floor Plan to Minimize Redundant Spending
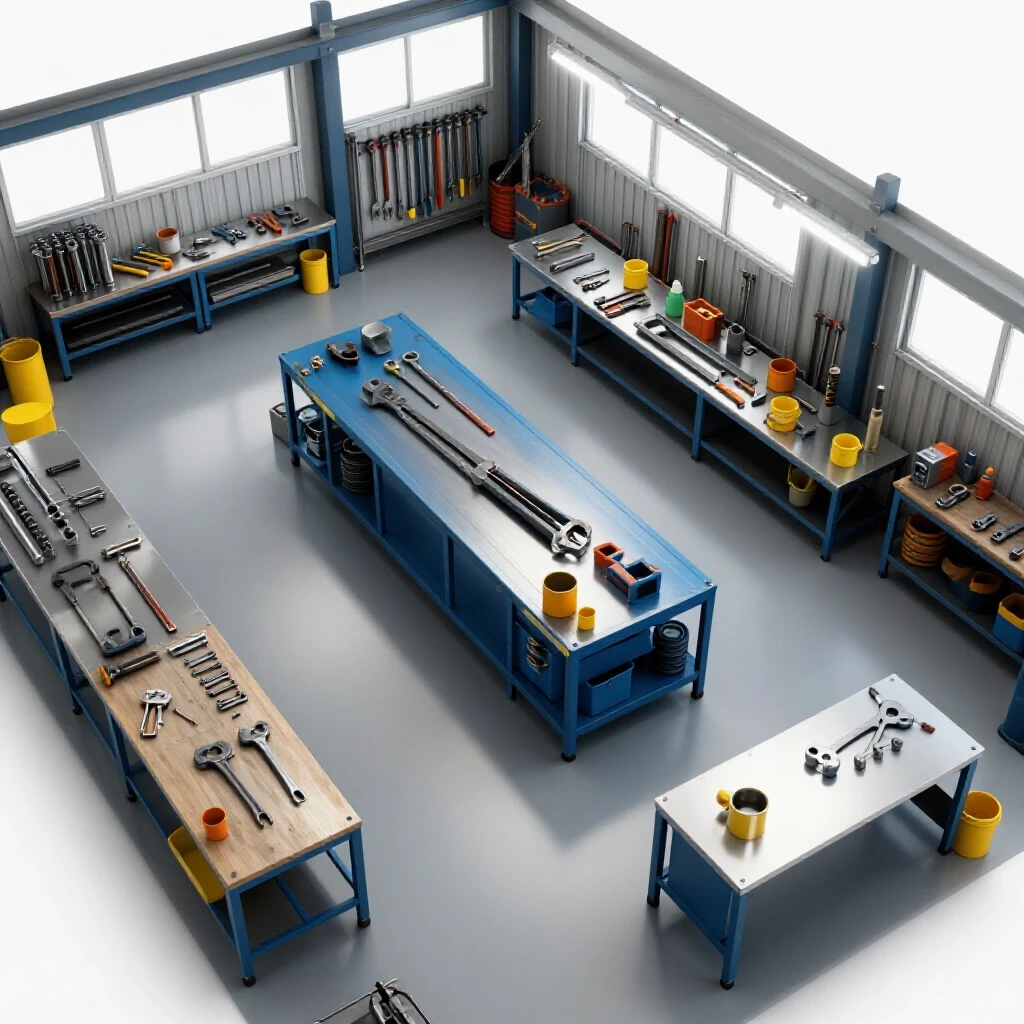
A cramped or disorganized workshop is not just frustrating; it can be dangerous. Metalworking creates sparks, dust, and heavy fumes that must be managed. By planning your layout before you move heavy benches, you can ensure your workflow is logical and that you aren’t wasting money on long extension cords or extra lighting.
In my shop, I follow a “Zone System.” I have a Clean Zone for measuring and layout, a Hot Zone for welding and grinding, and a Material Zone for steel storage. Keeping your grinding area away from your welding machine is crucial. Grinding dust is metallic and conductive; if your welder sucks that dust into its cooling fans, it can short out the internal circuit boards. This is a common way beginners accidentally destroy a $500 machine.
You also need to consider your “clearance boundaries.” OSHA guidelines for industrial spaces often suggest at least three feet of clear walkway, and while your garage isn’t an industrial plant, the logic holds. You need room to move when holding a hot piece of steel or a spinning power tool. I use blue painter’s tape to mark out tool footprints on the floor before I commit to a layout. This costs nothing but saves hours of heavy lifting later.
- Hot Zone: Keep 10 feet clear of flammable materials like sawdust or fuel cans.
- Work Bench: Aim for a height of 34 to 36 inches to reduce back strain.
- Material Storage: Store long bars vertically or on sturdy wall racks to save floor space.
- Lighting: Use LED shop lights to ensure you can see your cut lines clearly.
Investing in Personal Protective Equipment (PPE) Without Overspending
Safety gear is where many beginners try to save money, but this is a mistake that can lead to long-term health issues or expensive medical bills. You don’t need the most expensive brand, but you do need equipment that meets established safety standards. Look for the ANSI Z87.1 mark on all eye protection.
I recommend spending a bit more on an auto-darkening welding helmet. A cheap, fixed-shade helmet makes it hard for a beginner to see where they are starting their weld, leading to “arc strike” marks all over the workpiece. An entry-level auto-darkening hood from a reputable supplier usually costs around $80 to $120. This investment directly improves the quality of your work because you can actually see what you are doing.
Respiratory protection is another area where I track my costs closely. Metal fumes, especially from galvanized steel or certain welding wires, are toxic. A basic N95 mask isn’t enough for heavy welding. I use a low-profile P100 respirator that fits under my welding hood. These cost about $30, and the replacement filters are inexpensive. When you record these in your shop ledger, you’ll see that the cost of lung protection is pennies per hour of work.
- Welding Helmet: Look for a large viewing area and at least two sensors.
- Gloves: Use heavy leather for welding and thinner TIG gloves for precision work.
- Apparel: Always wear 100% cotton or leather; synthetic fabrics can melt to your skin.
- Ear Protection: Over-the-ear muffs are best for high-decibel grinding.
Managing Consumables and Long-Term Maintenance Expenses
Consumables are the “silent budget killers” in a metal shop. It is easy to forget that every cut you make with a saw or every inch of wire you weld has a specific cost. By tracking how long your abrasives and gases last, you can make smarter purchasing decisions and avoid running out of supplies in the middle of a project.
I learned the hard way that cheap grinding discs are often a bad deal. A $1 disc might wear out in five minutes, while a $3 high-quality ceramic disc might last for thirty minutes of heavy use. In my maintenance logs, I found that the more expensive discs actually lowered my “cost per inch” of grinding. This is why I advocate for buying small quantities of different brands early on to see which one performs best for your specific style of work.
Shielding gas is another area to monitor. If you leave your tank valve open overnight, a small leak can empty a $50 fill while you sleep. I made it a habit to check my gauges every time I finish a session. I also keep a “Gas Log” where I note the pressure in the tank at the start and end of each project. This helps me predict when I will need a refill, so I don’t have to make an emergency trip to the welding supply store on a Saturday afternoon.
| Consumable Item | Expected Lifespan | Estimated Cost | Tracking Metric |
|---|---|---|---|
| 2lb Spool of MIG Wire | 2-4 small projects | $15 – $20 | Weight of spool |
| 4.5″ Flap Disc (Ceramic) | 30-60 mins of use | $3 – $5 | Visual wear line |
| 40cf Argon/CO2 Mix | 2-4 hours of trigger time | $40 – $60 (Refill) | PSI on regulator |
| Drill Bit Set (HSS) | Varies by material | $25 – $50 | Sharpness/Chipping |
Implementing Simple Record-Keeping Systems for Tooling and Supplies
You do not need complex software to manage your workshop. A simple system of logs and checklists will keep you organized and ensure you are spending your money where it matters most. This habit comes from my industrial background, where every tool has a place and every maintenance task is scheduled.
I use a “Tool Vetting Checklist” before I buy anything over $100. I ask myself: Will I use this at least once a month? Do I have the electrical capacity to run it? Do I have a place to store it? If the answer to any of these is no, I hold off on the purchase. This prevents the “shiny object syndrome” that leads to a garage full of tools you never use.
Another useful tool is a “Safety Log.” Every month, I spend 15 minutes checking my fire extinguisher pressure, inspecting power cords for frays, and cleaning the dust out of my welder’s intake. Documenting these small checks ensures they actually happen. It also helps you spot equipment wear before it becomes a dangerous or expensive failure.
- The Purchase Log: Track every tool, part, and material purchase.
- The Maintenance Schedule: Note when you change oil in the compressor or flip the welder’s drive rolls.
- The Project Planner: Estimate material and consumable costs before starting a build.
- The Supplier List: Keep a list of local metal yards and welding shops with their current prices.
Building Your First Workbench and Organizing the Space
Your workbench is the heart of your shop. While you can buy pre-made benches, building your own is a great first project that helps you practice your skills while saving money. A good metalworking bench needs to be heavy, flat, and fire-resistant.
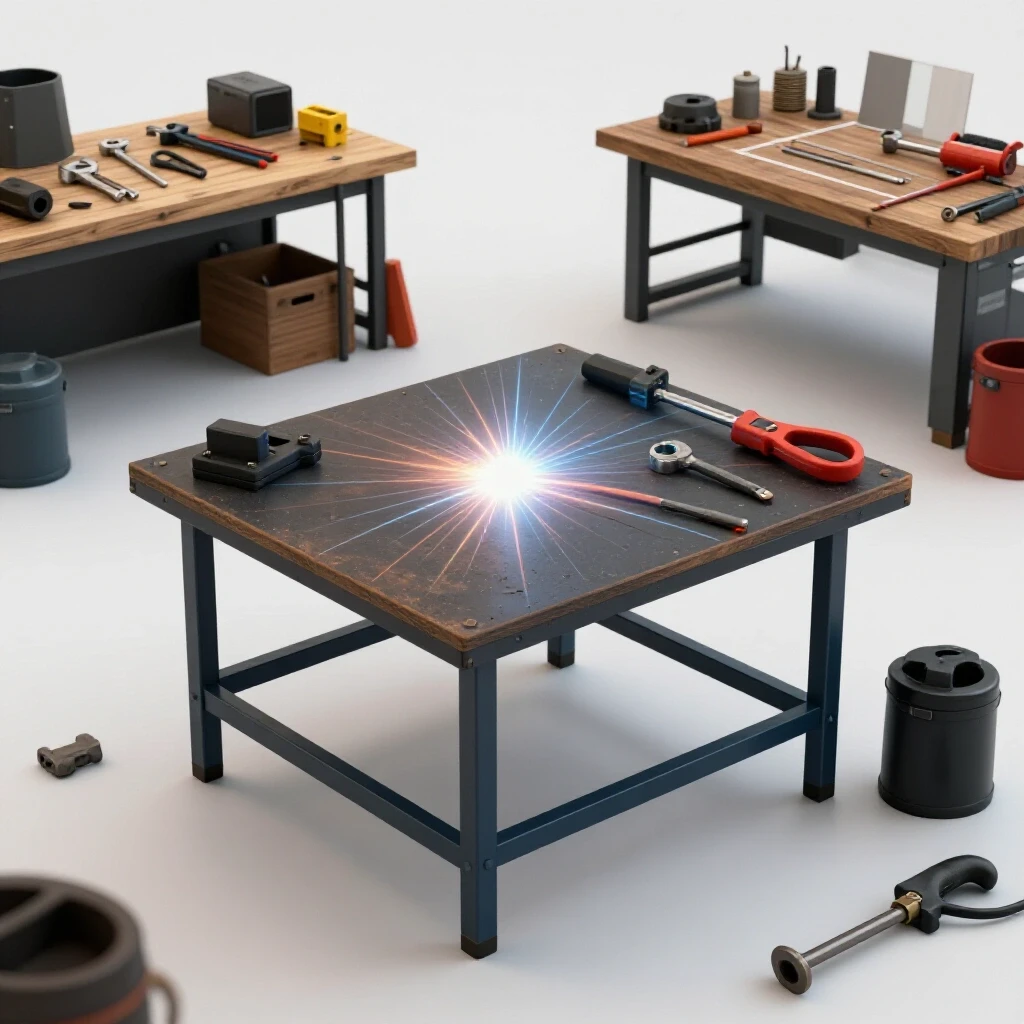
For my first bench, I used a thick wood frame but topped it with a 3/16-inch thick steel plate. This gave me a conductive surface for my welding ground clamp and a tough area for hammering. I tracked the cost of the steel plate separately from the lumber. By using a local scrap yard, I found a “remnant” piece of steel for half the price of a new sheet. This is a key strategy for budget-conscious builders: always check the remnant pile first.
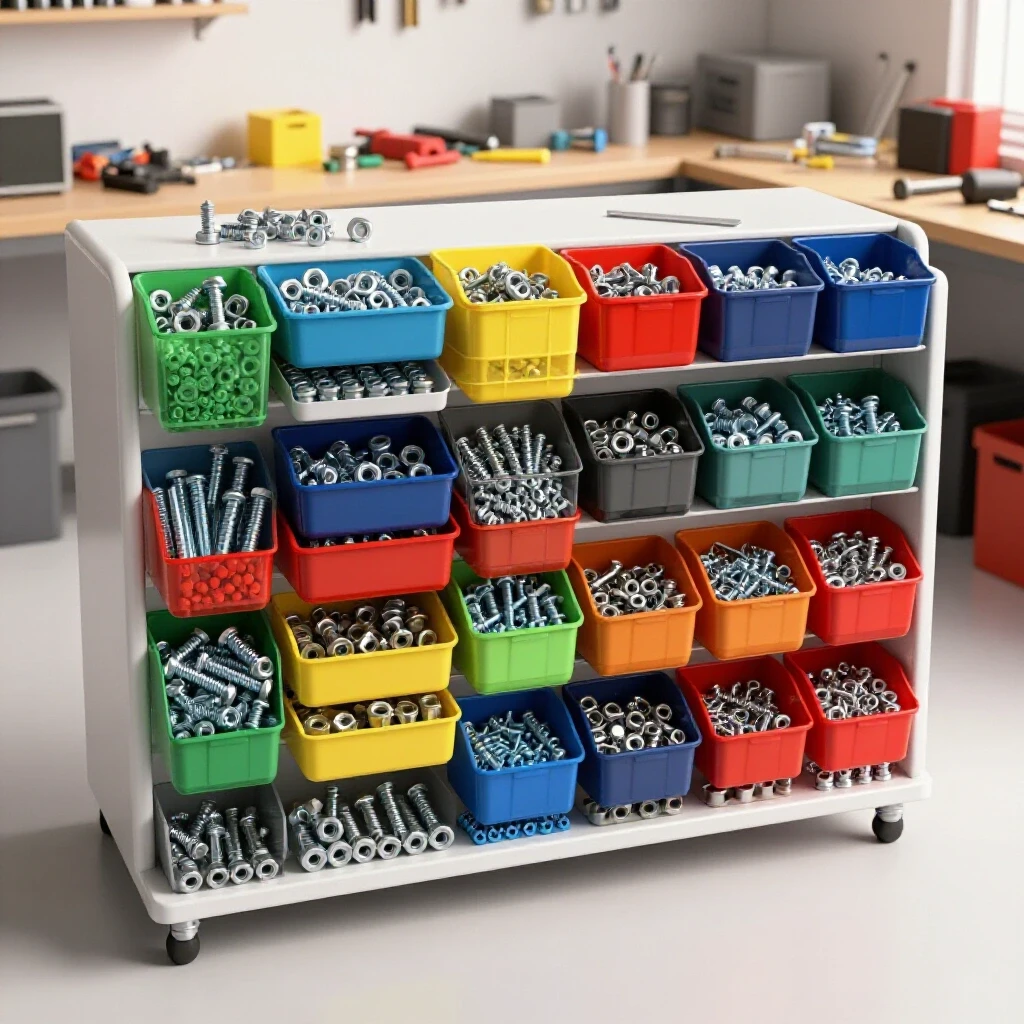
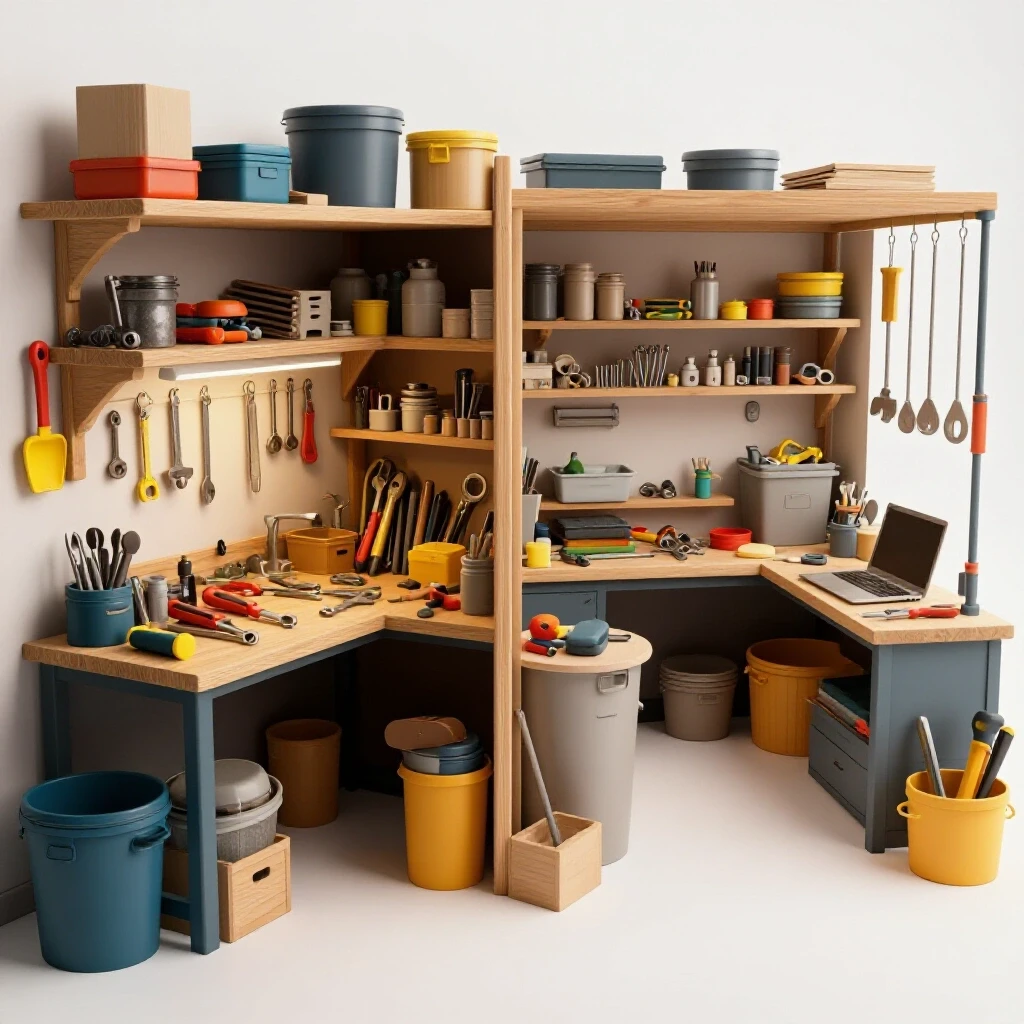
Organization is about more than just looking clean; it is about protecting your investment. I use vertical pegboards for my most-used tools and clear bins for hardware. Knowing exactly how many 1/4-inch bolts you have prevents you from buying more. I also recommend a “Mobile Base” for your heavy tools. In a small garage, being able to wheel your welder or saw out of the way is essential for maintaining a safe clearance boundary.
- Bench Top: Minimum 1/8-inch steel for light duty; 1/4-inch or 3/8-inch for heavy fabrication.
- Mobility: Use locking casters rated for at least 200 lbs each.
- Grounding: Ensure your bench has a dedicated spot to attach your welding ground.
- Storage: Use the space under the bench for heavy items like your welder or scrap bin.
Establishing a Ventilation Strategy for Small Spaces
Metalworking creates fine dust and hazardous fumes that can quickly fill a garage. Proper ventilation is not an area where you should compromise. You need a way to move air out of the shop and bring fresh air in. This is measured in CFM, or Cubic Feet per Minute.
A standard 2-car garage is about 3,000 to 4,000 cubic feet. To clear fumes effectively, you want to aim for at least 5 to 10 air exchanges per hour. A simple box fan in the window is rarely enough for welding. I installed a dedicated exhaust fan near my welding area. By placing the fan close to the source of the fumes, I can pull the “smoke plume” away from my face before it spreads through the room.
If you cannot install a permanent fan, you can use a “fume extractor.” While professional units are expensive, you can build a budget version using a high-static pressure blower and some flexible ducting. Always remember that ventilation is a two-way street; if you are blowing air out, you need a door or window open elsewhere to let fresh air in. This prevents your garage from becoming a vacuum and ensures the fan works efficiently.
- Target CFM: Aim for 300-500 CFM for a small welding station.
- Placement: Keep the intake within 12-18 inches of the weld arc if possible.
- Fire Safety: Ensure your ventilation doesn’t pull sparks toward flammable filters.
- Monitoring: If you can see a blue haze in the air, your ventilation is insufficient.
Moving Forward with Your Workshop Journey
Setting up a fabrication space is a marathon, not a sprint. The most successful shops I have seen are those that grew slowly and methodically. By tracking your costs and prioritizing your needs, you can build a space that is both capable and safe without overextending your finances.
My final piece of advice is to start small. Your first project doesn’t need to be a complex off-road trailer. Start by building a set of jack stands or a simple tool rack. These small wins build your confidence and help you learn the quirks of your new equipment. Keep your ledger updated, stay on top of your safety checks, and don’t be afraid to adjust your layout as you learn what works for you.
The transition from a hobbyist with a few tools to a fabricator with a functional shop happens one project at a time. As long as you maintain your equipment and respect your budget, you will find that the garage becomes more than just a place to park a car—it becomes a place where you can create anything you can imagine.
FAQ: Common Questions About Starting a Metal Workshop
How much should I realistically spend on my first welder? For a beginner, a reliable entry-level MIG welder typically costs between $400 and $700. While you can find cheaper machines, they often lack the arc stability and parts availability of established brands. Remember to budget an additional $200 for a gas bottle and regulator if you aren’t using flux-core wire.
Do I really need a dedicated 220V outlet? Not necessarily. Many modern inverter welders can run on standard 110V/120V household power and can weld up to 1/8-inch or 3/16-inch steel. However, if you plan on welding thicker plate or want a higher duty cycle, a 220V outlet is a significant upgrade that improves machine performance.
What is the most dangerous tool for a beginner? Statistically, the angle grinder causes more injuries than almost any other tool in the shop. This is due to “kickback” or discs shattering. Always use the guard, wear a full-face shield over your safety glasses, and never use a disc that is chipped or cracked.
How do I prevent my garage from catching fire? Keep a “Fire Watch.” This means staying in your shop for at least 30 minutes after you finish welding or grinding to ensure no hidden sparks are smoldering. Keep a fire extinguisher (Class ABC) within arm’s reach and clear all sawdust and paper from your hot zone.
Should I buy new or used tools? Used tools like drill presses, bench vises, and anvils are great for budgets because they have few moving parts to fail. However, for welders and grinders, buying new is often better for beginners because you get a warranty and modern safety features that older machines may lack.
How do I track my metal inventory? Keep a simple “Offcut Bin.” Organize your scrap by shape (flat bar, tube, angle) rather than size. Before you cut into a new 20-foot stick of steel, check your bin. This habit can save you hundreds of dollars in material costs over a year.
What is the best way to clean metal before welding? A clean weld starts with a flap disc or a wire brush on your angle grinder. You must remove all mill scale (the dark grey coating), rust, and oil. For high-quality welds, a quick wipe with acetone (using a clean rag) removes any remaining oils that can cause porosity.
How can I tell if my workshop layout is safe? Perform a “Dry Run.” Walk through the steps of a project without turning on any tools. Do you have room to swing a long piece of tube? Are you tripping over cords? If you feel cramped during a dry run, you will be unsafe during the real work.
What are the most common “wasted” purchases? Many beginners buy large sets of cheap drill bits or specialized clamps they only use once. It is better to buy individual, high-quality bits as you need them. Also, avoid buying “all-in-one” multi-process welders if you only plan to do basic steel fabrication; they are often more complex than a beginner needs.
How do I handle the noise to keep my neighbors happy? Grinding is the loudest part of metalworking. You can reduce noise by using a rubber mat under your workbench and closing your garage door. Also, consider using “silent” abrasive wheels or a cold-cut saw instead of a loud abrasive chop saw if you live in a dense neighborhood.
(This article was written by one of our staff writers, Michael Thompson. Visit our Meet the Team page to learn more about the author and their expertise.)