How to Set Up a Dedicated Metal Prep Area in a Shop (Guide)
When I walked into my first empty garage in 2013, I had a handful of tools and a lot of ambition. My background as an industrial maintenance technician taught me that the quality of any project depends on the work done before you even pick up a torch or a wrench. Many beginners rush into the “exciting” parts of metalwork, but I quickly learned that skipping the preparation phase leads to poor results and safety hazards. Establishing a specific zone for cleaning and smoothing metal is the most important step in organizing a functional starter workshop.
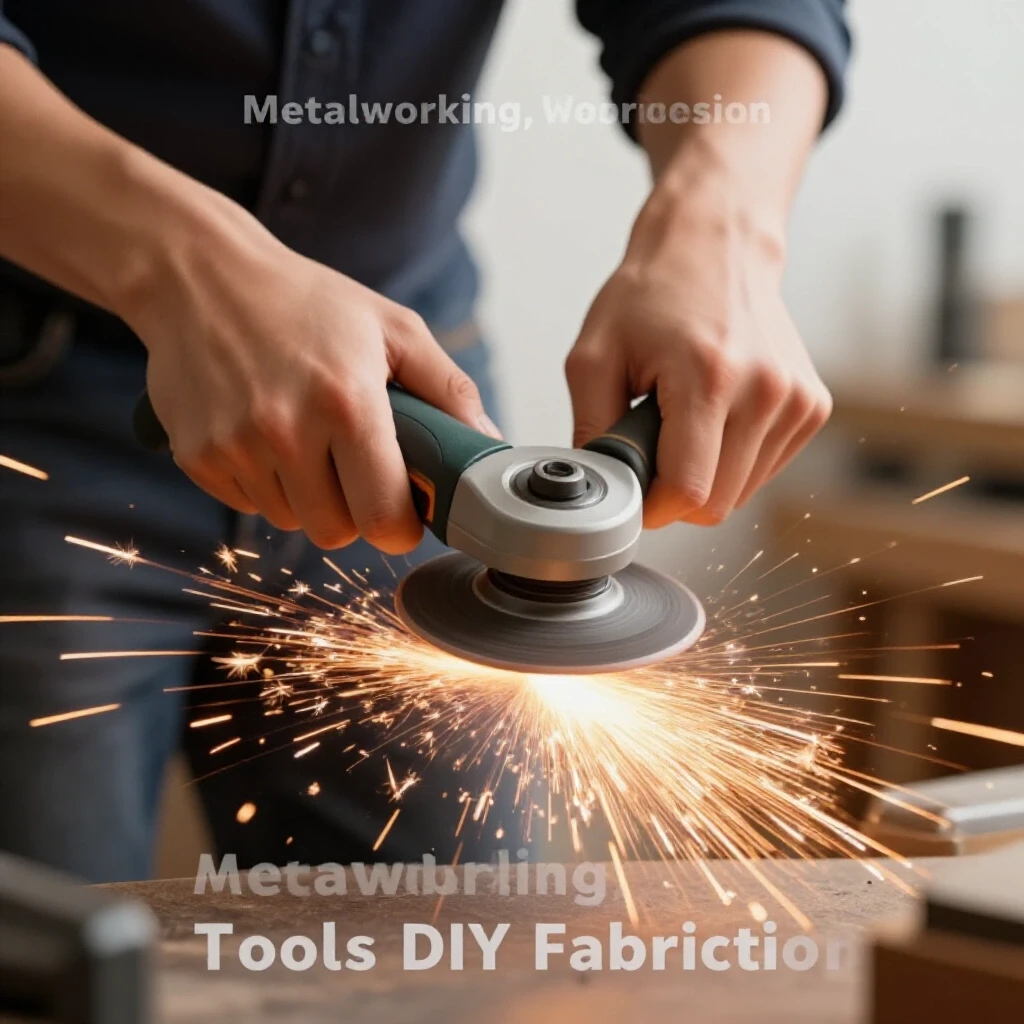
In my early days, I made the mistake of grinding metal right next to my wooden workbench. I soon had a layer of fine iron dust over everything, and a stray spark even charred a cardboard box across the room. That experience forced me to rethink my starter metal workshop layout. I realized that a dedicated zone for surface preparation isn’t just a luxury. It is a safety requirement that keeps your shop clean and your tools running longer.
Assessing Physical Space and Power Constraints
Establishing a functional zone for metal cleaning requires a clear understanding of your shop’s physical boundaries and its ability to handle high-draw machinery. This stage involves measuring the “hot zone” where sparks fly and ensuring your electrical circuits can support multiple high-amperage tools without tripping breakers or causing heat damage.
Determining Square Footage and Clearance Boundaries
A dedicated cleaning zone needs enough room for you to move freely while handling long pieces of stock. I recommend a minimum physical clearance of at least three feet around your primary grinding station. This space prevents you from bumping into walls or storage racks while maneuvering heavy metal pieces.
In a compact garage, every inch counts. I found that placing my preparation bench against a wall with a non-flammable backing saved space while containing sparks. If you are working in a confined area, consider the “arc of fire” from your angle grinder. Sparks can travel up to 20 feet, so your layout must account for where those embers will land. I often use portable welding screens or even sheets of cement board to create a temporary barrier when space is tight.
Calculating Electrical Demand for Prep Tools
Most home garages rely on standard 15-amp or 20-amp circuits. When you are selecting budget metalworking tools, you must check their amperage draw. A heavy-duty bench grinder or a high-torque sander can easily pull 10 to 12 amps under load. If your shop lights and a vacuum system are on the same circuit, you will likely trip the breaker.
I always suggest checking your breaker box before plugging in new equipment. A dedicated 20-amp circuit for your prep area is ideal. This ensures that your beginner welder power requirements don’t compete with your grinding tools later on. Using a power load spreadsheet helps you track which tools are running simultaneously. This prevents the frustration of mid-project power failures and protects your tool motors from the “brownout” conditions caused by voltage drops.
| Tool Class | Typical Amperage Draw | Recommended Circuit |
|---|---|---|
| Handheld Angle Grinder | 5A – 10A | 15A Standard |
| Bench Grinder (8-inch) | 8A – 12A | 20A Dedicated |
| Stationary Belt Sander | 10A – 15A | 20A Dedicated |
| Industrial Vacuum / Dust Collector | 8A – 12A | 20A Dedicated |
Prioritizing Essential Metal Preparation Tools
Choosing the right equipment for a cleaning zone involves balancing cost with long-term utility. Beginners often suffer from analysis paralysis, but focusing on a few versatile, high-quality tools is better than buying a dozen cheap ones that break. I prioritize tools that can handle multiple tasks like rust removal, de-burring, and edge leveling.
Evaluating Tool Duty Cycles and Performance
In the industrial world, we talk a lot about “duty cycle.” This is the amount of time a tool can run in a ten-minute period before it needs to cool down. Many affordable fabrication tools have lower duty cycles, meaning they are designed for intermittent use. If you try to grind down a thick steel plate for 20 minutes straight with a hobby-grade tool, the motor will likely burn out.
When I vet tools for a new shop, I look at the motor’s “continuous rating.” For a prep station, a tool with a 50% duty cycle is usually sufficient for hobbyist tasks. I also track the tool-to-machine cost ratio. For example, the cost of high-quality abrasives over one year can often exceed the initial price of the grinder itself. Investing in a tool with a common spindle size ensures you can find affordable, high-quality attachments easily.
Selecting Abrasives for Efficiency and Longevity
Abrasives are the “fuel” of your prep area. Using the wrong disc or belt can ruin a piece of metal or cause an injury. I categorize abrasives into three main types: grinding wheels for heavy material removal, flap discs for smoothing, and wire wheels for cleaning rust or scale.
I have found that zirconia or ceramic alumina discs last significantly longer than standard aluminum oxide versions. While the upfront cost is slightly higher, the “cost per cut” is much lower because you aren’t stopping to change discs every five minutes. This is a key part of my workshop electrical setup checklists because worn-out abrasives force you to push harder on the tool, which increases the amperage draw and wears out the motor faster.
- Grinding Wheels: Best for removing large amounts of metal or shaping edges.
- Flap Discs: Excellent for blending surfaces and removing mill scale without gouging the metal.
- Wire Brushes: Essential for removing surface rust and paint without thinning the base metal.
- Sanding Belts: Ideal for squaring up ends and creating a uniform finish on flat bar or tubing.
Implementing Safety Standards and Personal Protective Equipment
Safety is the foundation of any professional-grade workshop. In my years of maintenance work, I followed OSHA guidelines because they are written in blood—lessons learned from real accidents. For a home shop, you need to be your own safety officer. This means setting up your prep zone to handle dust, sparks, and noise before you turn on a single machine.
Respiratory Protection and Air Quality
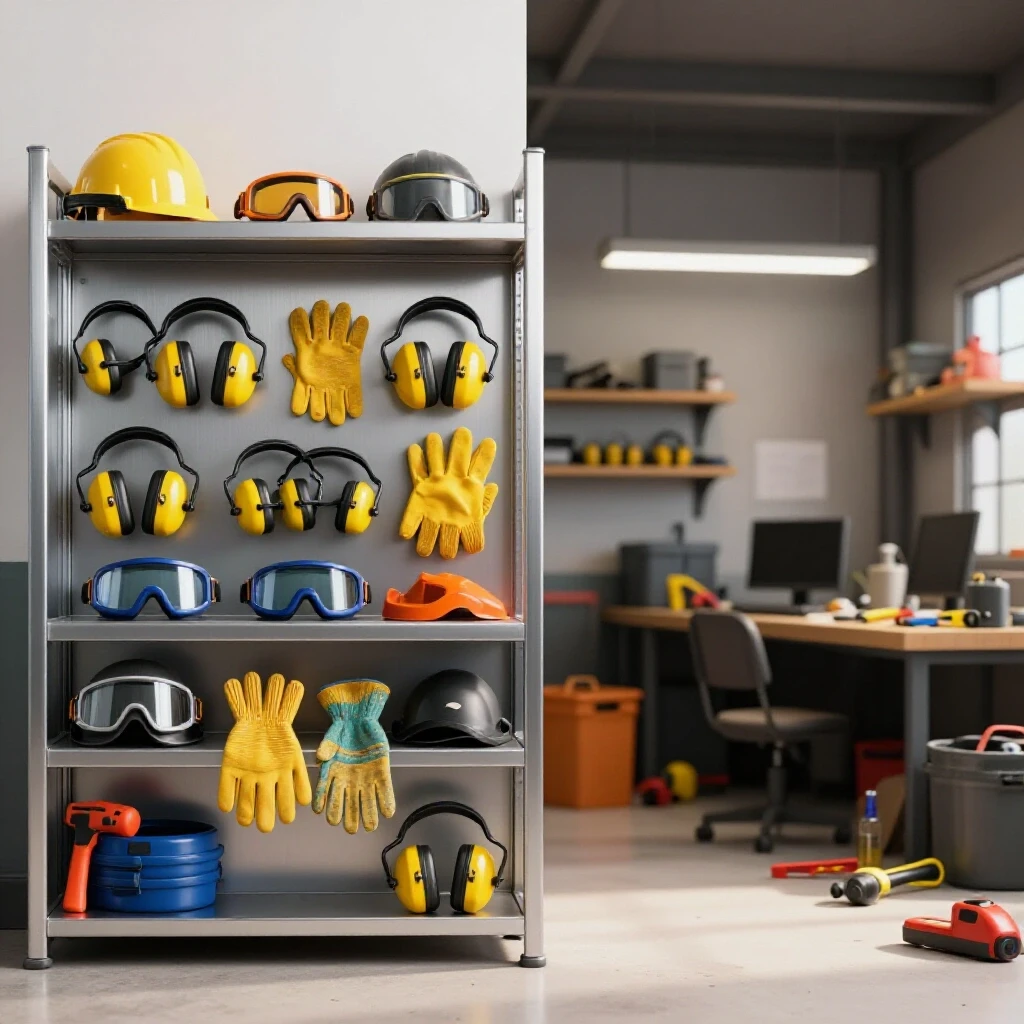
Metal prep creates two types of hazards: large sparks and microscopic dust. Grinding on galvanized steel or metal with old paint can release toxic fumes. I allocate about 30% of my initial tool budget to high-quality safety gear and measuring tools. A simple N95 mask is not enough for heavy grinding; I recommend a half-face respirator with P100 filters.
Air quality is measured in Cubic Feet per Minute (CFM). To keep your garage workshop ventilation effective, you need to move enough air to replace the volume of your shop several times an hour. For a dedicated prep area, a local exhaust system that pulls dust away right at the source is much more effective than a simple ceiling fan. I use the following benchmarks for air exchange:
| Shop Size (Sq Ft) | Required Total CFM | Local Exhaust CFM |
|---|---|---|
| 200 (One-car garage) | 400 – 600 | 150 – 200 |
| 400 (Two-car garage) | 800 – 1,200 | 200 – 300 |
| 600+ (Large shop) | 1,200+ | 350+ |
Fire Prevention and Spark Management
Sparks are essentially tiny pieces of molten metal. They can smolder in a pile of sawdust or a rag for hours before igniting a fire. When I set up my current shop, I made a rule: no flammable materials within 10 feet of the grinding station. I also keep a Class ABC fire extinguisher within arm’s reach of the prep bench.
Following ANSI eye protection ratings is also non-negotiable. Standard eyeglasses are not safety glasses. You need Z87.1+ rated eye protection that includes side shields. When I am doing heavy grinding, I wear a full-face shield over my safety glasses. I’ve seen too many “close calls” where a wire from a brush or a piece of a shattered disc was stopped only by a face shield.
Designing an Efficient Workflow and Layout
A good shop layout should feel natural. You want to move your metal from storage to the prep area and then to the assembly area with as little “back and forth” as possible. I call this the “linear workflow” model. It reduces fatigue and keeps the messy parts of the job contained in one corner of the shop.
Workbench Heights and Material Support
Ergonomics play a huge role in safety. If your workbench is too low, you will hunch over, leading to back pain and less control over your tools. If it is too high, you won’t be able to apply even pressure. For most people, a bench height that aligns with the crease of the wrist when standing is ideal.
I built my prep table using a heavy steel top. This provides a stable surface that won’t burn or catch fire. If you are on a budget, a sturdy wooden frame topped with a sheet of 1/4-inch steel plate is a great compromise. I also use adjustable roller stands to support long pieces of tubing or angle iron. This prevents the metal from tipping or slipping while I am trying to clean the ends.
Storage for Raw Materials and Prep Chemicals
Organizing your materials is just as important as organizing your tools. I keep my “clean” metal separate from my “rusty” or “oily” stock. This prevents cross-contamination. For cleaning, I use a dedicated shelf for degreasers and solvents.
It is vital to understand “flash points”—the temperature at which a liquid can catch fire. Many degreasers are highly flammable. I never keep these chemicals on the prep bench while I am grinding. I store them in a metal cabinet away from the spark zone. This simple habit is one of the most effective ways to prevent a shop fire.
- Raw Stock Rack: Store vertically or horizontally to save floor space.
- Scrap Bin: Keep small off-cuts for practice or small brackets.
- Chemical Cabinet: Store acetone, denatured alcohol, and degreasers.
- Abrasive Organizer: Use labeled bins for different grits and disc types.
Dust Collection and Ventilation Strategies
Metal dust is heavy and abrasive. It can get into the bearings of your other tools and cause them to fail prematurely. It can also be a health hazard if inhaled. A shop vacuum is a good start, but it needs a HEPA filter and a “cyclone” separator to be truly effective for metal fines.
Local Exhaust Ventilation (LEV) Basics
An LEV system captures dust at the point of creation. For a bench grinder, this usually means a hood or a vacuum attachment behind the wheels. I have tracked the lifespan of my tools over several years, and those used with proper dust collection last about 40% longer. The dust doesn’t just stay out of your lungs; it stays out of the tool’s motor.
When setting up your ventilation, remember that for every cubic foot of air you pull out, you need to let a cubic foot of fresh air in. This is called “make-up air.” In the winter, this can be a challenge, but cracking a window or a garage door is necessary to prevent a vacuum effect that can pull carbon monoxide from a water heater or furnace into your workspace.
Maintenance and Safety Logs
I am a firm believer in meticulous record-keeping. I keep a simple logbook at my prep station. I track when I change filters, when I inspect my grinding wheels for cracks, and when I last checked my fire extinguisher. This might seem like overkill for a hobbyist, but it builds the discipline needed for safe and successful metalwork.
I also use a digital shop layout planner to experiment with different configurations before moving heavy benches. These tools allow you to visualize the “swing” of long materials and ensure you have enough clearance for your garage workshop ventilation ducts. Seeing the layout on a screen first can save hours of physical labor and prevent “analysis paralysis” by providing a clear plan of action.
Common Rookie Mistakes to Avoid
One of the biggest mistakes I see beginners make is using the side of a grinding wheel. Most wheels are designed to be used on the edge only; using the side can cause the wheel to shatter. Another common error is wearing gloves while using a bench grinder. While it seems safer, the glove can get caught in the spinning wheel and pull your hand into the machine.
I also see many people ignore the “ring test” for grinding wheels. Before mounting a new wheel, hang it on a screwdriver and tap it lightly with a wooden handle. It should produce a clear metallic ring. If it thuds, it has a hidden crack and is a “bomb” waiting to go off. These small habits are what separate a professional-level shop from a dangerous one.
- Mistake: Using a tool for a job it wasn’t designed for (e.g., using a wood sander for metal).
- Mistake: Neglecting to clean the prep area daily, leading to a build-up of flammable dust.
- Mistake: Buying the cheapest possible abrasives, which wear out instantly and perform poorly.
- Mistake: Working while fatigued or distracted, which is when most accidents happen.
Finalizing Your Setup and Initial Testing
Once your zone is established, don’t just jump into a big project. Start with some test cuts and cleaning on scrap metal. This allows you to check your airflow, test your circuit loads, and get a feel for your new tools. I always spend the first few hours in a new setup just practicing my “grit sequence”—moving from a coarse 36-grit disc to a 60-grit, and then an 80-grit flap disc.
This testing phase is where you reconcile your initial plans with reality. You might find that your bench needs to be bolted to the floor or that you need an extra light over your sander. These small adjustments are part of the process. By being methodical and tracking your outcomes, you turn a simple garage corner into a highly functional fabrication space that will serve you for years to come.
Frequently Asked Questions
What is the minimum electrical circuit I need for a metal cleaning area? A standard 15-amp circuit can work for small handheld grinders, but a 20-amp circuit is highly recommended. High-draw tools like bench grinders or large vacuums can pull significant amperage, and a 20-amp line provides the necessary “headroom” to prevent frequent breaker trips and motor overheating.
How do I know if my ventilation is actually working? A simple way to test airflow is the “smoke test.” Use a small incense stick or a specialized smoke pen near your grinding tool while the ventilation is running. The smoke should be drawn immediately into the exhaust hood. If it lingers or drifts into the room, your CFM is too low or your hood is too far from the source.
Can I use my woodworking shop vacuum for metal dust? You can, but with caution. Metal sparks can ignite sawdust inside a vacuum. It is essential to use a fire-resistant hose and a cyclone separator. Ideally, your vacuum should have a HEPA filter and be dedicated solely to metalwork to avoid mixing flammable wood dust with hot metal sparks.
Why shouldn’t I wear gloves when using a bench grinder? Gloves can be a major entanglement hazard. If a spinning wheel or wire brush catches the fabric of a glove, it can pull your fingers into the machine before you have time to react. For bench-mounted tools, it is safer to use pliers or a specialized “push block” to hold small pieces of metal.
How often should I replace my grinding discs? Replace a disc when it shows signs of glazing (a shiny, smooth surface), significant wear on the edges, or any visible cracks. Using a worn-out disc requires more pressure, which creates more heat and puts more stress on the tool’s motor, increasing the risk of failure or injury.
What is the difference between a grinding wheel and a flap disc? A grinding wheel is a solid abrasive stone meant for heavy material removal and shaping. A flap disc consists of many small, overlapping pieces of sandpaper. Flap discs are generally more forgiving, run cooler, and provide a smoother finish, making them excellent for cleaning mill scale and preparing surfaces for further work.
Do I really need a respirator if I’m just grinding for a few minutes? Yes. Metal dust and abrasive particles are extremely fine and can stay suspended in the air for hours. Even a short session can expose your lungs to harmful particulates. A respirator with P100 filters is a small investment that protects your long-term respiratory health.
How far do sparks actually travel? In a dry environment, sparks from an angle grinder can travel 15 to 20 feet. They can also bounce off walls or floors and land in unexpected places. This is why a “spark-free” zone of at least 10 feet is recommended, along with the use of fire-resistant screens in smaller shops.
What is “mill scale” and why do I need to remove it? Mill scale is the dark, flaky layer of iron oxide that forms on hot-rolled steel during manufacturing. It is very hard and brittle. If you don’t remove it during the prep phase, it can interfere with measurements, cause tools to slip, and prevent coatings from adhering properly to the base metal.
Is it safe to use a wire wheel on a handheld angle grinder? Yes, but it is one of the more dangerous attachments. Wire wheels can “kick back” if they catch an edge, and they frequently shed sharp wire bristles at high speeds. Always wear a full-face shield, heavy clothing, and ensure the grinder’s guard is properly positioned when using a wire wheel.
How can I store metal to prevent it from rusting before I use it? Keep metal off the concrete floor, as concrete holds moisture. Use a rack to store it vertically or horizontally in a dry area. For long-term storage, a light coat of WD-40 or a specialized rust preventative can help, but remember that you must thoroughly degrease the metal again during the prep stage.
What is the “ring test” for grinding wheels? The ring test is a safety check for vitrified grinding wheels. By tapping the wheel lightly with a non-metallic object, you listen for a clear, ringing sound. A dull “thud” indicates a crack in the wheel’s structure. A cracked wheel can shatter instantly when it reaches full speed, so any wheel that fails the ring test must be discarded.
(This article was written by one of our staff writers, Michael Thompson. Visit our Meet the Team page to learn more about the author and their expertise.)