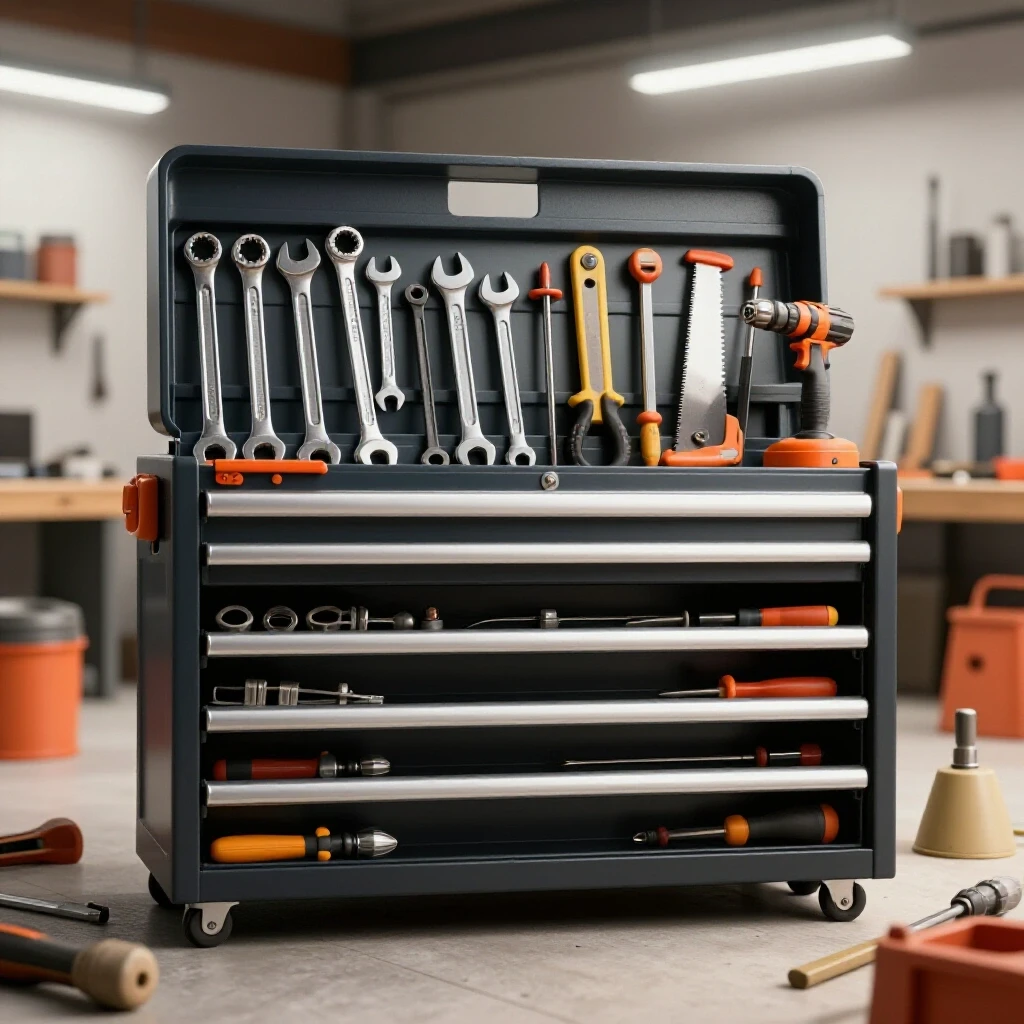
How to Choose the Right Size Metal Tool Chest (Buying Tips)
When I set up my first fabrication space in a cramped single-car garage, I quickly learned that floor space is the most valuable currency a metalworker has. I spent hours measuring my welding table and my chop saw, but I overlooked how much room a storage unit actually occupies once you open the drawers. Selecting the physical dimensions of your primary storage unit is not just about where it sits, but how it interacts with your workflow and the heavy equipment surrounding it.
In my twelve years as an industrial maintenance technician, I have seen shops fail because of poor layout choices. A storage unit that is too large creates a bottleneck, while one that is too small leads to “tool creep,” where equipment ends up piled on top of work surfaces. This guide focuses on the technical variables of selecting the appropriate dimensions and structural specifications for a metal storage cabinet, ensuring your first shop remains organized, safe, and efficient.
Assessing Workshop Footprint and Physical Clearance
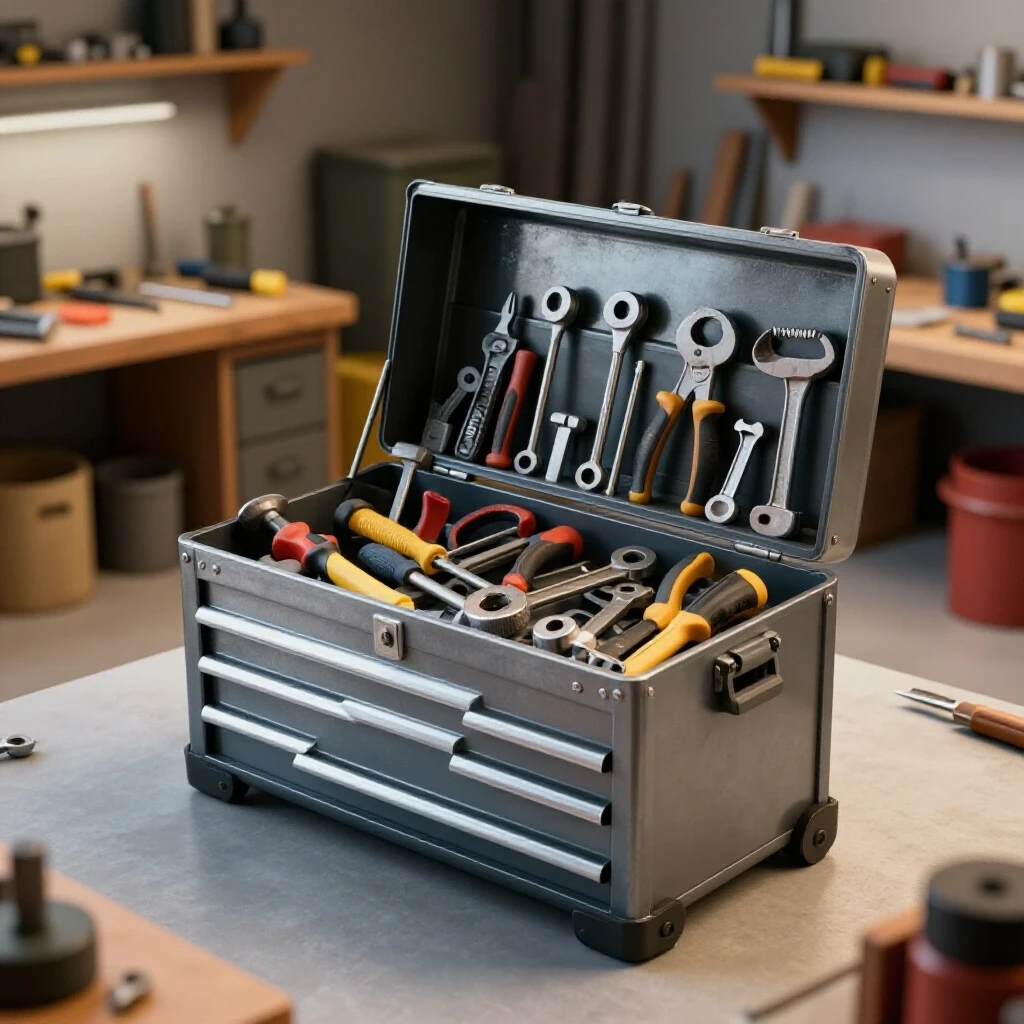
Defining your available floor space is the first step in determining the scale of your storage equipment. You must account for the “static footprint,” which is the space the unit occupies when closed, and the “dynamic footprint,” which includes the distance required to fully extend drawers and navigate around the unit while holding workpieces.
In a metalworking environment, clearance is a safety requirement. According to standard workshop safety principles, you should maintain a minimum of 36 inches of unobstructed walkway space. If your storage unit is placed directly behind your welding area, you need to ensure that fully extended drawers do not pinch you against your workbench or obstruct your path to a fire extinguisher or exit.
Calculating Minimum Working Perimeters
A working perimeter is the total area needed to operate a piece of equipment safely without hitting walls or other tools. For a storage cabinet, this means measuring the depth of the unit and adding the length of the longest drawer when it is pulled out to its stop point.
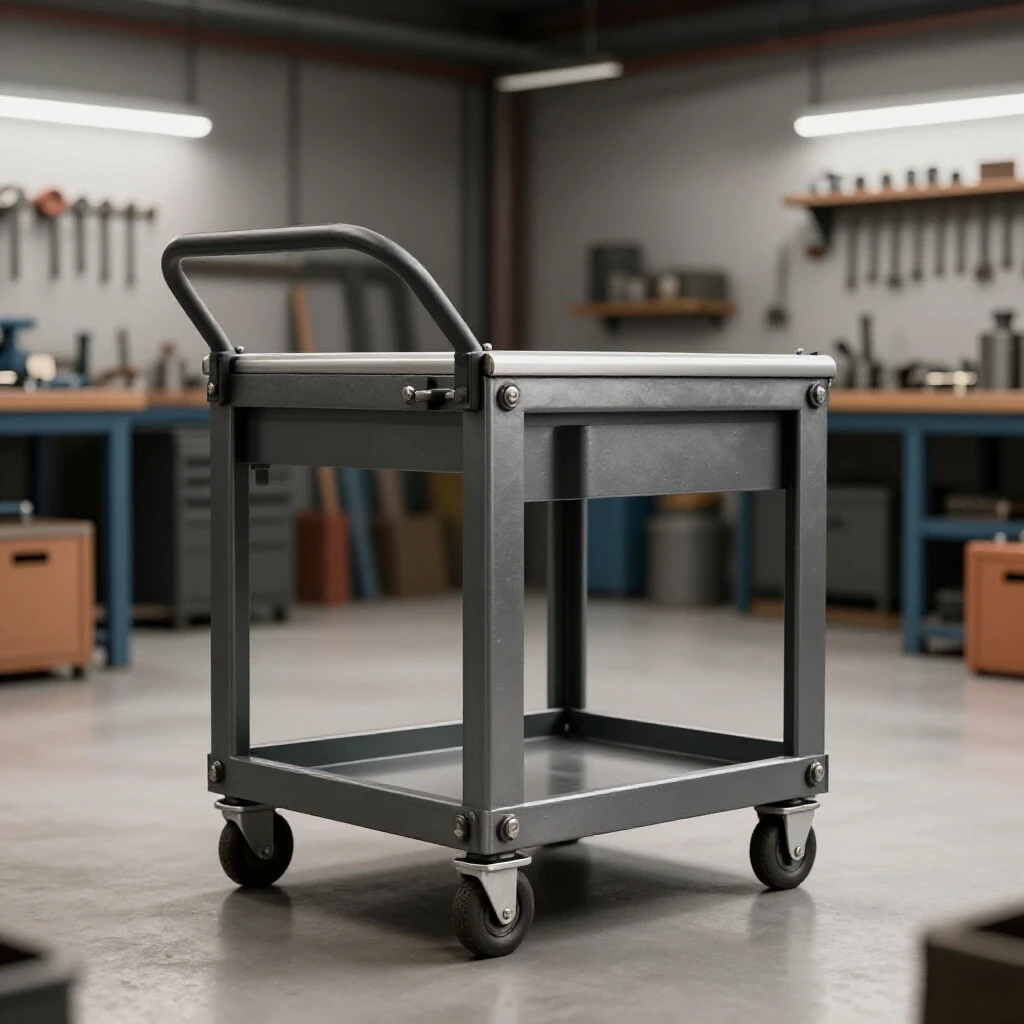
Interestingly, many beginners forget to account for the swing radius of the casters. If you choose a mobile unit, the wheels often protrude slightly beyond the frame when they swivel. I always recommend adding at least two inches to your width and depth measurements to account for this hardware and to prevent the unit from scuffing your shop walls.
Table: Recommended Clearance Zones for Storage Units
| Placement Type | Minimum Clearance (Closed) | Minimum Clearance (Drawers Open) | Safety Rationale |
|---|---|---|---|
| Against a Wall | 2 Inches | 36 Inches | Prevents wall damage and allows for drawer access. |
| Near Welding Table | 48 Inches | 60 Inches | Protects unit from sparks and allows for bulky gear. |
| In a Walkway | 42 Inches | 42 Inches (Bypass) | Maintains OSHA-compliant egress routes. |
| Corner Placement | 6 Inches (Side) | Full Extension | Ensures drawers do not hit perpendicular walls. |
Matching Storage Volume to Metalworking Tool Density
The volume of a storage unit must be matched to the specific weight and size of fabrication tools, which differ significantly from general household tools. Metalworking gear, such as magnetic squares, heavy-duty C-clamps, and angle grinders, is dense and requires high-capacity support.
When I first started, I made the mistake of choosing a unit with too many shallow drawers. I found myself with nowhere to put my 7-inch grinders or my hooded welding helmet. To avoid this, you must audit your current inventory and project your needs for the next two years. A well-sized unit should be roughly 20% empty on the day you set it up to allow for the inevitable growth of your tool collection.
Drawer Depth and Load Capacity for Fabrication Gear
Drawer depth refers to the vertical distance from the bottom of the drawer to the bottom of the drawer above it. In metalworking, you need a mix of depths: shallow drawers for precision measuring tools like calipers and depth gauges, and deep “power drawers” for heavy handheld machinery.
Load capacity is a measure of how much weight the drawer slides can handle before they deform. For a fabrication shop, I look for ball-bearing slides rated for at least 100 pounds per drawer. If you plan to store heavy steel plate remnants or large pipe wrenches, you may need “double-slide” drawers that can support 200 pounds or more.
Essential Starter Tool Sequencing and Storage Needs
- Precision Measuring (Shallow Drawers): 1-2 inch depth. These protect delicate edges on squares and micrometers.
- Hand Tools (Medium Drawers): 3-4 inch depth. Ideal for hammers, pliers, and wrench sets.
- Power Tools (Deep Drawers): 6-10 inch depth. Necessary for grinders, drills, and circular saws.
- Consumables (Divided Drawers): 2-3 inch depth. Used for organized storage of welding tips, grinding discs, and fasteners.
Integrating Storage into a Functional Fabrication Workflow
The location and size of your storage unit dictate how often you have to walk across the shop. In a professional maintenance environment, we use the “triangle” principle: keeping the storage, the workbench, and the primary machine (like a welder) within a few steps of each other.
If your shop is small, a vertical storage strategy is often the most effective. Choosing a taller chest with a smaller footprint allows you to utilize overhead space without sacrificing floor area. However, you must ensure the unit is not so tall that it becomes a tipping hazard when top drawers are opened, especially if it is not anchored to a wall.
Mobility vs. Stationary Placement in Small Shops
Mobility is a major factor when selecting the scale of your storage. A mobile unit allows you to bring your tools directly to the project, which is helpful when working on large frames or automotive projects. However, mobile units require a level floor. If your garage has a significant slope for drainage, a large, heavy unit on wheels can become a safety risk.
Stationary units often offer more stability and higher total weight capacities. If you choose a stationary setup, I suggest placing it on a “clean zone” side of the shop. This keeps your precision tools away from the heavy dust and sparks generated by grinding and cutting stations.
Power Consumption and Integrated Electronics
Many modern metal storage units include built-in power strips. This is a significant advantage for a beginner shop because it reduces the number of extension cords running across the floor, which are major trip hazards. When selecting a unit with integrated power, check the gauge of the internal wiring.
For a fabrication shop, you want a power strip that can handle the charging of multiple cordless tool batteries simultaneously. Ensure the unit’s power cord is long enough to reach your dedicated 20A circuit without stretching. If the cord is too short, you may be tempted to use an undersized extension cord, which can lead to voltage drops and heat buildup.
Material Gauge and Structural Integrity for Heavy Tooling
The thickness of the steel used to build the chest, known as the gauge, determines its lifespan and how well it handles the rigors of a metal shop. In the world of sheet metal, a lower gauge number indicates thicker material.
A flimsy storage unit will “rack” or twist when loaded with heavy steel tools. This twisting prevents drawers from closing properly and can eventually cause the slides to fail. For a shop that will see daily use, I recommend looking for units constructed from 18-gauge or 20-gauge steel. Avoid units that use thin, 24-gauge metal for the frame, as they lack the rigidity needed for fabrication environments.
Understanding Steel Gauge for Shop Durability
- 16-18 Gauge: Heavy-duty industrial grade. Excellent for supporting heavy vises or bench grinders mounted on top.
- 20-22 Gauge: Standard consumer grade. Suitable for most hobbyist fabrication tools.
- 24 Gauge and higher: Light-duty. Often prone to denting and structural flexing under heavy loads.
Table: Tooling-to-Machine Weight Ratios for Storage Planning
| Tool Category | Estimated Weight (lbs) | Required Support Level | Recommended Drawer Slide |
|---|---|---|---|
| Welding Clamps (Set of 10) | 35-50 | Medium | Single Ball-Bearing |
| Angle Grinders (3 Units) | 15-20 | Low | Single Ball-Bearing |
| Large Bench Vise | 40-70 | High | Top Surface Mount |
| Steel Fastener Assortment | 60-100 | Very High | Double Ball-Bearing |
| Precision Measuring Kits | 5-10 | Low | Friction or Light Bearing |
Organizing for Precision: Drawer Configuration Strategies
The internal layout of your drawers is just as important as the external dimensions. In metalworking, “shadow boarding” or using foam inserts is a common practice to ensure every tool has a dedicated home. This prevents tools from sliding around and knocking into each other, which can ruin the accuracy of a precision square or a scribe.
When choosing a unit, look for drawers that offer full-extension capabilities. This means the drawer pulls out entirely, giving you access to the tools stored at the very back. Without full extension, the back 20% of your drawer becomes a “dead zone” where small parts and tools disappear.
Vertical vs. Horizontal Tool Orientation
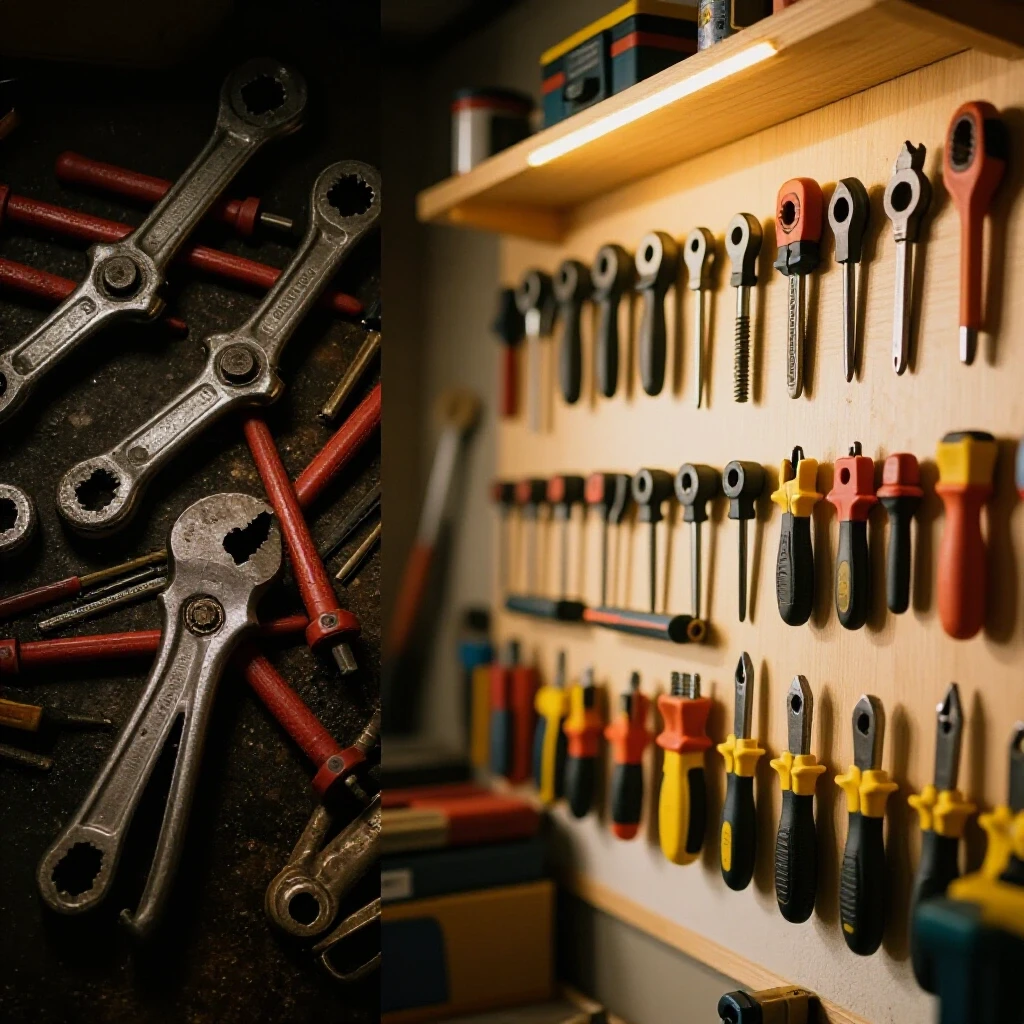
Horizontal storage is standard, but it consumes a lot of drawer surface area. For items like wrenches or pliers, vertical “organizers” can triple your storage density. When calculating the size of the chest you need, consider if you will use vertical organizers, as this might allow you to choose a unit with fewer, deeper drawers rather than many shallow ones.
I have found that a “staged” organization system works best. The top drawers should hold the tools you touch every 15 minutes (tape measures, markers, squares). The middle drawers should hold your primary hand tools. The bottom, heaviest drawers should be reserved for items you use less frequently, like heavy pullers or specialized welding jigs.
Safety Standards and Load Distribution
A common rookie mistake is loading all the heaviest tools into the top drawers because they are easier to reach. This raises the center of gravity and makes the unit top-heavy. In a professional shop, we follow a strict “bottom-heavy” loading protocol to prevent tip-overs.
When evaluating a unit, check for an “interlock system.” This safety feature prevents more than one drawer from being opened at a time. In a metalworking shop, where a single drawer might hold 80 pounds of steel, opening three drawers at once can easily pull a 400-pound cabinet over onto the operator.
Workshop Electrical Setup Checklists for Storage
- Circuit Mapping: Ensure the storage unit’s power strip is on a circuit that can handle the “vampire draw” of multiple chargers.
- Grounding: Verify the unit is properly grounded, especially if you are using it as a secondary work surface for small electrical repairs.
- Cord Management: Route the main power cable away from high-traffic areas and spark zones.
- Clearance: Maintain at least 3 inches of air gap behind the unit if it houses heat-generating battery chargers.
Long-Term Maintenance of Metal Storage Systems
The environment of a fabrication shop is harsh. Grinding dust (metallic fines) is abrasive and can get into the drawer slides, causing them to grind and wear out prematurely. When selecting a unit, look for “sealed” or shielded ball-bearing slides that offer some protection against debris.
Every six months, I perform a “slide audit.” I empty the drawers, vacuum out the metallic dust, and apply a light coat of dry lubricant to the tracks. Avoid using heavy grease or oil, as these will attract and hold grinding dust, turning the lubricant into an abrasive paste that destroys the bearings.
Tracking Shop Evolution and Adjusting Layout
As your skills grow, your tool needs will change. You might start with a simple MIG welder, but in three years, you may add TIG torches, tungsten grinders, and a variety of gas nozzles. Choosing a modular storage system—where you can add a “top chest” to a “rolling base” later—is a smart way to manage your footprint.
I recommend keeping a simple log of your tool acquisitions. When you find that you are stacking tools on top of each other, it is a data-driven signal that your storage volume is insufficient. By tracking this, you can plan your next shop upgrade before the clutter becomes a safety hazard or a source of frustration.
Conclusion: Final Steps for Your Shop Layout
Selecting the right physical scale for your metal storage is a balancing act between your current inventory and your future ambitions. Start by measuring your “dead space”—those areas of the garage that aren’t useful for large machines but are perfect for a cabinet. Prioritize material gauge and drawer slide weight ratings over aesthetic features.
Remember that a well-organized shop is a safe shop. By choosing a unit that fits your space and supports the heavy reality of metalworking tools, you are building a foundation for years of productive fabrication. Once your storage is in place, you can focus on what really matters: melting metal and building your projects.
FAQ: Common Questions on Sizing and Selection
What is the most important measurement when choosing a storage unit for a small garage? The most critical measurement is the “depth with drawers extended.” Most people measure the width and height but forget that a 24-inch deep cabinet needs another 20-22 inches of clearance to actually use the drawers. Always ensure you have at least 42-46 inches of total depth clearance.
How do I know if the drawer slides are strong enough for my welding clamps? Look for the “dynamic load rating” in the technical specifications. For heavy fabrication gear like clamps and vice grips, you want a minimum of 100 lbs per drawer. If the slides feel “spongy” or have side-to-side play when empty, they will likely fail under a full load of steel.
Is a taller chest better than a wider one for a beginner? In a confined space, vertical storage is usually superior. A “stack” (a rolling base with a top chest) uses the same floor footprint but doubles your volume. Just be sure to place your heaviest items in the bottom three drawers to maintain a low center of gravity.
Does the gauge of the steel really matter for a hobbyist shop? Yes. Metalworking tools are significantly heavier than wood or automotive tools. A thin-gauge cabinet (24ga) will eventually warp under the weight of grinders and hammers, causing drawers to stick. Aim for at least 20-gauge steel for the main body.
How many drawers should a starter fabrication chest have? A good starting point is 5 to 8 drawers. This allows you to dedicate separate drawers to measuring tools, hand tools, power tools, and welding consumables. Having fewer, deeper drawers is often better for metalworkers than having many tiny, shallow ones.
Can I use a mobile chest as a welding table? It is not recommended. Most storage units have thin top surfaces that can warp from the heat of welding. Additionally, the splatter can damage the finish and the drawer slides. Use a dedicated steel welding table and keep your storage unit at least 4 feet away from the spark zone.
What is the best way to organize heavy grinders? Store grinders in the deepest bottom drawers. Use “cradle” inserts or foam to keep them from rolling. Always remove the grinding discs before storage if space is tight, but ideally, the drawer should be deep enough to hold the tool with the guard and disc attached.
How do I prevent my tool chest from tipping over? Always load the heaviest items in the bottom drawers. Never open more than one drawer at a time. If you have a very tall or narrow unit, use an anti-tip bracket to secure it to a wall stud, while still allowing enough clearance for the drawers to function.
What is “racking” and how do I avoid it? Racking is when a cabinet frame twists into a parallelogram shape. This usually happens to cheap, thin-walled units when they are moved over uneven floors. To avoid this, choose a unit with a reinforced “C-channel” frame or a thicker steel gauge.
Should I choose a unit with casters or stationary feet? If your shop floor is level and you need to move tools to different projects, casters are essential. Look for “locking swivels” on at least two of the wheels. If your floor is sloped or uneven, stationary feet with adjustable levelers are safer and more stable.
(This article was written by one of our staff writers, Michael Thompson. Visit our Meet the Team page to learn more about the author and their expertise.)