How to Run 240V Electrical Lines in Your Garage (DIY Cost)
When I built my first shop in a cramped two-car garage back in 2013, I had exactly $2,000 to my name for the entire project. I quickly learned that while shiny new tools get all the attention, the invisible infrastructure behind the walls is what actually makes a fabrication space functional. Most residential garages are equipped with standard 120V outlets meant for a leaf blower or a spare fridge, but serious metalworking requires more muscle. If you want to run a reliable welder or a large air compressor, you have to look at upgrading your power delivery.
The anxiety of spending money on things you cannot see, like copper wire and breakers, is real. However, I have found that cutting corners on your electrical foundation leads to more expensive failures later, such as blown boards in your welder or tripped breakers in the middle of a critical pass. By tracking every penny and following established safety standards from the start, you can build a professional-grade power setup without draining your tool budget.
Evaluating Your Current Garage Power Capacity
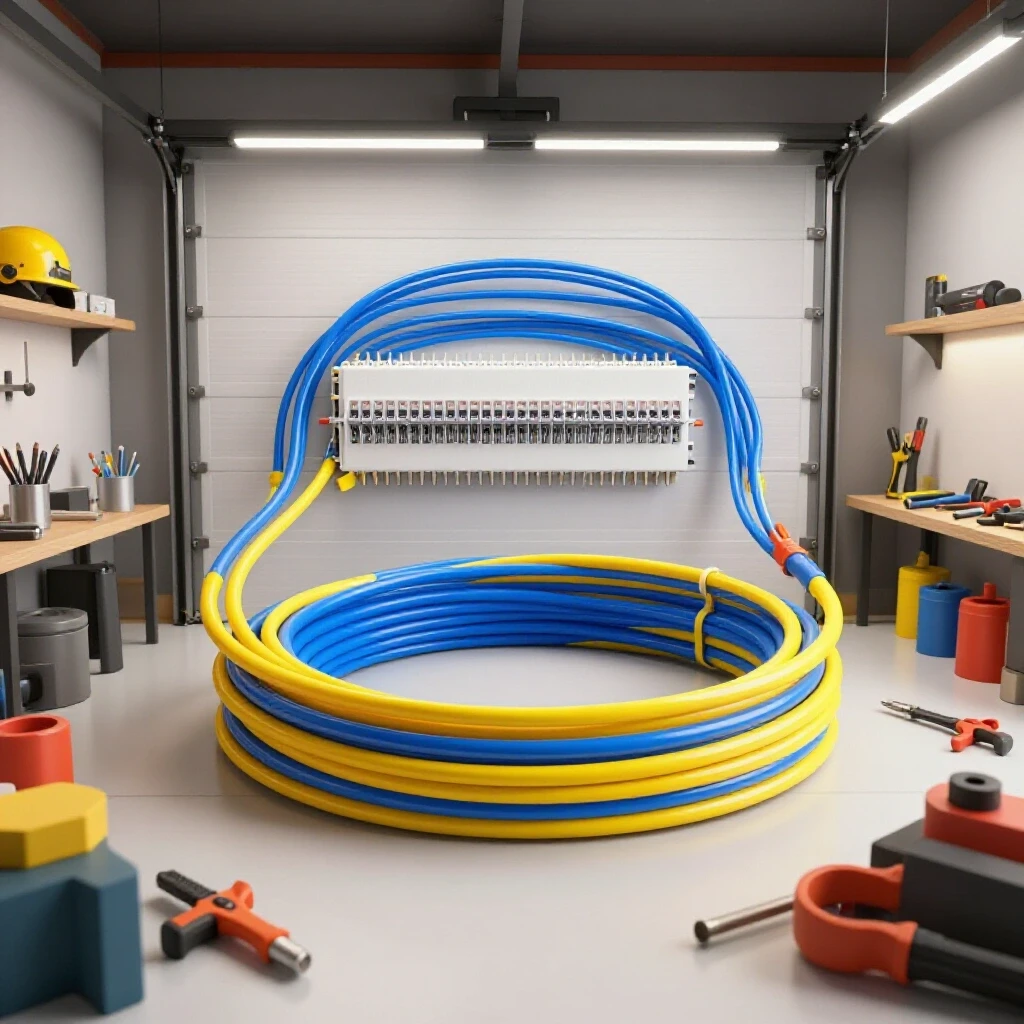
Before you buy any heavy-duty equipment, you must determine if your existing electrical panel can handle the additional load of metalworking machinery. This involves checking the total amperage of your main service and looking for physical space in the breaker box for new, double-pole circuits.
In my early days as an industrial maintenance tech, I saw many people try to “piggyback” off existing lines, which is a recipe for a fire. Your first step is to locate your main service panel. Most modern homes have a 100-amp or 200-amp service. If you have a 100-amp panel and your house uses an electric stove, dryer, and air conditioner, you are already nearing the limit. Adding a 50-amp circuit for a welder might require careful load management.
I recommend keeping a simple log of your home’s major appliances and their estimated draw. This helps you understand how much “headroom” you have left for the shop. If you turn on your welder while the clothes dryer is running and the lights flicker, you are pushing your system too hard. Planning for a dedicated line ensures that your fabrication tools have a clean, stable power source that does not interfere with the rest of your household.
Budgeting for High-Voltage Electrical Upgrades
Establishing a higher voltage power supply in your workshop involves specific material costs that typically range from $300 to $1,500, depending on the distance from your panel to your work area. This budget covers the wire, conduit, receptacles, and necessary permits to ensure the job meets local safety codes.
When I tracked the costs for my second shop upgrade, the largest variable was the price of copper. Because 240V circuits for metalworking usually require thicker wire, the cost per foot is significantly higher than standard household wiring. You are not just buying wire; you are buying the ability to run your machines at their full duty cycle without overheating the lines.
| Material Component | Estimated Cost Range | Why It Matters |
|---|---|---|
| Copper Wire (6 or 8 AWG) | $150 – $600 | Carries the heavy current without melting. |
| Metal or PVC Conduit | $50 – $200 | Protects wire from physical damage and sparks. |
| Double-Pole Breakers | $20 – $60 | Provides the necessary 240V connection at the panel. |
| Industrial Receptacles | $15 – $50 | Ensures a secure, heat-resistant tool connection. |
| Permit and Inspection Fees | $50 – $250 | Validates safety for insurance and resale. |
Building on this, I suggest allocating about 15% of your total initial shop budget specifically for power. It feels like a lot when you could be buying a better helmet or a bandsaw, but a tool you cannot plug in is just a heavy paperweight. By shopping at electrical supply houses rather than big-box home centers, you can often save 10% to 20% on bulk wire and conduit.
Choosing the Correct Wire Gauge for Fabrication Tools
Selecting the right wire thickness, known as gauge, is critical because it dictates how much current can safely flow to your equipment. For most hobbyist welders and plasma cutters, you will be looking at 8 AWG for 40-amp circuits or 6 AWG for 50-amp circuits to prevent voltage drop.
In the world of the American Welding Society (AWS) and National Electrical Code (NEC), wire size is non-negotiable. If you use wire that is too thin, it creates resistance. Resistance creates heat. In a metal shop full of sparks and grinding dust, excess heat in the walls is a major hazard. I always opt for one size larger than the minimum requirement if the run of wire is longer than 50 feet. This “upsizing” helps maintain a steady voltage, which results in smoother welds and better machine performance.
- 10 AWG: Suitable for small 30-amp loads like some plasma cutters or small compressors.
- 8 AWG: The standard for 40-amp circuits; great for mid-range MIG welders.
- 6 AWG: The “gold standard” for 50-amp shop circuits; allows you to run almost any entry-level industrial machine.
Interestingly, the cost difference between 8-gauge and 6-gauge wire is often less than $100 for a typical garage run. I usually advise beginners to go with the 6-gauge wire and a 50-amp breaker from the start. This prevents you from having to re-wire the shop if you eventually upgrade to a more powerful machine. It is a “buy once, cry once” scenario that saves money over a five-year shop evolution.
Strategic Layout Planning for Power Efficiency
A well-planned workshop layout places high-voltage outlets in locations that minimize the need for long, expensive extension cords. By mapping out your “hot zone” where welding and cutting occur, you can install your power drops exactly where the tools will live, improving both safety and performance.
When I designed my current shop, I used a simple grid on a piece of graph paper. I marked the location of the main panel and then identified where my welding table would sit. I realized that placing the 240V outlet right next to the table saved me from buying a $150 heavy-duty extension cord. Every foot of cord between the wall and the tool causes a slight drop in voltage, which can affect the penetration of your welds.
- The 10-Foot Rule: Try to keep your machine within 10 feet of the wall outlet.
- Clearance Zones: Ensure there is at least 3 feet of clear space in front of your electrical panel, as per OSHA-adjacent safety guidelines.
- Height Matters: Mount outlets at least 48 inches off the floor to keep them away from floor-level dust and potential water or impact.
As a result of this planning, my shop floor stays clear of tripping hazards. In a small space, a cluttered floor is a safety nightmare. By installing two or three well-placed 240V outlets, you create a versatile workspace that can grow with your skills.
Understanding Circuit Loads and Duty Cycles
Every piece of metalworking equipment has a duty cycle and a specific amperage draw that dictates how it interacts with your home’s electrical system. Understanding these metrics prevents you from overloading your new circuits and helps you choose tools that match your garage’s power capacity.
A duty cycle is the amount of time a machine can operate within a 10-minute period before it needs to cool down. For example, a welder with a 30% duty cycle at 200 amps can weld for 3 minutes and then must rest for 7 minutes. While the machine is resting, it is still drawing a small amount of power for the cooling fans. If you have a 50-amp circuit, you are rarely pulling the full 50 amps unless you are running the machine at its absolute maximum setting.
- Check the Data Plate: Every tool has a sticker listing its “Input Amps.”
- Calculate Total Load: If you plan to run a vacuum system and a welder at the same time, add their amps together.
- The 80% Rule: For continuous loads (running longer than three hours), you should only use 80% of a circuit’s rated capacity.
Building on this, most hobbyists will never hit the 80% limit because we don’t weld for three hours straight. However, knowing these numbers gives you peace of mind. It allows you to confidently use your tools knowing that you aren’t stressing the wires hidden behind your drywall.
Safety Standards and Protective Gear for Installation
Working with high-voltage electrical components requires a commitment to safety standards that mirror industrial environments. Using proper protective equipment and following established grounding procedures is the only way to ensure your DIY installation is as safe as a professional one.
In my years as a technician, I never touched a panel without a pair of safety glasses and a voltage tester. Even when the main breaker is off, some parts of the panel can still be live. For a home shop, you must also ensure that your grounding system is robust. Metalworking involves a lot of “stray” electricity, especially with TIG welding or plasma cutting. A poor ground can lead to interference with other electronics in your house or, worse, an electric shock.
- Eye Protection: Use ANSI Z87.1 rated glasses whenever working with tools or electrical components.
- Insulated Tools: Use screwdrivers and pliers rated for electrical work to prevent accidental shorts.
- Lockout/Tagout: If you live with others, make sure they know not to flip breakers while you are working on the lines.
Following these steps isn’t just about following the law; it’s about protecting your home. If a fire occurs and an investigation finds unpermitted or non-code-compliant wiring, your insurance company might deny the claim. Spending the extra $100 on a permit and a proper inspection is the best “insurance” you can buy for your new hobby.
Managing Shop Ventilation and Ancillary Power Needs
While the 240V lines handle the heavy lifting, your workshop also needs a network of 120V circuits for lighting, grinders, and ventilation systems. Managing the total power draw of these ancillary tools is essential to prevent the “cascading failure” of multiple breakers tripping at once.
Metalworking creates fumes and fine dust that must be removed from the air. A decent ventilation fan might pull 5 to 8 amps. If that fan is on the same circuit as your LED lights and your angle grinder, you might find yourself in the dark if the grinder bogs down. I recommend running at least two separate 20-amp, 120V circuits for your garage in addition to your high-voltage lines.
| Tool Type | Typical Amperage (120V) | Priority Level |
|---|---|---|
| LED Shop Lighting | 1 – 2 Amps | High (Safety) |
| Angle Grinder (4.5″) | 6 – 10 Amps | High (Production) |
| Ventilation Fan | 5 – 8 Amps | High (Health) |
| Bench Grinder | 4 – 7 Amps | Medium |
| Shop Vacuum | 10 – 12 Amps | Medium |
Interestingly, many beginners overlook the power draw of a shop vacuum. A high-powered vacuum can draw 12 amps on its own. If you plug it into the same outlet as a 10-amp grinder, you will trip a standard 15-amp or 20-amp house breaker every time. Separating your “dirty” tools (grinders/vacuums) from your “clean” tools (lights/computers) is a professional trick that keeps the shop running smoothly.
Tracking Costs and Maintaining Electrical Records
Maintaining a detailed folder of your electrical components, costs, and layout diagrams is a hallmark of a well-run shop. This record-keeping helps with future troubleshooting, provides proof of value for insurance, and makes it easier to expand your shop as your budget grows.
I keep a simple spreadsheet for every shop I have ever built. It includes the date of installation, the gauge of wire used for each circuit, and the specific breaker brand. This might seem like overkill, but three years from now, when you want to add a second welder, you won’t have to guess what is inside your walls. You will know exactly how much capacity you have left.
- Save Receipts: Keep all hardware store receipts for warranty and tax purposes.
- Photo Documentation: Take pictures of the wiring before you close the walls or finish the conduit.
- Label Everything: Use a permanent marker or label maker to identify every circuit in the main panel and on the outlet covers.
This level of organization reduces the “analysis paralysis” that many beginners face. When you have the data in front of you, the decisions become logical rather than emotional. You stop worrying about “what if” and start focusing on the actual fabrication work.
Common Pitfalls in DIY Power Upgrades
Many first-time shop owners fall into the trap of using undersized extension cords or ignoring the heat generated by high-amperage tools. Recognizing these common mistakes early can save you hundreds of dollars in damaged equipment and prevent dangerous electrical fires.
One of the most frequent errors I see is the use of “RV adapters” to plug a welder into a dryer outlet. While this works in a pinch, dryer outlets are often not rated for the sustained high-heat draw of a welder. Furthermore, the cord is usually draped across a walkway, creating a trip hazard and a fire risk if the cord is nicked by a hot piece of metal. A dedicated, hard-wired circuit is always the safer and more efficient choice.
Another mistake is failing to account for “nuisance tripping.” This happens when a breaker is too sensitive for the initial “inrush current” of a large motor or transformer. Using high-quality, industrial-grade breakers and receptacles reduces this risk significantly. By investing in quality components from the start, you ensure that your shop is a place of productivity rather than a place of constant frustration.
Final Steps for a Functional Metalworking Space
Once your power is installed and inspected, the final phase is to perform a “load test” and organize your workspace for maximum efficiency. This involves checking each outlet with a meter and running your most power-hungry tool at a low setting to ensure everything is stable.
I always start with a “dry run.” I turn on the lights, the ventilation fan, and the welder. I listen for any unusual humming from the panel and feel the outlet covers for excess heat. If everything stays cool and the lights don’t flicker, I know the system is solid. This gives me the confidence to tackle larger projects, knowing my foundation is built to industrial standards.
Your next steps should be to: – Verify all ground connections are tight. – Organize your power cords with hooks to keep them off the floor. – Create a “power budget” for future tool purchases based on your remaining panel capacity.
Setting up a shop on a budget is about making smart compromises. By following these guidelines, you are not just building a place to work; you are building a safe, reliable environment where you can master the craft of metalworking for years to come.
FAQ: Managing Workshop Power and Costs
What is the average cost to add a 240V circuit myself? For a typical garage where the panel is in the same room, you can expect to spend between $300 and $600. This includes 6-gauge copper wire, a 50-amp breaker, conduit, and a heavy-duty receptacle. If your panel is on the opposite side of the house, the cost can rise toward $1,500 due to the high price of long copper wire runs.
Can I run a welder on a standard 120V household outlet? Small, entry-level welders are often designed for 120V. However, they are limited in the thickness of metal they can join (usually up to 1/8 or 3/16 inch). For anything thicker, or for better weld quality, a 240V circuit is necessary to provide the required amperage without tripping household breakers.
What wire gauge do I need for a 50-amp welder circuit? For a 50-amp circuit, 6 AWG (American Wire Gauge) copper wire is the standard requirement. This ensures the wire can handle the heat generated by the high current. Using 8 AWG is sometimes permissible for shorter runs or lower-amperage welders, but 6 AWG provides the most versatility for future tool upgrades.
Do I really need a permit for a DIY electrical project in my garage? Yes. Most local jurisdictions require a permit for adding new circuits. A permit ensures that a city inspector will check your work to verify it meets the National Electrical Code (NEC). This is vital for home insurance coverage and for the safety of anyone living in the house.
How do I know if my main electrical panel is full? Open your panel and look for empty slots. If there are no physical spaces for a new double-pole breaker (which takes up two slots), you may need to use “tandem” breakers for your existing 120V lines to free up space. However, you must also ensure the total amperage of all breakers doesn’t exceed the panel’s main service rating.
What is the difference between a 30-amp and a 50-amp 240V outlet? A 30-amp outlet (like a NEMA 6-30) is smaller and meant for lighter loads like small compressors. A 50-amp outlet (like a NEMA 6-50) is the industry standard for welders. They have different plug patterns to prevent you from plugging a high-draw tool into a lower-rated circuit.
Why shouldn’t I just use a long extension cord from my dryer outlet? Dryer outlets are often 30-amp circuits, while many welders require 50 amps. Using an adapter and a long cord can cause a significant voltage drop, leading to poor weld penetration and potential damage to your welder’s electronics. It also creates a significant fire and trip hazard in a workshop environment.
How many 240V outlets should I install in a one-car garage? For a small shop, one well-placed 240V outlet near your main welding table is usually enough. If you have a separate large air compressor and a welder, you may want two dedicated circuits so you don’t have to keep swapping plugs, which can wear out the receptacles over time.
Is it safe to run electrical conduit on the surface of the walls? Yes, surface-mounted EMT (Electrical Metallic Tubing) is very common in workshops. It protects the wires from physical damage and makes it much easier to add or change circuits later without tearing out drywall. Just ensure the conduit is properly strapped and grounded according to code.
How does 240V power affect my monthly electricity bill? Using 240V is actually more efficient than 120V for high-power tasks. While the tools pull more “muscle,” they often do the job faster and with less wasted heat. For a hobbyist, the impact on your monthly bill is usually negligible, often less than the cost of a few pizzas a year.
(This article was written by one of our staff writers, Michael Thompson. Visit our Meet the Team page to learn more about the author and their expertise.)