How to Balance Speed and Safety in DIY Metal Projects (Tips)
Walking into an empty garage with a few hundred dollars and a desire to build things is a scenario I know well. In 2013, I stood in a 200-square-foot space with a used miter saw and a dream of becoming a fabricator. My background as an industrial maintenance technician taught me that success in the shop is not about having the most expensive tools. Instead, it is about how you organize your workflow to stay productive while keeping your fingers and your house safe.
The initial financial anxiety of starting a metal shop is real. You see professional setups online and think you need five figures to get started. I am here to tell you that you can build a highly functional space for under $2,000 if you prioritize correctly. This journey requires a methodical approach to tracking costs and a commitment to following established safety standards. By focusing on a few core principles, you can create a workspace that allows you to work quickly without compromising your well-being.
Assessing Your Starter Metal Workshop Layout and Power Constraints
A workshop layout involves the strategic placement of machinery and workbenches to maximize movement and minimize hazards. This process requires measuring your available square footage and identifying where your electrical outlets are located. A well-planned layout prevents accidents caused by tripping over cords or working in cramped, poorly lit corners.
When I planned my first shop, I made the mistake of putting my welding table too close to my wooden storage shelves. One stray spark taught me a lesson about “fire zones” that I never forgot. Now, I recommend a clear separation of tasks. Your shop should have a “dirty zone” for grinding and cutting, and a “clean zone” for assembly and precision measuring. This separation keeps abrasive dust away from sensitive tools and reduces the time you spend cleaning.
Your floor plan should allow for at least three feet of clearance around stationary tools. This space, often called a “work envelope,” ensures that you can move freely if a tool malfunctions or if you need to adjust a long piece of steel. I use masking tape on the floor to mock up tool positions before I bolt anything down. This simple step helps me visualize the workflow and identify potential bottlenecks before they become permanent problems.
Establishing Reliable Power for Beginner Welder Requirements
Power requirements refer to the electrical demand your tools place on your home’s wiring system. Most residential garages have 15-amp or 20-amp circuits, which can be limiting for heavy-duty fabrication. Understanding these limits is essential to prevent circuit breakers from tripping and to ensure your tools run at their intended speeds for clean, safe cuts.
In my early days, I tried to run a small flux-core welder and a shop vacuum on the same 15-amp circuit. The breaker tripped every two minutes, which was frustrating and hard on the equipment. I eventually learned to calculate my “load profile.” This means adding up the amperage of every tool that might run at the same time. If you plan to weld, I highly recommend having a dedicated 20-amp circuit installed. It is a one-time cost that significantly improves the stability of your welding arc.
A “duty cycle” is another critical concept for beginners. This is the amount of time a machine can operate within a ten-minute period without overheating. For example, a welder with a 20% duty cycle can run for two minutes but needs eight minutes to cool down. Pushing a tool past its duty cycle is a common way to ruin expensive gear. I keep a small logbook next to my welder to track my run times, which helps me maintain a steady pace without stressing the machine.
| Tool Class | Typical Amperage | Recommended Circuit | Priority Level |
|---|---|---|---|
| Handheld Grinder | 5A – 8A | 15A Standard | High |
| Entry-Level Welder | 12A – 20A | 20A Dedicated | High |
| Small Drill Press | 3A – 6A | 15A Standard | Medium |
| Shop Vacuum | 6A – 10A | 15A Standard | High |
| Bench Grinder | 4A – 7A | 15A Standard | Medium |
Selecting High-Utility, Affordable Fabrication Tools
Choosing tools based on versatility means finding equipment that can handle multiple stages of a project. Instead of buying specialized machines, a beginner should focus on foundational tools that offer the most “bang for the buck.” This strategy keeps your initial costs low while allowing you to complete a wide variety of basic metalworking tasks.
The angle grinder is the undisputed king of the budget shop. It can cut, grind, sand, and polish. However, I always warn beginners that a cheap grinder with a poor grip can be dangerous. I spent $40 on my first one and regretted it when the vibration made my hands numb after ten minutes. Spending $80 on a model with a “dead-man switch” (which stops the tool if you let go) is a much better investment for a new fabricator.
These are great, but they are expensive. A simple flux-core welder is often enough to get started. It doesn’t require gas tanks, which saves you money and space. I tracked my costs over the first year and found that the money I saved on gas allowed me to buy a high-quality auto-darkening helmet—a piece of safety gear that made my learning curve much shorter and safer.Garage Workshop Ventilation and Air Quality Management
Ventilation is the process of replacing contaminated shop air with fresh outdoor air. In metalworking, this is vital because cutting and welding produce fine dust and fumes that can be harmful if inhaled. A proper ventilation setup ensures that your workspace remains visible and your lungs stay clear during long fabrication sessions.
I once spent four hours grinding rust off an old truck frame in a closed garage. The next morning, I had a “metal cough” that lasted three days. That experience led me to research CFM (Cubic Feet per Minute) ratings for fans. For a standard two-car garage, you want a fan capable of moving at least 200 to 300 CFM to keep the air moving. A simple box fan in a window is better than nothing, but a dedicated exhaust fan is a much safer choice.
Dust extraction is the “at-the-source” version of ventilation. Many modern tools have ports where you can attach a shop vacuum. Using these ports captures the majority of metal shavings before they become airborne. I use a “cyclone” separator between my tool and the vacuum. This prevents heavy metal chips from clogging the vacuum filter, which maintains suction and keeps the air cleaner for longer periods.
- CFM Calculation: Volume of shop (Length x Width x Height) / Air exchange rate (usually 5-10 minutes).
- Filter Ratings: Use HEPA filters in your vacuum to catch the smallest, most dangerous particles.
- Placement: Position your exhaust fan so it pulls fumes away from your face, not across it.
Integrating Workshop Electrical Setup Checklists and Safety Standards
An electrical checklist is a set of steps you follow to ensure your shop wiring meets basic safety requirements. This includes checking for grounded outlets, using the correct gauge of extension cords, and ensuring your lighting is adequate. Following these standards reduces the risk of fire and electrical shock, which are primary concerns in a residential metal shop.
I follow a “no-daisy-chain” rule in my shop. This means I never plug one power strip into another. It is a common mistake that leads to overheated wires. Instead, I use 12-gauge extension cords for any tool that pulls more than 10 amps. These thicker cords can handle the current without getting hot. I also recommend installing a Master Power Switch. This allows you to kill all power to your tools with one button when you leave the shop, ensuring nothing is left on by accident.
Lighting is an often-overlooked part of safety. If you cannot see where your blade is touching the metal, you are working dangerously. I upgraded my shop from two dim incandescent bulbs to six high-output LED shop lights. The difference was immediate. I could see my layout lines better, which meant fewer mistakes and faster work. Good lighting also helps you spot small fires or smoldering debris that could ignite after you finish working.
- Inspect all cords for frays or exposed wires weekly.
- Test your Ground Fault Circuit Interrupter (GFCI) outlets monthly.
- Ensure all stationary tools are properly grounded to the machine frame.
- Keep electrical panels clear of any obstructions for at least three feet.
- Label every breaker in your panel so you know exactly what is on each circuit.
Building a Functional Fabrication Workflow with Budget Metalworking Tools
A fabrication workflow is the sequence of steps you take to move a project from raw material to a finished product. By organizing your tools in the order they are used, you reduce wasted movement and decrease the likelihood of rushing through a task. A logical flow makes the entire process feel more controlled and professional, even on a tight budget.
In my workshop, the “flow” starts at the garage door where I store my long pieces of steel. Next is the cutting station, followed by the grinding station, and finally the welding table. This linear path means I am never carrying heavy, jagged metal across the room more than necessary. I also built a mobile welding cart that holds my machine, helmet, and clamps. Being able to roll my entire “joining station” to the project saves me time and keeps my workspace organized.
I also recommend a “clean-as-you-go” policy. After every cut, I spend 30 seconds sweeping up the chips. This prevents them from being tracked into the house or getting stuck in the soles of my boots. It might seem like it slows you down, but it actually speeds up the project because you aren’t fighting through a mess to find your tape measure or your square. A clean shop is a fast shop because you spend less time searching and more time building.
Tracking Costs and Tool Lifespan for Long-Term Sustainability
Tracking costs involves keeping a detailed record of every penny spent on tools, consumables, and materials. This practice helps you understand the true cost of your hobby and allows you to plan for future upgrades. Knowing how long a tool lasts before it needs repair or replacement is key to maintaining a budget-friendly shop over many years.
I use a simple spreadsheet to track my shop expenses. I categorize them into “Fixed Costs” (tools like a drill press) and “Variable Costs” (consumables like grinding discs and welding wire). Interestingly, I found that I was spending more on cheap grinding discs over six months than I would have spent on a single high-quality pack. The cheap ones wore out faster and required more frequent changes, which wasted time.
| Expense Category | Percentage of Initial Budget | Example Items |
|---|---|---|
| Core Machinery | 40% | Welder, Grinder, Drill Press |
| Safety Gear (PPE) | 20% | Helmet, Gloves, Respirator, Boots |
| Work Surfaces | 15% | Steel Table, Vise, Sawhorses |
| Measuring & Layout | 10% | Squares, Calipers, Scribers |
| Consumables | 15% | Wire, Discs, Drill Bits, Coolant |
By allocating 20% of my budget to Personal Protective Equipment (PPE), I ensured that I had high-quality eye and ear protection from day one. I follow the American National Standards Institute (ANSI) Z87.1 rating for eye protection. These glasses are designed to withstand high-velocity impacts from metal fragments. Investing in good PPE is the best way to ensure you can keep working in the shop for years to come without injury.
Vetting Your Equipment: Why Quality Matters for Safety
Vetting equipment is the process of researching and testing tools to ensure they meet your performance and safety standards. This step prevents you from wasting money on “tool-shaped objects” that break quickly or perform poorly. A well-vetted tool is more predictable, which makes it safer to use during complex fabrication tasks.
When I look for a new tool, I check for industrial-style features even on hobbyist models. For example, does the drill press have a sturdy cast-iron base? Does the welder have a metal wire-drive system instead of plastic? These small details indicate how long the tool will last. I also look for brands that offer replacement parts. If a switch breaks on a $200 tool, you want to be able to fix it for $10 rather than throwing the whole machine away.
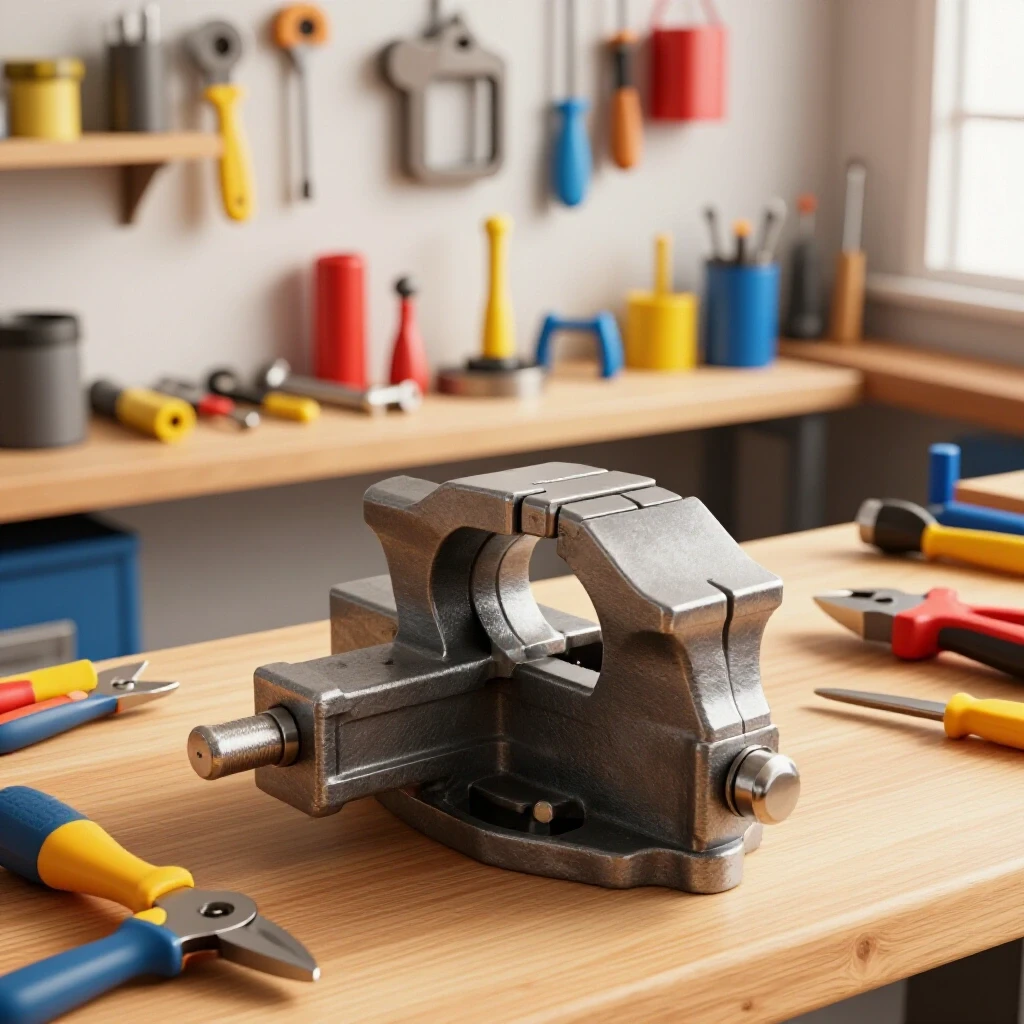
I often tell beginners to look at the “used” market, but with caution. I bought my first heavy-duty bench vise at an estate sale for $30. It was covered in rust, but after an hour of cleaning, it worked better than a brand-new $100 model from a big-box store. However, I never buy used safety gear or used abrasive wheels. You never know if a grinding disc has been dropped or if a welding helmet has a faulty sensor. Those are items you always buy new to ensure your protection.
Implementing a Maintenance Schedule for Shop Longevity
A maintenance schedule is a recurring list of tasks performed to keep your tools in top working condition. Regular maintenance prevents unexpected tool failure, which can be dangerous if it happens mid-cut. By spending a few minutes each week on upkeep, you extend the life of your investment and maintain a high level of precision in your work.
In my shop, every Saturday morning is “Maintenance Hour.” I blow the dust out of my welder with compressed air, check the tension on my drill press belts, and wipe down my cast-iron surfaces with a light coat of oil to prevent rust. This habit has saved me hundreds of dollars in repairs. It also gives me a chance to inspect my tools for small issues, like a loose bolt or a fraying belt, before they lead to a major breakdown.
- Weekly: Clean work surfaces and blow out power tool vents.
- Monthly: Lubricate moving parts and check electrical connections.
- Quarterly: Sharpen drill bits and inspect machine guards for cracks.
- Annually: Deep clean the entire shop and reorganize storage for better flow.
By following these steps, you create a sustainable environment where you can grow your skills. You don’t need a massive budget to be a great metalworker; you need a disciplined approach to your space, your tools, and your safety. When you treat your garage like a professional fabrication shop, you get professional results.
FAQ: Common Questions on Starting a Metal Shop
How much should I realistically spend on my first set of safety gear? You should allocate about 15% to 20% of your initial budget to high-quality PPE. For a $2,000 shop, that is $300 to $400. This covers a good auto-darkening welding helmet, a comfortable respirator with P100 filters, ANSI Z87.1 safety glasses, and leather welding gloves. Never skimp on gear that protects your eyes or lungs.
Can I run a welder on a standard 15-amp household outlet? Most entry-level 110v welders can run on a 15-amp circuit at low power settings. However, you will frequently trip the breaker if you try to weld thicker material. For a better experience and safer electrical load, I recommend a dedicated 20-amp circuit. This prevents voltage drops that can lead to poor weld quality.
What is the most important tool for a beginner on a budget? The 4.5-inch angle grinder is the most versatile tool you can own. It allows you to cut material, clean up welds, and remove rust. If you can only afford one power tool to start, this is it. Just ensure you buy a model with a paddle switch for increased safety.
How do I prevent fires when welding or grinding in a garage? Create a “fire-safe zone” by removing all flammable materials (cardboard, gasoline, sawdust) within 35 feet of your work area. Keep a rated fire extinguisher (ABC type) within arm’s reach. I also recommend a “fire watch”—stay in your shop for at least 30 minutes after you finish working to ensure nothing is smoldering.
Is it better to buy a cheap new welder or a used professional one? For beginners, a new entry-level welder from a reputable brand is often better because it comes with a warranty and modern safety features. Used professional machines are great but can have hidden electrical issues that are expensive for a novice to fix. Stick to a new machine with a clear manual and customer support.
How do I manage metal dust in a small space? Use a combination of “source capture” and general ventilation. Attach a shop vacuum to your tools whenever possible and use a high-CFM exhaust fan to pull air out of the garage. Wearing a respirator is the final and most important line of defense against fine metal particles.
How do I know if a tool is safe to use? Always perform a “pre-flight” check. Inspect the power cord for damage, ensure all guards are in place, and check that the tool sounds normal when it starts. For grinders, do a “ring test” on new stones to check for cracks. If a tool makes an unusual vibration or smell, stop immediately and investigate.
What is the best way to organize a small shop layout? Follow the “Work Triangle” principle: keep your cutting, prep, and joining stations close to each other but with enough space to move. Use mobile bases for heavy tools so you can reconfigure the space as needed. Keeping your center floor area clear allows you to handle larger projects more easily.
How do I track my shop’s power consumption? You can use a simple plug-in power meter to see how many amps your tools pull under load. Alternatively, check the data plate on each tool for its “FLA” (Full Load Amps) rating. Ensure the total amperage of tools running simultaneously does not exceed 80% of your circuit breaker’s capacity.
What are the most common mistakes beginners make when buying tools? The biggest mistake is “over-tooling”—buying specialized machines before they are needed. Another is buying the cheapest consumables (like drill bits or grinding discs), which actually cost more over time because they fail faster. Focus on quality basics and expand as your projects demand it.
(This article was written by one of our staff writers, Michael Thompson. Visit our Meet the Team page to learn more about the author and their expertise.)