How to Get Highly Accurate Metal Cuts and Welds (Tutorial)
I remember standing in my first 400-square-foot garage back in 2013, staring at a concrete floor and a very thin wallet. I had exactly $2,000 to turn that empty space into a functional fabrication shop. As a former industrial maintenance technician, I knew how to fix massive machines, but building a shop from scratch on a budget was a different challenge. The anxiety of wasting money on the wrong tools or, worse, setting my house on fire due to poor electrical planning was real. Over the last decade, I have learned that precision in metalwork does not come from the most expensive machines. It comes from a structured approach to layout, a deep understanding of tool limits, and a commitment to safety standards like those set by OSHA and the American Welding Society (AWS).
Setting up a shop is a journey of compromises. You have to decide where to spend and where to save. My goal is to help you navigate those choices so you can achieve professional-grade results in your projects without overextending your finances. We will focus on the fundamentals of dimensional accuracy, from the first scribe line to the final bead, ensuring your workshop is both capable and compliant with standard safety practices.
Establishing a Precise Foundation in Your First Metal Shop
A successful workshop layout begins with understanding the physical and electrical limits of your space. This phase involves mapping out where tools will live and how they will draw power to ensure consistent performance. Proper planning prevents the common mistake of overcrowding, which often leads to accidents and sloppy workmanship.
Assessing Electrical Capacity and Circuit Loads
Electrical capacity refers to the total amount of power your shop can draw before a breaker trips. For a beginner metalworking space, understanding the difference between a 15-amp and a 20-amp circuit is vital for tool performance and safety. Most residential garages are not wired for heavy machinery, requiring a careful audit of your existing panel.
When I started, I quickly realized that running a welder and a grinder on the same 15A circuit was a recipe for blown fuses. I tracked my power consumption and found that even entry-level welders often require a dedicated 20A line to maintain a stable arc. If your lights flicker when you start a tool, you are likely pushing your electrical limits.
- 15A Circuit: Suitable for small hand tools, LED lighting, and light-duty grinders.
- 20A Circuit: The minimum standard for most entry-level MIG or TIG welders and larger chop saws.
- 240V Outlet: Necessary if you plan to move beyond thin-gauge sheet metal, as it provides a more stable power delivery for deeper penetration.
Mapping the Workflow and Tool Footprint
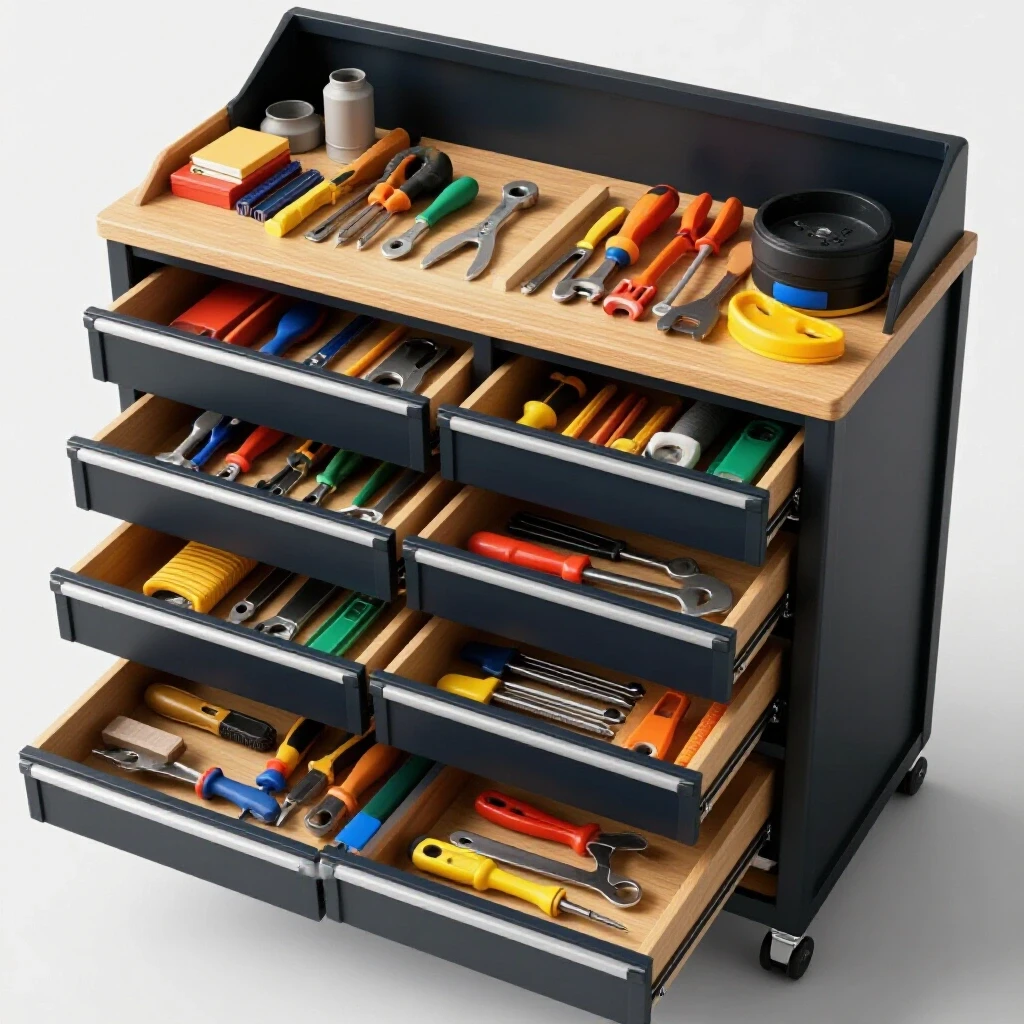
A workshop layout should follow the natural progression of a project: storage, cutting, prep, assembly, and finishing. By defining “zones,” you reduce the time spent moving heavy stock and minimize the risk of tripping over cords. This organization is the first step toward repeatable accuracy in your builds.
In my current shop, I keep a minimum of 36 inches of clearance around all stationary tools, which aligns with basic industrial safety guidelines. I used a simple digital layout tool to move virtual machines around before I ever bolted anything to the floor. This saved me from the back-breaking work of repositioning a heavy welding table three times.
- Material Storage Zone: Keep long bars and sheets near the entrance to avoid maneuvering them through the whole shop.
- Severing Station: Place your saw or cutoff area near the storage to minimize carrying weight.
- The “Clean Zone”: Keep your measuring tools and layout table away from the grinding sparks to prevent grit from ruining your precision instruments.
Mastering Layout and Dimension Transfer for Better Fit-up
Achieving a tolerance of 0.5 mm starts with how you mark your metal. Layout is the process of transferring dimensions from a drawing onto the workpiece using specialized tools. If your marks are thick or inaccurate, every subsequent step—the cut and the weld—will be off by that same margin.
Essential Measuring and Marking Tools
High-quality measuring tools are the most cost-effective investment you can make. While a standard tape measure is fine for rough lengths, precision work requires steel scales, scribes, and calipers. These tools allow you to work to the “center of the line,” which is a hallmark of professional fabrication.
I recommend allocating about 30% of your initial “tooling” budget to high-quality measuring gear. In my experience, a cheap plastic square will eventually lead to a crooked frame that takes hours to fix. Using a carbide-tipped scribe instead of a fat carpenter’s pencil can reduce your error margin significantly.
- Steel Ruler (Scale): Look for etched markings that won’t rub off over time.
- Combination Square: Essential for checking 90-degree and 45-degree angles.
- Digital Calipers: Used for measuring material thickness and small diameters with high precision.
- Scribe: A hardened point used to scratch a permanent, thin line into the metal surface.
Techniques for Accurate Scribing and Squaring
To get the most out of your layout tools, you must use them correctly. Scribing a line requires a steady hand and a firm reference edge. Squaring a frame involves checking diagonals to ensure the assembly is not “racked,” or leaning to one side. These steps are the “check twice, cut once” mantra of the metal world.
Interestingly, many beginners forget to account for the “kerf,” which is the width of the material removed by the saw blade. If you cut on the wrong side of your scribe line, your piece will be short by the thickness of the blade. I always mark my “waste side” with a small ‘X’ to ensure I stay on the correct side of the line during the severing process.
| Tool Type | Expected Precision | Best Use Case |
|---|---|---|
| Tape Measure | +/- 0.8 mm | Rough lengths over 1 meter |
| Steel Scale | +/- 0.5 mm | General layout and part sizing |
| Digital Calipers | +/- 0.02 mm | Checking fit-up and material gauge |
| Combination Square | +/- 0.1 degree | Ensuring joints are perpendicular |
Selecting the Right Severing Methods for Clean Results
Severing is the act of cutting metal stock into smaller pieces. The method you choose dictates how much cleanup work you will have to do before you can join the pieces together. Choosing the right tool for the job saves time and reduces the wear on your consumables.
Abrasive Cutting vs. Cold Cutting
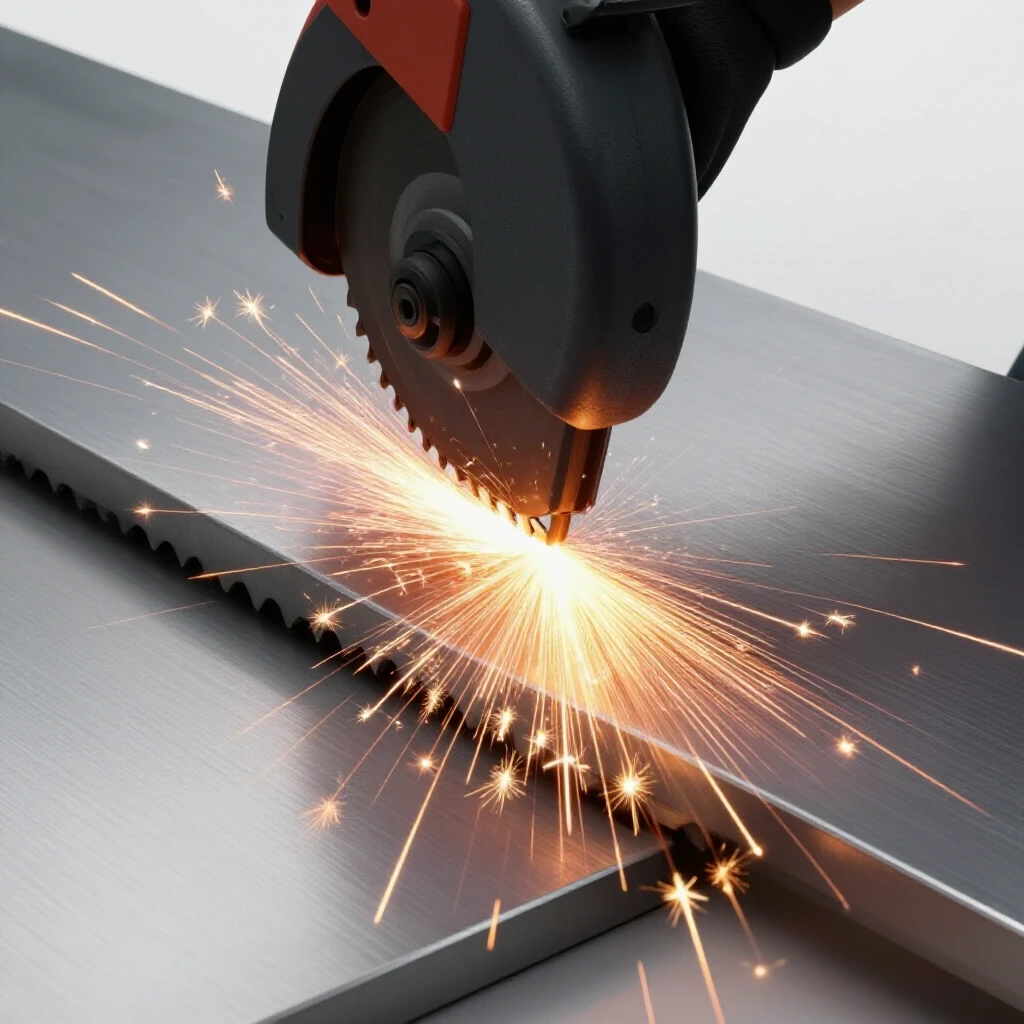
Abrasive cutting uses high-speed friction disks that generate significant heat and sparks. Cold cutting, usually done with a bandsaw or a specialized circular saw, uses teeth to chip away the metal, resulting in a cleaner edge. For a budget shop, the choice often comes down to the initial cost of the machine versus the long-term cost of the blades.
When I built my first shop, I relied heavily on an angle grinder with thin cutoff wheels. It was affordable, but it was loud and produced a lot of dust. Eventually, I tracked my costs and realized I was spending more on replacement disks than it would have cost to buy a small horizontal bandsaw. The bandsaw also allowed for much straighter cuts with less physical effort.
- Angle Grinder: Highly portable and versatile, but requires a steady hand for accuracy.
- Chop Saw: Fast and powerful, but can deflect (bend) during the cut, leading to angles that are slightly off.
- Horizontal Bandsaw: The gold standard for accuracy in a small shop; it allows for hands-free cutting and very straight edges.
Feed Control and Blade Selection
Accuracy in cutting is not just about the tool; it is about how you use it. Feed control refers to the pressure and speed at which the blade moves through the metal. Too much pressure can cause the blade to wander or break, while too little can “work-harden” the metal, making it nearly impossible to cut.
I once ruined a brand-new bandsaw blade in five minutes because I didn’t match the “teeth per inch” (TPI) to the thickness of the material. A general rule from industrial standards is to have at least three teeth in contact with the metal at all times. If you are cutting thin-walled tubing with a coarse blade, the teeth will catch and snap off.
- Thin Material (under 3mm): Use a high TPI count (18-24).
- Thick Material (over 6mm): Use a lower TPI count (8-14) to allow for chip clearance.
- Consistent Pressure: Let the tool do the work; forcing a cut always reduces precision.
Preparing Edges for High-Strength Fusion
Once the metal is cut, it must be prepared before it can be fused. Edge preparation involves removing contaminants like mill scale, rust, and oil, and often involves grinding a bevel into the edge. This ensures that the weld penetrates deep into the joint rather than just sitting on the surface.
The Importance of the “Clean Zone”
In welding, cleanliness is not just about aesthetics; it is about structural integrity. Contaminants on the metal surface can cause “porosity,” which are tiny bubbles in the weld that weaken the joint. Following AWS guidelines, all surfaces within at least one inch of the weld zone should be cleaned to shiny, bare metal.
I keep a dedicated set of stainless steel wire brushes and a bottle of acetone in my prep area. I learned the hard way that using a brush on carbon steel and then using that same brush on aluminum will cause cross-contamination and ruin the weld. Labeling your brushes is a simple, no-cost way to maintain quality.
- Mill Scale: The dark, flaky outer layer on hot-rolled steel that must be ground off.
- Acetone: A common solvent used to remove oils and greases before welding.
- Flap Disks: A type of grinding wheel that is gentler than a hard stone, perfect for cleaning without removing too much base metal.
Beveling and Gap Management
For thicker materials, you cannot simply butt two flat edges together and expect a strong weld. You must create a “V” groove by grinding the edges at an angle. This allows the filler metal to reach the bottom of the joint. Consistent gap management—keeping the space between the two pieces uniform—is also essential for a straight, warp-free result.
I use “spacer shims” (like a scrap piece of welding wire) to ensure my gaps are identical across the entire length of a joint. This small step prevents the metal from pulling unevenly as it cools. In my record-keeping, I’ve noted that joints with a consistent 1.5 mm gap are much easier to weld than those that are tight in some spots and wide in others.
Managing Thermal Expansion and Distortion During Fusion
Metal expands when it gets hot and contracts as it cools. This movement, known as distortion, can pull a perfectly square frame out of alignment in seconds. Managing this heat is the most difficult part of achieving high accuracy in the final assembly.
The Role of Workholding and Fixturing
Workholding refers to the clamps, magnets, and tables used to keep the metal in place during the welding process. A strong fixture acts as a mechanical restraint, fighting against the metal’s natural urge to warp. Without proper clamping, the heat of the arc will turn your square frame into a trapezoid.
In my shop, I use a variety of “F-clamps” and locking pliers. I once tried to weld a table frame using only magnetic squares, and the cooling metal was strong enough to pop the magnets right off. Now, I always use mechanical clamps that are bolted or firmly gripped to a heavy steel table.
- C-Clamps: Provide the highest clamping force for heavy sections.
- F-Clamps: Quick to adjust and great for reaching across wider pieces.
- Welding Magnets: Good for initial positioning, but should not be relied upon to hold a joint during the actual weld.
Sequential Tacking and Heat Sinks
Instead of welding a long seam all at once, you should use “tack welds.” These are tiny, temporary spots of weld that hold the assembly together. By placing tacks in a specific sequence—jumping from one side of the project to the other—you can balance the heat and minimize pulling.
A “heat sink” is a thick piece of metal (usually copper or aluminum) placed behind the weld to soak up excess heat. I often use scrap aluminum blocks when welding thin sheet metal. This prevents the steel from getting too hot and warping or “blowing through” (melting a hole).
Distortion Control Checklist: 1. Tack Every Corner: Ensure the project is held in at least four places before final welding. 2. Stitch Welding: Weld short sections (25mm) and move to a different area to let the first section cool. 3. Pre-Bending: Sometimes, you can purposefully bend a piece slightly in the opposite direction of the expected pull.
Designing a Safe and Efficient Fabrication Environment
A shop that is not safe will never be productive. Metalworking involves high temperatures, toxic fumes, and flying debris. Aligning your shop with OSHA-adjacent safety practices ensures that you can continue your hobby for years without injury or health issues.
Personal Protective Equipment (PPE) Standards
Your PPE is your last line of defense. For metalwork, this includes an auto-darkening welding helmet, flame-resistant clothing, and safety glasses with an ANSI Z87.1 rating. Never compromise on eye protection; sparks can easily fly behind a cheap pair of glasses.
I spent 20% of my first budget on a high-quality welding helmet and a leather apron. It was a painful expense at the time, but after a decade of welding, I still have my eyesight and no major burns. Cheap synthetic clothing (like polyester) is a major hazard because it melts to your skin when hit by a spark. Stick to 100% cotton or leather.
Ventilation and Air Exchange Requirements
Welding and grinding produce fine dust and hazardous fumes. In a confined garage space, these can quickly reach dangerous levels. A proper ventilation system should aim for several air exchanges per hour, depending on the size of the room and the intensity of the work.
I installed a high-CFM (cubic feet per minute) exhaust fan in my shop window and used a flexible duct to pull fumes directly from the source. For a standard two-car garage, you should aim for a fan capable of moving at least 500 to 1,000 CFM. If you can smell the “metallic” scent of welding after you’ve finished, your ventilation is inadequate.
| Safety Category | Standard/Requirement | Why It Matters |
|---|---|---|
| Eye Protection | ANSI Z87.1+ | Prevents high-speed impact injuries |
| Ventilation | 500-1000 CFM | Removes toxic fumes and grinding dust |
| Fire Safety | Class ABC Extinguisher | Essential for electrical or oil fires |
| Electrical | Dedicated 20A Circuit | Prevents overheating of house wiring |
Tracking Progress and Tool Lifespan
One of the most valuable habits I brought from my industrial background is keeping a shop log. I track when I buy tools, how long the blades last, and what my electrical bills look like. This data-driven approach helps you see where your money is going and when it’s time to upgrade.
- Consumable Log: Track how many cuts you get out of a bandsaw blade. If the number drops, you might be using the wrong feed pressure.
- Maintenance Schedule: Every six months, check your grinder cords for frays and blow the dust out of your welder with compressed air.
- Project Costing: Record the cost of materials and gas for every build. This helps you stay within your hobby budget.
By following these structured steps—planning your space, mastering layout, choosing the right severing tools, and managing heat—you can produce high-quality metalwork in a modest garage. The key is to be methodical. Precision is not an accident; it is the result of a series of small, intentional decisions.
FAQ: Common Questions on Workshop Setup and Precision
How much power does a beginner welder actually need? Most entry-level MIG welders run on a standard 120V outlet but require a 20-amp circuit to perform well. If you use a 15-amp household circuit, you will likely trip the breaker when you try to weld thicker materials. If your budget allows, installing a 240V outlet is the best way to ensure the machine has enough “grunt” for a wide range of projects.
Can I get straight cuts with just an angle grinder? Yes, but it requires a high level of skill and a steady hand. To improve accuracy, use a “zip disc” (a very thin cutoff wheel) and mark your line all the way around the material. If you find yourself doing a lot of structural work, a dedicated chop saw or bandsaw is a much better investment for repeatable results.
What is the best way to prevent my projects from warping? The best defense against warping is a combination of strong clamping and “tack welding.” Never weld a long seam in one pass. Instead, place small tacks every few inches and jump around the project to distribute the heat evenly. Using a thick steel table as a “heat sink” also helps.
Do I really need a dedicated ventilation system? Absolutely. Welding fumes contain heavy metals that are not safe to breathe, and grinding dust can damage your lungs over time. At a minimum, you should work near an open door with a high-powered fan blowing the air out. For more frequent work, a source-capture fume extractor is highly recommended.
How do I know if my layout tools are accurate? You can check a square by drawing a line against a straight edge, then flipping the square over to see if the edge still aligns with the line. For calipers, ensure they return to “zero” every time you close them. Buying mid-range tools from reputable industrial suppliers is usually safer than the cheapest options at a big-box store.
What is the “kerf,” and why does it matter? The kerf is the thickness of the slot made by a saw blade or cutting disc. If your blade is 2mm thick and you cut directly on your mark, your finished piece will be 2mm shorter than intended. Always cut on the “waste side” of your scribe line to maintain your dimensions.
Is it safe to weld in a garage with a wooden floor? It is not recommended. Sparks and molten “slag” can easily get trapped in cracks in wood and smolder for hours before starting a fire. If you must work in such a space, use fire-resistant welding blankets to cover the floor and keep a fire extinguisher within arm’s reach.
How often should I replace my grinding wheels? Replace an abrasive wheel if it is chipped, cracked, or worn down to a small diameter. Using a “stub” of a wheel increases the risk of the disc shattering due to the high RPMs of the grinder. Always check the “expiration date” often printed on the metal center ring of the disc.
What are the most essential safety items for a new shop? A high-quality auto-darkening welding helmet, ANSI Z87.1 safety glasses, leather gloves, a flame-resistant apron or jacket, and a Class ABC fire extinguisher. Never weld in sneakers or frayed clothing, as these can easily catch sparks.
Can I use a regular vacuum for grinding dust? No. Grinding dust is fine, abrasive, and often hot. A standard household vacuum can catch fire or have its motor ruined by the metallic dust. Use a shop vacuum with a high-efficiency (HEPA) filter, or better yet, a dedicated dust collection system designed for metal.
How do I manage the cost of consumables like gas and wire? Keep a log of your usage. If you are using too much shielding gas, check for leaks in your hoses. Buying larger gas cylinders is usually cheaper in the long run than exchanging small ones frequently. For wire, buying in 5lb or 10lb spools is more cost-effective than 1lb spools.
What is the difference between MIG and TIG for a beginner? MIG welding is generally easier to learn and faster for general fabrication. TIG welding offers much more control and cleaner results but has a steeper learning curve and requires more expensive equipment. For most first-time garage shops, a MIG setup is the most practical starting point.
(This article was written by one of our staff writers, Michael Thompson. Visit our Meet the Team page to learn more about the author and their expertise.)