How to Weld Tool Storage Drawers onto a Steel Workbench (Fix)
I remember the first time I tried to add a custom storage unit to my heavy-duty welding table. I had spent three hours cutting pieces of 1-inch square tubing, ensuring every miter was a crisp 45 degrees. I clamped everything down, ran my beads, and felt a surge of pride. Then the metal cooled. As the steel contracted, it pulled the entire frame inward by nearly 3/16 of an inch. My drawer slides wouldn’t even fit into the opening. I had to cut the whole thing apart and start over. That day, I learned that in custom fabrication projects, the weld doesn’t just join metal; it moves it.
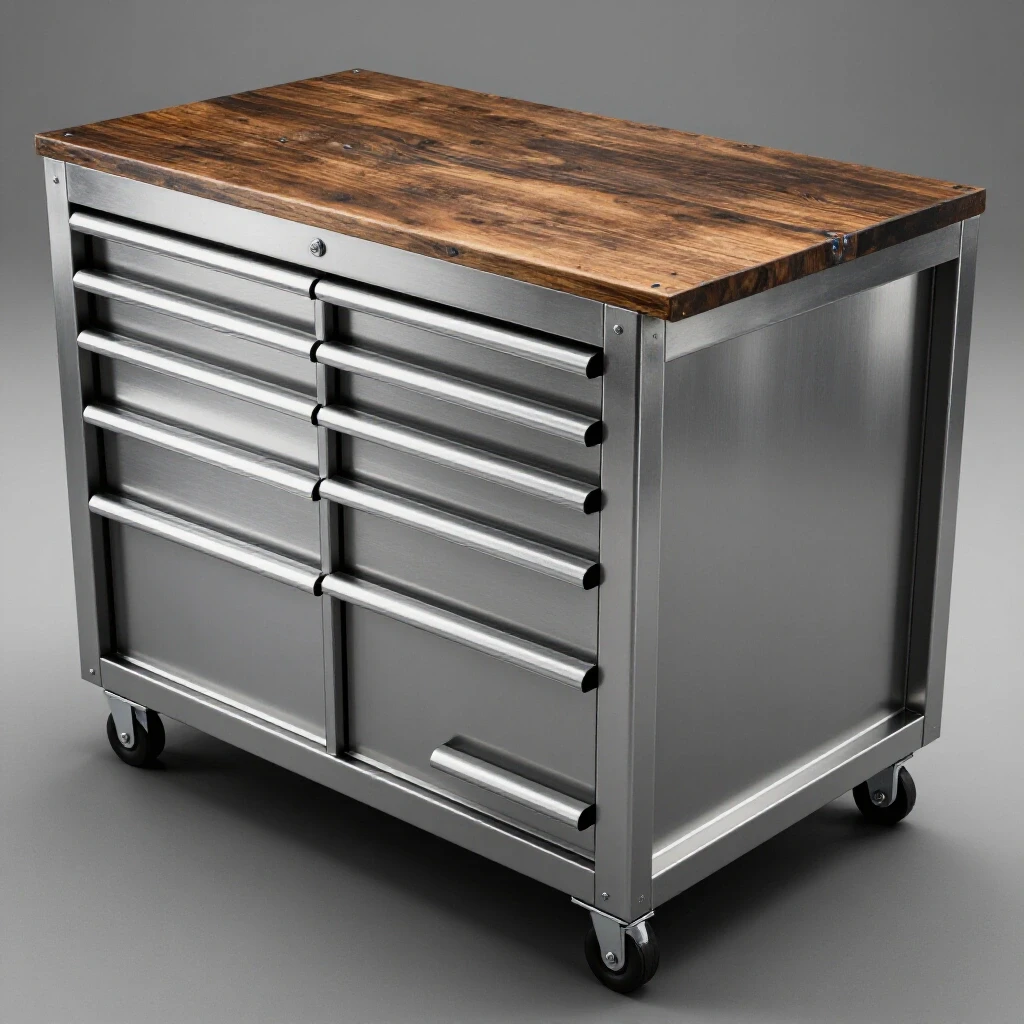
Thirteen years in the shop have taught me that success isn’t about having the most expensive tools. It is about understanding how heat affects the structure. When you are modifying an existing steel workbench to include integrated storage, you are fighting physics. This guide focuses on the technical reality of adding permanent metal housings to your workspace while keeping everything square and functional.
Mastering the Layout and Cut List for Custom Shop Upgrades
Effective layout planning involves calculating the exact dimensions of your storage frame while accounting for material thickness and blade width. This stage determines whether your drawers will glide smoothly or bind against the frame due to cumulative measurement errors.
Before I spark the welder, I spend a significant amount of time with a scribe and a machinist’s square. In my early days as a prototype technician, I realized that most “accidental” warping starts with a bad cut list. You must account for the kerf, which is the width of the material removed by your saw blade. If you use a standard abrasive chop saw, your kerf is likely 3/32 of an inch. If you make ten cuts without accounting for that loss, your final assembly will be nearly an inch short.
I always start by measuring the internal opening of my workbench legs. Do not assume the bench is perfectly square. Measure the top, the middle, and the bottom. If the bench legs are bowed, your drawer frame must be built to the narrowest dimension. I use a “cut-to-fit” philosophy for the final horizontal supports. I cut the vertical members first, then measure the actual space remaining to ensure a tight fit.
Metal Kerf Allowances by Cutter Type
| Tool Type | Average Kerf Width | Dimensional Impact per 10 Cuts | Recommended Use Case |
|---|---|---|---|
| Abrasive Chop Saw | 0.093″ (3/32″) | -0.93″ | Rough framing and heavy tubing |
| Cold Saw | 0.062″ (1/16″) | -0.62″ | Precision frames and thin-wall tube |
| Plasma Cutter | 0.040″ – 0.060″ | -0.50″ | Plate steel and custom gussets |
| Portaband Saw | 0.025″ – 0.035″ | -0.30″ | Small detail work and on-site fixes |
Preparing Steel Stock for Precision Alignment
Material preparation is the process of removing mill scale, oils, and burrs from the weld zone to ensure a clean arc and accurate fitment. Proper edge preparation prevents weld defects and allows for tighter tolerances during the initial assembly phase.
You cannot get an accurate square layout if your steel has burrs on the ends. After I make my cuts, I use a flap disc to clean the “mill scale”—that dark grey flaky coating—off the steel. I clean at least one inch back from every joint. If you weld over mill scale, you get a brittle weld and a lot of spatter. More importantly, that scale can hide a gap.
For accurate square cuts, I use a dedicated layout table. If you don’t have one, use the top of your workbench, provided it is flat. I check for flatness by laying a long straightedge across the surface. If I see light under the straightedge, I know I need to shim my workpieces. Even a 1/32-inch gap at the base of a vertical support can translate to a 1/4-inch lean at the top of a 24-inch drawer stack.
- Clean all contact points to shiny metal using a 60-grit flap disc.
- Deburr the inside and outside edges of all tubing.
- Check the ends of the stock for “squareness” in two planes.
- Wipe the metal down with acetone to remove any residual cutting oils.
Building Temporary Fixtures for Accurate Drawer Placement
Workshop jigs and fixtures are temporary structures used to hold workpieces in a fixed position during the welding process. These tools act as a second set of hands, ensuring that components remain aligned despite the mechanical stresses of heat expansion.
When I’m attaching drawer runners to a workbench, gravity is my enemy. I don’t try to hold the metal and weld at the same time. Instead, I build a “shelf jig.” This is often just a piece of scrap angle iron clamped to the workbench legs at the exact height where I want the drawer support to sit.
I use strong magnets only for initial positioning. Magnets are great, but they can cause “arc blow,” where the magnetic field pulls your welding arc away from the joint. Once the piece is in place, I switch to C-clamps or F-clamps. I always use a “spacer block” cut to the exact height of the drawer opening. This ensures that the left and right runners are perfectly level with each other. If one side is 1/16 of an inch higher, the drawer will never stay closed.
Fixturing Span and Support Recommendations
- For spans under 12 inches: Use two points of contact (one clamp at each end).
- For spans 12 to 24 inches: Use three points of contact (ends and center).
- For spans over 24 inches: Use a rigid backing bar to prevent the tubing from bowing.
- Tack weld size: Should be roughly 3 to 4 times the thickness of the thinnest material.
Controlling Heat Distortion During Frame Attachment
Metal warping solutions involve managing the thermal expansion and contraction that occurs during the welding process. By understanding how heat “pulls” the metal, a fabricator can use specific sequences to counteract these forces and keep the project straight.
When you weld, the liquid metal occupies more space than the solid metal. As it cools, it shrinks. This creates a massive amount of leverage. If you weld a bead on the inside of a corner, it will pull the corner “shut.” To combat this, I use a technique called “back-stepping” or “alternating sides.”
For a storage frame, I never finish one joint before moving to the next. I tack the entire structure first. Then, I weld the top-left corner, move to the bottom-right corner, then the top-right, and finally the bottom-left. This distributes the heat evenly across the entire workbench frame. If I stay in one spot too long, the heat builds up, the metal softens, and the internal stresses of the cooling weld will warp the main workbench leg.
Weld Sequencing and Distortion Control
| Step | Action | Purpose | Result of Error |
|---|---|---|---|
| 1 | Four-point Tacking | Equalizes tension on all sides of the joint | Joint pulls severely in one direction |
| 2 | Opposite Corner Rotation | Distributes heat across the entire assembly | Localized overheating and bowing |
| 3 | Short Bead Segments | Limits the total heat input in a single area | Long-range warping of the bench legs |
| 4 | Controlled Cooling | Allows metal to reach ambient temp naturally | Cracking or brittle “quenched” welds |
The Art of the Tack: Securing the Storage Frame
Tack welding is the application of small, temporary welds used to hold components in place before the final beads are laid. These tacks must be strong enough to resist the initial pull of the metal but small enough to be easily ground away if an error is found.
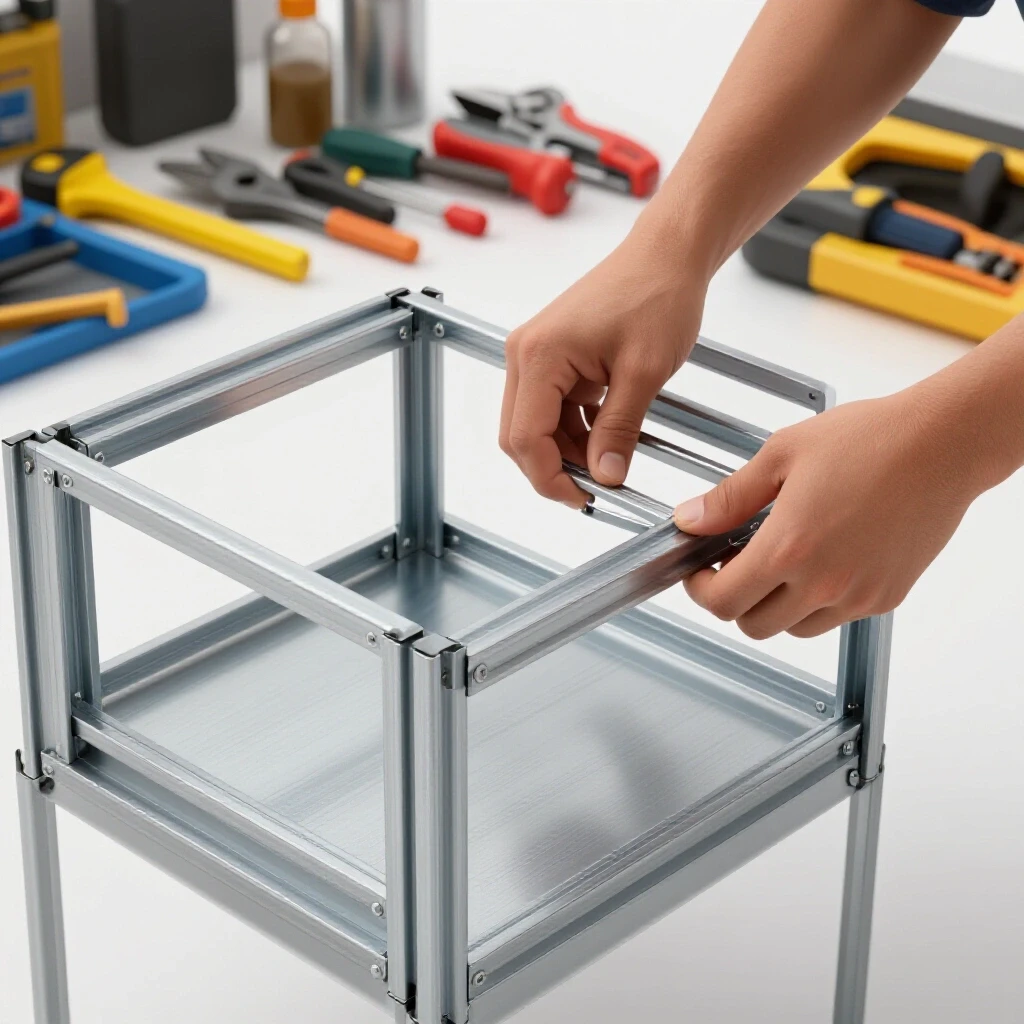
I treat tack welds like the “rough draft” of my project. For a drawer frame, I place tacks at the corners of the tubing. I usually aim for a tack that is about 1/4 inch long. I always check for square after the first two tacks. If the piece has pulled out of alignment, I can usually “cold-set” it back into place with a dead-blow hammer.
Once the tacks are set, I measure the diagonals of the drawer opening. If the distance from the top-left corner to the bottom-right corner is the same as the top-right to the bottom-left, the frame is square. I aim for a tolerance of +/- 1/16 of an inch. If the difference is more than 1/8 of an inch, I cut the tacks and start over. It is much easier to fix a tack than a full weld.
- Place a tack on the “outside” of the joint first to resist the pull.
- Check for square using a high-quality machinist square.
- Place a second tack on the opposite side.
- Re-verify dimensions before adding the third and fourth tacks.
Final Bead Placement and Post-Weld Cleanup
Executing weld sequences is the final stage where permanent beads are applied in a specific order to minimize final distortion. This phase also includes grinding and finishing to ensure that the storage units function without mechanical interference.
For attaching thin-gauge drawer runners to thick workbench legs, I often use “plug welds” or “slot welds.” I drill a 5/16-inch hole in the runner, clamp it to the leg, and fill that hole with weld metal. This creates a very strong bond with very little heat distortion compared to a long fillet weld along the edge.
If I am doing fillet welds (welding in the corner where two pieces meet), I keep my beads short—no more than one inch at a time. I also use a “heat sink” whenever possible. A thick piece of copper or aluminum clamped near the weld zone will soak up the excess heat and prevent the thin steel of the drawer frame from melting away. After welding, I use a grinding wheel followed by a sanding disc to ensure the surface is flush. Any protruding weld bead will prevent your drawer slides from sitting flat.
- Fillet Weld: A triangular weld in a corner. Best for structural frames.
- Plug Weld: A weld made through a hole in one piece into the piece behind it. Best for attaching sheet metal.
- Heat Sink: A material with high thermal conductivity used to pull heat away from the weld.
- Dimensional Tolerance: The allowable limit of variation in a physical dimension. I stick to 1/16″ for shop furniture.
Build Log: Adding a Three-Drawer Stack to a Mobile Bench
In this case study, I detail the process of modifying a 2×2-inch square tube workbench to include a vertical stack of three drawers. This project required precise weld sequencing layout to prevent the mobile bench from becoming “diamond-shaped” or out of square.
I recently helped a friend modify his rolling bench. We were using 14-gauge 1-inch square tubing for the drawer housings. The bench legs were 3/16-inch thick. This thickness difference is a classic trap. If you focus the heat on the thin tubing, it disappears. If you focus on the thick leg, you get no penetration on the drawer frame.
We used a “staggered” welding approach. We tacked all three drawer levels in place using spacer blocks. We then welded the front-left of the top drawer, then the back-right of the bottom drawer. By the time we finished, the bench was still perfectly level. We checked this by placing a digital protractor on the table surface. It hadn’t moved even half a degree.
Project Tracking Framework
- Preparation: Clean all 12 contact points. Time: 20 mins.
- Layout: Scribe lines for three drawer levels on all four legs. Time: 15 mins.
- Fixturing: Clamp the first shelf jig at 6 inches from the bottom.
- Tacking: Four tacks per joint. Total of 48 tacks for the project.
- Verification: Measure diagonals. Target: 24.25 inches. Actual: 24.30 inches (Acceptable).
- Sequencing: Follow the “X-pattern” for final beads.
- Finishing: Grind flush all interior faces for slide clearance.
Correcting Alignment Issues After the Metal Cools
Even with the best metal layout tips, some warping is inevitable. Correcting heat distortion requires a combination of mechanical force and strategic “heat shrinking” to pull the metal back into its intended shape.
If you find that your drawer opening has “necked down” (the middle is narrower than the ends), you have two options. The first is mechanical: use a hydraulic bottle jack and a piece of wood to gently push the legs back out. This works well for minor bows.
The second method is “heat shrinking.” I use an oxy-acetylene torch to heat a small spot on the outside of the bow. When that spot gets cherry red, I hit it with a wet rag. The rapid cooling causes that specific spot to contract more than the surrounding metal, which pulls the bow straight. This is an advanced technique, but it is a lifesaver when a critical dimension is off by 1/8 of an inch.
- Cold Setting: Using a hammer or press to bend metal back into shape without heat.
- Thermal Shrinking: Using localized heat and rapid cooling to move metal.
- Spring-back: The tendency of metal to return to its original shape after being bent.
- Yield Strength: The point at which metal permanently deforms. For mild steel (A36), this is about 36,000 psi.
Practical Steps for Your Next Shop Modification
Building a durable, square storage system is a marathon, not a sprint. The most successful builders I know are the ones who spend 80% of their time measuring and 20% of their time welding. To get started on your own bench fix, follow these steps:
- Audit your bench: Use a plumb bob or a level to see how the bench sits currently.
- Create a cut list: Factor in your saw’s kerf (usually 1/16″ to 3/32″).
- Build a spacer block: Cut two pieces of scrap wood or metal to the exact height of your drawer opening to act as jigs.
- Clean to bright metal: Don’t let mill scale ruin your penetration.
- Tack and Measure: Never lay a full bead until you have verified your diagonals.
- Sequence your heat: Move around the project to prevent one area from getting too hot.
By following these principles, you can turn a basic steel table into a professional-grade workstation. The key is to respect the metal. It is a living, moving material when it’s under the torch. If you plan for the pull, you can control the outcome.
Frequently Asked Questions
How do I prevent the workbench legs from bowing inward when I weld the drawer crossmembers?
To prevent bowing, use a “spreader bar.” This is a piece of scrap tubing or a heavy-duty clamp set to the “expand” mode. Place it between the legs just above or below where you are welding. This physical restraint resists the inward pull of the cooling weld. Additionally, avoid long continuous beads; three or four 1-inch beads are often stronger and cooler than one long 4-inch bead.
What is the best welding process for adding thin-walled drawer frames to a heavy bench?
MIG (GMAW) is generally the best for this. It allows for precise heat control and fast travel speeds, which limits the “heat-affected zone.” If you are working with very thin material (16-gauge or thinner), TIG welding offers the most control, though it is slower. If you only have a stick welder, use a small diameter electrode (like 3/32″ 6013 or 7014) and run it on DC electrode negative to minimize penetration into the thin stuff.
Why did my drawer opening become a trapezoid even though I used a square?
This usually happens because of the order of your welds. If you weld the top of a joint and then the bottom, the first weld acts as a pivot point. As the second weld shrinks, it pulls the vertical member toward it. Always tack all four corners of a joint before laying any beads. This creates a “cage” that resists movement in any single direction.
Can I weld the drawer slides directly to the frame?
While possible, it is not recommended. Most drawer slides are made of tempered or plated steel. Welding them can destroy the heat treatment, cause the bearings to seize, and release toxic zinc fumes. It is much better to weld a mounting tab or a piece of angle iron to the frame, then use the factory mounting holes to secure the slides.
How much gap should I leave between the drawer and the frame for a welded assembly?
In custom fabrication, I always leave a “fudge factor” of 1/16 to 1/8 of an inch beyond the slide manufacturer’s recommendations. Since welding causes small distortions, a tight fit on paper often becomes a “stuck” fit in reality. You can always shim a drawer slide out with a thin washer, but you can’t easily move a welded steel leg inward.
What should I do if I blow a hole through the thin tubing while welding?
Don’t panic. Stop immediately and let the area cool. Clean the soot away with a wire brush. To fix the hole, “bridge” it by dabbing small tacks of weld on the edges of the hole until it closes. Once closed, grind it flush and re-weld the joint at a lower amperage or with a faster travel speed.
How do I ensure the left and right drawer runners are perfectly level?
Use a “story pole” or a spacer block. Cut two identical pieces of wood or steel to the exact height you want. Rest the runners on these blocks while you tack them. This is much more accurate than trying to read a tape measure or a bubble level on a bench that might not be sitting on a perfectly level garage floor.
Should I weld the entire perimeter of the drawer housing?
Usually, no. For shop storage, “stitch welding” is sufficient. Welding 1 inch, then skipping 3 inches, provides plenty of structural strength while significantly reducing the total heat input. This keeps the frame straighter and saves on consumables.
What is the best way to clean the metal inside a tight drawer frame?
A 2-inch “Roloc” sanding disc on a die grinder is your best friend here. It is small enough to fit into tight corners where a standard 4.5-inch angle grinder cannot reach. Keeping the interior surfaces smooth is vital for the mechanical clearance of the drawers.
How do I know if my tack welds are strong enough?
A good tack weld should look like a small, shiny bead, not a “blob” sitting on top of the metal. If you can break the tack by hand or with a light hammer tap, it didn’t penetrate. It should be able to withstand the weight of the component and the initial “pull” of the cooling metal. If the tack cracks with a “ping” sound as it cools, your metal is either too dirty or you are cooling it too quickly.
(This article was written by one of our staff writers, Robert Kline. Visit our Meet the Team page to learn more about the author and their expertise.)