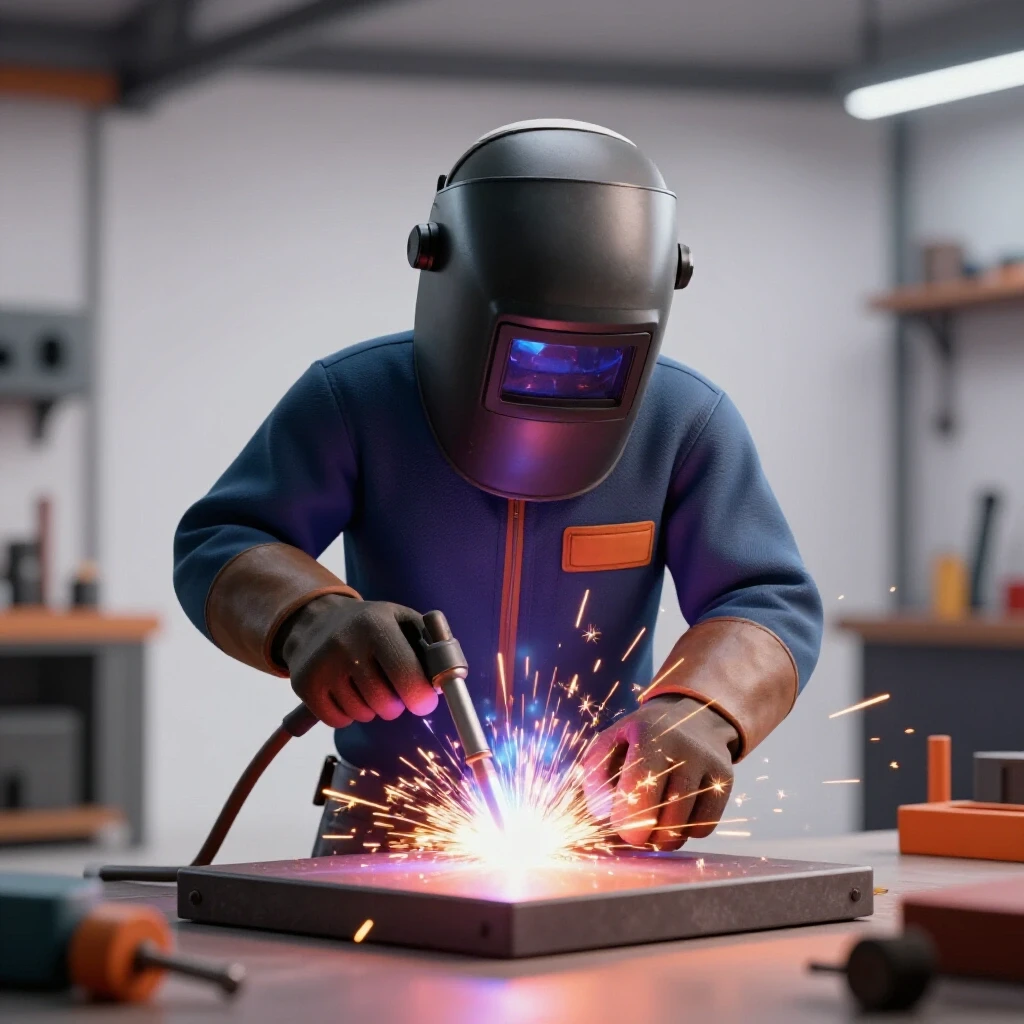
How to Position and Weld Strong Tack Welds Fast (DIY Fix)
When I first started metalworking in my small garage twelve years ago, I thought the hard part was the long, beautiful beads you see on social media. I spent hours trying to get that “stack of dimes” look, only to realize my projects were coming out crooked, twisted, or completely out of square. I eventually learned that the secret to a professional finish isn’t just the final weld; it is the series of small, temporary fusion points that hold everything together during the build.
Learning to secure your metal pieces quickly and accurately is a fundamental skill that separates hobbyists from skilled fabricators. It requires a blend of hand-eye coordination, an understanding of how heat moves metal, and the discipline to prepare your surfaces correctly. This guide will help you build the muscle memory and technical knowledge needed to master these essential starting steps.
Mastering Body Mechanics for Steady Arc Starts
Body mechanics refers to how a welder positions their torso, arms, and hands to maintain a steady torch. Good mechanics reduce fatigue and tremors, allowing for a consistent arc gap and precise placement of short fusion points without the torch wandering off the intended mark.
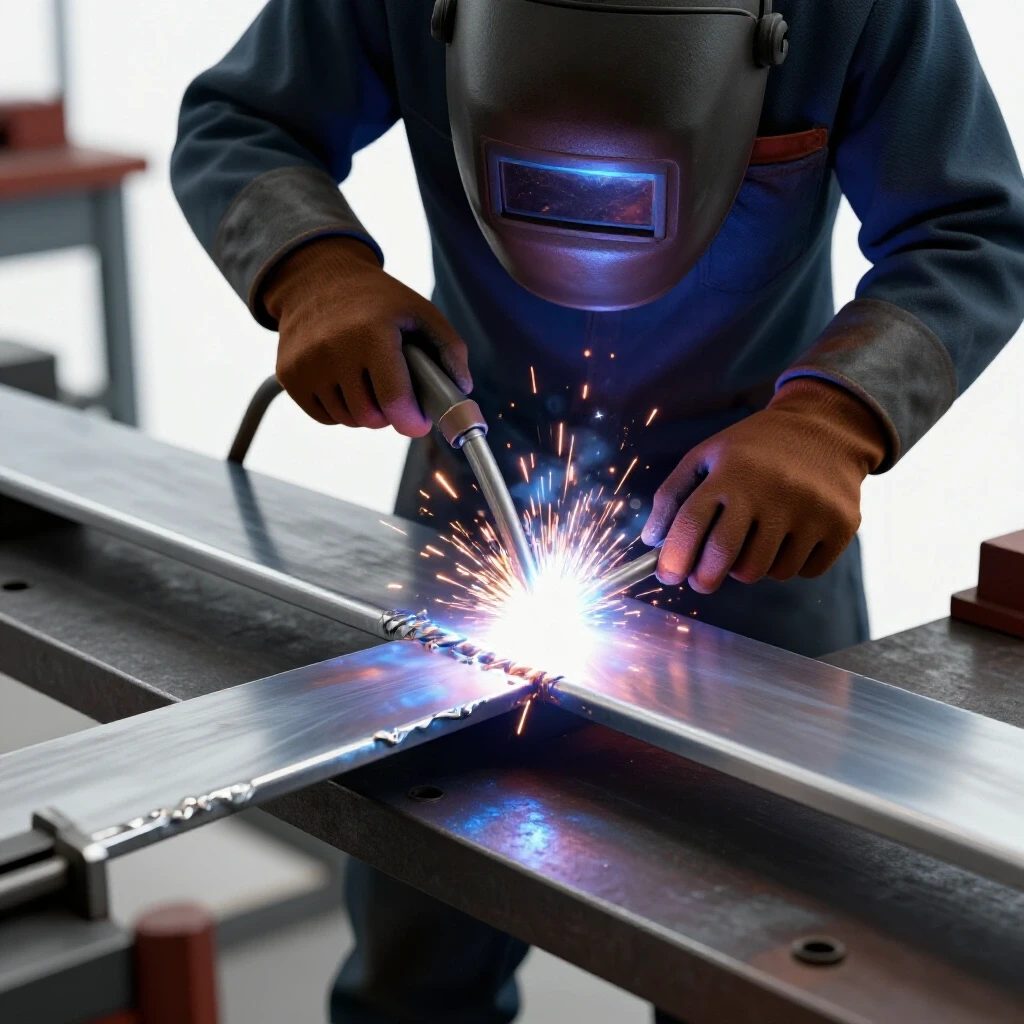
When I teach new fabricators, the first thing I look at is their stance. If you are standing on one leg or reaching too far, your hands will shake. I always recommend the “triangle of stability.” This means keeping your feet shoulder-width apart and using your non-dominant hand to support the wrist or forearm of your torch hand. By creating this three-point contact—two feet on the ground and one hand on the table or workpiece—you minimize the micro-movements that cause erratic arc starts.
In my early years, I struggled with “arc wandering.” I would pull the trigger, and the arc would jump everywhere except where I wanted it. I realized I was holding the torch too tightly. A “death grip” causes muscle tension, which leads to shakes. Instead, hold the torch like a heavy pen. Let the weight of the cable rest on your shoulder or the table so it does not pull on your hand. This simple adjustment in ergonomics can significantly improve your precision.
Establishing Clean Zones for Reliable Connectivity
A clean zone is the area of bare metal, free from rust, oil, or mill scale, where the arc will strike. Ensuring a one-inch clean zone around every joint prevents porosity and ensures the electrical circuit is completed instantly, leading to a more stable arc start.
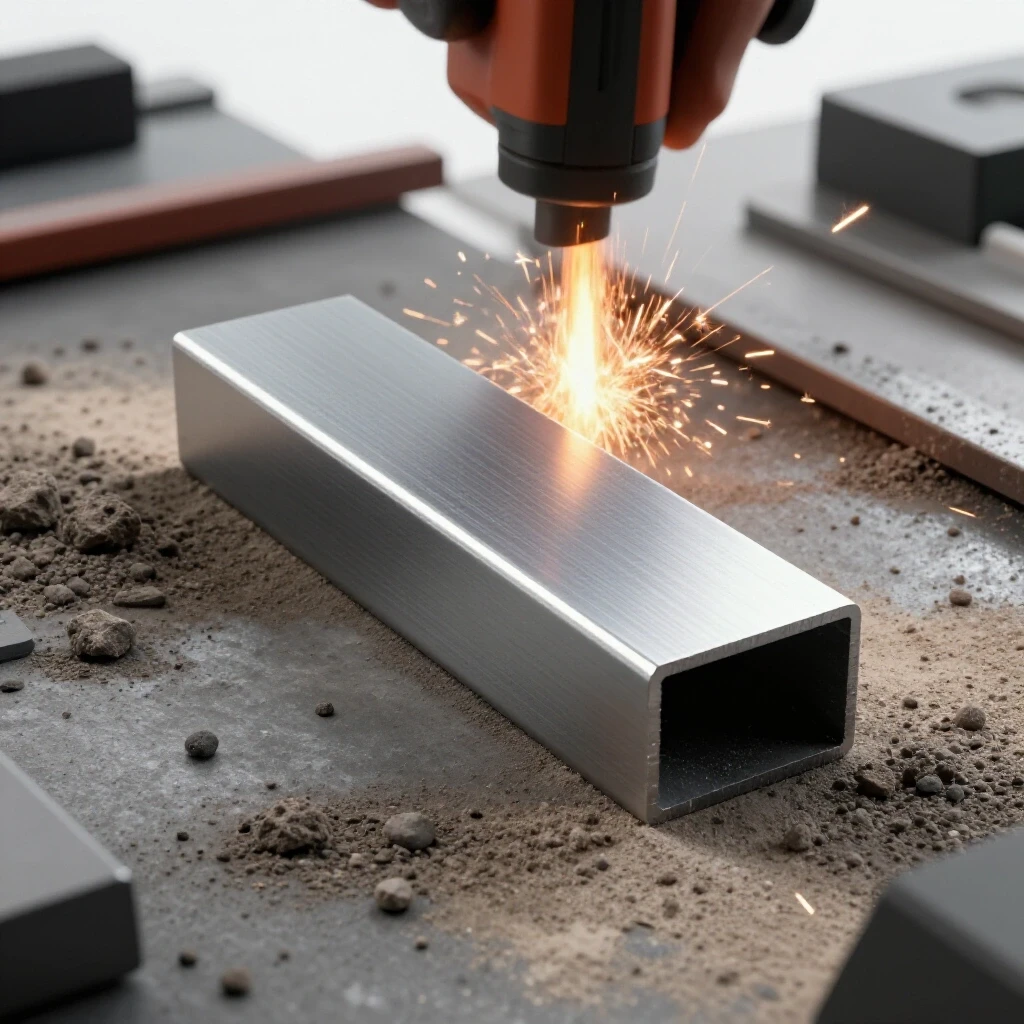
Many beginners try to weld through the grey “mill scale” found on hot-rolled steel. This is a recipe for frustration. Mill scale is an insulator; it resists electricity. When you try to strike an arc on it, the machine struggles to create a circuit, resulting in a “stuttering” start that leaves a weak, brittle blob of metal. I use a flap disc or a wire wheel to grind the metal until it shines like a mirror.
I once tracked my “re-work” time over a month of projects. I found that when I spent five extra minutes cleaning my joints, I saved thirty minutes of grinding out failed welds later. This “clean zone” rule applies to your ground clamp too. If your ground is on a rusty part of the table, your arc will be weak and inconsistent. Always grind a spot for your ground clamp as close to the work area as possible.
Optimizing Machine Settings for Rapid Fusion
Machine settings involve adjusting the voltage, wire speed, or amperage to suit the material thickness. For temporary joints, settings are often slightly higher than for continuous beads to ensure immediate penetration and a strong bond that can withstand the stresses of assembly.
When you are just “tacking” pieces together, you don’t have the luxury of time to let the heat build up. You need the metal to melt and fuse almost instantly. For this reason, I usually bump my heat up by about 5% to 10% compared to my long-run settings. This ensures that the small dot of metal actually bites into both workpieces rather than just sitting on the surface like a cold drop of candle wax.
Table: Baseline Parameters for Short Fusion Points (Mild Steel)
| Material Thickness | Voltage (MIG) | Amperage (TIG/Stick) | Estimated Arc Time |
|---|---|---|---|
| 16 Gauge (1/16″) | 16-17V | 50-60A | 0.5 Seconds |
| 11 Gauge (1/8″) | 18-19V | 90-110A | 1.0 Seconds |
| 3/16″ Plate | 20-21V | 125-140A | 1.5 Seconds |
| 1/4″ Plate | 22-23V | 160-180A | 2.0 Seconds |
These numbers are starting points. Every machine is different, so I encourage students to keep a “weld dial-in log.” Write down what worked for your specific machine and material. If your fusion points are “peaked” or look like a ball, you need more heat or less wire. If they are flat and blend into the metal, you are in the sweet spot.
Strategic Placement to Control Thermal Distortion
Strategic placement is the deliberate choice of where to apply heat to prevent the metal from “walking” or warping. By placing small welds at specific intervals or opposing corners, a fabricator can lock the geometry of the workpiece in place before committing to full beads.
Metal expands when it gets hot and contracts as it cools. If you weld one side of a joint completely, the cooling metal will pull the other side out of alignment. I call this “the cooling tug-of-war.” To win this war, you must place your anchors in a way that balances the forces. For a square frame, I always place my first anchor on the inside corner, then the outside corner, then check for squareness.
Interestingly, the order of your welds matters as much as the welds themselves. If you are joining a long piece of flat bar to a plate, don’t start at one end and go to the other. Start in the middle, then do the ends, then fill in the gaps. This “staggered” approach distributes the heat more evenly across the material, which helps maintain the flat profile of your project.
Mastering the Arc Gap and Timing
The arc gap is the distance between the tip of your electrode or wire and the metal surface. Maintaining a consistent gap—usually between 3/32″ and 1/8″—is critical for controlling the amount of heat delivered to the joint and preventing the electrode from sticking.
Timing is the other half of the equation. For a quick, strong anchor, you want a “one-count.” You strike the arc, see the puddle form and bridge the two pieces of metal, and then stop. If you stay too long, you create a large bump that will be hard to weld over later. If you are too fast, the metal won’t penetrate, and the joint will “pop” apart as soon as you take the clamps off.
I often tell my students to practice their “dry runs.” Move the torch into position with the machine off. Visualize the arc, count “one-one-thousand,” and move to the next spot. This builds the muscle memory of the motion without wasting gas or wire. Once the motion feels fluid and your hand is steady, then you flip the switch.
Why Travel Speed Rules the Puddle
Travel speed is the rate at which you move the torch along the joint. While temporary anchors are stationary, the speed at which you “zip” into the joint and “snap” out determines the shape and strength of the fusion point.
If you move too slowly during a short weld, you put too much heat into a small area. This can lead to “burn-through,” especially on thinner materials like 16-gauge tubing. Conversely, if your “snap out” is too slow, you might leave a large crater at the end of the weld, which is a structural weak point. The goal is a crisp, clean start and an abrupt stop that leaves a flat, circular deposit.
In my practice sessions, I use a metronome app set to 60 BPM. I try to time my arc starts and stops to the beat. This helps develop a rhythmic consistency. When you can produce ten identical fusion points in a row, you have reached a level of control that will make your final fabrication much easier and more professional.
Troubleshooting Common Technique Plateaus
A technique plateau occurs when a learner stops seeing improvement despite regular practice. This is often caused by a small, unnoticed habit, such as an improper torch angle or failing to see the “puddle” clearly through the welding hood.
If your anchors are consistently breaking, the most common culprit is “cold lapping.” This happens when the filler metal melts but the base metal does not. To fix this, ensure your torch is aimed directly at the root of the joint—the very bottom where the two pieces meet. If you aim too much at one side, the other side won’t get enough heat to fuse.
Another common issue is “porosity,” which looks like tiny holes or bubbles in the metal. This is usually caused by a lack of shielding gas or dirty metal. Check your gas flow (usually 20-25 CFH for MIG) and double-check your “clean zones.” If you see bubbles, stop immediately. Grinding out a bad weld takes twice as long as doing it right the first time.
Measuring Your Progress with a Practice Log
A practice log is a structured record of every welding session, noting machine settings, material types, and visual outcomes. Tracking these metrics allows a fabricator to identify patterns in their mistakes and measure improvement over time.
I recommend a simple notebook or a digital spreadsheet. Every time you sit down to practice, record the following: 1. Date and Time: How long did you practice? 2. Material: What thickness and type of metal? 3. Settings: What were your Volts and Wire Speed (or Amps)? 4. Goal: Were you focusing on hand stability, timing, or heat control? 5. Result: Did the joints hold? Were they flat or humped?
Practice Progression Checklist
- The “Drop” Test: Can you place 20 fusion points on a flat plate that are all the same size and height?
- The “T-Joint” Pull: Secure two pieces of 1/8″ steel in a T-shape with two small points. Try to break them apart with a hammer. If the weld snaps, you need more penetration.
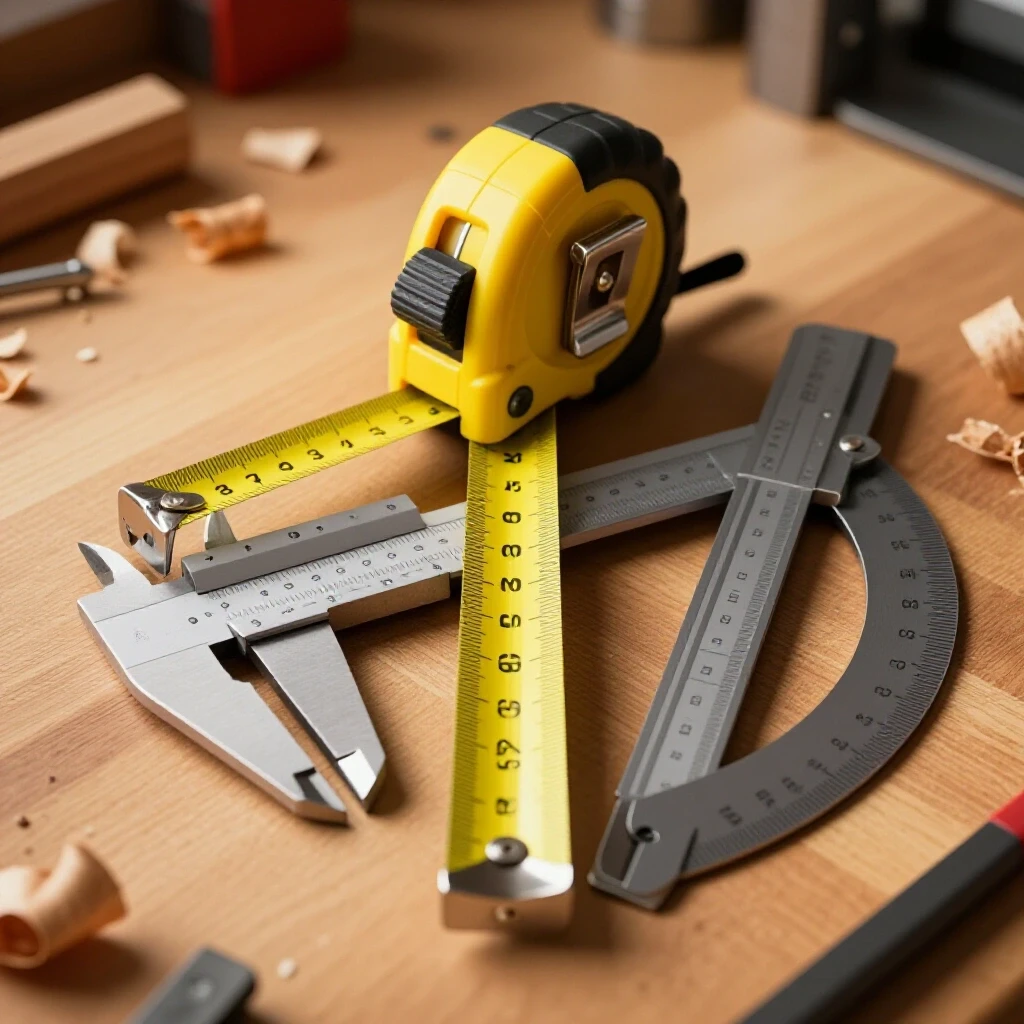
- The “Square” Frame: Build a 6″x6″ square frame. Measure the diagonals. If they are within 1/16″, your heat control and placement are improving.
By looking back at your logs, you can see that three months ago, you struggled to get a clean arc start. Now, it happens automatically. This objective data is the best cure for the frustration of a skill plateau.
Advanced Visual Assessment of Joint Quality
Visual assessment is the process of inspecting a weld with the naked eye to determine if it meets quality standards. For temporary anchors, you are looking for three things: penetration, profile, and placement.
A good anchor should look like a small, slightly raised button. It should be fused to both pieces of metal equally. If it looks “glassy” or has a dark, soot-like coating (on MIG), you might be holding the torch too far away, which is called “excessive stick-out.” Keep your wire stick-out to about 3/8″ for the best results.
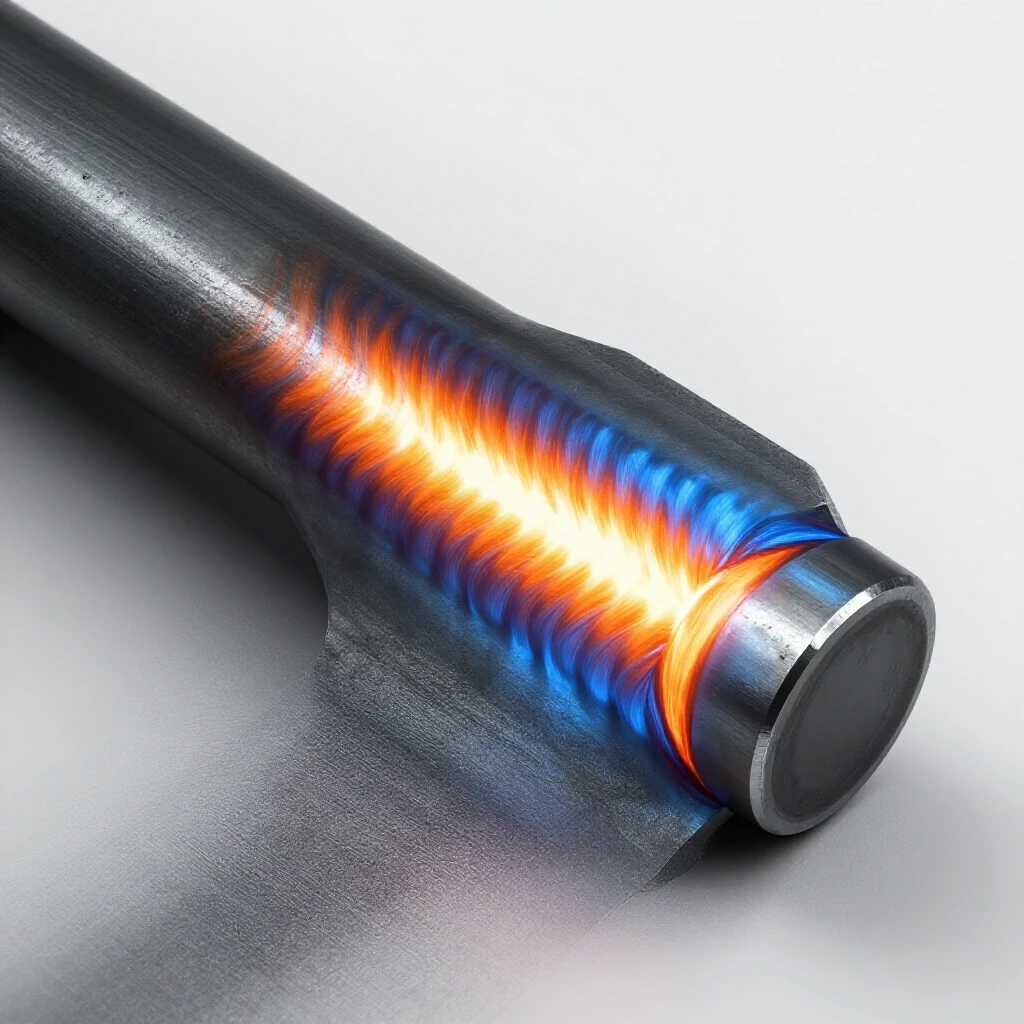
If you are using TIG, look at the color. A silver or gold color indicates good gas coverage and proper heat. A dark grey or purple color means you are getting the metal too hot or staying in one spot too long. Learning to “read” these colors will give you instant feedback on your technique, allowing you to adjust your hand speed or amperage on the fly.
Practical Steps for Consistent Improvement
Building these skills is not about one long day of practice; it is about consistent, short sessions. I found that thirty minutes of focused practice three times a week is much more effective than a six-hour marathon once a month. Your muscles and brain need time to process the “feel” of the torch and the sight of the molten metal.
Start each session with a “warm-up” on scrap metal. Don’t go straight to your project. Run a few beads or place a few anchors on a piece of junk steel to get your hands moving and your machine dialed in. This “zero-stakes” practice reduces anxiety and helps you focus on the mechanics of your movement.
As you progress, try to challenge yourself. Use thinner materials, which require faster travel speeds and more precise heat control. Or, try welding in different positions, like vertical or overhead. The more varied your practice, the more “bulletproof” your muscle memory will become.
FAQ: Mastering Precision Metal Joining
Why do my small welds keep cracking or popping off? Cracking usually happens because of “cold starts” or insufficient penetration. If the base metal isn’t hot enough to melt, the filler metal just sits on top. Increase your amperage or voltage slightly, and make sure you are aiming the arc directly into the corner of the joint.
How many anchors do I need for a standard joint? For a typical 12-inch joint on 1/8″ material, I usually place an anchor every 3 to 4 inches. On shorter joints, one at each end is often enough. The goal is to use the minimum amount of heat necessary to hold the part securely.
Should I grind my temporary welds before doing the final pass? Yes, I highly recommend “feathering” your anchors. Use a grinder to thin down the ends of the small weld so it tapers into the base metal. This allows your final weld bead to flow right over the top without leaving a visible hump or a weak spot.
What is the best torch angle for securing a T-joint? For a T-joint, you want a 45-degree work angle (splitting the corner) and a 10-to-15-degree travel angle (leaning the torch slightly in the direction you are moving). This ensures the heat is distributed evenly between the vertical and horizontal pieces.
How do I know if my arc gap is correct? A good rule of thumb is that your arc gap should be roughly equal to the diameter of the electrode or wire you are using. If you are using 0.030″ wire, your gap should be very tight. If you hear a loud “crackling” like frying bacon, your gap is likely correct for MIG.
Can I use magnets to hold my parts instead of welding them first? Magnets are great for initial positioning, but they are not a substitute for fusion points. The heat from the final weld will cause the metal to expand and move, often sliding right off the magnet. Always secure the metal with heat before removing your clamps or magnets.
Why does my wire keep sticking to the metal when I start? This is often caused by a “cold” machine setting or a dirty tip. If your wire speed is too high for your voltage, the wire will hit the metal and “stub” before it has a chance to melt. Lower your wire speed or increase your voltage to get a smoother start.
Does the type of gas I use affect how fast I can work? For mild steel, a 75% Argon / 25% CO2 mix is the standard for MIG. It provides a stable arc and less spatter than 100% CO2. A stable arc allows you to place your anchors more precisely and quickly, reducing the time spent cleaning up later.
How do I prevent “blow-through” on thin tubing? On thin material, use a “pulse” technique. Instead of one long second, do two very quick half-second bursts. This allows the metal to cool for a fraction of a second between hits, preventing the heat from building up enough to melt a hole through the tube.
What should I do if my project is already warped? If the metal has pulled out of square, you can sometimes “counter-weld.” Place a weld on the opposite side of the pull to try and draw it back. However, the best solution is prevention through strategic placement and proper clamping from the start.
(This article was written by one of our staff writers, Thomas Langley. Visit our Meet the Team page to learn more about the author and their expertise.)