How to Design Tab and Slot Joints for Sheet Metal (Guide)
When I first started out in a small, drafty garage twelve years ago, I remember the sheer frustration of trying to hold two pieces of sheet metal perfectly square while reaching for my welding torch. My hands would shake, the magnets would slip, and the resulting bead looked more like a line of bird droppings than a professional joint. It took me years of tracking my mistakes and refining my physical cues to realize that the secret to consistent fabrication isn’t just a steady hand—it is about how the parts fit together before the heat even touches the metal.
Learning metal fabrication is a journey of building muscle memory and understanding how heat moves through a workpiece. If you are struggling with erratic bead shapes or parts that warp out of alignment, you are not alone. These are the same plateaus I faced. By focusing on interlocking assembly methods, you can eliminate the “third hand” problem and give yourself a stable foundation to practice your torch control and travel speed.
The Mechanics of Interlocking Sheet Metal Connections
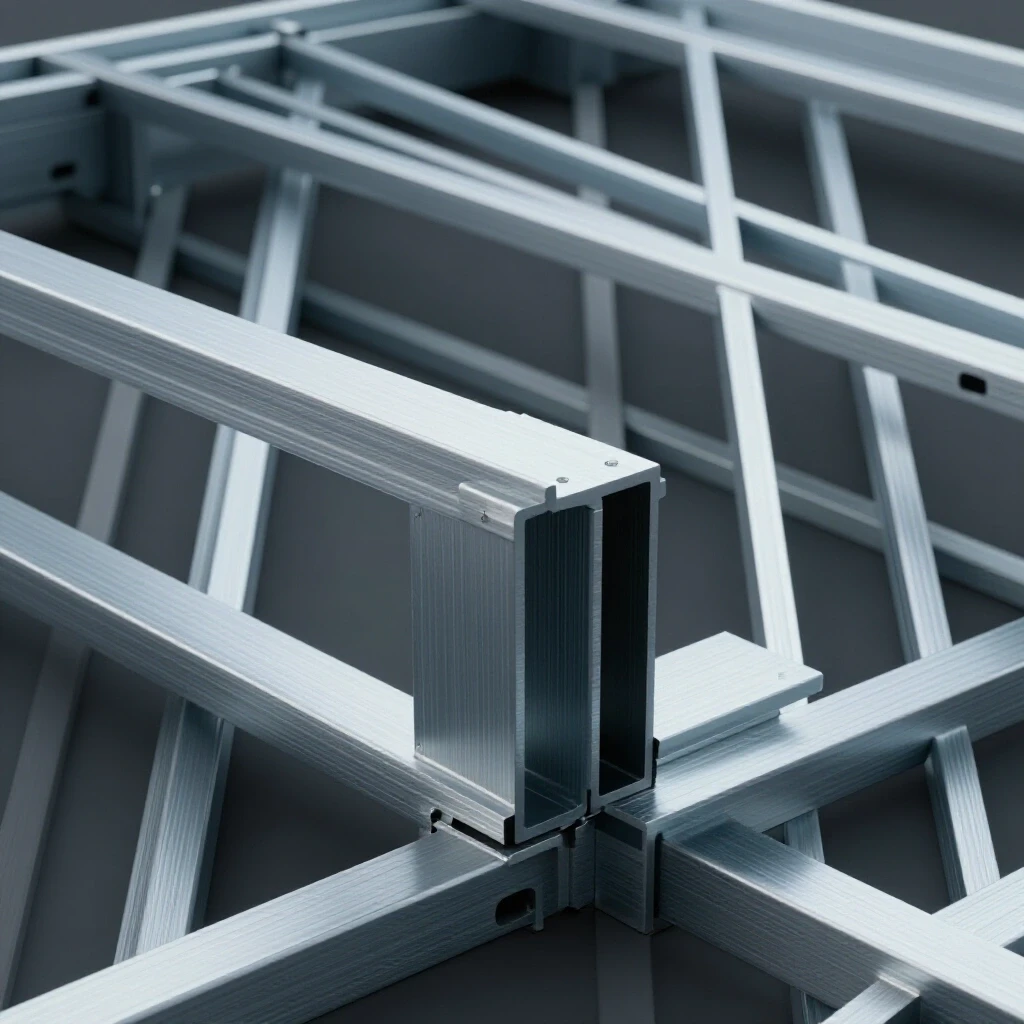
Interlocking connections use protruding tabs on one part that fit into matching slots on another to create a self-aligning assembly. This method ensures that parts stay in the correct position without complex jigs, allowing the fabricator to focus entirely on heat management and bead consistency during the welding process.
When you use this method, you are essentially building a puzzle. The mechanical interference between the tab and the slot provides a physical stop. This stops the metal from pulling as it cools—a common issue known as thermal distortion. For a beginner, this is a game-changer. Instead of fighting the metal to stay square, you can focus on mastering torch control. I spent my first three years fighting warpage until I adopted this systematic approach to part fitment.
Building these joints requires an understanding of material thickness and the “kerf,” which is the width of the cut made by a laser or waterjet. If your slot is exactly the same width as your tab, it will never fit because of the tiny burrs and heat-affected zones on the edges. I recommend a clearance of about 0.005 to 0.010 inches on all sides of the slot to allow for a smooth, hand-pressed fit that doesn’t require a hammer.
Why Self-Aligning Joints Improve Your Metal Welding Practice Guide
Self-aligning joints provide a repeatable physical framework that removes the guesswork from part positioning, allowing you to isolate and improve your welding technique. By having a fixed physical reference point, you can more easily measure your progress in maintaining consistent arc gaps and travel speeds.
In my early practice sessions, I would often blame my “bad welds” on my hands. In reality, the parts were moving just a fraction of a millimeter as I welded. By using tabs and slots, the parts are locked. This means if the weld looks bad, I know it is my torch angle or my travel speed, not the setup. This clarity is essential for overcoming technique plateaus. It allows you to use a practice log to track exactly what went wrong.
| Practice Metric | Beginner Target | Intermediate Target | Why It Matters |
|---|---|---|---|
| Arc Gap Distance | 1/8″ (Fixed) | 3/32″ (Tight) | Controls heat concentration |
| Travel Speed | 5-8 Inches Per Minute | 10-12 Inches Per Minute | Prevents burn-through |
| Torch Angle | 15 Degrees (Drag) | 10-15 Degrees (Push/Drag) | Controls puddle depth |
| Fitment Gap | 0.015″ | 0.005″ | Ensures squareness |
Mastering Torch Control Through Interlocking Geometries
Mastering torch control involves developing the hand-eye coordination necessary to maintain a consistent distance between the electrode and the metal while moving at a steady pace. Interlocking joints provide a “track” for your eyes to follow, which helps in stabilizing your hand movements and refining your bead patterns.
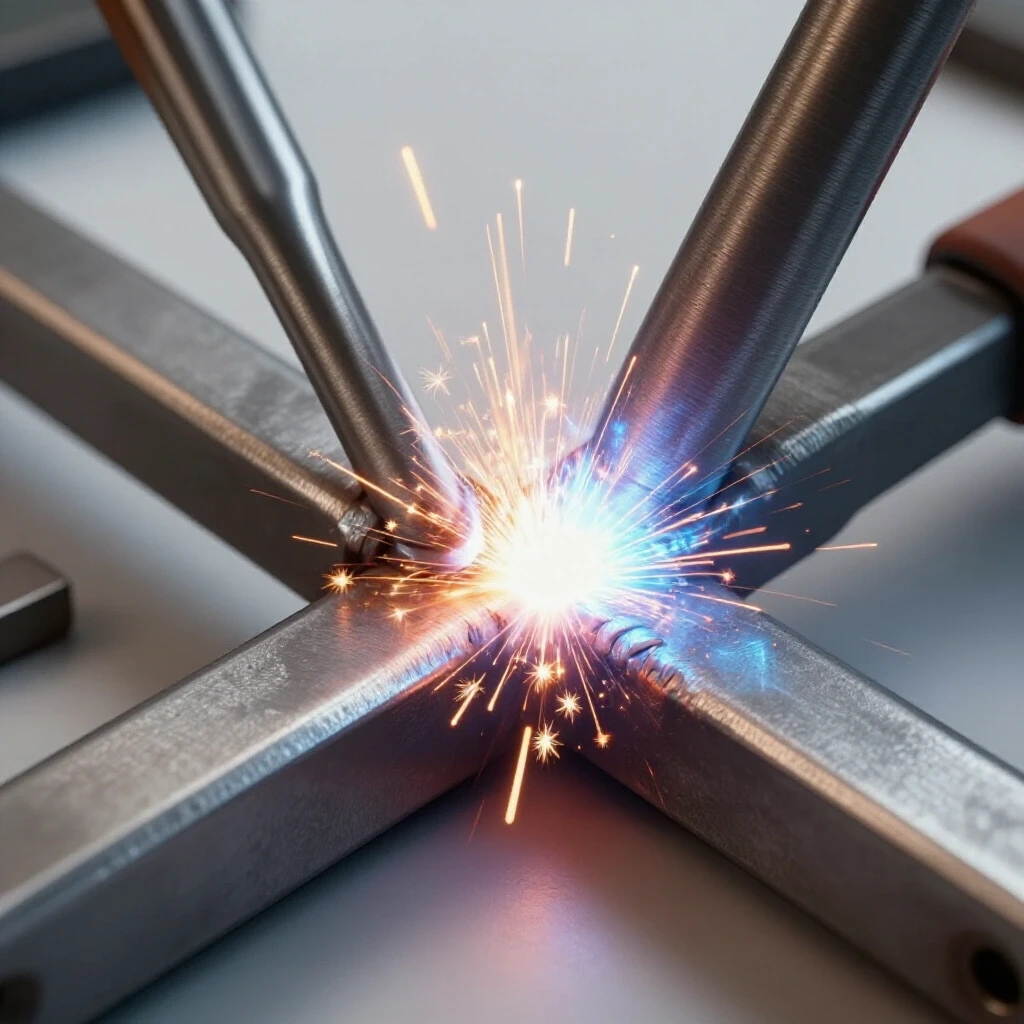
When you weld a tab that is sitting inside a slot, you have a very specific path to follow. I tell my students to think of it like a “bridge.” You are bridging the gap between the edge of the slot and the face of the tab. This requires a slight “oscillation” or “wiggle” of the torch. If you move too fast, the puddle won’t bridge. If you move too slow, you will melt the tab off entirely.
I remember a student who kept “blowing away” the tabs on 16-gauge steel. We looked at his travel speed and realized he was hovering too long at the start. By using a metal welding practice guide approach, we timed his runs. We found that a 1/2-inch tab should take exactly four seconds to weld. Once he hit that rhythm, his consistency skyrocketed.
Setting Baseline Machine Parameters for Tabbed Assemblies
Setting baseline machine parameters involves adjusting your welder’s amperage and wire speed based on the specific thickness of the sheet metal and the type of joint being used. For tab and slot assemblies, the heat must be high enough to fuse the tab to the slot walls without melting the surrounding thin material.
Before you start practicing, you need a “clean zone.” This is an area at least one inch wide around the joint where all mill scale, rust, and oil have been removed. If your metal isn’t shiny, your parameters won’t matter; the arc will be unstable. I always use a 60-grit flap disc for this.
For 1/8-inch (11-gauge) steel, a good starting point for MIG welding is around 17-18 volts and a wire feed speed of 220-240 inches per minute. If you are TIG welding, set your machine to 125 amps and use a foot pedal to modulate the heat. The goal is to see the “puddle” wet into both the tab and the slot simultaneously.
Heat Input Formula for Consistency
Understanding heat input helps you avoid warping your thin sheet metal parts. Use this simple calculation to track your practice: Heat Input = (Amps x Volts x 60) / (Travel Speed in Inches Per Minute) By keeping this number consistent across your practice pieces, you ensure that your physical movements are truly becoming repeatable.
Preparing Clean Zones for Precise Fabrication
Preparing clean zones is the process of removing surface contaminants from the metal to ensure a stable arc and a defect-free weld. In tab and slot designs, cleaning the internal edges of the slots and the sides of the tabs is critical because contaminants trapped in the tight fit can cause porosity.
I once worked on a project where I skipped cleaning the inside of the slots because I thought they were “too small to matter.” Every single weld bubbled up with tiny holes—porosity. I had to grind them all out and start over. Now, I use a small needle file or a die grinder with a carbide burr to ensure the “slot walls” are just as clean as the surface.
- Step 1: Degrease the entire sheet before cutting.
- Step 2: Grind the surface to a mirror finish near the joints.
- Step 3: File the inside of the slots to remove laser dross or burrs.
- Step 4: Wipe the tabs with acetone just before assembly.
Learning Metal Fabrication Through Physical Motion Exercises
Learning metal fabrication requires repetitive physical motion exercises that build the muscle memory needed for steady torch movement. By practicing the specific “stop-and-start” motions required for tabbed joints, you can develop the “steady hand” necessary for professional-grade results.
One exercise I swear by is the “Dry Run.” Before you turn on the welder, put your gloves on and hold the torch. Move the torch along the tab as if you were welding, but keep the power off. Do this 10 times for every 1 weld you actually make. You are training your shoulder, elbow, and wrist to move in a straight line.
Interestingly, most beginners move their whole arm from the shoulder, which causes “wobble.” I teach my students to anchor their pinky finger or the side of their hand on the workpiece. This “pivot point” acts like a stabilizer. When you are welding a tab, your hand should be so stable that only your fingers are moving the torch handle.
Why Travel Speed Rules the Puddle in Interlocking Joints
Travel speed is the rate at which the torch moves along the joint, and it is the primary factor in determining the depth of penetration and the width of the weld bead. In tab and slot joints, travel speed must be carefully controlled to ensure the tab is fully fused without overheating the thin slot edges.
If you move too slowly (under 5 IPM), the heat builds up in the tab. Because the tab is small, it has nowhere to send that heat. It will eventually reach its melting point and “collapse.” If you move too fast (over 15 IPM), you will get “cold lap,” where the weld metal just sits on top of the joint without actually biting into it.
I recommend using a metronome app on your phone set to 60 beats per minute. Try to move your torch one “tick” for every 1/8 inch of travel. This trade school practice drill is the fastest way to turn a shaky, inconsistent motion into a professional, rhythmic travel speed.
Physical Practice Progression Steps for Tabbed Joints
A structured practice progression involves starting with simple bead-on-plate exercises and moving toward complex interlocking assemblies. This step-by-step approach allows you to master one variable, such as arc gap, before moving on to more difficult challenges like heat management in tight slots.
- Bead-on-Plate (50 Runs): Focus only on keeping a straight line and consistent height.
- Single Tab Weld (20 Runs): Practice “tacking” the corners of a tab to see how the metal pulls.
- Full Slot Fill (20 Runs): Practice filling a slot completely so it is flush with the surface.
- Vertical Tab Assembly (10 Runs): Practice welding a tab and slot joint in the vertical position to manage gravity’s effect on the puddle.
By the time you reach step four, your “welding technique progression” will be visible. You will notice that you no longer have to think about where your hand is; you will be watching the “fluid puddle tension” and adjusting your speed instinctively.
Self-Assessing Joint Defects in Sheet Metal Assemblies
Self-assessing joint defects involves visually inspecting your welds for common issues like undercut, porosity, or lack of fusion. In tab and slot fabrication, you must specifically look for “melt-through” on the back side of the slot and “incomplete fill” on the top of the tab.
When I review my own work, I use a magnifying glass and a bright light. I look for the “toe” of the weld—the place where the weld bead meets the base metal. It should be a smooth transition. If there is a “valley” or a groove there, it is called undercut. This usually means your torch angle was too steep or your amperage was too high.
| Defect | Visual Cue | Probable Cause | Fix |
|---|---|---|---|
| Undercut | A groove at the edge of the weld | Amperage too high / Fast travel | Lower amps / Slow down |
| Porosity | Tiny holes like a sponge | Dirty metal / No shielding gas | Clean with flap disc / Check gas |
| Overlap | Weld looks like it’s “rolling over” | Travel speed too slow | Increase travel speed |
| Burn-through | A hole where the tab was | Too much heat on thin edge | Use “pulse” technique |
Organizing Your Shop for Consistent Skill Development
Organizing your shop for consistent skill development means creating a dedicated space where you can practice without distractions and where your tools are always in the same place. Consistency in your environment leads to consistency in your physical movements and muscle memory.
I keep a “practice bucket” next to my welding table. It is filled with pre-cut tab and slot coupons. Whenever I have 15 minutes of free time, I don’t have to “get ready” to weld. I just grab two pieces, check my “clean zone,” and start a drill. This removes the barrier to entry and ensures I get my “hood time” every single day.
- Tool Placement: Keep your wire brush and pliers in the same spot so you can find them by feel.
- Lighting: Use high-intensity LED lights to see the “leading edge” of the puddle.
- Ergonomics: Adjust your table height so you aren’t hunching over; a tired back leads to a shaky hand.
Tracking Your Progression with a Practice Log
A practice log is a detailed record of your welding sessions, including the parameters used, the types of joints practiced, and an honest assessment of the results. This data-driven approach helps you identify patterns in your mistakes and provides objective proof of your skill improvement over time.
I have notebooks dating back a decade. In the beginning, my entries were “Welds look bad. Too much heat.” Now, they are much more specific: “3/32″ 6061 Aluminum, 120 Amps, 1/16″ Tungsten, 15 CFH Argon. Puddle was sluggish; increased cleaning action to 35%.”
By tracking your “weld travel speed tips” and “welding technique progression” in a log, you turn a frustrating hobby into a measurable science. You can see that last month you could only weld three tabs before your hand got tired, but this month you can do ten. That is real, objective progress.
Sample Practice Log Template
- Date: [Insert Date]
- Material/Thickness: [e.g., 14ga Cold Rolled Steel]
- Joint Type: [e.g., Tab and Slot Fillet]
- Machine Settings: [Volts/Amps/Wire Speed]
- Focus of the Day: [e.g., Maintaining 1/8″ Arc Gap]
- Self-Assessment (1-10): [Visual score]
- Notes for Next Time: [e.g., “Slow down on the corners”]
Overcoming the “Plateau” in Hand-Eye Coordination
Overcoming a skill plateau requires changing your perspective or your practice method when you stop seeing improvement. For many fabricators, this involves slowing down the process through video analysis or using modern simulators to identify subtle flaws in torch manipulation.
If you feel stuck, use your phone to record a slow-motion video of your hand while you weld. When I did this, I was shocked to see that my hand was actually “pulsing” or “jumping” every time I breathed. I wasn’t move in a smooth line at all! I started practicing “breath control”—exhaling slowly as I made the run—and my beads smoothed out immediately.
Don’t be afraid to try new ergonomic grips or “finger shields” that allow you to rest your hand closer to the heat. Sometimes, a small change in how you hold the torch is all it takes to break through a plateau and reach that next level of professional-grade fabrication.
Conclusion and Next Steps
Building professional-grade fabrication skills is not about luck; it is about the systematic refinement of your physical habits and the clever use of part geometry. By using interlocking tab and slot joints, you remove the chaos of part alignment and create a stable “classroom” where you can master the arc.
Your next step is to stop reading and start doing. Go to your shop, cut five sets of simple tab and slot coupons, and run them through the “Dry Run” exercise. Focus on your anchor point and your breathing. Once you can move the torch across the joint ten times without a single wobble, turn on the power. The consistency you’ve been looking for is just a few hundred practice runs away.
Frequently Asked Questions
What is the ideal tab-to-slot clearance for beginner fabricators?
For those just starting out, a clearance of 0.010 to 0.015 inches is ideal. This provides enough “wiggle room” to account for slight cutting inaccuracies or small burrs while still keeping the parts tight enough for a square assembly. As your cleaning and prep skills improve, you can tighten this to 0.005 inches for a precision “press fit.”
How do I prevent the tabs from melting away before the slot is filled?
This is usually a result of too much heat or a travel speed that is too slow. Focus your arc more on the “slot” side (the larger piece of metal) rather than the tab. The larger piece can heat up more slowly, while the tab will melt almost instantly. Use a “70/30” heat distribution, aiming the torch mostly at the thicker or larger mass.
Should I weld the entire length of the tab or just tack it?
For most sheet metal projects, a series of strong tack welds at the corners of the tabs is sufficient. If the joint needs to be air-tight or structural, you can weld the full length. However, be aware that full-length welds on thin sheet metal significantly increase the risk of warping. Start with tacks and observe the metal’s reaction.
How can I tell if my travel speed is too fast on a tab joint?
If your travel speed is too fast, the weld bead will look “ropey” and sit high on top of the metal. You will likely see “lack of fusion” at the base of the tab, meaning the weld didn’t actually join the two pieces. A good weld should look “wet” and slightly flattened, indicating it has soaked into both surfaces.
What is the best way to clean the inside of a narrow slot?
A small, fine-toothed needle file is the most effective tool for cleaning narrow slots. If the slot is wide enough, a “die grinder” with a small carbide burr or a narrow strip of sandpaper wrapped around a thin piece of metal also works well. The goal is to remove the “oxide layer” or “dross” left behind by the cutting process.
Why does my weld “pop” or “spatter” when I hit the tab?
Spatter is usually caused by contaminants or a “long arc.” If you haven’t cleaned the back side of the tab or the inside of the slot, the arc will react to the impurities and “pop.” Additionally, ensure your shielding gas flow is between 15-20 CFH; too little gas will cause the puddle to boil and spatter.
Can I use tab and slot joints for different metal thicknesses?
Yes, this is actually a great way to join different thicknesses. For example, you can put a 14-gauge tab into a 10-gauge slot. In this scenario, always “bias” your heat toward the thicker 10-gauge material. This ensures the thicker piece reaches the melting point at the same time as the thinner tab.
How do I stop the “pulling” of the metal after I weld a tab?
Metal always pulls toward the heat. To minimize this, use a “staggered” welding sequence. Instead of welding all the tabs on one side, jump from one side to the other. This balances the thermal stresses and keeps the overall part from bowing or twisting in one direction.
What torch angle should I use for a tab sitting in a slot?
A “work angle” of 45 degrees (splitting the corner) is standard. For your “travel angle,” use a 10-15 degree “drag” (leaning the torch away from the direction of travel). This allows the arc force to push the puddle into the joint, ensuring deep penetration into the root of the slot.
How do I know when I’m ready to move from practice to a real project?
You are ready when you can produce ten identical welds in a row that meet your visual standards. Use a “bend test” on a practice piece: try to break the tab off with a pair of pliers. If the metal bends but the weld stays intact, your penetration is solid and you are ready for a real project.
(This article was written by one of our staff writers, Thomas Langley. Visit our Meet the Team page to learn more about the author and their expertise.)