How to Track and Improve Your Welding Travel Speed (Tutorial)
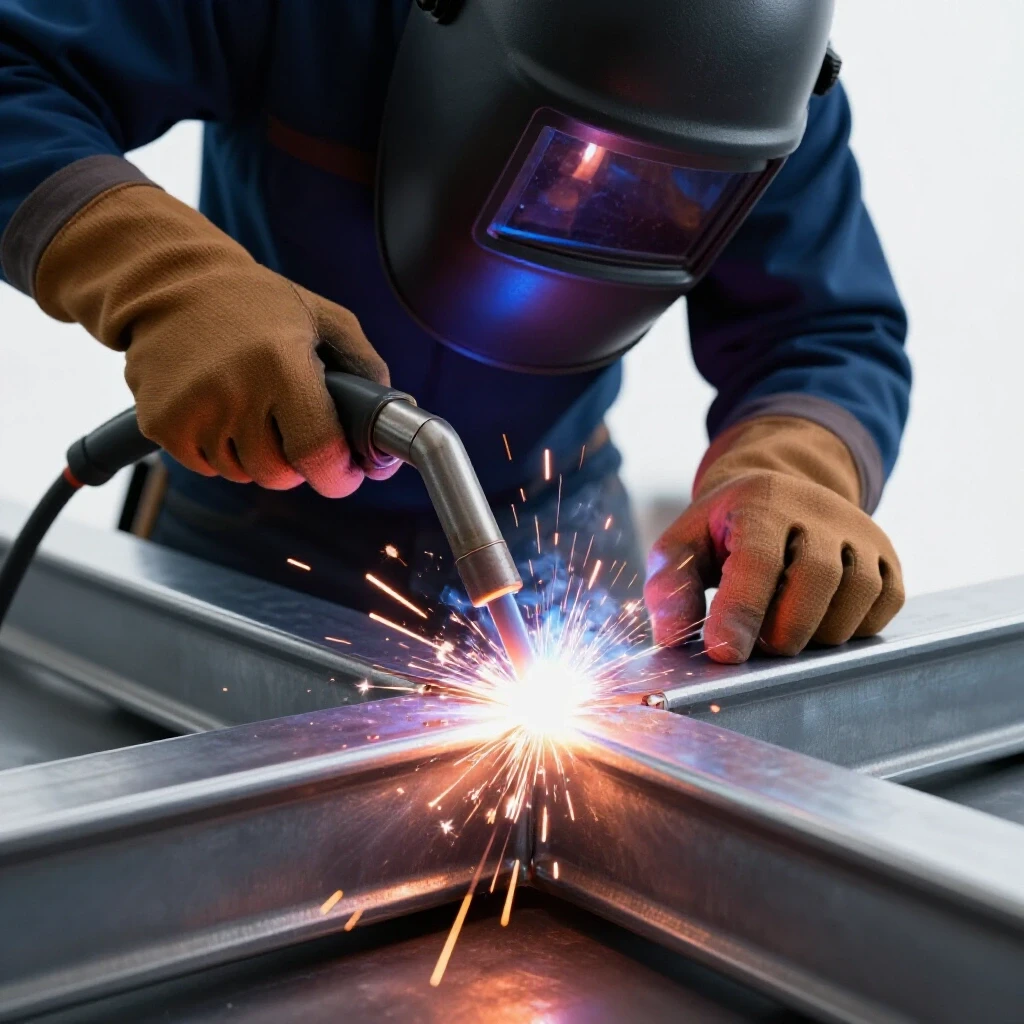
When I first picked up a MIG gun twelve years ago, I thought my biggest hurdle was setting the voltage. I spent hours obsessing over the knobs on the machine, convinced that the “perfect” setting would magically create a stack of dimes. However, after weeks of lumpy, inconsistent beads, I realized the machine wasn’t the problem. My hand was the problem. I was moving in fits and starts, sometimes racing across the plate and other times lingering until the metal blew through.
Learning metal fabrication is as much about choreography as it is about electricity. You are managing a tiny, molten pool of steel while your body maintains a rigid yet fluid posture. It is a physical skill that requires building deep muscle memory. In those early days, I felt the “coordination anxiety” that many of you likely feel now. Your eyes are trying to see through the dark shade of the hood, your hand is shaking slightly from the weight of the torch, and the heat is radiating against your gloves.
To move from a frustrated beginner to a consistent fabricator, you have to stop guessing. You need a way to measure your physical performance in the shop. By tracking how fast you move your torch and observing how the metal reacts, you can turn a chaotic process into a repeatable science. This guide is built on the data I’ve collected over a decade of practice and the vocational standards used to train professional welders.
The Foundation of Steady Torch Movement
Body mechanics and ergonomics are the physical building blocks of a consistent weld. Before you even strike an arc, your physical stance determines whether your hand can move smoothly across the workpiece or if it will hitch and stutter. Proper positioning allows for a full range of motion without straining your muscles.
Most beginners try to weld using only their wrists. This is a mistake because the wrist has a very limited range of motion. Instead, I teach students to use their entire arm and shoulder. Think of your body as a tripod. If you are standing, lean your hip against the welding table. If you are sitting, tuck your elbows into your ribs or rest your forearms on the work surface. This “bracing” technique eliminates the shakes and provides a pivot point for your movement.
When you are braced, you can move the torch in a long, continuous line by shifting your weight or sliding your arm. I always recommend a “dry run” before pulling the trigger. With the machine off, move the torch along the entire length of the planned joint. If your sleeve catches on the table or your arm hits a limit, you need to reposition. A smooth dry run almost always leads to a smooth live weld.
Physical Stability Checklist
- The Three-Point Contact Rule: Ensure your feet are planted and at least one part of your arm or torso is braced against a solid surface.
- Clear Path Traversal: Check that the torch lead has enough slack to move the full length of the weld without pulling.
- Relaxed Grip: Don’t choke the torch. A tight grip leads to muscle fatigue and jerky movements. Hold it like a heavy pen.
Understanding the Fluid Dynamics of the Puddle
Reading the weld puddle is the primary way a fabricator knows if their movement is too fast or too slow. The puddle is the small pool of molten metal created by the arc. Its shape, width, and behavior provide real-time feedback on the heat input and the consistency of your hand speed.
When you move too slowly, the puddle grows wide and circular. The heat builds up in one spot, which can lead to excessive penetration or even “burn-through,” where the metal falls away entirely. Conversely, if you move too fast, the puddle becomes narrow and pointed, like a teardrop. This often results in “cold lap,” where the molten metal sits on top of the base plate without actually fusing to it.
The goal is to maintain a consistent puddle width that is roughly 1.5 to 2 times the diameter of your electrode or wire. For example, if you are using 0.035-inch MIG wire, your puddle should stay about 1/4 inch wide. By focusing your eyes on the trailing edge of the puddle rather than the bright arc itself, you can see if the metal is filling in properly.
Visual Cues for Hand Speed
| Puddle Shape | Meaning | Resulting Weld Bead |
|---|---|---|
| Wide and Round | Moving too slow | High heat, wide bead, potential burn-through |
| Narrow and Pointed | Moving too fast | Low penetration, thin bead, lack of fusion |
| Oval / Consistent | Correct speed | Uniform ripples, proper penetration, clean edges |
Setting Baselines for Machine Parameters
While your hand controls the movement, the machine sets the environment. You must align your travel speed with the amperage or voltage settings to achieve the correct heat input. Heat input is a calculation of how much energy is being put into the metal per inch of the weld.
In trade school drills, we often use a standard formula: (Amps x Volts x 60) / (Travel Speed in inches per minute). If you increase your hand speed, you must increase your amperage to maintain the same penetration. For most DIY projects on 1/8-inch steel using a MIG welder, a good starting point is a hand speed of 8 to 12 inches per minute (IPM).
If you are just starting, I recommend keeping your machine settings at the manufacturer’s “door chart” suggestions. These are usually conservative and give you a stable arc. Once the machine is set, your job is to find the speed that keeps the arc at the leading edge of the puddle. This ensures the arc is always hitting “cold” metal, which maximizes penetration.
Typical Speed Ranges by Process
- MIG (GMAW): 10–20 inches per minute. MIG is generally the fastest manual process.
- Stick (SMAW): 4–8 inches per minute. The slag needs time to float to the top.
- TIG (GTAW): 2–5 inches per minute. This is a slow, precision-focused process.
Practical Drills for Measuring Hand Speed
To move beyond “feeling” your speed, you need to measure it objectively. This is where most self-taught fabricators plateau; they don’t have a metric for their progress. I use a simple “Stopwatch and Soapstone” method to help students quantify their physical movement and build a reliable internal clock.
Start by taking a piece of scrap plate and cleaning it to a bright shine with a flap disc. Use a soapstone or silver pencil to mark out two-inch increments. Your goal is to weld across these marks while a partner times you, or you can use a phone mounted to your welding bench to record the session. By timing how long it takes to cross a four-inch span, you can calculate your actual inches per minute.
If it takes you 30 seconds to weld 4 inches, you are moving at 8 IPM. If it takes 20 seconds, you are at 12 IPM. Once you find a speed that produces a clean, flat bead with good penetration, that becomes your “target speed.” Practice hitting that exact timing repeatedly until you no longer need the marks or the timer.
The 4-Step Speed Drill
- Mark the Plate: Draw lines at 0, 2, 4, and 6 inches.
- The Timed Run: Start the arc at the 0 mark and stop at the 6-inch mark.
- Calculate: Divide the distance by the time. (e.g., 6 inches / 0.5 minutes = 12 IPM).
- Inspect: Look for consistency. Are the ripples even? Is the width the same at the start and the finish?
Managing Torch Angles and Stick-Out
Your travel speed is heavily influenced by your torch angle and electrode stick-out. The angle at which you hold the torch dictates how the arc force pushes the molten metal. If your angle changes mid-weld, your effective speed will change too, even if your hand is moving at the same rate.
For most flat-position welding, a 10 to 15-degree “drag” or “push” angle is standard. A drag angle (pointing the torch back toward the completed weld) provides deeper penetration and a narrower bead. A push angle (pointing the torch toward the unfinished joint) creates a flatter bead and more visibility. I tell my students to pick one and stick with it for the duration of the practice session.
Electrode stick-out, or the distance from the contact tip to the metal, also plays a role. In MIG welding, a 3/8-inch stick-out is ideal. If you pull the torch away (increasing the stick-out), the amperage drops, and the weld gets colder. This often causes the operator to slow down to compensate, which ruins the consistency of the bead. Maintaining a constant distance is vital for keeping your speed on track.
Common Angle and Gap Metrics
- Travel Angle: 10–15 degrees from vertical.
- Work Angle: 90 degrees to the plate (for a butt joint) or 45 degrees (for a fillet).
- Arc Gap (Stick-out): 1/8 inch for Stick/TIG; 3/8 inch for MIG.
Refining Technique Through Joint Preparation
Consistent hand speed is impossible if you are fighting dirty metal. Rust, mill scale, and oil cause the arc to wander and the puddle to “spit.” When the arc is unstable, your natural reaction is to hesitate or jerk the torch, which immediately disrupts your travel speed.
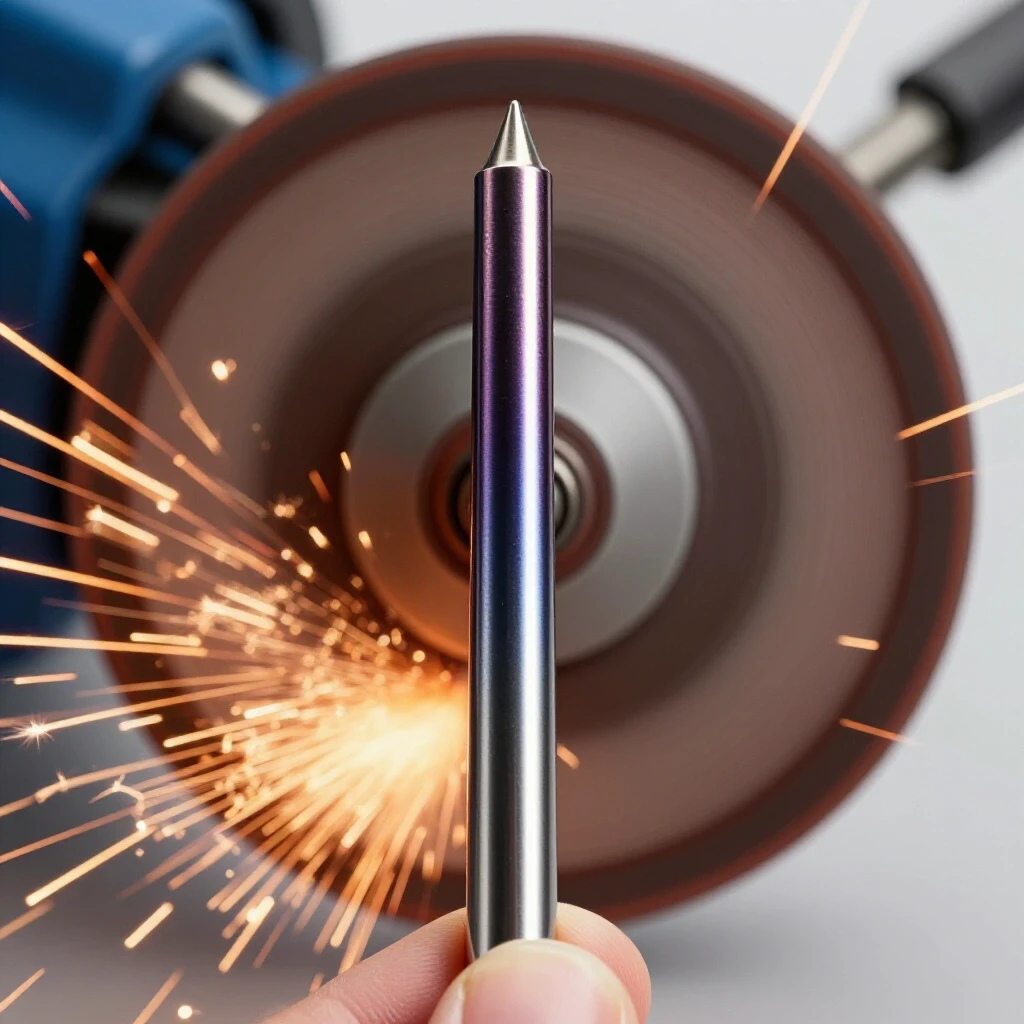
I follow a “one-inch clean zone” rule. Before welding, use a grinder to remove all mill scale at least one inch back from the joint on all sides. This ensures that the arc stays focused and the puddle flows predictably. When the metal is clean, the puddle behaves like water on glass; when it is dirty, it behaves like water on grease.
Furthermore, the fit-up of the joint matters. If you have a wide gap in one spot and a tight fit in another, you cannot maintain a constant speed. You will have to slow down to fill the gap and speed up for the tight area. For practice, ensure your plates are tacked tightly together with no visible light between them. This allows you to focus purely on your hand motion without having to “react” to the joint.
Material Prep Steps
- Mechanical Cleaning: Use a flap disc or wire wheel to reach shiny metal.
- Degreasing: Wipe the area with acetone to remove residual oils.
- Squaring: Ensure the edges are straight and burr-free.
- Tacking: Place small welds at the ends to prevent the metal from warping during the run.
Advanced Progression: Fillet Welds and T-Joints
Once you can run a consistent bead on a flat plate, the next step in your progression is the T-joint or fillet weld. This is where most fabricators struggle because the heat is now being pulled in two directions. Maintaining your hand speed becomes more difficult because you have to manage the “gravity” of the puddle.
In a T-joint, the puddle wants to sag toward the bottom plate. To counter this, you might feel the need to speed up to “catch” the metal, but this often leads to undercut—a defect where the weld eats into the top plate without filling it back in. Instead, you must maintain your measured speed but adjust your work angle slightly toward the top plate.
I recommend practicing the “J-motion” or “Moon-motion” if you find your straight-line speed is too fast for the joint thickness. These are tiny oscillations that allow the heat to dwell slightly longer on the edges while keeping your overall forward progress steady. However, don’t over-oscillate; the goal is still a uniform forward motion.
Fillet Weld Success Markers
- Leg Length: The vertical and horizontal parts of the weld should be equal in size.
- Flat Face: The surface of the weld should be slightly convex or flat, not “caved in” (concave).
- Root Penetration: The weld must reach the very corner where the two plates meet.
Tracking Progress with a Learning Log
You cannot improve what you do not track. I have kept a shop journal for over a decade, and it is the single most important tool for overcoming plateaus. A learning log allows you to look back and see exactly which parameters led to your best results.
Every time you practice, record the material thickness, the machine settings (Volts/Amps/Wire Speed), and your calculated travel speed. Note any issues you had, such as “shaky hand at the end of the run” or “arc was too loud.” Over time, you will see patterns. You might find that you are consistently too fast on your first weld of the day and need a longer “warm-up” period.
Using video analysis is the modern version of this. Prop your phone up and record a 30-second clip of your hands while welding. When you watch it back, you will see things you didn’t notice under the hood. You might see your torch angle slowly tilting or your hand speeding up as you get closer to the end of the plate. This visual feedback is invaluable for refining muscle memory.
Practice Log Template
| Date | Process | Material | Volts / Amps | Travel Speed (IPM) | Notes |
|---|---|---|---|---|---|
| 10/12 | MIG | 1/8″ Steel | 18.5V / 320IPM | 11 IPM | Bead was flat, good tie-in. |
| 10/14 | Stick | 1/4″ Plate | 125 Amps | 5 IPM | Too slow, slag trapped at edges. |
Troubleshooting Common Speed-Related Defects
Even with careful tracking, you will encounter defects. Understanding how travel speed causes these issues is the key to fixing them. Most beginners blame the machine or the gas, but the solution is almost always a physical adjustment.
“Undercut” is the most common speed-related defect. It looks like a small groove or valley along the toes (edges) of the weld. This happens when you move too fast, and the base metal melts, but the filler metal doesn’t have time to flow into the space. To fix it, you simply need to slow down or pause slightly at the edges of your motion.
“Overlap” or “Cold Lap” is the opposite. This is when the weld metal rolls over the edge of the joint without fusing. This is a clear sign that you are moving too slowly or your heat is too low for your speed. The molten metal is literally outrunning the arc. If you see the puddle rolling ahead of the arc, you must speed up your hand immediately.
Visual Defect Guide
- Undercut: Caused by moving too fast or using too much heat. Fix: Slow down.
- Overlap: Caused by moving too slow or using too little heat. Fix: Speed up.
- Porosity: Small holes in the weld. Usually gas-related, but can be caused by a very long arc gap. Fix: Check stick-out.
- Irregular Ripples: Caused by inconsistent travel speed. Fix: Use a timer/metronome.
Practical Next Steps for Your Shop
Building the muscle memory for a consistent hand speed takes time, but it doesn’t have to be frustrating. By breaking the process down into measurable steps, you remove the guesswork and replace it with data.
Start your next shop session by cleaning three pieces of scrap plate. Mark them with two-inch lines and perform the timed drills I mentioned earlier. Don’t worry about making “pretty” welds yet; focus entirely on hitting your target time for each run. Once your timing is consistent within 10%, you will find that the visual quality of your beads improves naturally.
Remember that fabrication is a marathon, not a sprint. Even after twelve years, I still find myself doing dry runs and checking my body positioning. The best fabricators aren’t the ones with the most expensive machines; they are the ones with the most disciplined hands. Keep your logbook updated, record your sessions, and stay patient with the learning curve.
Frequently Asked Questions
How do I know if I am moving too fast?
If your weld bead looks very thin, has a pointed “V” shape in the ripples, and appears to sit on top of the metal rather than soaking in, you are likely moving too fast. You may also see “undercut,” which are small grooves along the edges where the metal has melted but hasn’t been filled back in.
What is the best way to maintain a steady hand?
The “tripod” method is the most effective. Always ensure your body is braced against the table or the workpiece. Use your non-dominant hand to support the neck of the torch or the welding lead. This provides stability and allows you to use your shoulder for movement rather than just your wrist.
Does travel speed change with different welding positions?
Yes. When welding vertically or overhead, gravity affects the puddle. In a vertical-up weld, you generally move slower and use a side-to-side motion to “shelf” the metal. In flat positions, you can move significantly faster because gravity helps keep the puddle in place.
How can I practice my speed without wasting metal?
Perform “dry runs” with the machine off. Use a stopwatch to see if you can move the torch across a 6-inch span in exactly 30 seconds (for a 12 IPM speed). Doing this repeatedly builds the “internal clock” needed for live welding without consuming wire or gas.
What is the ideal travel speed for a beginner?
For MIG welding on 1/8-inch mild steel, a speed of 8 to 12 inches per minute is a great starting point. This is slow enough to see the puddle clearly but fast enough to prevent excessive heat build-up.
Why does my weld look like a rope?
A “ropey” bead is usually a sign of moving too fast or having the voltage/amperage set too low. The metal isn’t getting hot enough to “wet out” and flow into the plate, so it stays in a rounded, rope-like shape.
How does the thickness of the metal affect how fast I should move?
Thicker metal acts as a “heat sink,” pulling heat away from the joint. To get proper penetration on thick plate, you must move slower or increase your machine’s power. On very thin sheet metal, you must move much faster to prevent burning a hole through the workpiece.
Can I use a metronome to help with my welding speed?
Absolutely. Many students use a metronome app set to a slow beat. You can time your “steps” or oscillations to the beat, which helps create perfectly uniform ripples and a very consistent travel speed.
What should I look for in a video of my welding?
Watch for the “arc gap” and the “torch angle.” Beginners often unknowingly pull the torch away or tilt it as they move across the plate. Also, watch the relationship between the arc and the puddle; the arc should stay at the very front edge of the molten pool.
How often should I track my speed in a logbook?
I recommend tracking every practice session for the first six months. Once you can consistently produce high-quality beads without thinking about it, you can move to tracking only when you are working with new materials or complex joint designs.
(This article was written by one of our staff writers, Thomas Langley. Visit our Meet the Team page to learn more about the author and their expertise.)