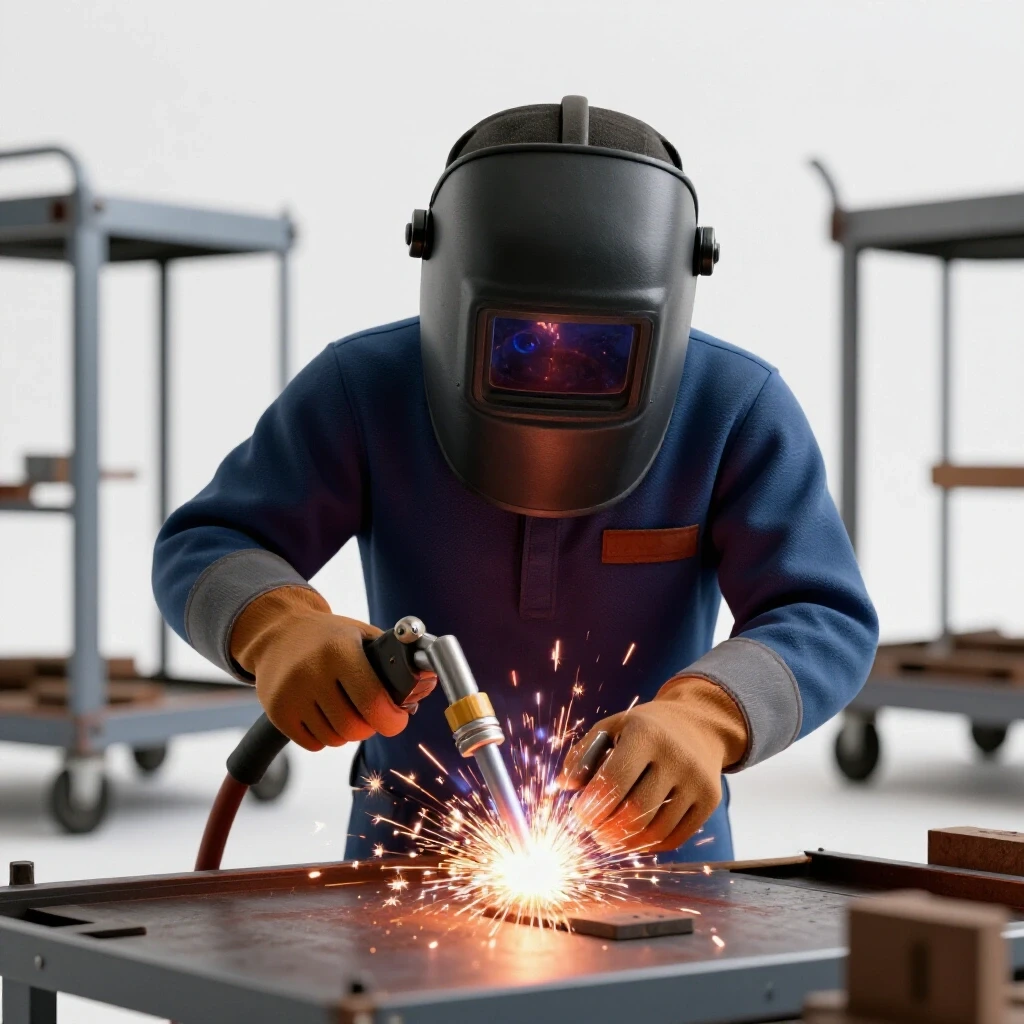
Safety Rules When Welding Suspension Components (DIY Guide)
When I first struck an arc twelve years ago, my hand shook so much that the electrode stuck to the plate instantly. I was terrified of the heat, the blinding light, and the immense responsibility of joining two pieces of metal that were meant to stay together. Over the years, I have learned that metalwork is as much about discipline and safety as it is about the physical spark. When you transition from practicing on scrap to working on critical assemblies that handle high stress, your margin for error disappears. This guide focuses on the rigorous safety protocols and skill-building habits required to maintain a secure workshop environment while developing the muscle memory needed for high-stakes fabrication.
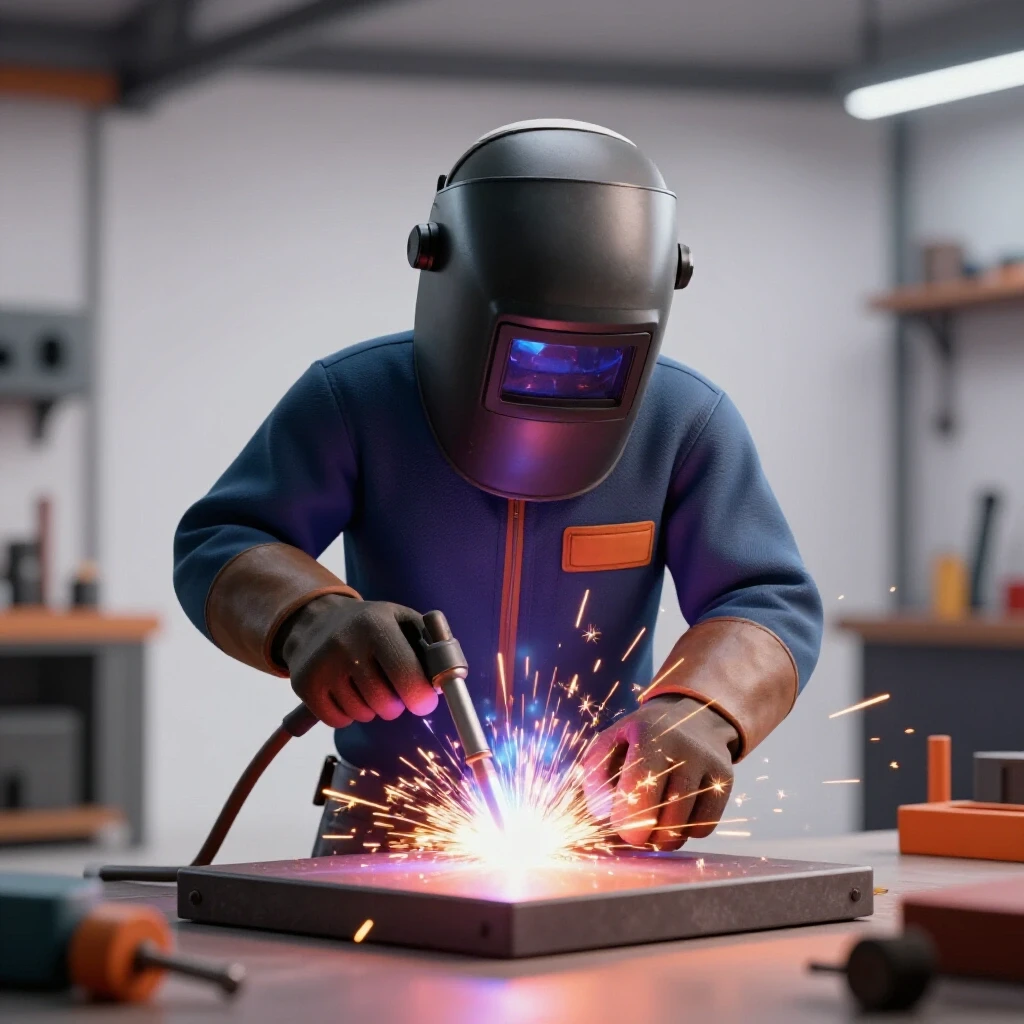
Establishing a Stable Foundation for High-Stress Metalwork
Body mechanics and physical positioning serve as the primary safety net for any fabricator working on critical automotive assemblies. Maintaining a stable stance prevents accidental slips and ensures the torch moves along the intended path without erratic deviations. This physical discipline reduces fatigue and minimizes the risk of burns or equipment damage during long practice sessions.
When you are working on parts that will eventually face heavy vibrations and loads, your body must act as a steady tripod. I always teach my students the “three-point contact” rule. If you are standing, keep your feet shoulder-width apart and lean your non-welding hip or shoulder against the workbench. This stabilization allows your fine motor skills to take over. If you are sitting, ensure your stool is at a height where your elbows can rest comfortably on the table.
Breathing is another often-overlooked safety factor. Many beginners hold their breath while running a bead, which leads to muscle tension and CO2 buildup in the blood, causing hand tremors. I practiced a “rhythmic breathing” technique where I exhaled slowly as the puddle moved. This kept my heart rate low and my travel speed consistent. By mastering your physical presence in the shop, you create an environment where safety becomes a byproduct of your posture.
| Stance Type | Contact Points | Best Use Case | Stability Rating |
|---|---|---|---|
| Seated | Both elbows and glutes | Small benchtop parts | High |
| Leaning | One hip and non-welding hand | Large frame assemblies | Medium |
| Free-Standing | Both feet only | Hard-to-reach areas | Low |
Prioritizing Personal Protective Equipment for Intense Heat
Personal Protective Equipment (PPE) is your last line of defense against radiation, molten sparks, and thermal energy when joining metal. Choosing the correct gear is not just about comfort; it is about preventing long-term damage to your eyes, skin, and lungs. High-quality gear allows you to focus entirely on the weld puddle without the distraction of “sunburn” or flying slag.
I remember a time early in my journey when I wore a thin flannel shirt instead of a dedicated leather jacket. By the end of the day, my arms were red, and the UV radiation had actually degraded the fabric fibers. For any work involving stressed components, you need a heavy-duty leather apron or a full leather welding jacket. Leather resists sparks far better than treated cotton. Your gloves should be specific to the process: thick, insulated gloves for MIG or Stick welding, and thinner, supple goatskin gloves for TIG welding to maintain tactile feedback.
Your welding helmet is the most critical piece of PPE. I recommend an auto-darkening lens with a large viewing area and a “grind mode” feature. This allows you to switch from welding to cleaning the metal without removing your headgear, keeping your eyes protected from flying debris at all times. Ensure your lens shade is set correctly for the amperage you are using; for most automotive-scale work, a shade 10 or 11 is standard.
- Helmet: Auto-darkening, Shade 9-13, with a 1/1/1/1 optical rating.
- Jacket: Full leather or 9oz flame-resistant cotton with leather sleeves.
- Gloves: Process-specific (MIG/Stick vs. TIG) to ensure proper grip and heat resistance.
- Footwear: Steel-toed leather boots with metatarsal guards if handling heavy chassis parts.
Managing the Atmospheric Risks of Shop Fabrication
Fume extraction and respiratory protection are vital when working with the alloys and coatings found on automotive parts. Welding produces a complex mixture of metal oxides, silicates, and fluorides that can cause immediate irritation or long-term respiratory issues. A clean breathing zone is mandatory for maintaining focus and physical health during repetitive practice cycles.
Many DIYers believe a simple open garage door is enough ventilation. In my experience, that is rarely the case. Airflow can actually pull fumes across your face before they exit the building. I use a dedicated fume extractor or a high-volume exhaust fan positioned to pull smoke away from my helmet. If you are working on older parts that might have residual paint, zinc plating (galvanized), or grease, the risk of toxic fumes like hexavalent chromium or zinc chills increases significantly.
For maximum safety, I wear a P100-rated pancake respirator that fits under my welding hood. This filters out 99.7% of airborne particles. Even if your shop feels airy, the concentrated smoke at the arc is what matters. Always clean your metal down to “bright white” steel at least two inches away from the joint to prevent coatings from vaporizing into the air you breathe.
Systematic Equipment Inspections and Workspace Order
Before you ever strike an arc on a critical assembly, your equipment must undergo a rigorous pre-flight check. Faulty grounds, frayed cables, or leaking gas hoses can cause erratic arc performance and create fire hazards. A disciplined inspection routine ensures that your machine performs exactly as expected, allowing you to focus on your technique.
I developed a five-minute “pre-arc checklist” that I follow every single time I power up my machine. I start at the wall outlet and work my way to the torch tip. I check for any nicks in the insulation of the work lead (ground cable) and the torch lead. A poor ground connection is the number one cause of “arc blow” and inconsistent penetration. I ensure the ground clamp is attached directly to the workpiece or a clean metal table, never through a mechanical hinge or a painted surface.
Workspace organization is equally important. Tripping hazards like tangled cables or scattered tools can lead to disasters when you are holding a live torch. I keep my leads coiled neatly and ensure my path of travel is clear. This level of order reduces the mental load, letting you concentrate on the arc gap and travel angle.
- Inspect Power Cables: Look for exposed copper or brittle insulation.
- Check Gas Connections: Use soapy water to find leaks in the regulator or hose.
- Verify Grounding: Ensure the clamp has strong spring tension and clean contact pads.
- Clear the Floor: Remove all flammable debris and trip hazards within a 10-foot radius.
- Test the Trigger: Ensure the wire feed or gas solenoid engages smoothly without sticking.
Fire Mitigation and Post-Work Monitoring Protocols
Fire is a constant threat in a fabrication environment due to the high-velocity sparks and molten globules produced during the joining process. A fire-safe workshop requires proactive measures, including the removal of combustibles and a dedicated monitoring period after the work is finished. These rules are non-negotiable when working on complex assemblies that may have hidden pockets or flammable residues.
I once saw a small piece of hot slag bounce thirty feet across a shop and land in a bucket of oily rags. It didn’t catch fire immediately; it smoldered for twenty minutes before erupting into flames. This taught me the “35-foot rule.” Clear all flammable liquids, cardboard, and wood within 35 feet of your work area. If you cannot move an item, cover it with a certified welding blanket.
Always keep a multi-purpose (ABC) fire extinguisher within arm’s reach, and ensure you know how to use it. More importantly, implement a “fire watch” protocol. After you finish your last weld of the day, stay in the shop for at least 30 to 60 minutes. Use this time to clean your tools and sweep the floor. This observation period ensures that no hidden embers are smoldering in a corner or inside a hollow frame section.
| Fire Safety Element | Minimum Requirement | Recommended Action |
|---|---|---|
| Extinguisher | 5lb ABC Dry Chemical | 10lb unit with current inspection tag |
| Fire Watch | 30 Minutes | 60 Minutes for enclosed spaces |
| Clearance | 10 Feet | 35 Feet with welding blankets |
| Surface Prep | Remove all grease | Use non-flammable solvent cleaners |
Recognizing the Boundaries of DIY Structural Fabrication
Understanding the limits of your current skill level is perhaps the most important safety rule in any shop. While practicing on non-critical brackets and plates is excellent for building muscle memory, certain assemblies require a level of expertise that only comes with professional certification. Knowing when to stop and call a professional is a sign of a mature and responsible fabricator.
In my teaching, I emphasize the “Hard Stop” rule. If a component is responsible for the structural integrity of a vehicle at highway speeds, your DIY welds should be considered “tack-welds” for fitment only. Once you have the geometry correct, the final passes should be performed or at least inspected by a certified professional welder. This ensures that the penetration, grain structure, and heat-affected zone meet industry standards.
The transition from a hobbyist to a skilled fabricator involves hundreds of hours of practice. During this time, your focus should be on mastering the “how” and “why” of metal behavior. Use your shop time to refine your bead consistency and travel speed on practice coupons. By respecting the gravity of structural work, you protect yourself and others who will eventually be on the road with your creations.
Tracking Technical Growth Through Structured Practice Logs
To overcome plateaus and ensure your welds are safe and consistent, you must measure your progress objectively. A practice log allows you to track variables like amperage, travel speed, and torch angle, helping you identify exactly where your technique is failing. This data-driven approach removes the guesswork from your skill development.
When I was learning to control the puddle, I kept a notebook next to my welder. For every ten practice beads, I would record the settings and my observations. I looked for patterns: Was I moving too fast? Was my arc gap too long? By reviewing these logs, I could see my travel speed stabilizing between 8 and 12 inches per minute (IPM). I also tracked my torch angle, aiming for a consistent 10-15 degree drag angle for MIG welding.
This systematic approach turned “guessing” into “knowing.” You can use a smartphone to record slow-motion video of your arc. Watching your hand movement in slow motion reveals tremors or erratic speeds that are invisible to the naked eye. This feedback loop is the fastest way to build the muscle memory required for professional-grade results.
Sample Practice Log Template
- Date and Session Number: Track your total hours of “hood time.”
- Material Type and Thickness: Note the specific alloy and gauge (e.g., 3/16″ Mild Steel).
- Machine Parameters: Record Voltage, Wire Feed Speed, or Amperage.
- Technique Focus: (e.g., Maintaining a 1/8″ arc gap or steady travel speed).
- Visual Assessment: Rate the bead on a scale of 1-10 for uniformity and penetration.
- Corrective Action: What will you change for the next ten beads?
Mastering Torch Control and Travel Speed Metrics
The physical act of welding is a dance of coordination between your eyes, hands, and the molten puddle. To produce safe, reliable joins, you must master the variables of travel speed and torch orientation. Inconsistent movement leads to “cold laps” (lack of fusion) or “burn-through,” both of which compromise the safety of a stressed part.
Travel speed is the most common hurdle for intermediate learners. If you move too fast, the metal doesn’t have time to melt and fuse; move too slow, and you dump excessive heat into the part, weakening the surrounding metal. I use a “mental metronome” to keep my speed consistent. For a standard fillet weld on 1/8″ material, I aim for a speed that covers about one inch every five to seven seconds.
Torch angle also plays a massive role in how heat is directed. A “push” angle provides shallower penetration and a wider bead, while a “drag” or “pull” angle digs deeper into the base metal. For critical joints where strength is paramount, a slight drag angle is often preferred to ensure the root of the joint is fully melted. Practice these angles on flat plates until you can maintain them instinctively without looking at your hand.
- Travel Speed: 8–12 Inches Per Minute (IPM) for most manual processes.
- Torch Angle: 10–15 degrees from vertical (Drag for penetration, Push for aesthetics).
- Work Angle: Usually 45 degrees for a T-joint to distribute heat equally between plates.
- Arc Gap: Maintain a distance equal to the diameter of your electrode (approx. 3/32″ to 1/8″).
Preparing Clean Zones for Optimal Fusion
Safe metal joining starts long before you pull the trigger. Contaminants like rust, oil, mill scale, and paint act as insulators and chemical pollutants that weaken the weld. Creating a “clean zone” ensures that the arc energy is spent melting the base metal rather than fighting through debris.
I follow a strict “two-inch rule.” Every joint I work on is cleaned to bare, shiny metal at least two inches back from the weld path on all sides. I use a flap disc on an angle grinder to remove mill scale—the dark, flaky oxide layer found on hot-rolled steel. Mill scale has a higher melting point than the steel beneath it, which can lead to “slag inclusions” and brittle joints.
After grinding, I wipe the area with a residue-free cleaner like acetone (never use chlorinated brake cleaners, as they create phosgene gas when heated). This removes any latent finger oils or cutting fluids. By starting with a pristine surface, you eliminate the primary cause of porosity and lack of fusion, ensuring your practice sessions result in the strongest possible bonds.
Taking the Next Steps in Your Fabrication Journey
Building the skills to work on high-stress assemblies is a marathon, not a sprint. The most successful fabricators I know are the ones who respect the process and the hazards involved. Your next steps should focus on consistency and verification.
First, dedicate your next five shop sessions solely to “bead-on-plate” drills. Don’t worry about joining parts yet. Just focus on running six-inch beads that look identical from start to finish. Once your beads are consistent, move on to T-joints and lap joints, focusing on maintaining a steady travel speed.
Second, invest in a small magnifying glass or a “welding jeweler’s loupe” to inspect your practice welds. Look for tiny pinholes (porosity) or areas where the weld didn’t quite “wet out” into the base metal. Identifying these flaws early in your practice will prevent them from appearing when it matters most. Finally, always remember that in the world of critical fabrication, “good enough” is never actually enough. Aim for excellence in every spark, and never hesitate to seek professional guidance for structural verification.
Frequently Asked Questions
Why is cleaning mill scale so important for safety?
Mill scale is an oxide layer that is much harder and has a higher melting point than the steel underneath. If you don’t remove it, the arc may fail to penetrate the base metal, leading to a “cold” weld that looks fine on the surface but has no internal strength. This is a major safety risk in high-stress parts.
Can I use a standard garage fire extinguisher for metal fires?
A standard ABC fire extinguisher is effective for most shop fires involving wood, paper, or electrical equipment. However, it is not designed for “D” class metal fires (like magnesium). For most automotive steel fabrication, an ABC extinguisher is the correct choice, but always keep it accessible and fully charged.
How do I know if my travel speed is too fast?
If your travel speed is too fast, the weld bead will appear thin, “stringy,” and may have a pointed, V-shaped ripple pattern. You will also likely see a lack of fusion at the edges of the bead. A safe, strong weld should have rounded, U-shaped ripples and a consistent width.
What are the dangers of welding over galvanized steel?
Galvanized steel is coated in zinc. When heated, this zinc vaporizes into toxic white fumes that can cause “metal fume fever,” characterized by flu-like symptoms. Always grind off the galvanizing layer in a wide area around the weld and wear a P100 respirator.
Why should I stay in the shop for an hour after I finish welding?
Hot metal and sparks can smolder unnoticed for a long time. Dust in a corner, insulation in a wall, or oily rags can catch fire long after you have left. A 60-minute fire watch is a standard industrial safety practice to ensure the workspace is completely inert before it is left unattended.
Is it safe to weld near a vehicle’s fuel tank?
No. Welding near fuel tanks or fuel lines is extremely dangerous due to the risk of explosion from fumes. Fuel systems should be drained, removed, or shielded by a professional-grade fire barrier, and the area must be thoroughly ventilated. For beginners, it is best to avoid welding anywhere near the fuel system entirely.
How can I tell if I have “arc blow”?
Arc blow occurs when magnetic fields deflect the welding arc away from the intended path. It usually results in excessive spatter and a wandering puddle. This can be caused by a poor ground connection or welding too close to the end of a part. Repositioning your ground clamp usually solves the issue.
What is the “heat-affected zone” (HAZ)?
The HAZ is the area of base metal that was not melted but had its microstructure and properties altered by the heat of the weld. In stressed parts, an oversized HAZ can make the metal brittle or prone to cracking. Managing heat input through proper travel speed and “stitch welding” helps keep the HAZ to a safe size.
Should I use a “push” or “pull” technique for MIG welding?
For most critical joints on thicker material, a “pull” (drag) technique is safer because it directs the arc force into the root of the joint, ensuring deeper penetration. A “push” technique is often used for thinner materials to prevent burn-through, as it produces a flatter, wider bead with less penetration.
When is a weld considered “structurally sound”?
A weld is structurally sound when it has achieved full fusion with the base metal, has no internal voids (porosity), and has a profile that transitions smoothly into the surrounding material. However, for any part that is critical to safety, only a certified inspector or professional engineer can officially determine structural soundness.
(This article was written by one of our staff writers, Thomas Langley. Visit our Meet the Team page to learn more about the author and their expertise.)