How to Cut Structural Steel Straight and Clean (DIY Guide)
When I first started working with heavy metal sections, I assumed a steady hand was something you were simply born with. I remember trying to cut a piece of four-inch C-channel with a basic abrasive saw; the blade wandered, the metal turned blue from heat, and the final edge looked like the side of a jagged mountain. It took me years of tracking my movements and recording my failures to realize that precision is a built-in habit, not a gift. Achieving a square, professional finish on structural steel is the foundation of every successful project. If your initial cuts are off by even a fraction of a degree, every subsequent step—from fit-up to the final assembly—will be a struggle.
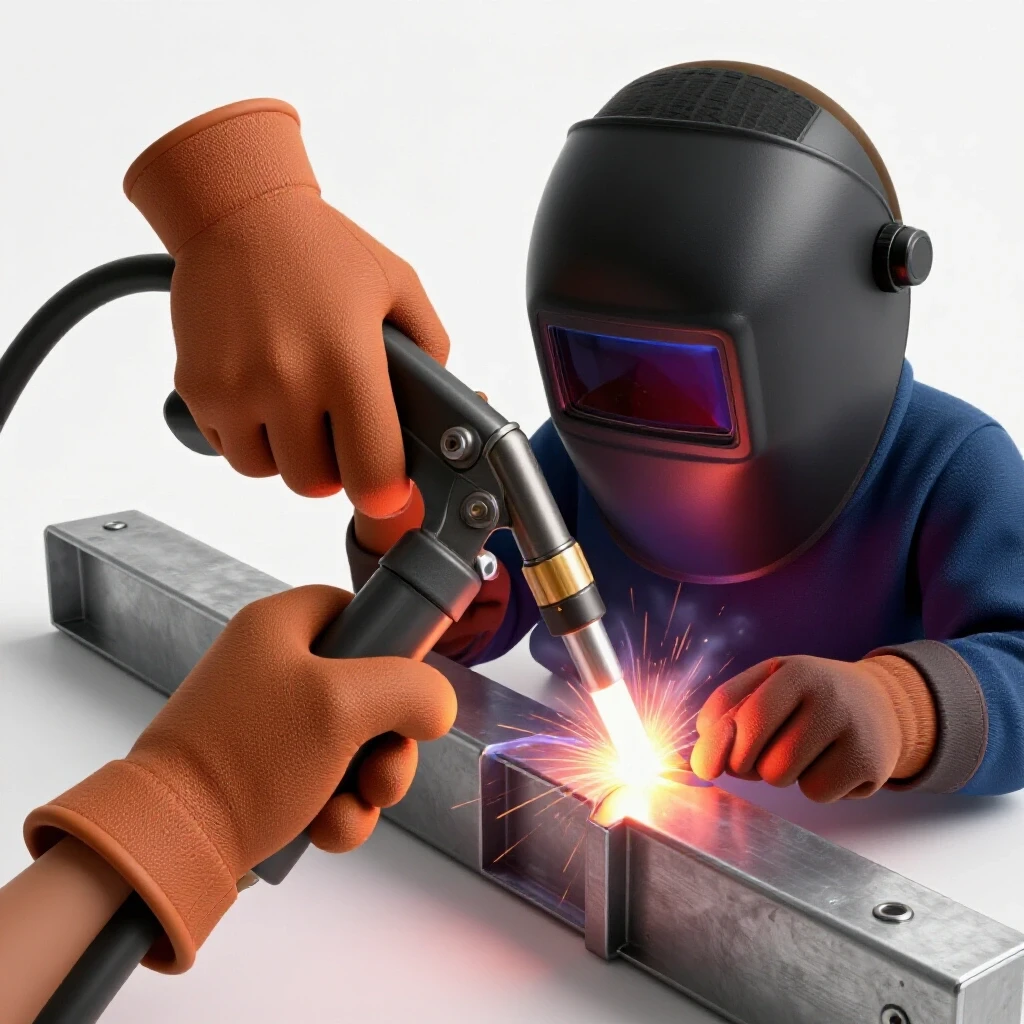
In my twelve years of fabrication, I have learned that the physical mechanics of cutting are nearly identical to the discipline required for high-quality welding. You are managing heat, controlling a tool’s path, and maintaining a consistent rate of movement. This guide is designed to help you move past the frustration of crooked edges. We will focus on the body mechanics, tool parameters, and structured practice drills that turn erratic movements into repeatable, professional results.
The Foundation of Precision: Mastering Body Mechanics and Tool Control
Body mechanics refers to how you position your physical frame to provide maximum stability and leverage while operating a cutting tool. Just as a marksman breathes between shots, a fabricator must find a stance that minimizes muscle fatigue and prevents involuntary shaking during a long cut.
When I teach students how to handle a portable band saw or a large angle grinder, the first thing I look at is their feet. If you are leaning over your work, you are using your lower back to stabilize the tool, which leads to “shaky hand” syndrome. Instead, I advocate for a “tripod” stance. Place your feet shoulder-width apart, with one foot slightly ahead of the other. Tuck your elbows into your ribs. By anchoring your arms against your torso, you turn your entire upper body into a rigid guide for the tool. This physical bracing is what allows for a consistent travel speed, which we often measure in inches per minute (IPM).
| Physical Metric | Target Range | Purpose |
|---|---|---|
| Stance Width | 18–24 inches | Provides a stable center of gravity. |
| Elbow Position | Tucked to ribs | Minimizes lateral tool wandering. |
| Grip Pressure | 5/10 (Firm but not white-knuckled) | Prevents muscle tremors and fatigue. |
| Visual Focal Point | 1/2″ ahead of the cut | Allows for proactive path correction. |
Building this muscle memory takes time. I recommend “dry run” exercises where you move the tool along a marked line without turning it on. Do this ten times before making your first cut of the day. You are training your brain to recognize the feel of a straight path.
Selecting Your Arsenal: Tools for Clean Structural Steel Separation
Tool selection involves choosing the right mechanical advantage for the specific thickness and shape of the steel you are working with. In a DIY setting, your primary options are abrasive cutoff wheels, portable band saws, and cold-cut circular saws.
Abrasive wheels are the most common but the hardest to control. They generate immense heat, which can create a large heat-affected zone (HAZ). This is the area where the metal’s properties change due to high temperatures. If you see the steel turning deep blue or purple, you are moving too slowly or applying too much pressure. Portable band saws, on the other hand, are “cold-cutting” tools. They use a serrated blade to remove chips of metal, keeping the workpiece much cooler and the edge much cleaner.
- Abrasive Saws: Best for hardened materials but prone to “blade walk” where the disc flexes and cuts at an angle.
- Portable Band Saws: Excellent for straight lines on tubing and angle iron; requires steady downward pressure.
- Cold-Cut Saws: Use carbide-tipped blades to produce a finish that looks like it was machined on a mill.
Regardless of the tool, the “arc gap”—or in this case, the clearance between the tool guard and the workpiece—must be minimized. A shorter distance between the tool’s support and the cutting surface reduces vibration, which is the primary enemy of a clean edge.
The Science of the Layout: Marking for Accuracy
Layout work is the process of translating your measurements onto the metal surface using high-visibility markers or scribes. A common mistake is using a thick piece of soapstone that leaves a 1/8-inch wide line. If your line is that thick, your cut could be off by a significant margin before you even start.
I transitioned to using a carbide-tipped scriber years ago. A scriber scratches a physical groove into the mill scale of the steel. This line is roughly 0.005 inches wide, providing a much more precise target. To make these lines visible, you can use layout fluid (a blue dye) that makes the shiny scratched line pop. When you are aiming for professional-grade fabrication, you aren’t just “cutting the line”; you are “taking the line.” This means the kerf—the width of the material removed by the blade—should sit exactly on the waste side of your mark.
Building on this, always use a square. For structural steel like I-beams or heavy square tubing, you must mark all four sides. Do not assume that cutting through the top will result in a straight line at the bottom. By marking the entire perimeter, you create “checkpoints” for your blade to follow as it progresses through the material.
Managing Heat and Feed Rates to Minimize Burrs
Feed rate is the speed at which the cutting edge moves through the material, and it is the most critical factor in determining the cleanliness of the final edge. If you go too fast, you risk breaking teeth or shattering a disc. If you go too slow, you generate excess friction heat, leading to heavy burrs.
A burr is a ragged edge of displaced metal that sticks to the underside of the cut. In my practice logs, I track the “burr height” as a metric of my progress. A clean cut should have a burr no thicker than a piece of paper. To achieve this, you need to maintain a consistent travel speed. For mild structural steel, a good baseline is 8–12 inches per minute (IPM) for thinner sections, adjusting based on the tool’s feedback.
| Material Thickness | Suggested Tool | Target Feed Rate (IPM) | Heat Management |
|---|---|---|---|
| 1/8″ Angle Iron | Abrasive Wheel | 10–15 IPM | Pulse the trigger to prevent bluing. |
| 1/4″ Square Tube | Band Saw | 5–8 IPM | Let the weight of the saw do the work. |
| 1/2″ Plate Steel | Cold-Cut Saw | 3–5 IPM | Use constant, firm pressure. |
Interestingly, the “sound” of the cut is often your best indicator. A high-pitched scream usually means the blade is glazed or you are moving too slowly. A deep, consistent growl indicates that the teeth are biting into the metal and removing healthy chips.
Structured Practice Drills for Straight Cutting Mastery
To overcome technical plateaus, you must move away from “just cutting” and toward “measured practice.” I use a series of drills that mimic the progression used in trade schools. These drills focus on hand-eye coordination and the ability to maintain a straight path over long distances.
- The Straight-Line Tracking Drill: Take a scrap piece of 1/4-inch plate. Scribe five parallel lines exactly one inch apart. Practice cutting along these lines with an angle grinder. Use a digital caliper to measure the distance from the edge at the start, middle, and end of the cut. Your goal is a variance of less than 1/32 of an inch.
- The Square Tube Perimeter Drill: Use a piece of 2×2 square tubing. Mark a square line around all four sides. Cut only one side at a time, rotating the tube 90 degrees after each cut. This forces you to realign the blade with your previous kerf, building the muscle memory needed for thick structural members.
- The Timed Feed-Rate Exercise: Set a stopwatch and cut a 6-inch section of flat bar. Try to hit exactly 10 IPM. Repeat this until you can “feel” the speed without looking at the clock.
By logging these sessions, you can see your improvement objectively. I suggest keeping a simple notebook in your shop. Record the tool used, the material thickness, and a “quality score” from 1 to 10 based on how square the cut is.
Troubleshooting Common Cutting Defects
Even with the right stance, things can go wrong. Understanding why a cut failed is the only way to prevent it from happening again. Most issues in DIY steel cutting stem from either tool deflection or improper workholding.
If your cut is “wandering” (meaning it starts straight but ends at an angle), your blade is likely dull or you are applying uneven side pressure. In a band saw, this often happens because the blade guides are too far apart. Always move the guides as close to the workpiece as possible. If you are using an abrasive wheel, check if the disc is “dished” or bent. A bent disc will never cut straight, no matter how steady your hand is.
Another common issue is “chatter.” This is the vibration you feel when the metal isn’t clamped tightly enough. If the steel can move even a hair, the blade will bounce instead of bite. This creates a wavy, serrated edge that is difficult to clean up. Use at least two points of contact for your clamps whenever possible.
Actionable Tracking Framework: The Fabrication Progress Log
To reach a professional grade, you need to treat your shop time like an athlete treats training. Below is a template I use to help students track their consistency. Use this for at least twenty cuts, and you will start to see patterns in your errors.
- Date and Material: (e.g., Oct 12, 3″ x 3″ x 1/4″ Angle Iron)
- Tool Setup: (e.g., Portable Band Saw, 14 TPI Blade, Guide set at 3.5″)
- Measurement Check: (Measure the cut at four points using a square. Note the gap in fractions of an inch.)
- Edge Quality Assessment: (Scale 1-5: 1 = Heavy burr/blue metal, 5 = Mirror finish/no burr.)
- Physical Notes: (e.g., “Felt a bit of tension in my shoulder halfway through,” or “Moved too fast at the end.”)
This level of detail might seem excessive, but it is how you identify that you always tend to lean to the left, or that you consistently speed up when you get close to finishing a cut. Identifying these “micro-habits” is the key to mastering torch and tool control.
Conclusion: The Path to Consistent Results
Mastering the art of separating structural steel is a journey of thousands of small adjustments. It is not about having the most expensive saw in the world; it is about how you interface with the tool you have. By focusing on your tripod stance, using precise scribed lines, and tracking your feed rates, you remove the guesswork from your fabrication.
I often tell my students that the best fabricators are the ones who are most honest with their mistakes. Don’t just grind away a bad cut and forget it. Measure it, log it, and ask yourself why it happened. Was your travel angle off? Did you lose your footing? As you build this awareness, you will find that the “shaky hands” disappear, replaced by the steady, rhythmic confidence of a seasoned tradesman. Your next project starts with the first cut—make sure it’s a straight one.
Frequently Asked Questions
Why does my abrasive cutoff wheel always seem to “curve” during a deep cut?
This is usually caused by “blade lead” or deflection. Abrasive discs are flexible; if you apply too much downward pressure or if the disc hits a harder spot in the metal, it will flex to the side of least resistance. To fix this, reduce your pressure and let the abrasive grains do the work. Also, ensure your workpiece is perfectly perpendicular to the blade before starting.
How do I prevent the edges of my steel from turning blue?
The blue color is an indication of “heat tint,” which happens when the steel exceeds 500-600 degrees Fahrenheit. This is caused by excessive friction. To prevent this, increase your feed rate (move faster) or use a lubricant like wax or cutting oil. If you are using an angle grinder, try using a thinner “zip disc” (1/16″ or 1/32″) to reduce the amount of friction-generating surface area.
What is the best way to cut a 45-degree miter on large square tubing?
The most reliable DIY method is to use a “wrap-around” or a paper template to mark all four sides of the tube. Use a high-quality speed square to verify the angle on the top and side faces. When cutting, start on a corner rather than a flat face; this allows the teeth of the blade to engage more effectively and reduces the chance of the blade “skipping” across the surface.
How often should I change my band saw blade for structural steel?
You should change the blade as soon as you notice the feed rate slowing down for the same amount of pressure, or if the cut starts to wander consistently. A dull blade generates more heat and requires more force, which compromises safety and accuracy. For structural mild steel, a bi-metal blade with 10-14 teeth per inch (TPI) is a versatile choice that lasts a long time if handled correctly.
Can I use a regular circular saw to cut structural steel?
You can, but only if you use a dedicated metal-cutting blade (carbide-tipped) and the saw is rated for the lower RPMs required for metal. A standard wood-cutting saw spins much too fast, which will cause the carbide tips to shatter or the blade to overheat instantly. Always check the RPM rating on the blade and match it to your saw.
Why is my layout line disappearing during the cut?
Friction heat and metal dust often obscure soapstone or marker lines. To prevent this, use a carbide scriber to “etch” the line into the metal. You can also center-punch small indentations every half-inch along your line. These physical marks won’t rub off and provide a tactile guide you can see even through the dust.
What is the “kerf,” and why does it matter for my measurements?
The kerf is the width of the material that is turned into dust or chips by the cutting tool. For an abrasive wheel, this is usually about 3/32″ to 1/8″. If you mark your steel at 12 inches and cut directly on the line, your finished piece will be 11-7/8 inches long. Always align your blade so that the kerf falls on the “waste” side of your layout line.
How do I remove heavy burrs without ruining the squareness of my cut?
Use a flap disc (60 or 80 grit) on an angle grinder, holding it at a shallow 15-degree angle to the edge. Do not grind the face of the cut; only grind the sharp “lip” created by the exit of the blade. For internal edges of tubing, a handheld deburring tool or a half-round file is more precise and prevents over-grinding.
(This article was written by one of our staff writers, Thomas Langley. Visit our Meet the Team page to learn more about the author and their expertise.)