How to Build a Multi-Spool Electrical Wire Rack (DIY Guide)
I have spent the better part of two decades in the company of cast iron, gear oil, and the persistent scent of PB Blaster. My workshop is a sanctuary for machines that others have left to rot—pre-war lathes, heavy-duty drill presses, and industrial bandsaws that were built when “planned obsolescence” wasn’t yet a concept. Over the last 18 years, I have restored more than 40 pieces of machinery, and I’ve learned that the mechanical restoration is only half the battle. Once the ways are scraped and the bearings are poured, the electrical system usually demands a total overhaul.
Old wiring is a hazard. I have opened motor junction boxes on 1940s mills only to find cloth insulation that crumbles like a dry leaf at the slightest touch. To bring these giants back to life safely, I find myself pulling miles of new conductor. However, there is nothing more frustrating than wrestling with tangled spools of 12-gauge wire while trying to wire a drum switch. To solve this, I realized I needed a dedicated system for organizing and dispensing my electrical conductors. Fabricating a custom, heavy-duty frame to hold multiple reels of wire has become one of the most practical shop upgrades I’ve ever completed.
Designing a Rigid Support Frame for Shop-Made Wire Management
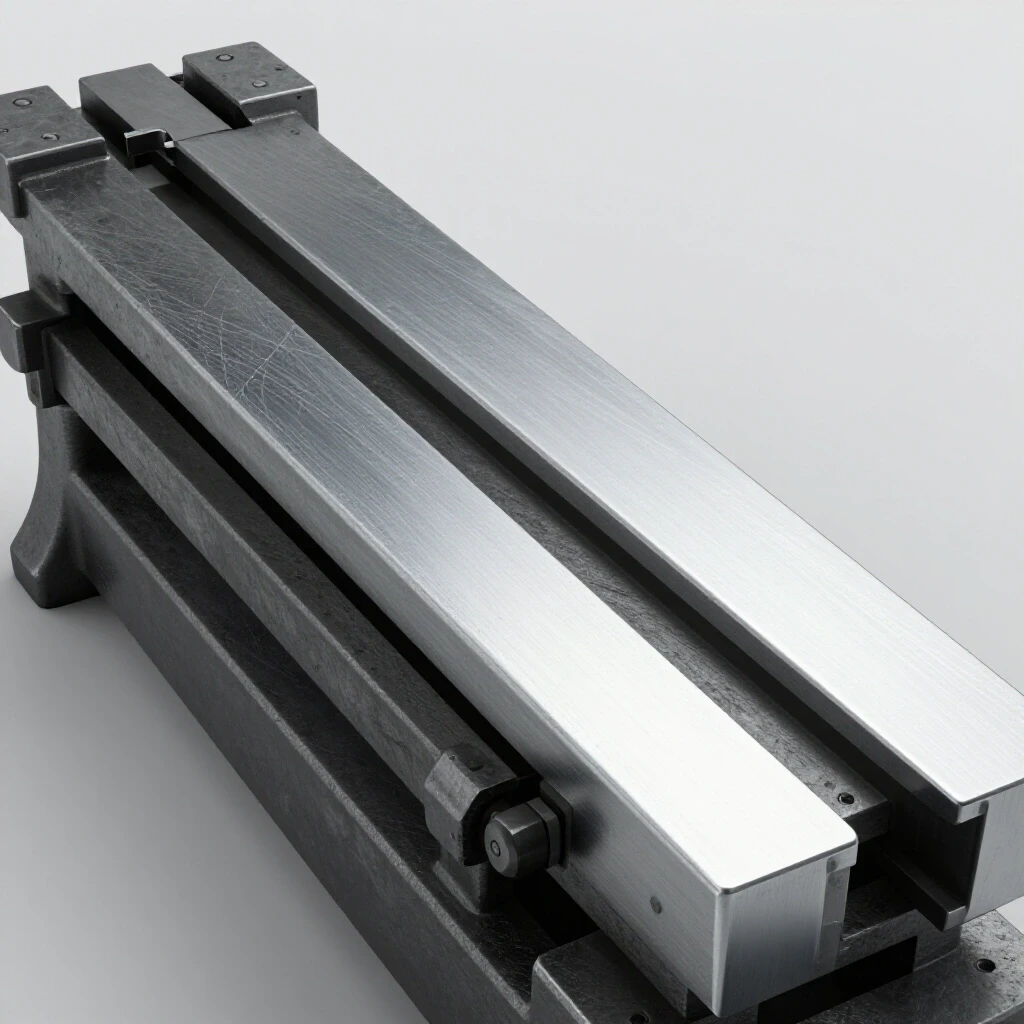
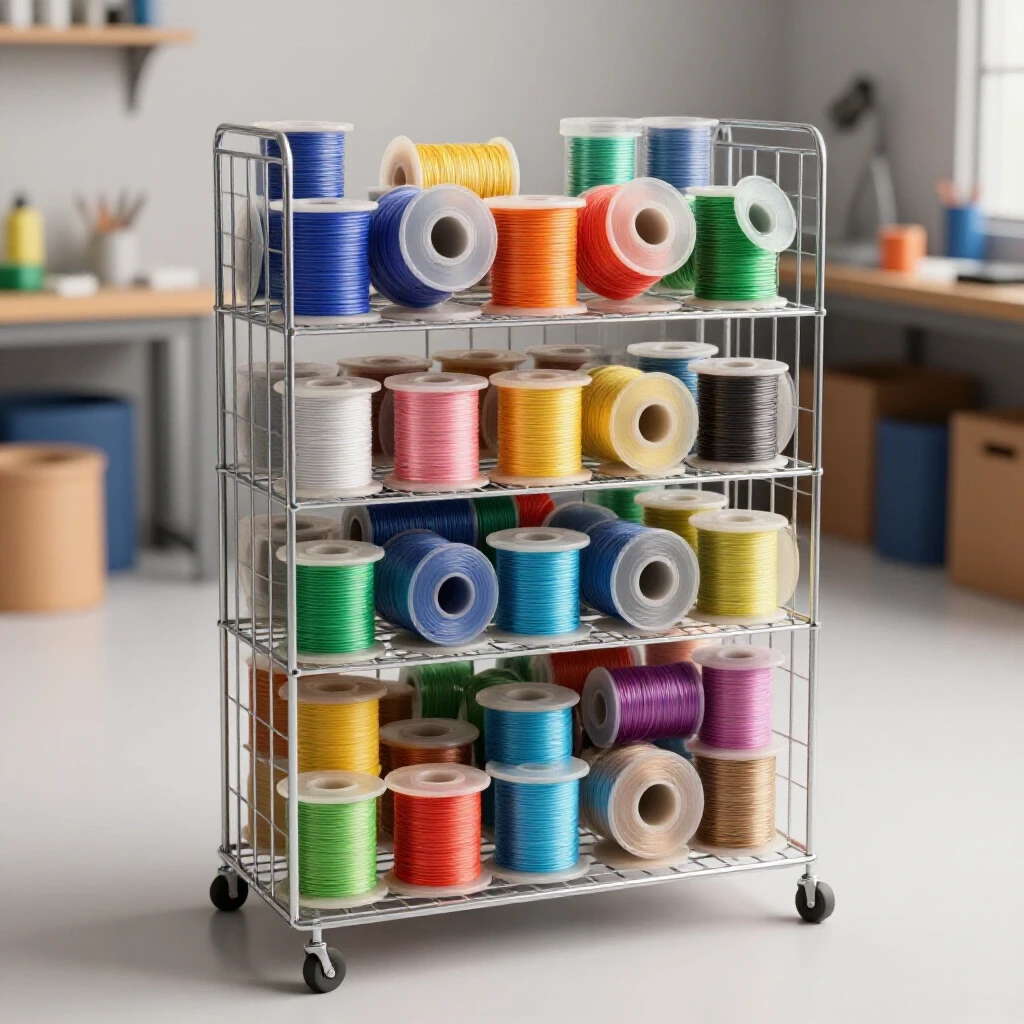
A shop-made wire management system is a structural frame designed to hold several reels of electrical wire, allowing them to spin freely for easy dispensing. It typically utilizes steel tubing or angle iron to provide a stable, wall-mounted or bench-top solution for keeping various wire gauges organized and accessible during machine rewiring projects.
When I decided to build my own cable dispensing station, I knew it had to be overbuilt. Most commercial options are made of thin-gauge plastic or flimsy stamped steel. For a restorer dealing with heavy machine vibrations and the weight of 500-foot spools of THHN wire, those simply won’t do. I opted for 1-inch square steel tubing with a 1/8-inch wall thickness. This provides the rigidity needed to prevent the frame from sagging under the weight of four to eight full spools.
I began by measuring the largest spools I typically use. A standard 500-foot spool of 12AWG wire is roughly 6.5 inches in diameter and about 5 inches wide. To ensure the frame was versatile, I planned for a width that could accommodate six of these spools side-by-side. This required a horizontal span of about 32 inches, allowing for a little “breathing room” between the reels so they don’t rub against each other and create friction.
Material Selection and Load Requirements
Choosing the right materials is the first step in ensuring your shop-built organizer doesn’t fail when fully loaded. A full spool of copper wire is surprisingly heavy. If you plan to hold eight spools, you are looking at a combined weight that can easily exceed 60 pounds.
| Material Type | Pros | Cons | Best Use |
|---|---|---|---|
| 1″ Square Tubing (1/8″ wall) | High torsional rigidity, easy to weld | Requires a saw for clean miters | Main vertical and horizontal frame |
| 1.5″ Angle Iron (3/16″ thick) | Very easy to drill, high load capacity | Heavier, sharp edges if not deburred | Mounting brackets and base |
| 1/2″ Cold Rolled Steel Rod | High shear strength, smooth surface | Can be expensive | Axles for the spools |
| 3/4″ EMT Conduit | Cheap, lightweight | Can bend under heavy loads | Light-duty or small spools |
For my build, I used square tubing for the main uprights and angle iron for the wall-mounting tabs. I’ve found that angle iron is much easier to secure to wall studs because it provides a flat surface for lag bolts.
Precision Layout and Cutting for the Support Structure
Layout and cutting involve the careful measurement and preparation of metal stock to ensure all components fit together squarely. This stage requires marking the steel with a scribe or soapstone and using a cold saw or abrasive chop saw to create clean, accurate joints for welding or bolting.
In the world of machine restoration, we often talk about “factory tolerances.” While a wire rack doesn’t need to be accurate to a thousandth of an inch, a sloppy layout will lead to a rack that sits crooked on the wall. I always start by cleaning my steel stock with a degreaser. Most new steel comes coated in a light oil to prevent rust, which will ruin a good weld.
I used a speed square and a carbide-tipped scribe to mark my 45-degree miter cuts for the corners. Mitering the corners of the square tubing creates a much cleaner look and prevents the “open ends” that tend to collect dust and spider webs. If you don’t have a welder, you can use “butt joints” and secure them with heavy-duty corner braces and Grade 5 bolts, but welding provides a much more permanent and vibration-resistant connection.
Steps for an Accurate Frame Layout
- Scribe your cut lines: Use a machinist’s square to ensure your lines are perfectly perpendicular to the tubing.
- Miter the corners: Cut your vertical and horizontal pieces at 45-degree angles.
- Deburr every edge: After cutting, use a flapper disc on an angle grinder or a hand file to remove the sharp burrs. This is a safety step you shouldn’t skip.
- Dry fit the assembly: Lay the pieces out on a flat welding table or a clean concrete floor to check for squareness before you strike an arc.
Interestingly, I’ve found that using a magnetic welding square is indispensable during this phase. It holds the pieces at a perfect 90-degree angle, allowing me to tack weld the corners without the metal “pulling” as it heats up.
Fabricating the Axle Support System
The axle support system consists of the holes or notches in the frame that hold the rods on which the wire spools rotate. This part of the build must be designed for easy removal, allowing the restorer to swap out empty spools or change wire types without disassembling the entire rack.
The heart of any reel-holding system is the axle. For my rack, I chose 1/2-inch cold-rolled steel rods. Cold-rolled steel is preferable over hot-rolled because it has a smoother finish and more consistent diameter, which means the spools will spin with less resistance. I decided on a “drop-in” design rather than threading the rod through holes.
To do this, I drilled 5/8-inch holes through the front face of the vertical square tubing. Then, using an angle grinder with a thin cutoff wheel, I cut a slot from the top of the tubing down into the hole. This created a “J-slot” or a simple notch where the axle rod can sit securely but can be lifted out in seconds.
Ensuring Smooth Rotation and Spool Retention
If the axle rod is too thin, it will bow in the middle. A 1/2-inch rod is plenty for a 32-inch span, but if you are building a wider rack, you might want to step up to a 5/8-inch or 3/4-inch rod. To keep the spools from sliding side-to-side, I used simple shaft collars with set screws. These allow me to lock the spools in place so they stay centered.
Another trick I learned from restoring old lathes is the importance of “thrust” management. If a spool spins too freely, it will continue to rotate after you stop pulling wire, creating a “birds-nest” of tangled copper. I added a simple friction washer made of a scrap piece of leather between the spool and the frame. This provides just enough drag to stop the spool the moment I stop pulling.
Welding and Structural Assembly
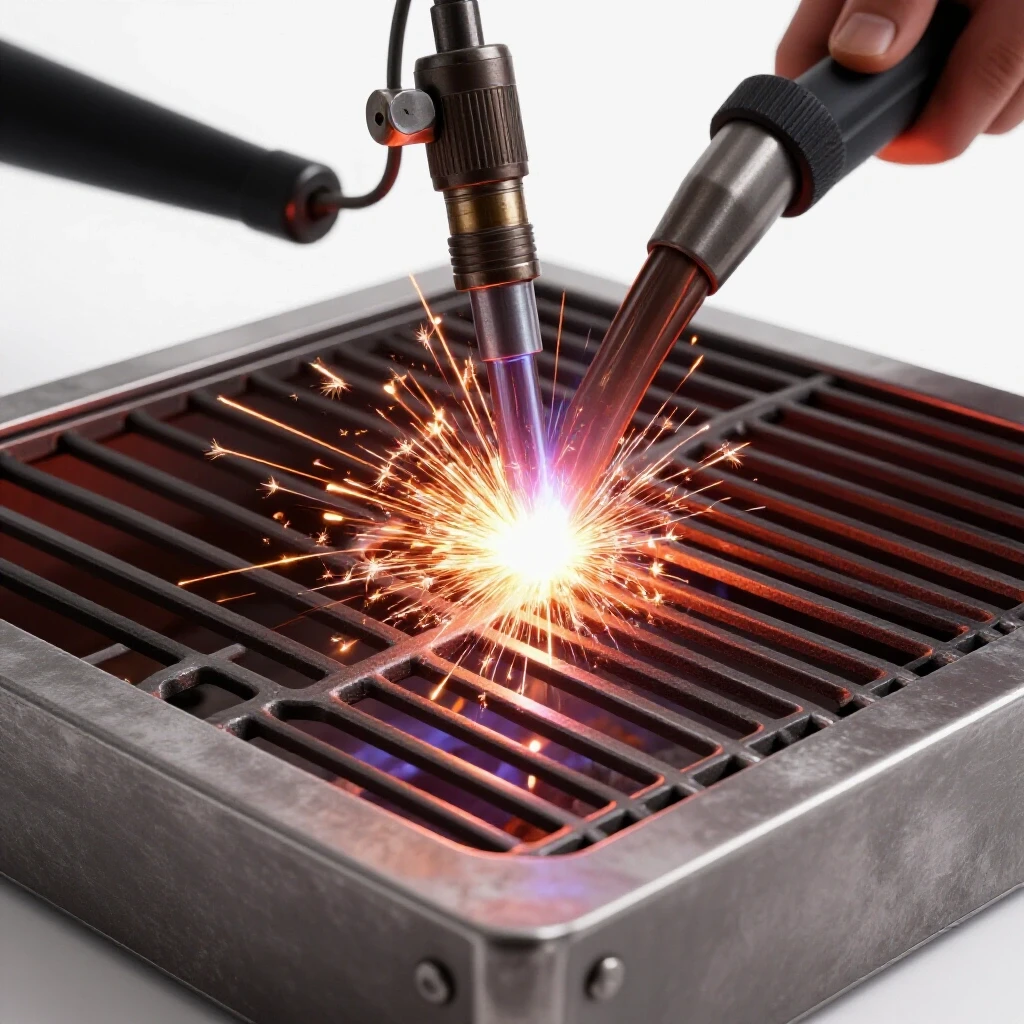
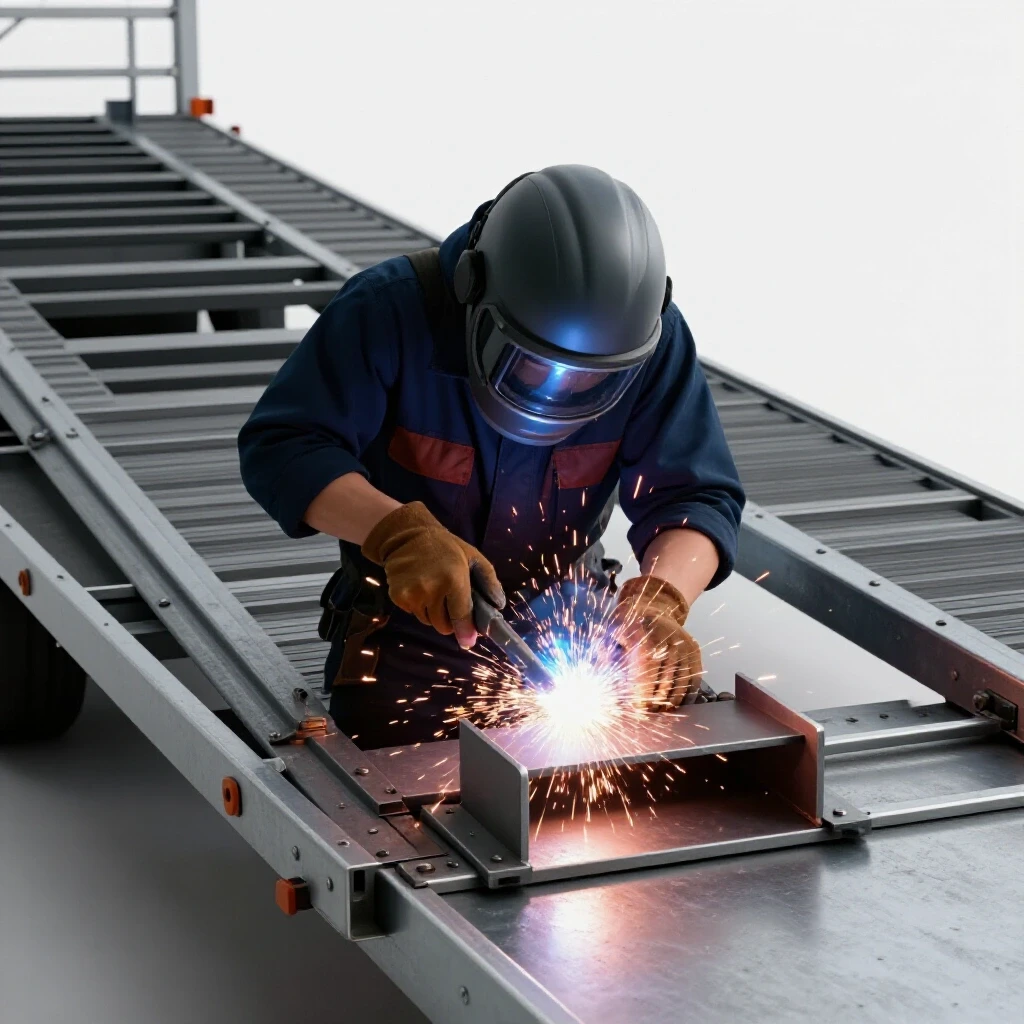
Welding and structural assembly is the process of permanently joining the metal components using heat and filler metal. For a shop project like this, MIG (Metal Inert Gas) welding is often the most efficient method, providing strong, clean beads that can withstand the weight and tension of the wire reels.
As I moved to the welding bench, I thought about the many times I’ve had to repair cracked castings on old machinery. Welding new structural steel is a joy by comparison. I set my MIG welder for 1/8-inch steel and focused on getting good penetration at the corners.
I prefer to “tack” all four corners of the frame first. If you weld one joint completely before tacking the others, the heat will cause the frame to warp, and you’ll end up with a trapezoid instead of a rectangle. Once the frame was tacked and verified square with a framing square, I laid down my final beads.
Post-Weld Cleanup and Finishing
After the welding was complete, I used a 60-grit flapper disc to grind the welds flush. This isn’t strictly necessary for strength, but it makes the final product look like a professional piece of equipment. In my 18 years of restoration, I’ve learned that a tool that looks good is a tool you’ll enjoy using.
- Grind welds: Remove any spatter or high spots.
- Degrease again: Use acetone or mineral spirits to remove any remaining oils or welding soot.
- Prime the metal: Use a high-quality self-etching primer. This is crucial for bare steel to prevent the “flash rust” that plagues many workshops.
- Topcoat: I usually paint my shop fixtures in “Machine Tool Gray” or “Vista Green” to match my vintage lathes and presses.
Mounting the Rack for Maximum Stability
Mounting refers to the process of securely attaching the completed wire dispenser to a permanent structure, such as a wall or a workbench. This step is critical for safety, as it ensures the rack can handle the leverage exerted when pulling wire without pulling away from its anchors.
A fully loaded wire rack is a heavy object, and when you pull on the wire, you are applying leverage that wants to rip the rack off the wall. I’ve seen people try to mount these with simple drywall screws; that is a recipe for a trip to the emergency room.
I used 3-inch long, 5/16-inch diameter lag bolts to secure my rack into the center of the wall studs. If you are mounting to a masonry wall, use high-quality sleeve anchors or Tapcon bolts. I also made sure to mount the rack at “chest height.” This makes it easy to see how much wire is left on each spool and prevents me from having to bend over or reach too high while I’m in the middle of a complex wiring job.
Weight Distribution and Safety Metrics
| Number of Spools | Estimated Weight (lbs) | Recommended Fastener |
|---|---|---|
| 1–3 | 15–25 lbs | 1/4″ Lag Bolts (2) |
| 4–6 | 30–50 lbs | 5/16″ Lag Bolts (4) |
| 7–10+ | 60–100+ lbs | 3/8″ Lag Bolts or Through-Bolts |
Building this organizer was a weekend project that has saved me countless hours of frustration. When I was restoring my 1952 Kearney & Trecker milling machine, I had to replace every single wire in the control cabinet. Having my 10AWG, 12AWG, and 14AWG wires all lined up and ready to pull made the job feel like a professional operation rather than a disorganized struggle.
Integrating the Wire Station into Your Restoration Workflow
Integration into the workflow means positioning and using the wire rack in a way that complements the specific needs of a machinery restoration project. This involves organizing wire by gauge and color to match the original manufacturer’s specifications or modern safety standards.
When you are deep into a machine rescue, your focus should be on the technical details—like ensuring your babbitt bearings are properly clearanced or that your motor leads are correctly phased. You shouldn’t be hunting for a spool of green ground wire that rolled under your workbench.
I organize my rack by gauge: the top row holds my heavy 10-gauge and 12-gauge wires for power leads, while the bottom row holds 14-gauge and 16-gauge for control circuits. I also keep a spool of heat-shrink tubing on one end of the axle. This systematic approach mirrors the way I organize my fasteners and specialized tools.
Lessons from 18 Years of Shop Upgrades
One mistake I made early on was building a rack out of wood. Over time, the heavy spools wore grooves into the wooden dowels I used as axles. This increased the friction so much that the wire would snap before the spool would turn. Switching to a steel frame and cold-rolled axles solved this permanently.
Another tip: always leave one “blank” spot on your axle. You never know when you’ll pick up a specialty spool of shielded cable or multi-conductor wire for a specific machine’s limit switches. Having that extra space means you won’t have to build a whole new rack for one project.
Maintenance and Long-Term Durability
Maintenance for a shop-built wire dispenser involves periodic checks for structural integrity, lubrication of the axle rods, and ensuring that the mounting hardware remains tight. Proper care ensures the rack remains a reliable part of the workshop infrastructure for decades.
Because my shop isn’t climate-controlled, rust is a constant enemy. Every six months, I pull the axle rods and give them a quick wipe with a rag soaked in light machine oil. This keeps the rods slick and prevents the spools from “chattering” as they spin.
I also check the lag bolts once a year. The wood in shop walls can shrink and swell with the seasons, which can sometimes loosen the grip of a lag bolt. A quick turn with a socket wrench ensures everything stays rock solid. This is the same philosophy I apply to my machine tools—preventative maintenance is always cheaper and easier than a major repair.
- Inspect welds: Look for any signs of stress cracking, especially if you’ve added more weight than originally planned.
- Lube the axles: Use a dry PTFE spray or a light oil to keep things spinning.
- Check the “drag”: Ensure your friction washers are still doing their job so you don’t get wire overruns.
Conclusion: The Value of Shop-Built Infrastructure
Building your own shop equipment is a core skill for any serious machinery restorer. It’s about more than just saving money; it’s about creating a workspace that is as high-quality as the vintage tools you are bringing back to life. This wire management frame is a perfect example of that. It’s sturdy, functional, and built to last as long as the 1930s drill press sitting across from it.
By following a methodical approach—selecting the right steel, ensuring accurate miter cuts, and mounting the assembly securely—you create a tool that removes one of the most common “pain points” of machine electrical work. It allows you to focus your energy where it belongs: on the precision and history of the machines themselves.
Frequently Asked Questions
What is the best height to mount a wire dispensing rack?
I recommend mounting the rack so the axles are at chest height, typically between 48 and 54 inches from the floor. This allows you to easily see the labels on the spools and pull wire horizontally, which reduces the risk of the rack pulling away from the wall compared to pulling at an upward or downward angle.
Can I use PVC pipe for the axles instead of steel?
While PVC is tempting because it is cheap and easy to cut, I don’t recommend it for heavy spools. Over time, the weight of the copper wire will cause the PVC to “creep” or sag permanently. This makes the spools difficult to turn. Stick with 1/2-inch steel rod for a rack that will last.
How do I prevent the wire from unspooling too fast?
This is a common issue called “overrun.” The best solution is to create a small amount of friction. You can place a leather or rubber washer between the spool and the frame, or use a spring-loaded collar on the axle to gently press the spool against the upright. This acts as a simple brake.
Is it better to weld or bolt the frame together?
Welding is superior for a shop environment because it creates a single, rigid unit that won’t loosen over time due to vibration. However, if you don’t have a welder, you can use heavy-duty steel “L” brackets and Grade 5 bolts. Just be sure to use lock washers or Nyloc nuts to prevent them from vibrating loose.
How many spools should I plan for?
For a standard machine restoration shop, a six-spool rack is usually the “sweet spot.” This allows you to hold black, red, white, and green in 12AWG, plus two extra spots for 14AWG or specialty wire like SOOW cord.
What should I do if my axle rod starts to rust?
If you notice surface rust, remove the spools and rub the rod with 0000 steel wool and some penetrating oil. Once clean, apply a thin coat of paste wax or a dry lubricant. Avoid heavy grease, as it will attract shop dust and turn into a “grinding paste” that can damage your wire spools.
Can I mount this rack to the side of a wooden workbench?
Yes, as long as the workbench is heavy and stable. If the bench is light, pulling on the wire might cause the bench to slide or tip. If mounting to a bench, use through-bolts with large fender washers on the inside of the wood to distribute the load.
What gauge of steel is best for the frame?
I find that 1/8-inch (11-gauge) wall thickness is the best balance between strength and weight. It is thick enough to get a very strong weld without blowing through the metal, but not so heavy that the rack becomes impossible to mount by yourself.
How do I keep the spools from sliding into each other?
The most effective way is to use 1/2-inch shaft collars. These slide onto the axle and lock in place with a set screw. You can place one on each side of a spool to keep it perfectly centered in its “lane” on the rack.
Should I build a vertical or horizontal rack?
Horizontal racks (where spools are side-by-side) are generally better for wall mounting because they distribute the weight across multiple wall studs. Vertical racks (where spools are stacked) take up less horizontal wall space but put a massive amount of stress on a single stud, which can be a safety concern.
(This article was written by one of our staff writers, Richard Beaumont. Visit our Meet the Team page to learn more about the author and their expertise.)