How to Weld a Heavy Duty Adjustable Trailer Jack Stand (Fix)
I have spent nearly two decades in workshops surrounded by the smell of gear oil and the orange glow of a welding arc. Over the last 18 years, I have restored more than 40 pieces of metalworking equipment, from pre-war lathes to heavy-duty shop fixtures. One thing I have learned is that a restoration project is only as safe as the equipment supporting it. When you are working under a three-ton cast-iron milling machine, you need a support system that will not fail. Fabricating a reinforced adjustable trailer support is often the first step in a larger machine rescue, ensuring that heavy components remain stable while you work.
The process of building or repairing these heavy-duty supports requires a blend of structural engineering and patient metalworking. It is not just about sticking two pieces of metal together; it is about understanding how loads transfer through a weld and ensuring that mechanical adjustments remain smooth under pressure. In my experience, the most common failure points in salvaged shop gear are poor weld penetration and seized adjustment threads. By applying the same precision we use for machine bedways to our structural supports, we can create tools that last another lifetime.
Assessing Structural Integrity in Heavy-Gauge Steel Stock
Evaluating the metallurgical health and load-bearing capacity of raw steel or salvaged components before fabrication is the foundation of a safe build. It involves inspecting for internal fatigue, measuring wall thickness against original specifications, and identifying any hidden corrosion that could compromise the strength of the final weldment.
When I begin a project involving a reinforced adjustable trailer support, I start with a thorough material assessment. If you are using salvaged square tubing, you must check for “hidden” rust inside the tube. I often use a small borescope to look for pitting on the interior walls. For a heavy-duty stand intended to support vintage machinery, I never use anything thinner than 1/4-inch wall structural steel. Thinner materials may hold the weight initially but can buckle under the lateral forces generated when you are hammering on a seized shaft nearby.
I recall a project where I was restoring an abandoned 1940s radial arm drill. The machine weighed over 4,000 pounds, and I needed a custom stand to support the overhanging arm during disassembly. I found some 4-inch square tubing in a scrap yard, but upon closer inspection, the wall thickness varied by nearly 0.050 inches due to internal scaling. I rejected that material immediately. In our world, “good enough” is a recipe for a workshop accident. Always verify your stock with a set of calipers before you strike an arc.
Steel Selection and Load Capacity Benchmarks
| Material Type | Wall Thickness | Recommended Use | Load Rating (Approx.) |
|---|---|---|---|
| A36 Square Tube | 3/16 inch | Light shop stands, small bandsaws | 2,000 lbs |
| A36 Square Tube | 1/4 inch | Heavy lathe supports, trailer jacks | 5,000 lbs |
| Schedule 80 Pipe | 0.300 inch | High-pressure vertical supports | 7,500 lbs |
| Cold Rolled Plate | 1/2 inch | Base plates and gusseting | N/A (Structural) |
Managing Seized Mechanical Components in Vintage Assemblies
The systematic process of freeing metal parts that have fused due to oxidation involves using heat, chemistry, and patience without damaging the base material. This phase is critical when repairing an existing adjustable stand where the internal screw or pinning mechanism has become a solid block of rust.
One of the biggest frustrations in restoring older workshop gear is dealing with “frozen” threads. When building a heavy-duty jack stand from plate and tube, you might be incorporating an old ACME thread screw from a donor machine. If that screw is seized, do not reach for the biggest pipe wrench in the shop. I have seen too many vintage castings crack because a restorer applied too much torque. Instead, I rely on a mixture of 50/50 acetone and automatic transmission fluid (ATF). This home-brewed penetrant often outperforms commercial sprays on deep-seated rust.
Interestingly, thermal expansion is your best friend here. I use an induction heater or a TIG torch to apply localized heat to the outer nut or sleeve. The goal is to expand the outer part just enough to break the bond of the iron oxide. Once you get even a fraction of a millimeter of movement, stop and apply more penetrant. It is a slow dance, but it preserves the original thread profile, which is essential if you are dealing with obsolete thread patterns that cannot be easily replaced.
Fabricating a Reinforced Adjustable Trailer Support Through Welding
The technical execution of joining heavy-gauge tube and plate using arc welding processes creates a structurally sound, height-adjustable workshop tool. This involves selecting the correct welding process, preparing the joints for deep penetration, and following a specific sequence to prevent warping and misalignment.
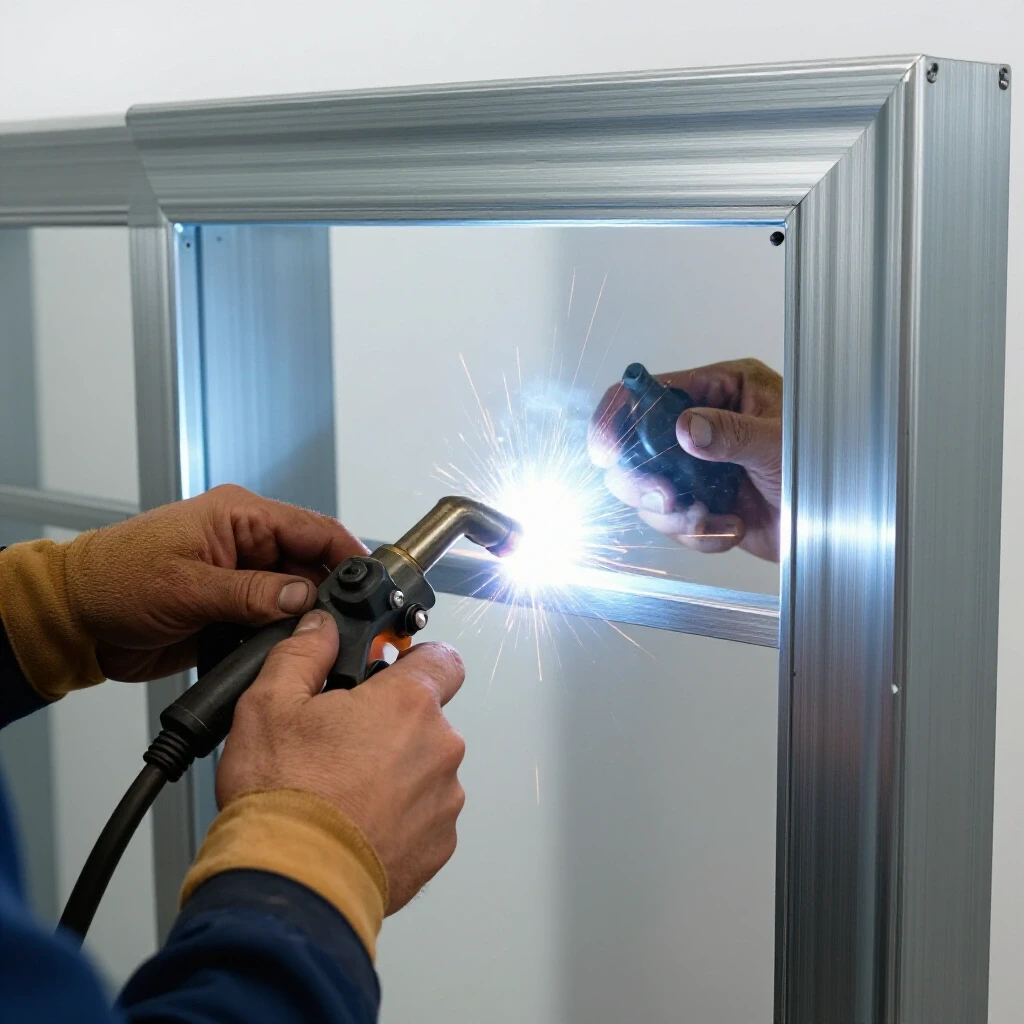
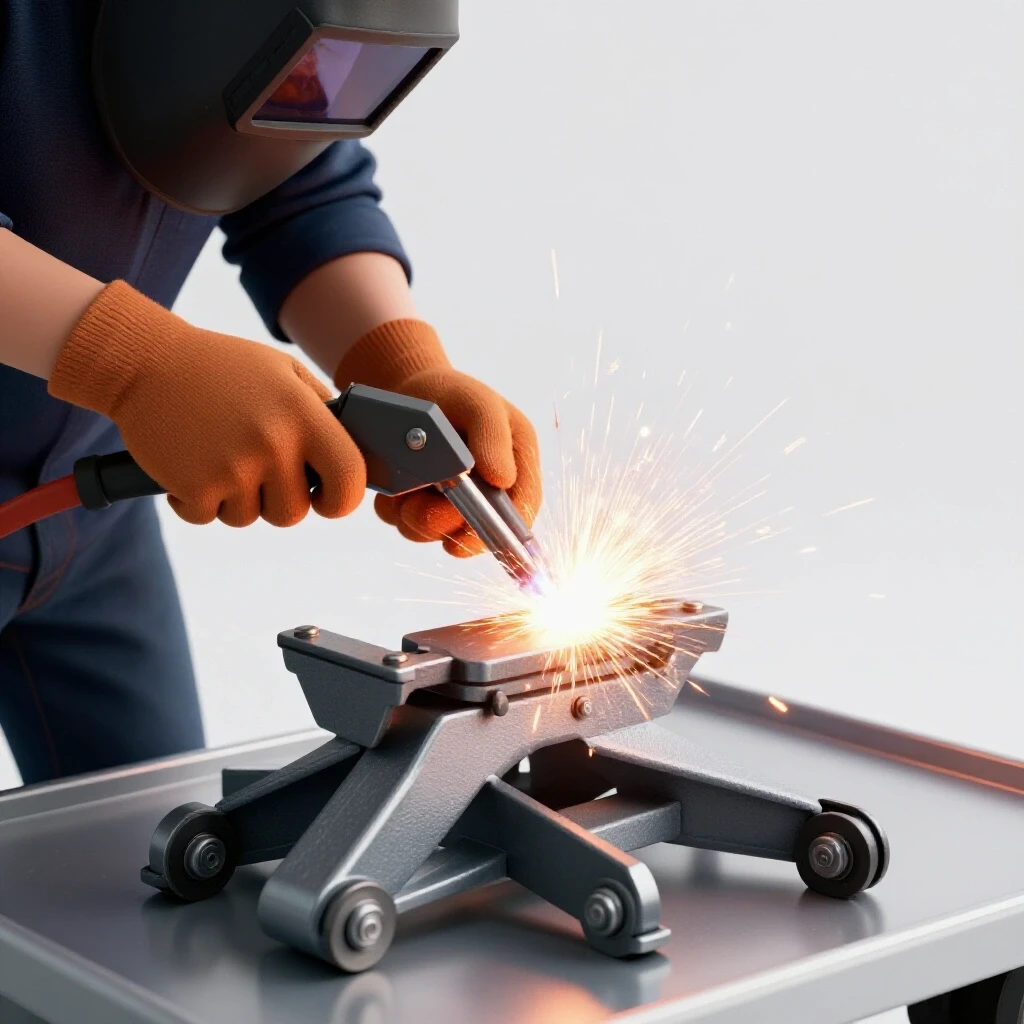
For load-bearing shop equipment, I prefer the Shielded Metal Arc Welding (SMAW) process, commonly known as stick welding. Using an E7018 low-hydrogen electrode provides a weld with excellent ductility and strength, which is vital for a support stand that might see sudden “shock” loads. When I am building a heavy-duty jack stand from plate and tube, I always grind a 30-degree bevel on any material thicker than 1/4 inch. This “V-groove” allows the weld bead to penetrate the full thickness of the metal, ensuring the joint is as strong as the base material itself.
Weld Sequence and Heat Management
- Tack Welding: Place small tacks at all four corners of the tube-to-plate joint to hold the assembly square.
- Root Pass: Run a deep, slow bead at the bottom of the V-groove to fuse the two pieces together.
- Filler Passes: Build up the weld to the surface of the metal, ensuring each layer is cleaned of slag.
- Gusseting: Weld 1/4-inch triangular gussets to the corners of the base plate to prevent the vertical tube from “leaning” under heavy lateral pressure.
I once worked on a trailer stand that had failed at the original factory weld. The manufacturer had used a high-speed MIG process that looked pretty on the surface but had almost zero penetration into the base metal. It had “cold lapped,” meaning the weld metal just sat on top of the steel like a piece of gum. By grinding out the old weld and using a multi-pass stick welding technique, I was able to make the stand significantly stronger than the day it was built.
Machining and Sourcing Obsolete Threaded Mechanisms
Locating or fabricating the mechanical adjustment components for a support stand requires an understanding of thread pitches and load-bearing screw designs. This section covers how to identify vintage ACME threads and how to ensure the adjustment mechanism can handle the weight of heavy machinery.
Many heavy-duty stands use an ACME thread because of its square profile, which is much better at resisting “stripping” under heavy loads than standard V-threads. If you are repairing a stand and the screw is damaged, you may find that the thread pitch is an obsolete standard from 50 or 60 years ago. In my shop, I keep a library of vintage machinery manuals and thread pitch gauges to identify these “ghost” parts. If the screw is beyond repair, I often source new ACME rod and weld a custom nut housing into the top of my fabricated tube.
When fitting a new threaded rod into a support stand, the tolerance is key. You want enough clearance for the screw to turn easily, but not so much that the stand feels “sloppy.” A clearance of 0.005 to 0.010 inches is usually ideal for a shop stand. This allows for a thick layer of grease to protect the threads from dust and metal shavings while maintaining a solid feel.
Precision Alignment and Fit-up for Load-Bearing Structures
Ensuring all components are perfectly perpendicular and concentric prevents side-loading and premature failure under heavy weight. This involves using precision levels, squares, and specific clamping techniques to keep the assembly from pulling out of alignment during the welding process.
Precision is not just for the lathe bed; it matters for the stands that hold the lathe, too. If a reinforced adjustable trailer support is not perfectly square, the load will not be centered. This creates a “moment arm” that tries to tip the stand over. I use a machinist’s square and a digital level to ensure my vertical tube is at exactly 90 degrees to the base plate. Even a 1-degree tilt can significantly reduce the safe working load of the stand.
Building on this, I always weld in “stiches.” Instead of running one long bead all the way around the tube, I weld two inches on one side, then move to the opposite side. This balances the heat and prevents the cooling weld from pulling the metal out of alignment. If you have ever welded a base plate only to find it has “potato-chipped” and no longer sits flat on the floor, you know exactly why heat management is vital.
Final Load Testing and Safety Verification
The final phase of fabrication involves a controlled test of the stand’s capacity and a check of all mechanical functions to ensure the tool is ready for workshop service. This step confirms that the welds are sound and the adjustment mechanism operates correctly under a realistic load.
Once the welding is complete and the metal has cooled naturally (never quench a structural weld in water, as it can make the steel brittle), it is time for a load test. I never put a newly fabricated stand under a machine immediately. I start with a “static” test, using a hydraulic press or a known heavy weight to apply 1.5 times the intended working load. During this test, I look for any signs of weld cracking or tube deflection.
I also check the adjustment mechanism while under a light load. The screw should turn smoothly without binding. If it catches, it usually means the threaded nut was not welded perfectly concentric to the tube. In the world of vintage machinery restoration, your safety depends on the integrity of your tools. Taking the extra hour to test your work can prevent a catastrophic failure later.
Restoration Safety Checklist
- Visual Inspection: Check for undercut or porosity in all weld beads.
- Squareness Check: Ensure the top plate is parallel to the base plate within 1/16 of an inch.
- Thread Lubrication: Apply a heavy-duty molybdenum disulfide grease to the adjustment screw.
- Base Stability: Verify the stand does not rock on a flat concrete floor; grind the base plate high spots if necessary.
- Pin Security: If using a pinned adjustment, ensure the pin is made of Grade 8 steel and fits snugly through both tubes.
Frequently Asked Questions
What is the best welding rod for repairing a heavy-duty shop stand?
For most structural steel repairs on workshop equipment, the E7018 rod is the gold standard. It provides a strong, ductile weld that can handle the vibrations and stresses of a busy shop. If you are welding thinner sections or do not have a dry oven for your 7018 rods, a 6011 or 6013 can work, but they do not offer the same structural integrity for heavy load-bearing joints.
How do I know if a salvaged piece of steel is strong enough?
Always check the wall thickness. For any stand supporting more than 1,000 pounds, I recommend a minimum of 3/16-inch wall thickness, though 1/4-inch is much safer. You can also look for “ASTM A36” markings, which indicate standard structural-grade carbon steel. If the steel is heavily pitted from rust, assume it has lost at least 20% of its original strength.
Why does my adjustment screw bind even after I cleaned the threads?
Binding is usually caused by one of two things: misalignment or thread deformation. If the nut was welded into the tube slightly crooked, the screw will bind as it goes deeper. Alternatively, if the stand was ever overloaded, the threads may have “stretched,” changing the pitch slightly. In these cases, it is often best to cut out the old nut and weld in a new one using a jig to keep it centered.
Can I use a MIG welder for these heavy-duty repairs?
Yes, but only if the welder has enough amperage to achieve full penetration. Many “hobbyist” MIG welders top out at 140 or 180 amps, which is often insufficient for 1/4-inch or 3/8-inch steel. If you use MIG, ensure you are using a gas-shielded solid wire (like ER70S-6) and that you have preheated the thickest sections of the metal to ensure the weld “bites” into the base material.
Is it safe to weld a nut directly to the top of the stand?
It is common, but you must be careful. The heat from welding can shrink or distort the nut, making it impossible to thread the bolt back in. I usually thread a sacrificial bolt into the nut before welding to help it keep its shape. Also, ensure you are welding a heavy-duty “coupling nut” rather than a thin standard nut, as the extra thread engagement is necessary for load-bearing applications.
How do I remove heavy rust from the internal parts of a telescoping stand?
For internal rust, an electrolysis bath is often the most effective method. By submerging the part in a solution of water and washing soda and applying a 12V DC current, you can lift rust out of areas you cannot reach with a wire brush. This process is gentle on the base metal and is a favorite among vintage machinery restorers for cleaning up complex assemblies.
What should I do if the base plate of my stand is warped?
Warping is common after heavy welding. If the base plate is not flat, the stand will be unstable. You can use a large belt sander or a hand-held grinder to level the high spots. For extreme precision, some restorers will even “scrape” the bottom of a stand’s feet, similar to how they would align a machine tool, to ensure 100% contact with the shop floor.
Is a pinned adjustment safer than a threaded screw?
Both have their place. A pinned adjustment (using a heavy steel pin through holes in the tubing) is very secure and cannot “creep” down over time. However, it only allows for incremental height changes. A threaded screw allows for infinite adjustment, which is vital for leveling a machine. For the ultimate setup, some restorers use a pinned stand for the main height and a small screw jack on top for fine-tuning.
How can I prevent my welds from cracking on old cast iron parts?
If your stand incorporates vintage cast iron components, you cannot weld them like standard steel. Cast iron requires preheating to at least 500 degrees Fahrenheit and the use of high-nickel welding rods (like Ni-99). Even then, the cooling process must be very slow—often buried in a bucket of sand—to prevent the brittle iron from cracking near the weld zone.
What is the best way to ensure the stand stays square during welding?
The “tack and check” method is best. Place small tacks on opposite sides of the joint, then use a square to verify the alignment. If the heat from the tack pulls the metal out of square, you can usually “nudge” it back into place with a dead-blow hammer before laying down the final beads. Clamping the assembly to a heavy welding table also helps significantly.
(This article was written by one of our staff writers, Richard Beaumont. Visit our Meet the Team page to learn more about the author and their expertise.)