MIG Welder Settings for Welding 1/8-Inch Steel (DIY Fix)
Twelve years ago, I stood in my garage with a brand-new wire-feed welder and a stack of 11-gauge mild steel plate. I thought that if I just pulled the trigger and moved the torch, the machine would do the rest of the work for me. Instead, I spent the next three hours blowing holes through the metal or leaving cold, lumpy beads that looked like a row of grapes. My mistake was treating the machine like a “point-and-shoot” tool rather than a precision instrument that requires a specific physical rhythm.
Learning to join eighth-inch steel is a major milestone for any fabricator because this thickness is the “Goldilocks” of the metal world. It is thick enough to handle significant heat but thin enough that poor technique will quickly result in a mess. Over the years, I have tracked my own progress through thousands of practice coupons, documenting exactly how voltage, wire speed, and body positioning interact. This guide is built on those logs and the vocational standards I used to refine my own hand-eye coordination.
Establishing a Foundation for Consistent Arc Control
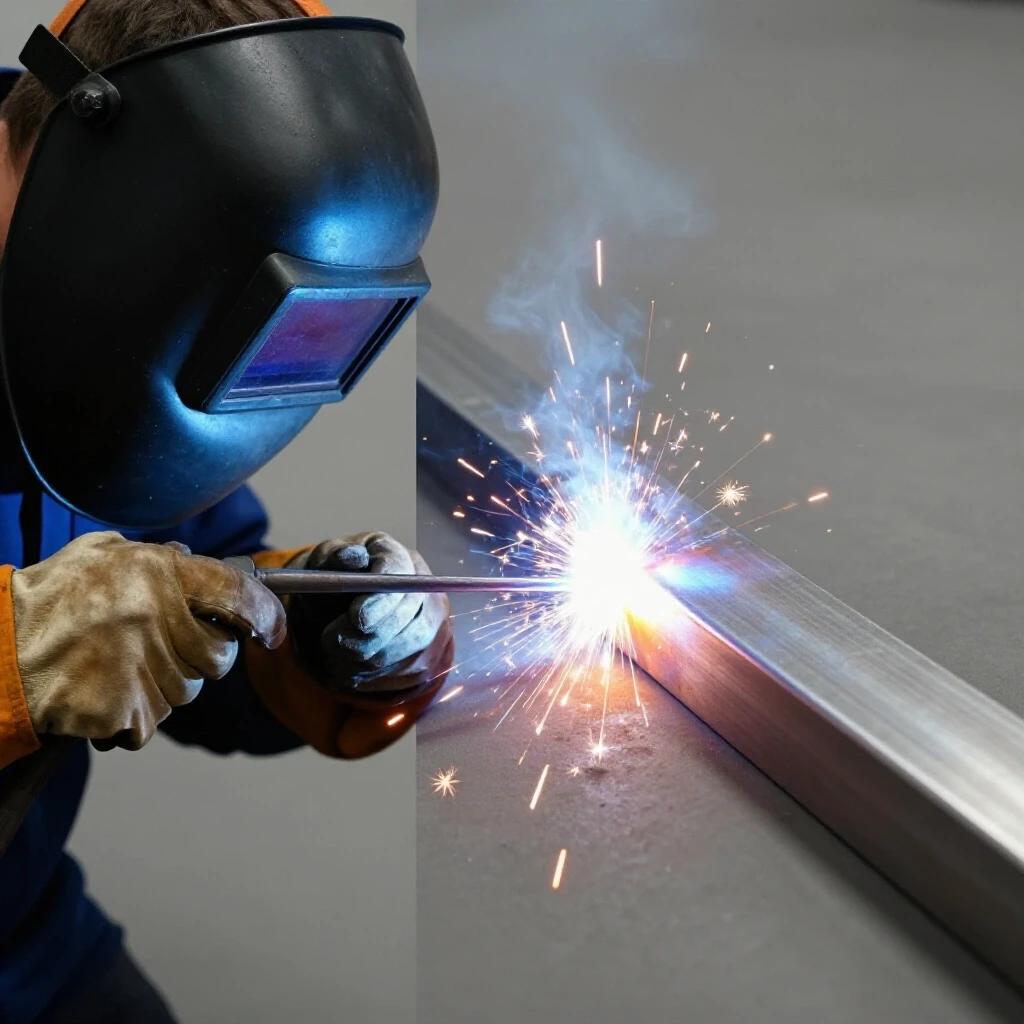
Mastering the physical mechanics of welding involves more than just holding a torch; it requires creating a stable “tripod” with your body to ensure smooth movement. By bracing your arms and maintaining a consistent distance between the nozzle and the metal, you eliminate the micro-shaking that causes erratic beads.
When I first started, my welds were wavy because I was trying to “air-draw” the bead without any support. In trade school drills, we emphasize the “tuck and lean” method. I tuck my elbows into my ribs and lean my non-dominant hand against the welding table to act as a steady rest. This physical bracing allows me to move the torch using my hips or shoulders rather than just my wrists, which leads to a much straighter line.
Muscle memory is built through repetition, but only if that repetition is correct. I suggest practicing your “dry runs” before you ever pull the trigger. Trace the joint with the power off, ensuring your sleeve doesn’t snag on the table and your vision remains unobstructed. If you can’t make the full six-inch move comfortably while the machine is off, you certainly won’t do it well when the sparks are flying.
The Importance of Contact Tip to Work Distance
The distance between the copper contact tip inside your shroud and the steel surface directly dictates how much heat enters the weld. Maintaining a consistent gap, typically around 3/8 of an inch for mid-gauge steel, ensures the electrical arc remains stable and the wire melts evenly.
If you pull the torch too far away, the arc becomes unstable and the gas coverage drops, leading to porosity. If you get too close, you risk sticking the wire to the puddle or overheating the tip. I tell my students to imagine a small pebble stuck between the nozzle and the plate; your goal is to keep that imaginary pebble from falling or being crushed for the entire length of the weld.
Calibrating Voltage and Wire Feed for Eighth-Inch Stock
Setting your power source involves balancing the electrical pressure, or voltage, with the speed at which the filler metal is fed into the joint. For 1/8-inch mild steel, this balance is narrow, requiring enough heat for deep fusion without so much energy that the metal sags or melts away.
In my shop logs, I’ve found that most 11-gauge projects thrive when the machine is set to a “short-circuit” transfer mode. This creates the classic “frying bacon” sound. For a standard 110v or 220v welder using .030-inch solid wire, I generally start my tests at 18 to 19 volts. If the wire is stubbing into the plate, I either increase the voltage or slightly decrease the wire speed.
| Wire Diameter | Recommended Voltage | Wire Feed Speed (IPM) | Gas Flow (CFH) |
|---|---|---|---|
| .030″ (0.8mm) | 17 – 19V | 210 – 240 | 20 – 25 |
| .035″ (0.9mm) | 18 – 20V | 180 – 210 | 20 – 25 |
These numbers are starting points, not laws. Every machine has its own personality based on the input power from your wall outlet. I always run a three-inch test bead on a scrap piece of the exact same 1/8-inch material before touching my actual project. This allows me to “tune” the machine by ear and sight, looking for a flat bead profile with a smooth transition into the base metal.
Understanding Wire Feed Speed as Amperage
In MIG welding, the wire feed speed is what actually controls your amperage, which is the total volume of heat and metal being delivered. Increasing the speed puts more metal into the joint, which requires more voltage to melt that metal properly and maintain a stable arc.
If your wire speed is too high for your voltage, you will feel the torch pushing back against your hand. This “stubbing” creates a cold weld that sits on top of the steel like a caterpillar rather than soaking in. Conversely, if the speed is too low, the arc will eat the wire back into the contact tip, often causing a “burn-back” that ruins the tip. Finding that sweet spot is the first step toward a professional-grade result.
Mastering the Clean Zone and Material Preparation
Properly preparing the edges of 1/8-inch steel is the most overlooked step in learning metal fabrication, yet it is the most critical for achieving deep penetration. Removing the dark grey mill scale reveals the shiny, conductive steel beneath, which allows the arc to start instantly and stay stable.
I used to think that the high heat of the arc would just “burn off” any rust or oil. I was wrong. Contaminants get trapped in the molten puddle, causing tiny gas bubbles called porosity or making the arc wander aimlessly. For every joint, I use a 60-grit flap disc to create a “clean zone” at least one inch wide on either side of the weld path.
- Grind until the steel is bright and reflective.
- Wipe the area with acetone to remove any residual cutting oils.
- Ensure your ground clamp is attached to a clean, bare metal spot as close to the weld as possible.
- Check that the edges of the 1/8-inch plates are square and fit tightly together to prevent excessive gaps.
The Role of Shielding Gas in Puddle Clarity
Using a mixture of 75% Argon and 25% CO2 (C25) is the industry standard for welding eighth-inch mild steel in a DIY setting. This gas blend provides a stable arc and minimizes the splatter that can clutter your workpiece and require hours of post-weld cleanup.
I set my regulator to 22 cubic feet per hour (CFH) for indoor work. If I’m in a drafty garage, I might bump it to 25 CFH, but going higher can actually cause turbulence that sucks air into the weld. A clear, quiet gas flow is what protects your molten metal from the oxygen and nitrogen in the air, which would otherwise make the weld brittle and full of holes.
Why Travel Speed Rules the Puddle Dynamics
Travel speed is the rate at which you move the torch along the joint, and it is the primary factor in determining the height and width of your weld bead. Moving too slowly builds up too much heat, while moving too quickly results in a thin, weak bead with very little penetration.
For 1/8-inch steel, I aim for a travel speed of approximately 8 to 12 inches per minute. This means a six-inch weld should take you about 30 to 45 seconds to complete. When I train new fabricators, I often use a stopwatch to help them calibrate their internal sense of timing. If you find yourself finishing a six-inch run in 15 seconds, you are moving far too fast to allow the metal to fuse.
- Slow Travel: Wide, tall bead; risk of burning through the 1/8″ plate.
- Fast Travel: Narrow, “ropey” bead; lack of fusion at the edges.
- Ideal Travel: A bead width approximately 1.5 to 2 times the thickness of the wire, with a slightly rounded top.
Formulating a Steady Hand Pattern
While some prefer a straight “stringer” bead, many find that a slight oscillation or “weave” helps them bridge the gap and ensure the heat is distributed evenly across both pieces of steel. For eighth-inch stock, a tiny “C” or “U” shape motion—no wider than the nozzle’s orifice—can help the puddle wet into the edges.
I personally use a very tight circular motion. This technique allows me to see the “toes” of the weld (the edges where the bead meets the plate) and ensure they are melting in smoothly. If the edges look like they are “rolling over” the plate rather than blending in, I know I need to slow down or increase my voltage.
Executing Fillet Welds on Mid-Gauge Steel Joints
A fillet weld occurs when two pieces of steel meet at a 90-degree angle, such as a T-joint or a lap joint. This is the most common weld in DIY fabrication, and it requires careful attention to the torch angle to ensure the heat is shared equally between the two plates.
When welding a T-joint on 1/8-inch steel, I point the wire directly into the “crotch” of the joint at a 45-degree work angle. If I point too much at the bottom plate, the top edge will melt away; if I point too much at the vertical plate, the bottom won’t get enough penetration. I also use a “drag” angle of about 10 to 15 degrees, pointing the torch back toward the completed weld. This helps the gas stay over the puddle and pushes the heat into the base metal.
| Joint Type | Torch Work Angle | Travel Angle | Focus Point |
|---|---|---|---|
| Butt Joint | 90 Degrees | 10-15 Deg Drag | Center of Gap |
| T-Joint (Fillet) | 45 Degrees | 10-15 Deg Drag | Root of the Corner |
| Lap Joint | 60-70 Degrees | 10-15 Deg Drag | Bottom Edge of Top Plate |
Managing Heat Soak in Smaller Projects
Because 1/8-inch steel is relatively thin, it absorbs heat quickly. If you are welding a long seam, the metal at the end of the run will be much hotter than the metal at the start. This can lead to the bead getting wider and flatter as you progress, eventually causing a blow-through.
To combat this, I often “tack” my project every two inches. These small, nickel-sized welds hold the pieces in alignment and act as heat sinks. If the metal starts to glow dull red far away from the arc, I stop and let it cool for a minute. Patience is a technical skill; rushing a weld on mid-gauge steel usually ends in warped parts.
Tracking Your Technical Progression
To move from a beginner to an intermediate fabricator, you must stop guessing and start measuring. I keep a dedicated shop notebook where I log every practice session, noting the machine settings, the material thickness, and my own observations about what went wrong or right.
I recommend a structured practice drill: the “Bead-on-Plate” exercise. Take a flat 1/8-inch plate and run five parallel beads, each six inches long. After each bead, let the plate cool and inspect the results. Are the beads straight? Is the height consistent? By the fifth bead, you should see a measurable improvement in your hand stability.
- Date and Material: Record the date and the specific type of 1/8″ steel.
- Machine Specs: Note the Voltage, WFS, and Gas Flow.
- Visual Assessment: Rate the bead on a scale of 1-10 for straightness and “tie-in” at the edges.
- Physical Cues: Note if you felt shaky or if your vision was blocked by the torch.
- Correction Plan: Write down one thing to change for the next run (e.g., “Slow down travel speed by 10%”).
Using Video Analysis for Skill Refinement
One of the most effective tools I’ve used in the last few years is my smartphone. I set it up on a tripod with a welding lens over the camera or use a dedicated “arc-view” app to record my puddle while I weld. Watching yourself in slow motion reveals mistakes you can’t see in real-time.
You might notice that your torch angle is slowly tilting as you move across the table, or that your arc gap is bouncing up and down. This visual feedback is a shortcut to mastering torch control. It turns an abstract feeling into a concrete data point that you can fix in your next practice session.
Troubleshooting Common Surface Defects
Even with the right parameters, things can go wrong. Recognizing the visual signs of specific errors is the only way to fix them. If your weld looks like it has tiny pinholes, your gas coverage is likely poor. If the weld is very tall and narrow, your voltage is too low or your wire speed is too high.
In my early days, I struggled with “undercut,” which is a small groove melted into the base metal right at the edge of the weld. This usually happened because I was moving too fast or my voltage was too high for my travel speed. On 1/8-inch steel, undercut can significantly weaken the joint. To fix it, I learned to “pause” for a fraction of a second at the edges of my weave to let the puddle fill that groove.
- Porosity: Check for drafts, low gas tank, or dirty metal.
- Excessive Spatter: Lower the wire feed speed or increase the voltage.
- Lack of Fusion: Increase voltage or slow down travel speed.
- Burn-through: Increase travel speed or lower the voltage slightly.
Conclusion and Next Steps for Your Practice
Building the physical coordination to weld 1/8-inch steel consistently is a journey of hundreds of small adjustments. It isn’t about finding a “magic” setting on the machine; it’s about aligning your body, your eyes, and your timing with the molten metal. When you can look at a puddle and know exactly how fast to move based on how the metal is flowing, you have moved past the beginner stage.
Your next step is to head into the shop and run a series of test coupons. Don’t worry about building a project yet. Focus entirely on the bead. Experiment with your travel speed until you can produce a consistent, flat weld three times in a row. Once you have that foundation, the complex projects will become much easier because you won’t be fighting the machine—you’ll be commanding it.
FAQ: Mastering Eighth-Inch Steel Fabrication
What is the best wire size for welding 1/8-inch mild steel?
For most DIY and home shop applications, .030-inch (0.8mm) solid wire is the ideal choice. It offers a great balance between ease of use and enough mass to fill the joint without requiring excessive heat. While .035-inch wire can be used, it carries more current and can make it easier to burn through the 1/8-inch plate if your travel speed is slow.
Why does my welder keep “popping” and splashing metal everywhere?
This is usually a sign that your wire feed speed is too high for your voltage setting. The wire is hitting the base metal before it has a chance to melt, causing it to “stub” and explode. Try increasing your voltage by 0.5 volts at a time or backing off your wire speed until the arc settles into a smooth, consistent sizzle.
How do I know if I am getting enough penetration on 1/8-inch steel?
On a butt joint, you should see a slight discoloration or a small “heat tint” on the back side of the plate. If you are practicing on scrap, you can cut the weld in half with a saw and grind the cross-section. A good weld will show that the filler metal has fused deeply into the root of the joint, rather than just sitting on the surface.
Can I weld 1/8-inch steel with a standard 110v household outlet?
Yes, most modern 110v MIG welders are perfectly capable of welding eighth-inch steel. However, they pull a lot of power. Ensure you are on a 20-amp circuit and avoid using long extension cords, which can cause a voltage drop and lead to a weak, cold arc.
Should I push or drag the welding torch?
For MIG welding with solid wire and gas on mild steel, a “drag” or “pull” technique is generally preferred. This allows for deeper penetration and a cleaner bead profile. A push technique can be used to keep the weld flatter and cooler, but it requires more careful attention to ensure you aren’t just “washing” the metal over the surface without fusion.
What should the weld puddle look like when everything is set correctly?
The puddle should look like a bright, molten oval that follows the wire. It should stay a consistent width (about 1/4 inch wide for 1/8-inch steel). The edges, or “toes,” of the puddle should look like they are soaking into the base metal like water into a sponge, rather than sitting on top like a bead of mercury.
How often should I change my contact tip?
You should change the tip whenever you notice the wire “wandering” or if you experience erratic arc starts. Over time, the hole in the tip wears out (becomes “key-holed”), which ruins the electrical contact. For a beginner practicing heavily, changing the tip every few hours of “trigger time” can prevent a lot of frustration.
Why is my weld bead turning black and soot-covered?
This is almost always a gas coverage issue. Check if your gas cylinder is empty, if your flow rate is too low (below 15 CFH), or if there is a breeze blowing the gas away from the nozzle. Also, ensure your nozzle isn’t clogged with “spatter” (the little balls of metal), which can block the smooth flow of shielding gas.
(This article was written by one of our staff writers, Thomas Langley. Visit our Meet the Team page to learn more about the author and their expertise.)