How to Stop and Start Welding Beads Without Porosity (Fix)
When I first started metalworking twelve years ago, I thought a good weld was just about keeping a steady hand during the middle of the run. I quickly learned that the most vulnerable moments for any joint occur at the very beginning and the very end. I would finish a beautiful six-inch bead, lift my helmet, and find a tiny, porous hole staring back at me at the finish line. It was frustrating because I didn’t understand the physics of gas coverage or the importance of heat saturation at the transition points.
Over the years, I have tracked my progress through thousands of practice coupons, logging every failure and success. I realized that achieving a professional finish isn’t about luck; it is about mastering the specific physical mechanics of how you enter and exit the molten puddle. By focusing on shielding gas behavior and the way metal solidifies, you can eliminate those annoying pinholes and ensure your fabrication work meets structural standards.
The Science of Gas Entrapment at Weld Transitions
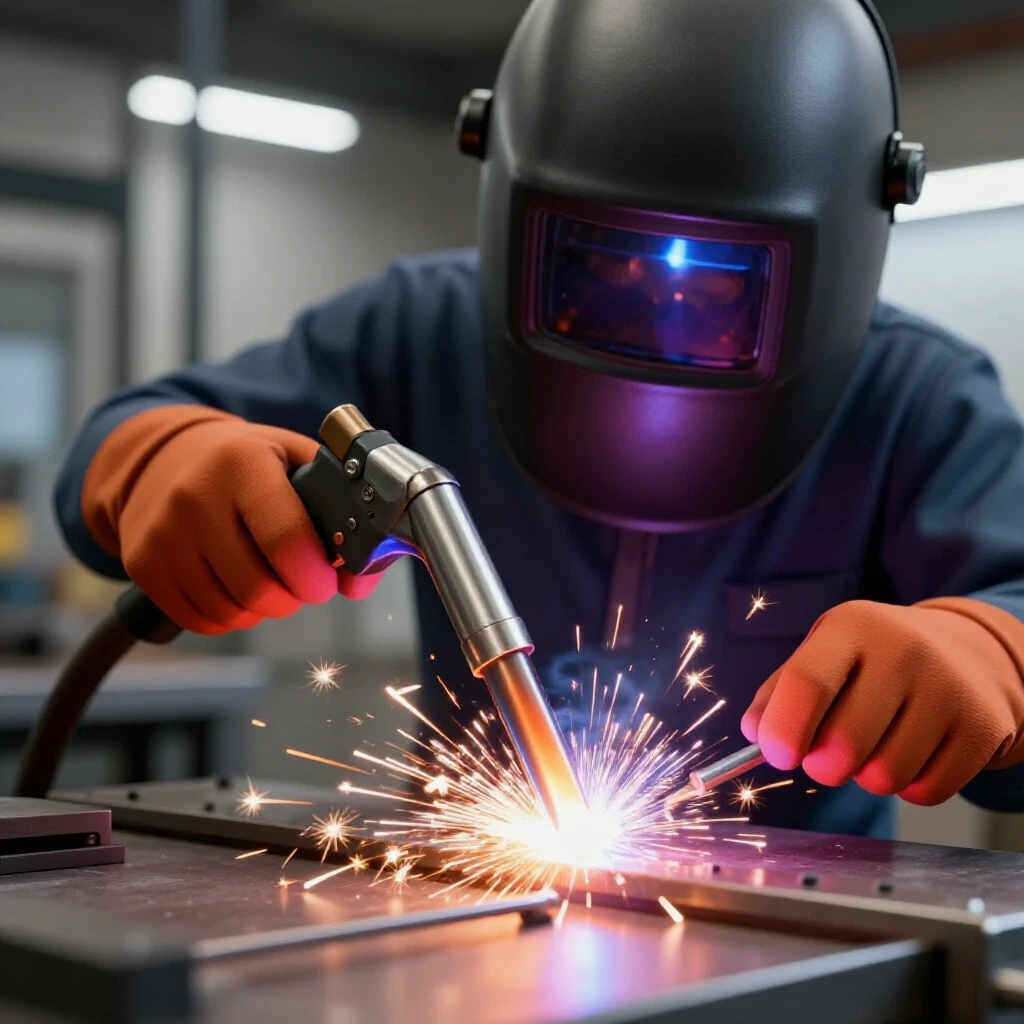
Porosity is essentially the result of atmospheric gases like nitrogen and oxygen getting trapped inside the metal as it turns from a liquid to a solid. When you start or stop a weld, the protective shield provided by your gas or electrode coating is at its weakest. Understanding this helps you realize why your hand movements must be intentional.
At the start of a bead, the metal is cold, and the shielding gas may not have fully displaced the air around the nozzle. At the end, the sudden removal of the heat source causes the puddle to shrink rapidly, often creating a vacuum that sucks in air. By managing these two critical windows, you can ensure the metal remains “clean” throughout the entire process.
Why Cold Starts Lead to Initial Pockets
A “cold start” occurs when the welding arc is struck, but the base metal has not yet reached a temperature high enough to allow the puddle to flow and release gases. If the metal stays too cool, the gas bubbles cannot escape before the surface freezes, leaving a cluster of holes at the beginning of your bead.
To combat this, I recommend a technique called the “strike and hold.” Instead of immediately moving forward, you strike your arc about a quarter-inch ahead of where you want to start, then quickly move the arc back to the actual starting point. This pre-heats the metal and allows the shielding gas to establish a protective envelope before you begin your travel.
Preparing the Clean Zone for Optimal Results
Surface preparation is the foundation of any high-quality fabrication project. If you are trying to weld over mill scale, rust, or oil, you are almost guaranteed to face gas entrapment issues at your start and stop points. Contaminants react with the high heat of the arc to create gasses that simply have nowhere to go but into your puddle.
I follow a strict “one-inch rule” in my shop. I clean the metal with a flap disc or wire brush at least one inch away from the joint in every direction. This ensures that as the heat spreads, it doesn’t draw in impurities from the surrounding area. A clean zone is your first line of defense against defects.
Establishing a Transition Parameter Baseline
Before you strike an arc on your actual project, you need to set your machine based on the material thickness. Using a scrap piece of the same metal is essential for “dialing in” your settings. I use a simple table to track my starting parameters, which helps me maintain consistency across different days and projects.
| Material Thickness | Suggested Travel Speed | Arc Gap / Stick-out | Clean Zone Width |
|---|---|---|---|
| 1/8″ (3.2mm) | 10–12 IPM | 3/32″ | 1.0″ |
| 3/16″ (4.8mm) | 8–10 IPM | 1/8″ | 1.25″ |
| 1/4″ (6.4mm) | 6–8 IPM | 1/8″ | 1.5″ |
Note: IPM stands for Inches Per Minute. Monitoring this helps you develop a steady rhythm.
Mastering Body Mechanics for Smooth Transitions
Your physical position determines how well you can control the torch at the beginning and end of a run. If you are overstretched or off-balance, your hand will naturally shake or speed up as you reach the end of the joint. This leads to a loss of gas coverage and the formation of craters.
I always perform a “dry run” before pulling the trigger. I move my torch from the start point to the finish point without an arc, ensuring my elbows are tucked and my vision is clear. If I feel any resistance in my movement, I adjust my stance. Being comfortable allows you to maintain a consistent torch angle, which is vital for directing the shielding gas effectively.
The Importance of the Work Angle and Travel Angle
The angle at which you hold your torch or electrode significantly impacts how the gas protects the puddle. For most flat-position welds, a travel angle of 10 to 15 degrees (either pushing or dragging) is ideal. If this angle becomes too steep, the gas will blow past the puddle instead of blanketing it.
During the start of the weld, keep the torch as vertical as possible to concentrate the gas. As you move, transition to your preferred travel angle. When you reach the end, I find it helpful to bring the torch back toward a 90-degree angle to the workpiece. This ensures the final “stop” receives the maximum amount of gas coverage as the metal cools.
Managing Gas Coverage at the Start
The first half-second of a weld is the most dangerous for porosity. In many MIG or TIG setups, there is a slight delay between the trigger pull and the full flow of gas. If the arc initiates before the gas arrives, the molten metal is exposed to the atmosphere immediately.
To solve this, I utilize “pre-flow” settings if the machine allows it. If not, I use a manual technique where I briefly tap the trigger to start the gas flow, then strike the arc a second later. This ensures the “clean zone” is already protected by an inert atmosphere the moment the metal begins to melt.
The Back-Step Initiation Technique
This is a skill I teach every beginner because it solves two problems at once: cold starts and lack of fusion. By starting your arc slightly ahead of the joint and “stepping back” into the beginning, you allow the arc to bridge the gap and heat the base metal.
- Position your electrode 1/4″ ahead of the intended start.
- Strike the arc and immediately move it back to the start point.
- Pause for a fraction of a second to let the puddle widen.
- Begin your forward travel at a steady pace.
Eliminating Crater Defects at the Stop
The most common place to find a hole is at the very end of a bead. This is called a “termination crater.” When you suddenly stop the arc, the heat vanishes, and the puddle collapses. Because the metal is shrinking, it often pulls air into the center, creating a “pipe” or a cluster of pinholes.
To fix this, you must learn to “fill the crater.” Instead of just letting go of the trigger or pulling the rod away, you need to provide a little extra filler material and keep the gas flowing. This is a physical habit that takes time to build into your muscle memory.
The Dwell and Back-Fill Method
I use a three-step process to finish every weld. This technique ensures the end of the bead is just as thick and solid as the middle. It requires a bit of patience, as the temptation is always to pull away as soon as you reach the edge of the metal.
- Step 1: The Dwell. When you reach the end, stop your forward motion but keep the arc active for an extra half-second.
- Step 2: The Back-Fill. Move the torch backward into the existing weld bead by about 1/8″ to 1/4″.
- Step 3: The Post-Flow. If you are using a trigger, release it but keep the torch held over the spot for 3 to 5 seconds. This allows the “post-flow” gas to protect the red-hot metal while it solidifies.
Structured Practice Drills and Metrics
You cannot master these transitions by just reading about them; you need to put in the “hood time.” I recommend a specific practice routine that focuses entirely on starts and stops. Instead of running long beads, you should practice “tacking” and short one-inch runs.
By doing this, you force yourself to perform the most difficult parts of the weld repeatedly. I track my success rate using a simple pass/fail metric. If a start or stop has a visible hole or a deep crater, it’s a fail. My goal for students is usually an 80% success rate before they move on to more complex joints.
Transition Practice Log Template
| Date | Material | Start Technique | Stop Technique | Success Rate (out of 10) | Notes |
|---|---|---|---|---|---|
| 10/12 | 1/8″ Steel | Back-step | Dwell/Back-fill | 6/10 | Need to wait longer on post-flow. |
| 10/14 | 1/8″ Steel | Back-step | Dwell/Back-fill | 9/10 | Much better gas coverage. |
Troubleshooting Common Transition Errors
Even with the best intentions, things can go wrong. When I see porosity in a student’s work, I look for three specific physical cues. First, is the arc length too long? A long arc (anything over 1/8″) is unstable and allows air to mix with the gas. Keeping a tight arc gap is essential for a clean transition.
Second, I check the travel speed. If you “run away” from the puddle at the end of the weld, you leave a thin, hot trail that is prone to cracking and gas pockets. Third, I look at the gas flow rate. While it might seem like more gas is better, too much flow can actually cause turbulence, which sucks air into the puddle like a whirlpool.
Visual Defect Evaluation Chart
| Observation | Likely Cause | Physical Fix |
|---|---|---|
| Cluster of holes at start | Cold start / No pre-flow | Use the back-step technique; wait for gas. |
| Deep pit at the end | Crater shrinkage | Dwell and back-fill the end of the bead. |
| Scattered pinholes | Long arc / Dirty metal | Shorten arc gap to 3/32″; clean with flap disc. |
| Black soot around weld | Loss of gas coverage | Check torch angle; reduce gas flow turbulence. |
Advanced Techniques for Re-starting a Bead
Sometimes you have to stop in the middle of a long run, perhaps because you ran out of wire or reached the end of a stick electrode. Re-starting a bead in the middle of a joint is one of the hardest skills to master. If done incorrectly, you leave a “lump” and a pocket of porosity where the two beads meet.
The secret is to “tie in” the new start. I teach students to start their arc about half an inch ahead of the previous crater, then move back into the crater to melt it down. Once the old crater and the new puddle have fused into one liquid pool, you resume your forward travel. This ensures a seamless transition that is both strong and aesthetically pleasing.
The “Step-Back and Overlap” Process
- Clean the previous crater with a wire brush to remove any slag or oxidation.
- Strike the new arc 1/2″ in front of the old crater.
- Move the arc backward until you are directly over the center of the old crater.
- Watch for the old metal to melt and join the new puddle.
- Move forward again, maintaining your standard travel speed.
Building Consistency Through Video Analysis
One of the most impactful tools I’ve used in the last five years is my smartphone. I set up a camera (behind a welding lens or using a dedicated welding camera) to record my hand movements. Watching yourself in slow motion reveals mistakes you can’t see while you are focused on the arc.
You might notice that your hand flinches when you release the trigger, or that you pull the torch away too fast. These tiny physical errors are the root cause of gas entrapment. By reviewing your footage, you can identify exactly where your muscle memory is failing and correct it in your next practice session.
Digital Review Checklist
- Arc Gap Consistency: Does the distance between the tip and the metal stay constant?
- End-of-Weld Dwell: Did I count to “one-one-thousand” before moving the torch?
- Torch Angle: Did I accidentally tilt the torch too far at the end of the reach?
- Puddle Shape: Did the puddle stay round, or did it stretch into a “teardrop” (indicating too much speed)?
Setting Realistic Goals for Skill Progression
Mastering the art of clean transitions doesn’t happen in a weekend. It took me nearly two years of consistent shop time before I felt confident that every single stop would be defect-free. I recommend setting small, achievable goals based on your practice logs.
Start by focusing only on your starts for one week. The next week, focus only on your stops. By isolating these movements, you can build the specific muscle groups and hand-eye coordination required for high-level fabrication. Remember, the goal is not to be fast; the goal is to be consistent.
A 4-Week Practice Milestone Plan
- Week 1: Focus on “Back-step” starts on flat plate. Goal: 70% clean starts.
- Week 2: Focus on “Dwell and Back-fill” stops. Goal: 70% crater-free stops.
- Week 3: Combine both on 3-inch beads. Track IPM speed to stay within 8–12 range.
- Week 4: Practice re-starting a bead in the middle of a run. Goal: Seamless tie-ins.
Conclusion
Eliminating gas pockets at the beginning and end of your welds is a hallmark of a skilled fabricator. It requires a deep understanding of how heat and gas interact with molten metal, combined with the physical discipline to maintain your position until the very last second. By cleaning your work zones, mastering your body mechanics, and using structured drills like the back-step and back-fill techniques, you will move past the plateaus that hold many beginners back.
Keep your practice logs updated, be honest about your mistakes during video reviews, and don’t rush the process. The “fix” for porosity isn’t a secret setting on your machine; it is the deliberate, repeatable motion of your own hands.
Frequently Asked Questions
Why do I always get a tiny hole at the end of my MIG welds?
This is usually a termination crater. When the arc stops, the metal cools and shrinks. If you don’t “dwell” at the end and add a little extra wire while keeping the gas coverage over the spot, the shrinking metal will pull in air, creating that pinhole.
Is it necessary to clean the metal if it looks mostly shiny?
Yes. Even invisible oils from your skin or thin layers of oxidation can cause gas to form inside the weld. Always use a dedicated cleaning tool like a flap disc or stainless steel wire brush to create a “clean zone” at least one inch around the joint.
How long should I keep the gas flowing after I stop welding?
For most manual shop work, a “post-flow” of 3 to 5 seconds is ideal. This keeps the tungsten (in TIG) or the cooling puddle (in MIG/Stick) protected from the air until it has dropped below the temperature where it reacts with oxygen.
What is the “back-step” technique exactly?
It involves striking your arc about a quarter-inch ahead of your starting point, then moving the torch backward to the start. This pre-heats the metal and ensures the shielding gas is fully present before you begin your actual bead.
Can too much shielding gas cause porosity?
Interestingly, yes. If your gas flow is set too high (typically over 25–30 CFH for a standard nozzle), it can create turbulence. This turbulence acts like a vacuum, pulling outside air into the gas stream and contaminating the weld.
Why does my weld start out “bumpy” and then smooth out?
This is a classic “cold start.” The base metal hasn’t reached the proper temperature to allow the puddle to wet out. Using a slightly higher initial heat or the back-step technique will help the bead start smooth and flat.
Do I need to grind out a porous start before continuing?
Absolutely. If you weld over porosity, the trapped gas will often expand and travel up into the new layer of metal. Always grind out any visible holes until you see solid, clean metal before attempting a re-start or a second pass.
How does torch angle affect gas coverage at the end of a weld?
If you tilt the torch too far (a steep travel angle), the gas is directed away from the trailing edge of the puddle. As you finish the weld, this lack of coverage allows the atmospheric air to hit the cooling metal, leading to porosity. Keep the torch closer to 90 degrees at the very end.
What is the best way to practice “tie-ins”?
Take a long piece of scrap and intentionally stop every two inches. Practice restarting the bead by striking ahead and moving back into the previous crater. Do this until you can no longer tell where the stops and starts occurred.
Does the type of metal affect how I should stop the weld?
Yes. Aluminum, for example, is much more prone to crater cracking and porosity than steel because it conducts heat so quickly. You often need a longer post-flow and a more significant “back-fill” to prevent defects in non-ferrous metals.
(This article was written by one of our staff writers, Thomas Langley. Visit our Meet the Team page to learn more about the author and their expertise.)