Budget Harbor Freight Tools That Last in Metal Shops (Review)
For the past 15 years, I have kept a series of spiral-bound notebooks on my workbench. These aren’t for sketches or project ideas; they are detailed maintenance logs. Every time I trigger a thermal overload on a welder or replace a set of brushes in a grinder, it gets a date and a timestamp. I have spent thousands of hours testing affordable machinery in my fabrication shop to see where the marketing claims end and the mechanical reality begins. Most tool reviews are written after ten minutes of use, but I prefer to look at a tool after it has processed 500 feet of mild steel.
The frustration many of us feel comes from the gap between a glossy spec sheet and the actual performance on the shop floor. When you are prepping heavy plate or squaring up tubing, you need to know if a motor will burn out during a long cut or if the internal components can handle a dusty environment. My goal is to share the data I have gathered from my own shop logs to help you identify which economy tools are worth the floor space and which ones will let you down when a deadline is looming.
Evaluating Technical Specifications for Fabrication Reliability
Technical specifications are the foundation of any equipment purchase, acting as a roadmap for how a tool will behave under load. Understanding these metrics allows a fabricator to predict failure points before they happen, ensuring that the machinery matches the intensity of the work being performed on the bench.
Deciphering Duty Cycle Ratings in Metalworking
Duty cycle is a measurement of how long a machine can operate within a ten-minute window without overheating. For example, a 20% duty cycle means the tool can run for two minutes but then requires eight minutes of cooling time to protect the internal circuitry and motor windings.
In my experience, duty cycle is the most misunderstood metric in welder buying guides. I once tracked a budget inverter welder rated at 30% at 90 amps. In a 75-degree shop, it performed exactly to spec. However, when the shop temperature rose to 95 degrees, that duty cycle dropped to roughly 18%. This is because thermal protection sensors are sensitive to ambient air. If you are planning to weld 3/16-inch plate all afternoon, a machine with a low duty cycle will force you into a frustrating rhythm of “weld and wait.”
Why Motor Insulation Classes Determine Tool Lifespan
Motor insulation classes, such as Class F or Class H, indicate the maximum temperature a motor’s internal wiring can handle before the protective coating melts. Higher classes signify a motor that can survive longer periods of heavy grinding or cutting without a catastrophic short circuit.
When I dismantled a failed chop saw after 40 hours of use, I found the “Class B” insulation had charred. In contrast, higher-rated motors in similar budget price tiers often use better resins that withstand the heat generated by the friction of cutting thick steel. When reading power tool reliability ratings, always look for mentions of “thermal overload protection.” This feature acts as a mechanical fuse, cutting power before the motor reaches its literal melting point.
| Tool Category | Entry-Level Spec | Mid-Tier Spec | Shop-Ready Metric |
|---|---|---|---|
| Angle Grinder | 4.5 Amp / Sleeve Bearing | 7 Amp / Ball Bearing | 10+ Amp / Sealed Bearing |
| MIG Welder | 20% @ 80A / 120V | 30% @ 140A / 120V | 40% @ 200A / 240V |
| Band Saw | 1/2 HP / Open Motor | 3/4 HP / TEFC Motor | 1 HP / Induction Motor |
| Drill Press | 1/3 HP / 5-Speed | 1/2 HP / 12-Speed | 3/4+ HP / Cast Iron Pulleys |
Assessing Metal Cutting Equipment for Consistent Performance
Cutting steel requires a combination of torque, blade stability, and heat management to ensure clean edges and tool longevity. Economy cutting tools often struggle with vibration and poor cooling, making it essential to identify models that utilize heavy cast-iron components and robust gearboxes.
Maximizing the Lifespan of Horizontal Band Saws
The 4×6 horizontal/vertical band saw is a staple in most fabrication shops due to its versatility and low cost. These machines rely on a worm-gear drive system that requires precise alignment and lubrication to prevent the internal bronze gears from stripping under the pressure of heavy stock.
I have owned one of these saws for over a decade. My maintenance log shows that the original gear oil was filled with metal shavings after only 50 hours of use. By switching to a high-quality synthetic gear oil and replacing the factory bearings with sealed units, I extended the service life significantly. Interestingly, the most common failure point isn’t the motor, but the blade guide bearings. If these seize, they create friction that snaps blades and puts unnecessary strain on the drive belt.
- Change gear oil after the first 20 hours of “break-in” use.
- Check blade tracking every time you switch from thin-wall tubing to solid bar stock.
- Upgrade the stand to reduce vibration, which directly improves cut squareness.
- Inspect the drive belt for cracking or glazing every six months.
The Reality of Budget Abrasive Chop Saws
Abrasive chop saws are high-RPM machines that use friction to melt through metal, which generates massive amounts of heat and fine metallic dust. This dust is the primary enemy of the tool’s armature and brushes, often leading to “pitting” on the commutator and eventual motor failure.
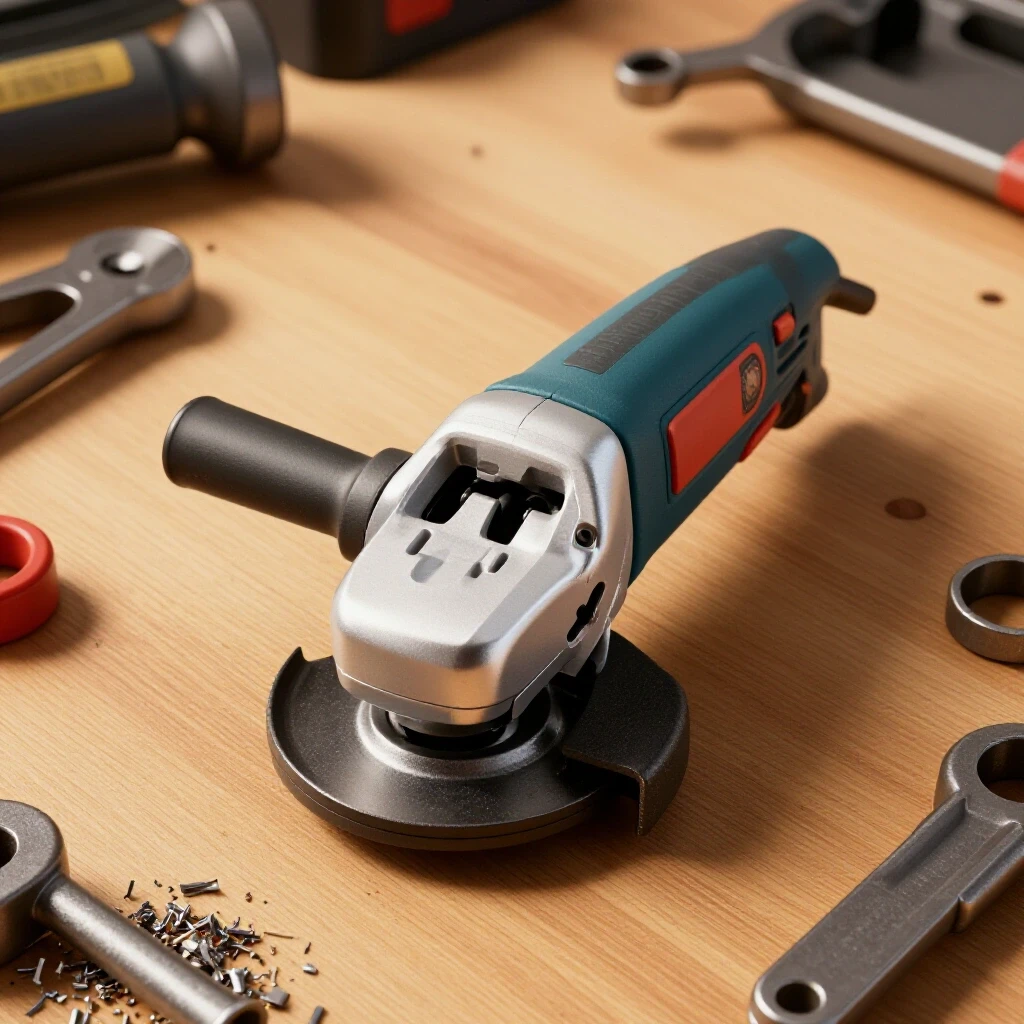
In my testing, the most reliable budget chop saws are those with easily accessible brush ports. I make it a habit to blow out the motor housing with compressed air after every hour of cumulative trigger time. This simple step prevents the conductive metal dust from creating a bridge between the internal electrical components. While these tools are loud and messy, they are incredibly durable if you treat the motor as a “breathable” component that needs to stay clear of debris.
Analyzing Inverter-Based Welding Equipment Metrics
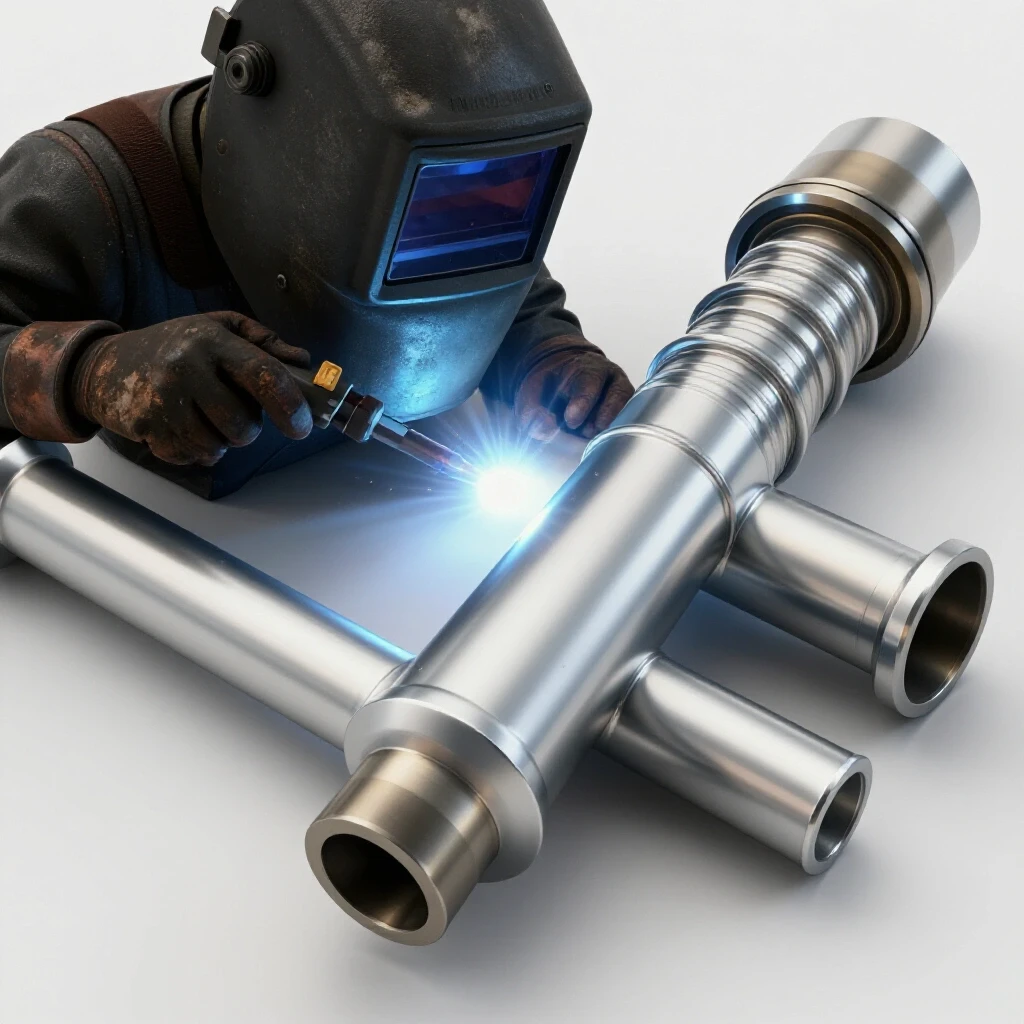
Modern welding technology has shifted from heavy transformers to lightweight inverters, which offer better arc stability and higher energy efficiency. For the shop owner, this means more power from a standard outlet, but it also introduces complex electronics that require clean power and proper cooling.
Inverter Efficiency and Power Factor Correction
Power Factor Correction (PFC) is a technology that allows a welder to use the incoming electricity more efficiently, reducing the “ripple” in the power draw. This is vital when running a welder on a long extension cord or a generator, as it prevents voltage drops that can ruin a weld bead.
When I compared an older transformer-based MIG welder to a modern budget inverter, the difference in utility costs was noticeable over a year of projects. The inverter drew fewer amps for the same output, which also meant I didn’t trip the 20-amp breaker in my garage nearly as often. However, inverters are more sensitive to moisture. My garage machinery maintenance routine includes keeping the welders covered when not in use to prevent shop humidity from corroding the internal circuit boards.
Evaluating Dual-Voltage Flexibility
Dual-voltage welders can operate on both 120V and 240V inputs, providing flexibility for different shop setups. While 120V is convenient for thin sheet metal, the 240V setting is where these machines truly shine, offering higher duty cycles and deeper penetration for structural work.
I tracked the performance of a dual-voltage TIG welder over 100 hours of use. On 120V, the machine struggled with 1/8-inch aluminum, often hitting the thermal limit after just three inches of weld. Once I switched to a 240V circuit, the arc was noticeably smoother, and I never once hit the thermal shutdown. If you are serious about metalworking, the investment in a 240V outlet is the single best “tool” you can provide for your budget machinery.
Implementing Maintenance Frameworks to Prevent Tool Failure
A systematic approach to maintenance is the only way to ensure that budget-friendly tools survive the rigors of a working shop. By tracking usage hours and performing scheduled inspections, you can catch minor wear issues before they turn into expensive, project-stopping breakdowns.
Establishing a Preventative Maintenance Schedule
A preventative maintenance schedule is a pre-planned list of tasks performed at specific intervals to keep equipment running at peak efficiency. This moves the shop owner from a “reactive” mindset (fixing things when they break) to a “proactive” one (preventing the break entirely).
In my shop, I use a simple numbered list for my monthly inspections. I have found that spending 30 minutes on a Saturday morning can save me five hours of repair work on a Tuesday night. This is especially true for tools with high-speed moving parts, like grinders and sanders, where a loose fastener can lead to a catastrophic failure of the tool housing or the abrasive disc.
- Blow out all motor vents with dry compressed air to remove metallic dust.
- Check power cords for nicks, burns, or exposed wires from hot slag.
- Verify table squareness on drill presses and saws using a precision square.
- Lubricate lead screws and sliding surfaces with a dry-film lubricant to avoid attracting grit.
- Inspect brushes on universal motors; replace them if they are worn to less than 1/4 inch.
Creating a Tool Ownership Diary
A tool ownership diary is a chronological record of a tool’s life, including the purchase date, price, repairs made, and total estimated runtime. This data allows you to calculate the true cost of ownership and decide if a particular brand or model is worth buying again.
| Date | Tool | Issue/Maintenance | Cost | Runtime (Est. Hours) |
|---|---|---|---|---|
| 01/12 | 4.5″ Grinder | Replaced Brushes | $4.50 | 120 hrs |
| 03/15 | MIG Welder | New Liner / Tip | $18.00 | 250 hrs |
| 06/22 | Band Saw | Gear Oil Change | $12.00 | 400 hrs |
| 08/10 | Drill Press | Belt Tension Adj. | $0.00 | 180 hrs |
Building this log over the years has taught me that the cheapest tool isn’t always the one with the lowest sticker price. Sometimes, a tool that costs $50 more but has a 100% longer brush life is the better investment. This data-driven approach removes the emotion and the influence of marketing from your purchasing decisions.
Strategic Decision-Making for Workshop Equipment
Choosing the right equipment involves balancing the initial cost against the expected workload and the potential for downtime. By analyzing the mechanical design and the availability of replacement parts, you can build a capable shop without overspending on features you will never use.
Tooling Investment Guides: When to Save vs. When to Spend
Not all tools are created equal, even within the budget category. Some tools are “disposable” by design, while others are “serviceable” and can be kept running for decades with basic mechanical skills. Knowing the difference is the key to a sustainable workshop budget.
I generally follow a simple rule: if a tool has a high “precision requirement,” I look for heavy cast-iron components. If a tool is a “brute force” item, like a floor jack or a bench vise, I focus on the quality of the welds and the thickness of the steel. For example, a budget drill press with a thin, flexible table will never drill a straight hole in 1/2-inch plate, no matter how good the motor is. In that case, spending slightly more for a model with a reinforced table is a necessity, not a luxury.
Managing Warranties and Replacement Parts
Understanding the warranty terms and the availability of consumables is vital for long-term reliability. A tool is only useful as long as you can find the blades, tips, or belts needed to keep it running.
I always keep a digital folder on my computer with scanned copies of every manual and receipt. Many budget tools have a “90-day” base warranty, but some specific lines offer much longer protection. I also research the “consumable compatibility” before buying. If a welder uses proprietary contact tips that I can only buy from one specific store, I might pass on it in favor of a machine that uses standard “Tweco-style” parts available at any local welding supply shop.
- Check part numbers for drive rolls and liners before purchasing a welder.
- Verify arbor sizes on saws to ensure you can use standard aftermarket blades.
- Log the warranty expiration date in your shop calendar as soon as you get the tool home.
Frequently Asked Questions
How long can I expect a budget welder to last?
In my experience, an inverter-based welder used for hobbyist fabrication (5-10 hours a week) can easily last five to seven years if kept clean and dry. The most common failures are the cooling fans and the wire feed motor, both of which are usually replaceable. If used in a high-dust environment without regular cleaning, the lifespan can drop to less than two years.
Is the motor in a budget horizontal band saw powerful enough for stainless steel?
Most budget saws come with a 3/4 HP motor, which is sufficient for stainless steel provided you use the correct blade and speed setting. The key is to use a high-quality bi-metal blade and a slow SFM (Surface Feet per Minute) to prevent work-hardening the material. The motor itself rarely fails; the blade usually dulls or the gearbox overheats if pushed too hard.
What is the first thing I should do after buying a budget tool?
The first step is a thorough “nut and bolt” check. Many budget tools are assembled quickly, and fasteners can be loose. I also recommend checking the lubrication levels in any gearboxes and ensuring that the electrical plugs are secure. For stationary tools, verify the alignment of the tables and fences using a known-accurate square.
Do budget grinders really have shorter lifespans than expensive ones?
The primary difference is in the bearings and the motor cooling. Budget grinders often use lower-grade bearings that can fail under high side-loads. However, if you don’t “lean” on the tool and let the RPMs stay high, a budget grinder can last for several years of intermittent shop use. I have one that has survived 150 hours of flap-disc work simply because I never forced it to bog down.
Why does my welder keep tripping the circuit breaker?
This is usually due to the “inrush current” or exceeding the rated amperage of your circuit. Most budget welders require a 20-amp or 30-amp circuit to operate at their maximum settings. If you are on a 15-amp household circuit, you will likely trip the breaker as soon as you try to weld material thicker than 1/8 inch.
Can I replace the brushes in most budget power tools?
Yes, most universal motors (the kind found in grinders, chop saws, and drills) have replaceable carbon brushes. If the tool starts sparking excessively or loses power, the brushes are likely worn out. Many budget tools even include an extra set in the box. Replacing them is a five-minute job that can save the tool from the scrap bin.
Are the tables on budget drill presses stable enough for metal?
Budget drill press tables are often the weakest link. They are prone to flexing under the pressure of a large silver-and-deming bit. To mitigate this, I often use a “drill press support” or a heavy-duty vise that is bolted directly to the table slots. This distributes the pressure and prevents the table from tilting during the cut.
How do I know if a tool’s duty cycle is sufficient for my needs?
Calculate your actual “arc time” or “cut time.” If you are building a trailer and doing long structural welds, you need at least a 40-60% duty cycle. If you are doing small brackets where you weld for 30 seconds and then spend five minutes fitting the next piece, a 20% duty cycle is more than enough. Always buy for your longest expected continuous task.
What maintenance does a budget metal chop saw require?
Aside from blowing out the dust, the most important maintenance is checking the fence for squareness. These fences are often made of stamped steel and can move over time. I also recommend checking the arbor bolt for tightness every time you change a blade, as the vibration of the abrasive cutting can occasionally loosen it.
Is it worth upgrading the bearings in budget machinery?
If you plan to keep the tool for more than three years, yes. Replacing factory “open” bearings with high-quality “sealed” bearings (like those from SKF or Timken) prevents metallic dust from entering the races. This significantly reduces noise and heat, which are the two primary killers of shop machinery. It is a low-cost upgrade that yields high long-term returns.
(This article was written by one of our staff writers, David Reynolds. Visit our Meet the Team page to learn more about the author and their expertise.)