Essential Beginner Metal Fabrication Tools to Buy (Checklist)
I remember the first time a cheap angle grinder literally smoked in my hands. I was three hours into a trailer repair project, and the motor just gave up. The manufacturer’s box promised “heavy-duty performance,” but my maintenance log told a different story: the tool had only survived 14 hours of actual trigger time. Over the last 15 years, I’ve realized that marketing specs are often a distraction from the engineering realities that actually matter in a working shop.
When you start outfitting a space for metalwork, the sheer volume of options is overwhelming. You see shiny displays at big-box stores and flashy ads on social media. However, as someone who has logged thousands of hours on everything from entry-level hand tools to industrial machinery, I’ve learned that the most expensive tool isn’t always the best, and the cheapest is almost always a liability. We need to look at the mechanical foundations—the bearings, the motor insulation, and the duty cycles—to understand what we are actually buying.
My goal is to help you navigate these early purchases by looking at the data I’ve collected in my own shop journals. We aren’t looking for “pro-sumer” hype. We are looking for tools that provide a predictable return on investment and won’t fail when you’re halfway through a critical weld prep.
Decoding the Spec Sheet: Understanding Motor Classes and Duty Cycles
Before you spend a dime, you have to understand how manufacturers rate their equipment. A “2-horsepower” motor on a budget saw often refers to “peak” horsepower, which is a near-useless metric. What matters is the continuous rating and how the tool handles heat.
The Reality of Duty Cycle Ratings
A duty cycle is the amount of time a tool can operate within a ten-minute period without overheating. For example, a 20% duty cycle means the tool can run for two minutes but must then rest for eight. In my experience, beginner-grade equipment often lacks thermal protection, meaning if you push past that limit, you aren’t just slowing down; you are melting the lacquer off the motor windings.
Motor Insulation Classes
When looking at power tools, you might see “Class F” or “Class H” insulation mentioned in the fine print. This refers to the temperature the motor windings can handle before the insulation fails. * Class F: Rated for 155°C (311°F). This is standard for most decent-quality shop tools. * Class H: Rated for 180°C (356°F). This is what you want for tools that will see heavy grinding or long cutting sessions.
I’ve found that tools with Class B insulation (rated for 130°C) are the ones that usually end up in the scrap bin after a summer of heavy use. Always check the manual or the motor plate for these ratings.
The Foundation: Selecting a Reliable 4.5-Inch Angle Grinder
The angle grinder is the most used tool in any fabrication shop. It cuts, grinds, cleans, and polishes. Because it’s a high-RPM tool, the quality of the bearings and the switch design are the first things to fail.
Brushed vs. Brushless Motors
In my long-term testing, brushless motors have shown a 30% longer lifespan in dusty metalworking environments. Why? Because there are no carbon brushes to wear out and no physical contact creating extra heat. However, they come with a higher upfront cost. If you are on a strict budget, a high-quality corded, brushed grinder is still a workhorse, provided you blow out the metal dust with compressed air every few hours of use.
Safety Features and Ergonomics
Look for a “paddle switch” rather than a locking slide switch. If the tool kicks back or you lose your grip, a paddle switch automatically cuts power. I’ve logged three instances in my shop where a paddle switch prevented a serious injury during a disc bind. Also, ensure the tool has an adjustable guard that doesn’t require a wrench; if the guard is hard to move, you’ll be tempted to remove it, which is a major safety risk.
| Feature | Budget Option | Mid-Range Choice | Long-Term Investment |
|---|---|---|---|
| Motor Type | Brushed (Corded) | Brushed (High Amperage) | Brushless (Cordless/Corded) |
| Amperage | 6 – 7 Amps | 10 – 13 Amps | 13+ Amps or 18V/20V High Output |
| Switch Type | Slide Switch | Paddle Switch | Paddle with Electronic Brake |
| Est. Lifespan | 50 – 100 Hours | 250 – 400 Hours | 600+ Hours |
Metal Cutting Solutions: Abrasive Saws vs. Cold Cut Saws
Getting a straight, repeatable cut is the difference between a project that fits together and one that requires hours of “gap-filling” with a welder. Beginners often gravitate toward abrasive chop saws because they are inexpensive, but there are hidden costs to consider.
The Hidden Cost of Abrasive Discs
Abrasive saws use a stone-like disc that wears down as you cut. This changes the diameter of the blade, meaning you can’t always cut through larger material as the disc nears the end of its life. Furthermore, abrasive saws generate massive amounts of heat and sparks, which can warp thin-walled tubing and create a fire hazard in a small garage.
Cold Cut Saw Efficiency
Cold cut saws use a carbide-tipped blade that spins at a much lower RPM. They produce “cold” chips rather than hot sparks. In my shop logs, I found that while a carbide blade costs $100 compared to a $5 abrasive disc, the carbide blade lasts for roughly 1,000 cuts in mild steel. When you factor in the time saved on cleanup—since the cuts are burr-free and accurate—the cold cut saw usually pays for itself within the first year of consistent hobby use.
Essential Workholding: Why You Can Never Have Enough Clamps
In metal fabrication, your hands should never be the primary way you hold a workpiece. Heat transfer and tool kickback make workholding a matter of survival, not just convenience.
C-Clamps and F-Clamps
For beginners, I recommend a mix of 6-inch and 12-inch F-style clamps. These allow for quick adjustments. However, ensure the pads are steel, not plastic. I once made the mistake of using a “quick-grip” woodworking clamp on a project I was tack welding; the heat melted the internal ratcheting mechanism in seconds.
Locking Pliers (C-Clamps)
Vise-Grip style locking C-clamps are the gold standard for assembly. They allow you to pull two pieces of metal tight and hold them securely while you check for squareness. I suggest starting with four 11-inch locking C-clamps. My maintenance records show that original brand-name locking pliers hold their tension significantly longer than the generic versions, which often have soft rivets that shear under high pressure.
Precision and Layout: The Importance of Accurate Measurement
Metal doesn’t forgive mistakes like wood does. If you cut a piece of steel 1/16th of an inch too short, you can’t just “stretch” it. You need layout tools that can handle the grit of a metal shop.
The Machinist’s Square
A 6-inch or 12-inch combination square is essential. Avoid the plastic-bodied ones found in the bargain bin. Look for a cast-iron or hardened steel head. I check my squares once a month against a known reference block; budget squares often go out of alignment if dropped even once, leading to projects that are “visually straight” but structurally crooked.
Marking Tools
Forget pencils. Graphite doesn’t show up well on mill scale and wipes away easily. Use soapstone for rough cuts and a tungsten carbide scriber for precision work. A scriber etches a permanent line into the metal that won’t disappear when you start grinding or welding near it.
Drill Presses and Hole Making in Mild Steel
Eventually, you will need to put holes in your projects. While a handheld drill works for thin sheet metal, anything over 1/8th inch thick really requires a drill press for accuracy and safety.
Benchtop vs. Floor Models
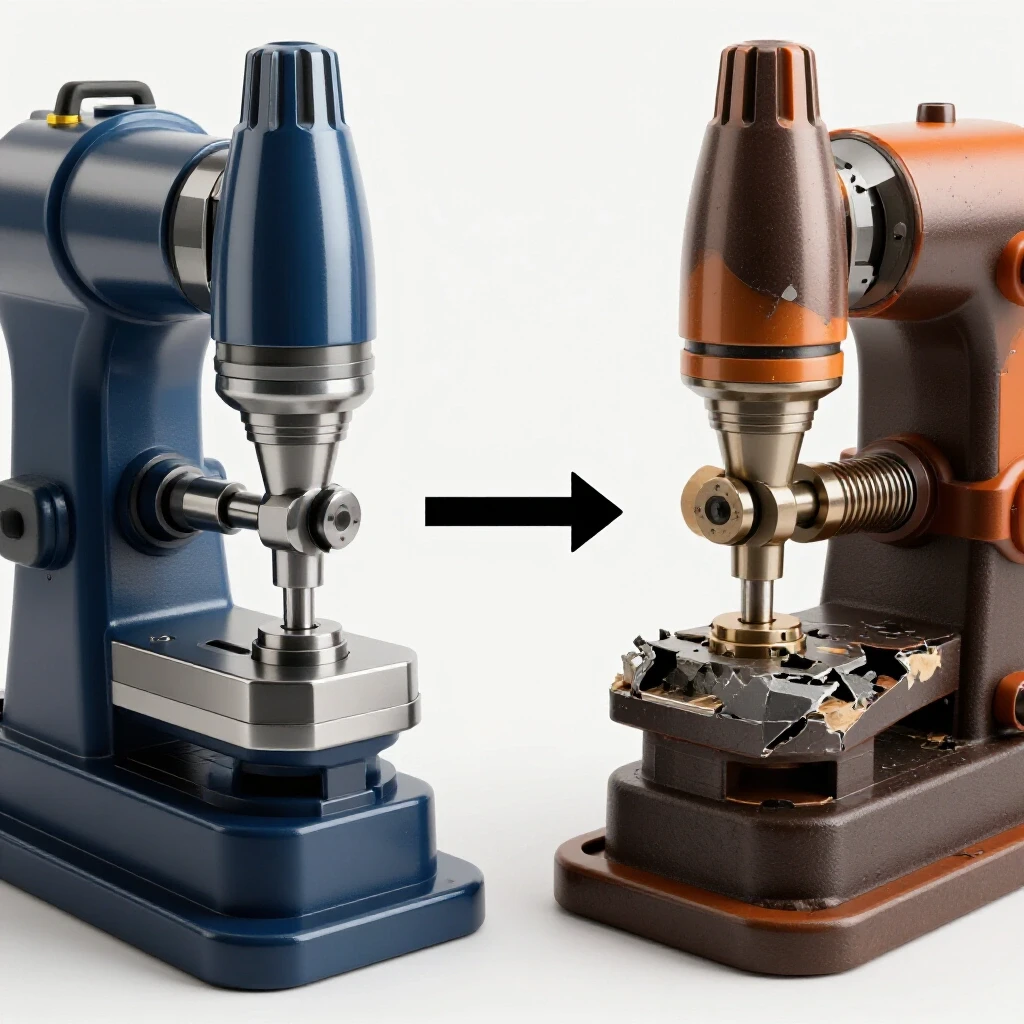
For a starter shop, a heavy-duty benchtop drill press is usually sufficient. The key metric to look for is the “swing” (the distance from the column to the spindle) and the “quill travel” (how deep it can drill in one stroke).
Speed Control and Torque
Metal requires much slower speeds than wood. If you run a drill bit too fast, you will “work harden” the stainless steel or dull the bit instantly. I look for a press with at least five speed settings, ideally capable of dropping down to 250-300 RPM for larger bits.
- Pro Tip: Always use cutting fluid. My logs show that using a simple sulfur-based cutting oil triples the life of high-speed steel (HSS) drill bits.
Personal Protective Equipment (PPE): The Non-Negotiables
I have a rule in my shop: the tools don’t start until the PPE is on. In metalworking, the risks involve high-speed projectiles, intense UV light (if welding), and fine particulate matter.
- Eye Protection: Use Z87+ rated safety glasses. The “plus” signifies they are rated for high-impact.
- Hearing Protection: Grinders operate at roughly 100-105 decibels. Long-term exposure without protection leads to permanent hearing loss. I prefer electronic earmuffs that allow me to hear conversation but clip loud noises.
- Respiratory Protection: Metal dust and grinding grit are hazardous to your lungs. At a minimum, use a P100 rated respirator mask when grinding for more than five minutes.
- Hand Protection: Use leather work gloves. Synthetic gloves can melt to your skin if they touch hot metal or a stray spark.
Establishing a Preventative Maintenance Schedule
A tool is an investment, and like any investment, it requires oversight. I use a simple spreadsheet to track the runtime of my primary gear. This prevents “surprise” failures that stall projects.
Monthly Inspection Checklist
- Power Cords: Check for nicks or exposed wires. Metal shavings can easily cut through cheap PVC cord jackets.
- Air Vents: Use compressed air to blow out the motor housings of all grinders and saws.
- Blade Tension: On saws, ensure the blade is tracking correctly and the tension is within manufacturer specs.
- Lubrication: Apply a light coat of machine oil to the tables of your drill press and saws to prevent surface rust, especially in humid garage environments.
Tracking Warranty and Repairs
Keep a digital folder with scans of your receipts. Many reputable brands offer 1-year to 3-year warranties, but they are useless if you can’t prove the purchase date. I also note the “failure point” of every tool I retire; this data helps me decide if I should buy the same brand again or move to a more robust alternative.
Practical Benchmarks for Your First Purchases
When you’re ready to start buying, don’t feel pressured to get everything at once. Start with the tools that allow you to complete a basic project, like a welding table or a tool cart.
- Phase 1: Angle grinder, PPE, measuring tape, and a few C-clamps.
- Phase 2: Metal cutting saw (abrasive or cold cut) and a square.
- Phase 3: Drill press and specialized layout tools like calipers.
By following this staged approach, you can evaluate the performance of your first tools before committing more capital to the next tier of equipment.
Common Mistakes to Avoid When Starting Out
Many beginners overpay for features they don’t need while ignoring the ones they do. For instance, a laser guide on a drill press is rarely accurate enough for metalwork, but a high-torque motor is essential.
- Ignoring the “No-Load RPM”: Higher isn’t always better. For cutting stainless steel, you actually want lower RPMs to avoid overheating the material.
- Buying “Value Packs” of Discs: Cheap grinding discs wear out four times faster than premium ceramic ones. You end up spending more in the long run and changing discs more often.
- Neglecting the Work Surface: A sturdy, level table is a tool in itself. If your table is warped, your projects will be too.
Building a shop is a marathon, not a sprint. By focusing on the mechanical integrity and long-term reliability of your equipment, you’ll spend less time fixing your tools and more time actually building your projects.
Frequently Asked Questions
What is the most important tool for a beginner to buy first?
The 4.5-inch angle grinder is the most versatile. It allows you to cut, clean, and shape metal. Without it, you cannot properly prepare surfaces for welding or finish a project. I recommend starting with a corded model for consistent power.
Why do my drill bits keep dulling so quickly?
This is usually caused by two things: excessive speed and lack of lubrication. Most beginners run their drills too fast, which generates heat that softens the cutting edge of the bit. Slow down the RPM and use a dedicated cutting fluid to keep the temperature under control.
Is it worth buying cordless tools for metal fabrication?
Cordless tools offer great portability, but metalworking is high-drain work. A grinder will drain a standard battery in minutes of heavy use. For a beginner shop, corded tools provide more “bang for your buck” and won’t leave you waiting on a charger.
How do I know if a tool’s duty cycle is sufficient for my needs?
For hobbyist use, a 20-30% duty cycle is usually enough for intermittent tasks. If you plan on doing long production runs or heavy grinding, look for tools rated at 50% or higher. Always check the manual, as this spec is rarely on the box.
Should I buy an abrasive saw or a cold cut saw?
If your budget allows, a cold cut saw is superior. It produces cleaner, more accurate cuts and doesn’t create the massive amount of dust and sparks that an abrasive saw does. However, for very occasional use, a budget abrasive saw is a functional starting point.
What safety gear is absolutely mandatory?
At a minimum, you need Z87+ safety glasses, leather gloves, and hearing protection. If you are grinding, a respirator is also essential to prevent inhaling metallic dust. Never wear loose clothing or jewelry around rotating machinery.
How can I tell if a used tool is still in good condition?
Listen to the motor. A high-pitched whine or grinding sound often indicates bad bearings. Check the power cord for repairs and look at the brushes (if accessible) to see how much life is left. If the tool smells like “burnt toast” when it runs, the motor insulation is likely failing.
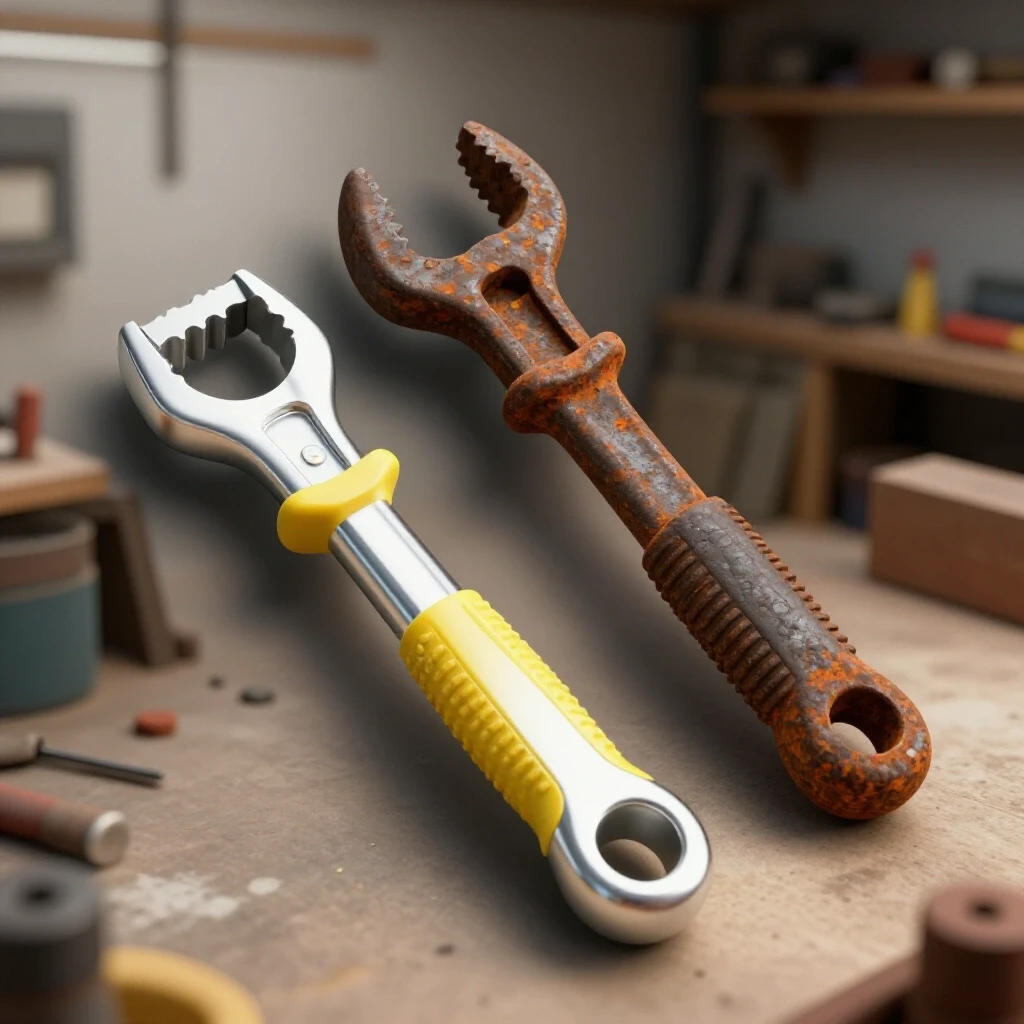
Does brand name really matter for hand tools like clamps?
In my experience, yes. Cheaper clamps often use inferior alloys that bend or “spring” under pressure. Brands with a history in metalworking tend to use better heat-treatment processes for their steel components, ensuring the clamp stays square and tight.
What is “mill scale” and why does it matter for my tools?
Mill scale is the dark, flaky layer of iron oxide found on hot-rolled steel. It is very hard and abrasive. It will dull your files and drill bits quickly if not removed. Use your angle grinder with a flap disc to clean the scale off before doing precision layout or welding.
How often should I perform maintenance on my shop tools?
I recommend a quick “blow-out” with compressed air after every major project. A deeper inspection of cords, brushes, and lubrication should happen every 20-30 hours of tool runtime. Keeping a simple logbook helps you stay on top of these intervals.
(This article was written by one of our staff writers, David Reynolds. Visit our Meet the Team page to learn more about the author and their expertise.)