How to Calculate Welder Duty Cycles for Big Projects (Tips)
I have spent the last 15 years in a small-scale fabrication shop, surrounded by the hum of cooling fans and the smell of heated metal. My journals are filled with notes on machine failures, thermal shutdown times, and repair costs. I have learned that the glossy brochures often hide the most important data. When you are deep into a structural build, the last thing you want is a machine that quits because it cannot handle the load. Understanding the actual limits of your equipment is the only way to ensure your shop stays productive and your investments last for a decade rather than a season.
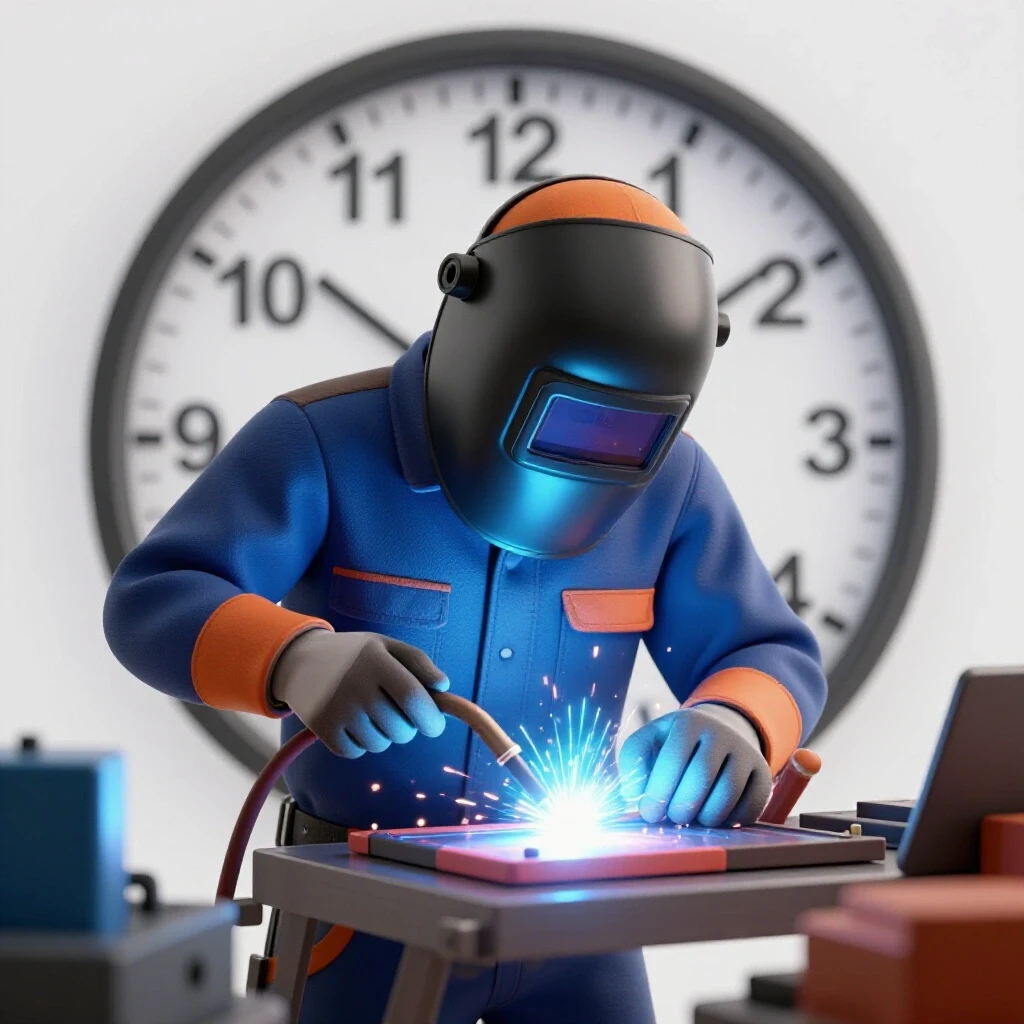
I remember a specific project five years ago where I pushed a mid-range machine to its absolute limit. The spec sheet claimed a high output, but it did not account for the heat of a July afternoon in a shop with poor airflow. Within twenty minutes, the thermal protection light flickered on, and I was left standing there with a half-finished bead. That moment taught me that a rating on a sticker is just a starting point. To truly manage a workshop, you have to know how to calculate the work-to-rest ratio based on real-world conditions, not just laboratory tests.
Understanding the Standard Ten-Minute Rating Window
The ten-minute rating window is the industry standard used to measure how long a machine can run at a specific output before it overheats. It represents a percentage of time within that ten-minute block that the internal components can handle the thermal load. If a machine exceeds its limit, internal sensors trigger a shutdown to prevent permanent damage.
When I look at a new piece of equipment, the first thing I check is the rated output at a specific percentage. For example, if a machine is rated at 60% for a certain amperage, it means it can run for six minutes of continuous work, followed by four minutes of idling with the fan running. Many buyers mistake this for a “total day” limit, but it is strictly a short-term thermal cycle. If you ignore this, you risk “cooking” the internal insulation or damaging the delicate inverter boards that are expensive to replace.
In my workshop logs, I categorize machines by their duty cycle tiers. A machine with a 20% rating is a light-duty tool, while a 60% to 100% rating indicates a production-grade piece of equipment. Understanding this helps me decide which tool to pull for a quick repair versus a heavy fabrication job.
Why the Ten-Minute Interval Matters for Longevity
The ten-minute interval is crucial because it allows the internal heat sinks to dissipate the energy generated during the process. Without this recovery time, the heat builds up in the transformer or the power transistors, leading to a shortened lifespan. Using a machine right up to its limit repeatedly will degrade the internal components over time.
I have found that machines used consistently at their maximum rating tend to fail shortly after their warranty expires. By contrast, tools operated at 20% below their maximum rating often last twice as long. This is why I always look for a machine that offers a higher rating than I think I need. It provides a “thermal buffer” that protects my investment during long work sessions.
The Physics of Heat Dissipation in Modern Equipment
Heat dissipation is the process by which a machine moves internal thermal energy away from sensitive components using fans and heat sinks. In modern inverter-based tools, this process is much faster than in older, heavier units, but the components are also more sensitive to extreme temperatures. Efficient cooling is the primary factor in maintaining a high output over time.
In my experience, the design of the internal airflow path is just as important as the size of the cooling fan. I once tore down a failed unit to find that the heat sinks were positioned in a “dead zone” where air didn’t flow well. This caused a localized hotspot that eventually fried a capacitor. When evaluating a tool, I look for clear intake and exhaust ports that aren’t blocked by poorly placed internal wiring.
- Heat Sinks: Large aluminum or copper blocks that absorb heat from transistors.
- Forced-Air Cooling: Fans that pull cool air over the internal components.
- Thermal Sensors: Small components that monitor temperature and shut the machine down if it gets too hot.
- Inverter Efficiency: How well the machine converts input power into output without wasting energy as heat.
How Inverter Technology Changes Thermal Expectations
Inverter-based machines are much more efficient than older transformer units, meaning they generate less waste heat for the same amount of work. This allows them to be smaller and lighter while maintaining respectable runtimes. However, because they are smaller, they have less “thermal mass” to soak up heat, so they rely heavily on their fans.
I have logged the performance of both styles over hundreds of hours. While the inverters start up and cool down faster, they are less forgiving of dusty environments. If the cooling fins get clogged with metal dust, an inverter will overheat almost instantly. A transformer unit might survive a bit more neglect, but it will cost you more in utility bills and physical strain due to its weight.
Calculating Real-World Runtime for Heavy Fabrication
Calculating real-world runtime involves adjusting the manufacturer’s rated percentage based on the actual output you are using. Since most machines are rated at their maximum output, you can often achieve a higher runtime by backing off the power slightly. This calculation helps you plan your work sessions and avoid unexpected shutdowns.
To calculate this, I use a simple inverse square relationship. If I lower the amperage, the heat generated drops significantly. For example, a machine rated for 40% at 200 amps might be able to run at 100% if I only need 130 amps. This is a critical insight for anyone doing long runs on thinner material.
| Output Amperage | Manufacturer Rating | Real-World Runtime (Per 10 Mins) | Expected Rest Period |
|---|---|---|---|
| 250A (Max) | 30% | 3 Minutes | 7 Minutes |
| 200A | 50% | 5 Minutes | 5 Minutes |
| 150A | 80% | 8 Minutes | 2 Minutes |
| 125A | 100% | 10 Minutes | 0 Minutes |
Note: These figures are estimates based on standard performance curves and will vary by machine quality.
Using the Duty Cycle Formula for Custom Settings
If you want to be precise, you can use a formula to estimate your runtime at a specific amperage. The formula is: (Rated Amperage / Actual Amperage)² x Rated Duty Cycle. This gives you a decimal that represents your new percentage. I keep a small laminated chart of these calculations next to my primary machine.
Building on this, I always round down my results by 10%. Manufacturers test their tools in perfect conditions, and my shop is rarely “perfect.” If the math says I can run for eight minutes, I stop at seven. This small habit has saved me thousands of dollars in repair costs over the last decade because I never hit the thermal trip point.
Why Ambient Temperature is the Silent Performance Killer
Ambient temperature refers to the temperature of the air in your workspace that the machine uses for cooling. Most professional equipment is rated at an ambient temperature of 104°F (40°C). If your shop is hotter or colder than this standard, the machine’s ability to stay cool will change dramatically.
I have noticed that on a 95°F day with high humidity, my machines hit their thermal limits about 15% faster than on a cool autumn morning. Humidity makes the air less effective at carrying heat away from the internal components. If you work in a garage that gets baked by the sun, you cannot rely on the numbers printed in the manual.
Adjusting for High-Heat Environments
When the shop temperature rises, I proactively increase my rest intervals. If a machine normally requires four minutes of rest, I give it six. I also make sure the machine is positioned at least two feet away from any walls to ensure the intake fan has access to the coolest air possible.
Interestingly, some budget-friendly brands rate their tools at a room temperature of only 70°F. This makes their specs look better on paper than they actually are. When you take that machine into a real workshop, it fails to meet the advertised numbers. Always check the fine print to see what temperature the manufacturer used for their testing.
Evaluating Machine Performance Tiers and Price Points
Evaluating performance tiers involves comparing the cost of a machine against its thermal capacity and expected lifespan. A higher price tag often buys better insulation classes and more efficient cooling systems, which translate to a higher sustained output. It is a balance between initial investment and long-term operational reliability.
In my 12 years of testing, I have found that the “mid-range” of the market is where the most misleading marketing happens. Budget machines are honest about being light-duty, and premium machines are built for 24/7 use. The middle ground is where you find machines that claim high ratings but use low-quality cooling fans or thin aluminum heat sinks.
- Hobby Tier: 20%–30% duty cycle. Best for small repairs and short sessions.
- Professional Tier: 40%–60% duty cycle. Capable of handling most fabrication tasks with moderate breaks.
- Industrial Tier: 80%–100% duty cycle. Built for continuous use in production environments.
The True Cost of Low-Duty Cycle Equipment
Buying a tool with a low rating for a big project is a classic mistake that I have made myself. You think you are saving money, but the hidden costs add up. You lose time waiting for the machine to cool down, and the constant thermal stress leads to early component failure. When I factor in my hourly shop rate, a “cheap” machine that forces me to sit idle for 40 minutes every hour is actually the most expensive tool I own.
As a result, I now use a “Value Per Hour” metric when purchasing. I divide the cost of the machine by the expected number of hours it can run at my required output. A $1,000 machine that lasts 2,000 hours is far better than a $500 machine that burns out after 300 hours of heavy use.
Establishing a Preventative Maintenance Schedule for Longevity
A preventative maintenance schedule is a set of routine tasks designed to keep a machine’s cooling system and internal components functioning at peak efficiency. Regular cleaning and inspection prevent the buildup of contaminants that cause overheating and electrical arcing. For a fabricator, this is the most effective way to protect a major equipment investment.
I treat my machines like high-performance engines. Every month, I perform a “deep clean” that involves more than just wiping the outside. If you don’t maintain the airflow, the duty cycle of the machine will slowly degrade as dust acts as an insulator on the heat sinks.
- Blow Out Internals: Use clean, dry compressed air to remove dust from the fans and boards.
- Inspect Fan Blades: Check for cracks or buildup that could slow the fan down or cause vibration.
- Check Intake Filters: Some machines have foam filters; these must be washed or replaced regularly.
- Verify Connections: Ensure all internal plugs are seated tightly, as loose connections generate extra heat.
Tracking Performance Metrics Over Time
I keep a maintenance log for every major tool in my shop. I record the date of every cleaning and any time the machine hits a thermal shutdown. If I notice that a machine is shutting down more frequently than it used to at the same settings, it is a red flag that a component is failing or the cooling system is compromised.
This data-driven approach takes the guesswork out of tool ownership. Instead of wondering if my machine is “getting old,” I can look at my logs and see a clear pattern. This allows me to sell a tool while it still has value and replace it before it fails in the middle of a critical project.
How to Read Spec Sheets Like a Professional Fabricator
Reading a spec sheet like a pro means looking past the bolded maximum numbers and finding the “rated” performance data. Manufacturers often highlight a high peak output that is only sustainable for a minute or two. The real story is found in the charts that show performance across various output levels and temperatures.
When I evaluate a new tool, I ignore the marketing names like “Super-Duty” or “Pro-Series.” Instead, I look for the NEMA (National Electrical Manufacturers Association) or IEC (International Electrotechnical Commission) ratings. These standards ensure that the numbers were gathered using a consistent, verified process.
Spotting Red Flags in Marketing Claims
One major red flag is a machine that lists a high duty cycle but has a very small physical footprint and no visible cooling vents. Physics dictates that heat must go somewhere. If a machine is tiny and claims a 60% rating at high power, it is likely using a very short testing window or a very low ambient temperature.
Another thing I watch for is the “insulation class.” Class H insulation is the gold standard, rated for much higher temperatures than Class F or B. If a manufacturer doesn’t list the insulation class, I assume they used the cheapest material available. This is a common point of failure in budget tools that are pushed too hard.
| Spec Feature | What to Look For | Why it Matters |
|---|---|---|
| Duty Cycle | 60% at 40°C | Ensures reliability in hot shops. |
| Insulation Class | Class H | Handles higher internal temperatures. |
| Cooling Type | Variable Speed Fan | Reduces dust intake when idling. |
| Standards | IEC 60974-1 | Guaranteed testing consistency. |
Managing Warranties and Repair Costs for Long-Term Ownership
Managing warranties involves keeping detailed records of purchase dates, registration confirmations, and service intervals to ensure coverage remains valid. It also means understanding what is considered “normal wear” versus a “manufacturer defect.” A good warranty is a safety net, but it is only useful if you follow the rules.
I have had to fight for warranty repairs in the past, and I learned that documentation is your best weapon. When a machine failed, I provided the manufacturer with my maintenance logs showing I had blown out the dust every month. They couldn’t claim “user neglect,” and the repair was covered. Without those logs, I would have been out $800 for a new logic board.
The Reality of Out-of-Warranty Repairs
Once a machine is out of warranty, you have to decide if a repair is worth the cost. For inverter machines, the boards are often so expensive that a single failure can total the machine. This is why I emphasize duty cycle management so much—the best way to save money on repairs is to never let the machine get hot enough to need one.
Building on this, I always research the availability of replacement parts before I buy. If a company doesn’t sell individual boards or fans to the public, you are forced to use their expensive service centers. I prefer brands that offer open parts diagrams and allow me to do basic repairs myself.
Actionable Steps for Evaluating Your Next Tool Purchase
To make a truly informed decision, you need a systematic way to compare machines beyond their price tags. I use a specific checklist for every major purchase to ensure I am not being swayed by a sale price or a fancy display.
- Determine Your “Continuous” Amperage: What power level will you use for 80% of your work?
- Check the Rating at That Amperage: Does the machine offer at least a 60% duty cycle at that specific level?
- Verify the Ambient Temp Rating: Was it tested at 104°F (40°C)?
- Inspect the Cooling Path: Are the vents large and unobstructed?
- Calculate the 5-Year Cost: Include the purchase price plus any expected maintenance or potential out-of-warranty board replacements.
By following this process, you move from being a “tool buyer” to a “shop manager.” You start to see your equipment as assets that need to be managed for maximum return. This mindset has kept my shop profitable and my frustration levels low for over a decade.
Frequently Asked Questions
What exactly does a 40% duty cycle at 200 amps mean?
This means that in a standard 10-minute window, you can operate the machine at 200 amps for 4 minutes. The remaining 6 minutes must be spent idling with the cooling fan running. It is a ratio of work to rest designed to prevent the internal components from reaching critical temperatures.
Can I increase my machine’s duty cycle by adding an external fan?
While an external fan can help cool the outer casing, it rarely improves the internal cooling of the sensitive components. The internal airflow is carefully engineered. Adding a fan might provide a small margin of safety, but you should never use it as an excuse to exceed the manufacturer’s rated limits.
Why do some machines have a 100% duty cycle at lower power?
As the amperage drops, the heat generated by the electrical resistance decreases exponentially. At a certain point, the cooling system can remove heat as fast as it is produced. This is the “sweet spot” where the machine can run indefinitely without needing a thermal rest period.
Does the duty cycle change if I am working in a cold garage?
Yes, a colder environment allows the heat sinks to dissipate energy more quickly, which can technically extend your runtime. However, most machines do not have sensors that adjust the duty cycle based on ambient air, so it is still safest to stick to the rated limits to avoid stressing the components.
What happens if I ignore the thermal shutdown and keep working?
Most modern machines have a “hard” thermal cutout that prevents you from working once the limit is reached. If you bypass this or if the sensor fails, the internal insulation on the transformer windings can melt, or the power transistors can crack. This usually results in a total machine failure that is not cost-effective to repair.
How do I know if a manufacturer’s duty cycle rating is honest?
Look for a reference to international standards like IEC 60974-1 or NEMA. Also, check the rated ambient temperature. If a machine is rated at 40°C (104°F), it is likely a professional-grade rating. If it is rated at 20°C (68°F) or doesn’t list a temperature, be skeptical of the numbers.
Is a transformer machine better for high duty cycles than an inverter?
Transformer machines are more robust and can handle heat soak better due to their massive size, but they are less efficient. Inverters are more efficient and cool down faster but are more sensitive to dust and extreme heat. For most modern shops, a high-quality inverter with a good cooling system is the better investment.
How often should I blow out my machine to maintain its rating?
In a typical fabrication shop, you should blow out the internals with dry compressed air at least once a month. If you are doing a lot of grinding in the same area, you may need to do it weekly. Keeping the heat sinks clear of metal dust is the single most important thing you can do for tool longevity.
Does the length of my input cord affect the duty cycle?
While cord length affects the voltage drop and performance, it does not directly change the machine’s thermal duty cycle rating. However, a significant voltage drop can cause the machine to work harder and run hotter, which might trigger a thermal shutdown sooner than expected.
What is the difference between a “commercial” and “industrial” rating?
“Commercial” or “Professional” ratings usually hover around 40% to 60% at the main working amperage. “Industrial” ratings are typically 80% to 100%, meaning the machine is designed for constant use in a factory setting. For a home shop or small business, a 60% rating is usually the “gold standard” for reliability.
(This article was written by one of our staff writers, David Reynolds. Visit our Meet the Team page to learn more about the author and their expertise.)