How to Set MIG Welder Shielding Gas Flow Rates (DIY Guide)
Twelve years ago, I sat on a milk crate in my garage, staring at a weld that looked more like a piece of burnt toast than a structural joint. I had the voltage set right and the wire speed dialed in, but the metal was full of tiny holes. It was frustrating and felt like a wall I couldn’t climb. I realized then that mastering the invisible parts of the process is just as vital as the parts you can see.
Learning metal fabrication is a journey of connecting your eyes, hands, and the physics of the machine. One of the most overlooked variables for beginners is the envelope of protection surrounding the molten metal. If this invisible shield is too weak, the air ruins the bond. If it is too strong, it creates a storm that sucks in the very air you are trying to keep out.

In this guide, I will show you how to manage your shielding gas output systematically. We will look at how to set your levels based on your environment and equipment. By tracking these metrics, you can stop guessing and start building the muscle memory needed for professional results.
The Role of the Protective Envelope in Metal Welding Practice
The protective envelope is a stream of inert gas that displaces the oxygen and nitrogen in the air around your weld puddle. Without this shield, the hot metal reacts with the atmosphere, creating bubbles and brittle spots. Understanding this “clean zone” is the first step toward consistent bead quality.
When I first started, I thought more gas always meant more protection. I was wrong. High-pressure streams can become turbulent, swirling like a mini-tornado and pulling air into the weld. This is why we measure gas in Cubic Feet per Hour (CFH) rather than just “high” or “low.” It is a delicate balance of volume and velocity.
Effective gas coverage allows the puddle to flow smoothly and ensures the arc remains stable. In my trade school practice drills, I learned that a stable shield is the foundation of a clean bead. If your gas flow is erratic, your hand-eye coordination cannot compensate for the resulting mess.
Establishing Baseline Flow Parameters for Clean Beads
Setting your initial flow rate is about matching the volume of gas to the size of the equipment you are using. The nozzle on your torch determines how wide the gas stream will be. A larger nozzle requires more volume to fill the space and push away the surrounding air.
For most garage-based projects using a standard nozzle, a flow rate between 15 and 25 CFH is the standard starting point. If you are working in a perfectly still room, you might drop to 12 or 15 CFH to save gas. If there is a slight breeze from a nearby fan, you may need to increase it to 25 or 30 CFH to maintain coverage.
| Nozzle Diameter | Recommended CFH (Indoor) | Recommended CFH (Drafty) |
|---|---|---|
| 3/8 inch | 12 – 15 CFH | 18 – 22 CFH |
| 1/2 inch | 15 – 20 CFH | 20 – 25 CFH |
| 5/8 inch | 20 – 25 CFH | 25 – 30 CFH |
| 3/4 inch | 25 – 30 CFH | 30 – 35 CFH |
Building on this, I always recommend starting at 20 CFH for a 1/2-inch nozzle. It is a safe middle ground that works for most 1/8-inch to 1/4-inch steel projects. As you gain experience, you will learn to “listen” to the weld and adjust by 2 or 3 CFH at a time to find the perfect setting for your specific shop.
Mastering Torch Control and its Effect on Gas Coverage
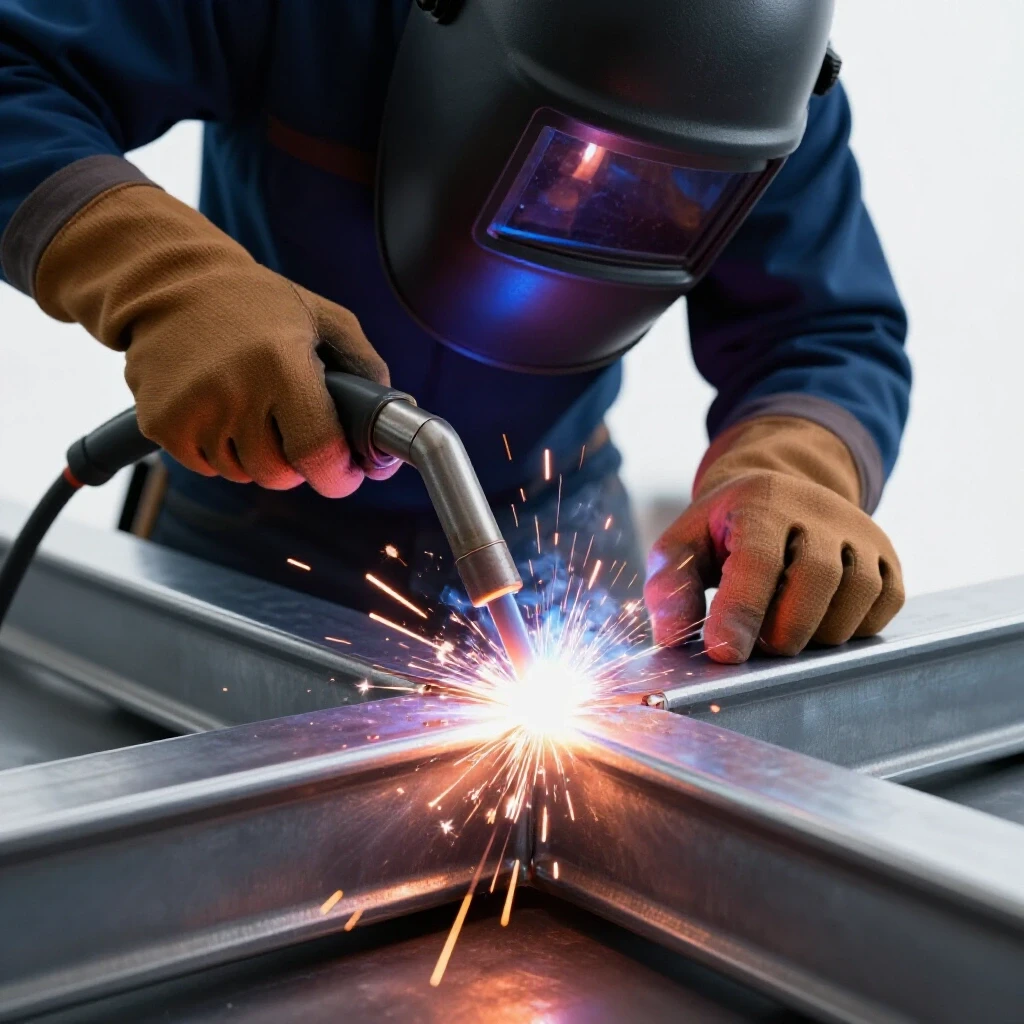
Your physical habits directly impact how well the gas protects your work. The distance between the tip of your torch and the metal, known as the stick-out or electrode extension, is a critical variable. If you hold the torch too far away, the gas disperses before it can reach the puddle.
In my own welding technique progression, I found that maintaining a consistent 3/8-inch to 1/2-inch distance is the sweet spot. If you pull back to an inch, you lose the protective envelope entirely. This results in “pepper” or brown soot on the edges of your bead, which is a sign of atmospheric contamination.
- Keep a 10 to 15-degree drag angle to help the gas flow over the cooling weld.
- Maintain a steady travel speed of 8 to 12 inches per minute (IPM).
- Ensure your arc gap stays between 3/32″ and 1/8″ for maximum stability.
- Watch for “brown soot” which indicates the gas is being blown away by a draft.
Interestingly, the angle at which you hold the torch acts like a windbreak. If you tilt the torch too far, you might push the gas away from the puddle instead of over it. I tell my students to imagine the gas is a liquid pouring out of the nozzle; you want it to wash over the metal, not splash off it.
Adapting Gas Delivery to Different Joint Configurations
The shape of the metal pieces you are joining changes how the gas behaves. A flat plate allows the gas to spread out in all directions. A “T-joint” or a corner, however, acts like a pocket that can trap the gas, often requiring a slightly lower flow rate to avoid turbulence.
When I practice fillet welds, I notice that the vertical and horizontal walls help hold the gas in place. In these cases, 15 CFH is often plenty. Conversely, when welding an outside corner, the gas “falls off” the edges. For those joints, I usually bump the flow up by 5 CFH to ensure the peak of the corner stays covered.
- Flat Plate: Standard flow (20 CFH).
- Fillet/T-Joint: Lower flow (15 – 18 CFH) because the joint captures the gas.
- Outside Corner: Higher flow (22 – 25 CFH) to compensate for gas “roll-off.”
- Lap Joint: Standard flow (20 CFH), focusing the nozzle into the “step.”
As a result of these physical differences, you must be prepared to adjust your settings as you move around a project. I keep a small notepad by my welder to log which settings worked best for specific joints. This data-driven approach is what separates a hobbyist from someone aiming for professional-grade results.
Identifying Gas-Related Defects in Trade School Practice Drills
The most common sign of poor gas coverage is porosity. These are small holes or “pits” in the weld bead that look like a sponge. They occur when gas bubbles are trapped in the metal as it freezes. If you see this, your first check should always be your flow rate and your torch distance.
Another visual cue is the color of the weld. While MIG welds on steel aren’t always bright and shiny, they should not be covered in heavy black or brown flakes. This “soot” is often a sign that the gas shield was interrupted. It could be a draft in the room or a nozzle that is clogged with metal spatter.
In my early years, I would often ignore a small amount of porosity, thinking it was just a cosmetic issue. However, those holes are points of failure. Through structured practice, I learned to stop immediately if I saw bubbles forming. I would check the flow, clean the nozzle, and restart. This discipline is essential for mastering torch control.
A Structured Progression for Refining Gas Flow Skills
Improving your skills requires more than just “burning wire.” You need a plan. I recommend a three-stage approach to mastering the invisible shield. This progression focuses on isolating variables so you can see exactly how gas flow affects your results.
- Bead-on-Plate Exercise: Run 6-inch beads on a flat plate. Start at 10 CFH and increase by 5 CFH for each bead until you reach 35 CFH. Label each bead. You will see the “sweet spot” where the metal is cleanest.
- The “Draft Test”: Set up a small fan five feet away from your bench. Practice maintaining a clean puddle by adjusting your flow rate and torch angle. This teaches you how to react to real-world shop conditions.
- Joint Variety: Practice 10 fillet welds followed by 10 outside corners. Note the difference in how the puddle behaves at the same gas setting.
By doing these drills, you aren’t just welding; you are conducting an experiment. You are learning the “feel” of the puddle when it is properly protected. This builds the hand-eye coordination needed to spot a problem before the weld is finished.
Tracking Your Technical Progression with Data
To overcome plateaus, you must measure your progress objectively. I use a simple log sheet to track my shop sessions. When a weld fails or looks poor, I look at the data to see what changed. Often, I find that I forgot to adjust for a new nozzle size or a change in the shop’s airflow.
| Date | Material Thickness | Nozzle Size | CFH Setting | Joint Type | Result/Notes |
|---|---|---|---|---|---|
| 10/12 | 1/8″ Steel | 1/2″ | 18 CFH | Flat | Clean, no soot. |
| 10/14 | 1/4″ Steel | 1/2″ | 18 CFH | Fillet | Good penetration. |
| 10/15 | 1/4″ Steel | 1/2″ | 25 CFH | Corner | Needed more gas. |
Maintaining a log like this helps you identify patterns. If you notice that your fillet welds are always cleaner than your flat beads, you might be using too much gas on the flat plates, causing turbulence. This level of detail is how you move from a beginner to an intermediate fabricator.
Why Travel Speed Rules the Puddle
Even with the perfect gas flow, your travel speed can ruin the shield. If you move too fast, you “outrun” the gas envelope. The gas needs a moment to displace the air in front of the torch. If you are racing across the metal, the leading edge of the puddle will hit oxygen before the gas can protect it.
I aim for a travel speed of 8 to 12 inches per minute. A good way to practice this is to mark a 6-inch line on a piece of scrap and use a stopwatch. If you finish the weld in 30 seconds, you are hitting 12 IPM. If it takes 45 seconds, you are at 8 IPM. Consistency in speed leads to consistency in gas coverage.
Building a steady hand pattern is about body mechanics. I always try to “brace” my arm against the table or use my off-hand to steady the torch. This prevents the “shakes” that can cause the torch to move in and out, which fluctuates the gas pressure at the weld site.
Physical Practice Milestones for Skill Verification
How do you know you are getting better? You need benchmarks. In a vocational setting, we look for specific visual and structural markers. For a self-taught fabricator, these milestones serve as your “grade” for the week.
- Milestone 1: Ability to run a 6-inch bead with zero visible porosity.
- Milestone 2: Maintaining a consistent 1/2-inch stick-out for the entire length of a joint.
- Milestone 3: Successfully adjusting gas flow to eliminate soot on an outside corner joint.
- Milestone 4: Completing a project in a drafty environment by using physical shields and adjusted flow rates.
When I hit these milestones, I felt a massive boost in confidence. It wasn’t just luck anymore; it was a skill I could repeat. If you find yourself struggling with a specific milestone, go back to the bead-on-plate drills. There is no shame in returning to the basics to fix a technique flaw.
Practical Tips for Small Garage Workshops
Working in a garage presents unique challenges compared to a professional shop. You might have a breeze coming under the garage door or a fan running to keep you cool. These small air movements can wreak havoc on your gas shield.
In my shop, I use welding screens or even pieces of plywood to block drafts. If you can’t stop the air, you have to compensate with the machine. I also recommend checking your nozzle frequently for “spatter” buildup. These little balls of metal inside the nozzle disrupt the gas flow, making it turbulent even if your CFH is set correctly.
- Keep a nozzle gel or spray nearby to prevent spatter buildup.
- Use a pair of “welding pliers” to clean the nozzle every few minutes.
- If you weld near a door, keep the flow on the higher end (25-30 CFH).
- Always do a “test fire” on scrap metal to check the gas before starting on your main project.
These small habits add up. They reduce the number of variables you have to worry about, allowing you to focus entirely on your hand movement and the puddle.
Conclusion
Mastering the invisible shield is a journey of patience and observation. It is about understanding that the gas flow is just as important as the voltage or the wire speed. By setting a baseline, tracking your results, and practicing with intent, you will overcome the plateaus that frustrate so many beginners.
Remember that fabrication is a physical skill. Your hands need time to learn the rhythm of the torch, and your eyes need time to recognize the subtle signs of a failing shield. Stick to the metrics, keep your logbook updated, and don’t be afraid to experiment with your settings.
As you move forward, focus on the “clean zone.” If you keep your environment stable and your torch control tight, the quality of your work will follow. The path to professional-grade fabrication isn’t a secret; it is a series of small, documented improvements made over hundreds of hours in the shop.
Frequently Asked Questions
What happens if I set my gas flow too high?
Setting the flow too high (above 30-35 CFH in a small nozzle) causes turbulence. This creates a Venturi effect, where the fast-moving gas pulls outside air into the stream. This results in the very porosity and contamination you are trying to avoid.
How do I know if my gas flow is too low?
The most obvious sign is porosity (holes in the weld). You may also hear a “crackling” or “popping” sound that is louder than the usual MIG “bacon sizzle.” Visually, the weld will look dull, gray, and may have brown soot around the edges.
Does the type of metal I am welding change the flow rate?
While this guide focuses on steel, the physics of gas coverage remain similar for most MIG processes. However, thicker materials often require larger nozzles, which in turn require higher CFH settings to maintain the same level of protection.
Why does my weld have holes even if my gas is set at 20 CFH?
This is often caused by “stick-out.” If you hold the torch more than 1/2-inch away from the metal, the 20 CFH of gas will disperse before it reaches the puddle. Check your torch distance and ensure there are no fans blowing directly on your work area.
How often should I check my gas flow?
I check my flow rate every time I start a new session or change my nozzle. It is also good practice to check it if you move your welder to a different part of the shop, as the airflow might be different.
Can I weld outdoors by just turning up the gas?
You can, but it is difficult. Most pros use a “windbreak” like a piece of plywood. If the wind is over 5 mph, even 50 CFH of gas might not be enough to protect the puddle. In those cases, physical shielding is better than just cranking up the flow.
Does nozzle size really matter that much?
Yes. A 3/8-inch nozzle concentrates the gas into a small area, while a 3/4-inch nozzle spreads it out. If you use a large nozzle with a low CFH, the gas won’t have enough pressure to push the air away. Always match your CFH to your nozzle diameter.
What is the “bacon sizzle” sound, and does gas affect it?
The “bacon sizzle” is the sound of a well-tuned short-circuit MIG arc. While gas doesn’t create the sound, a lack of gas will cause the arc to become unstable, leading to a loud, erratic popping sound that replaces the consistent sizzle.
Should I change my gas flow for vertical welding?
Generally, no. The flow rate stays the same. However, because heat rises, you may find that the gas “pockets” differently in vertical joints. Most fabricators keep their standard flow but pay closer attention to their torch angle.
What is the best way to practice gas control?
The “Bead-on-Plate” progression is the best way. By intentionally setting the gas too low, then too high, and finally at the sweet spot, you teach your eyes to recognize the visual signs of proper coverage. This “calibrates” your brain to the process.
(This article was written by one of our staff writers, Thomas Langley. Visit our Meet the Team page to learn more about the author and their expertise.)