How to Weld Structural Repairs on Heavy Equipment (Guide)
When I first started working on heavy steel frames, I felt a deep sense of anxiety. I remember staring at a cracked loader bucket, wondering how my shaky hands could ever produce a bead strong enough to hold tons of pressure. My early attempts were a mess of “cold lap” and uneven ripples because I didn’t understand how to manage the massive heat required for thick metal. I spent years refining my approach, moving from guessing my settings to tracking every movement in a logbook. This guide is built on those twelve years of trial and error, focusing on the physical mechanics you need to repair heavy machinery frames effectively.
Mastering Body Mechanics for Heavy Steel Joints
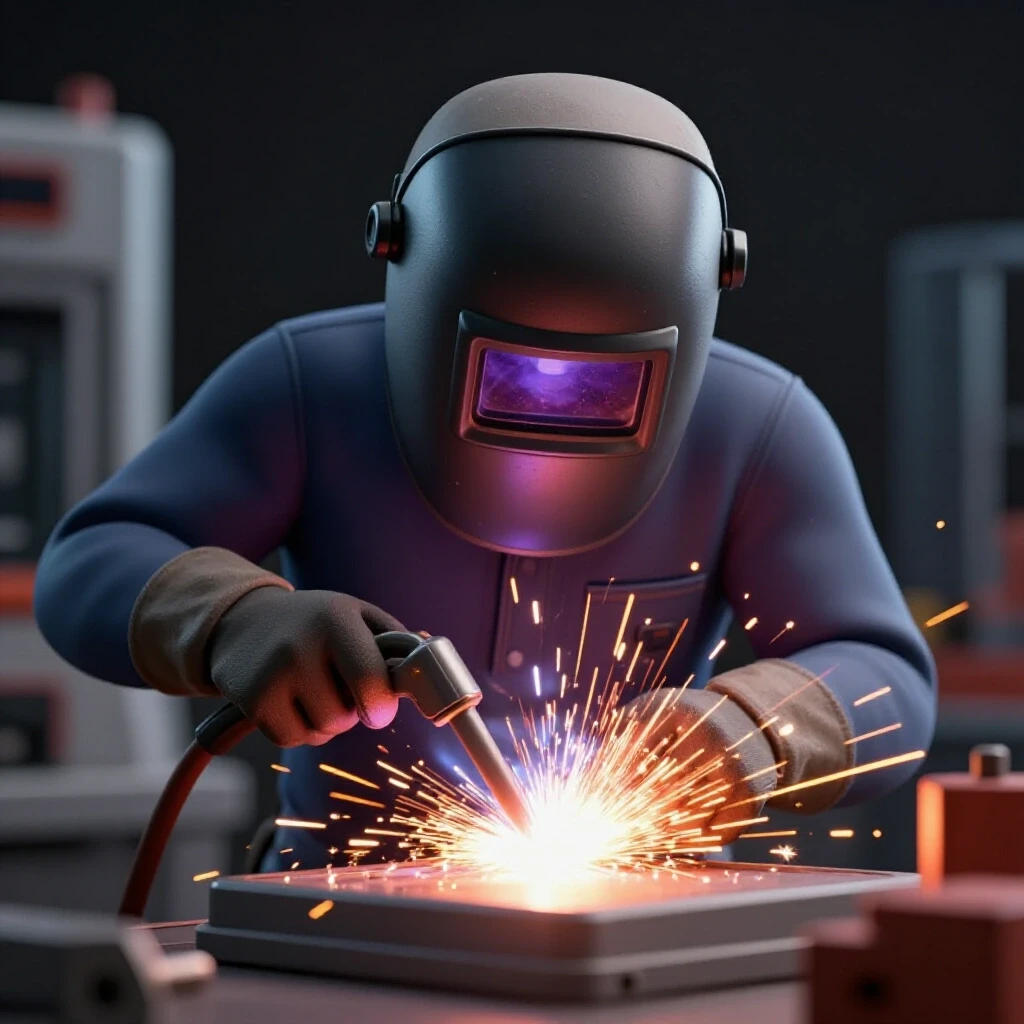
Body mechanics is the study of how you position your torso, arms, and hands to maintain a steady arc. When you work on thick structural sections, you often have to hold a position for several minutes while the metal absorbs intense heat.
If your body is tense, your weld will be shaky. I teach my students the “three-point contact” rule. This means your feet are planted wide, your non-dominant hip is braced against the workbench or machine, and your gloved hand or elbow is propped on a steady surface. This stability allows your wrist to move with the fluid motion needed for a long, straight bead.
Interestingly, most beginners try to weld using only their fingers. This leads to fatigue and “stair-stepping” in the bead. Instead, you should move your entire forearm or even your whole body as a single unit. Think of your arm as a drafting tool; the pivot point should be your shoulder or elbow, not your wrist. This change in physical approach is often the first step in overcoming a skill plateau.
| Physical Element | Beginner Habit | Professional Technique |
|---|---|---|
| Hand Grip | Death grip on the torch | Relaxed, “pencil” style grip |
| Pivot Point | Moving only the wrist | Moving from the shoulder/hip |
| Vision | Staring at the bright arc | Looking just ahead of the puddle |
| Breathing | Holding breath during bead | Slow, rhythmic breathing |
Reading the Fluid Puddle in High-Heat Scenarios
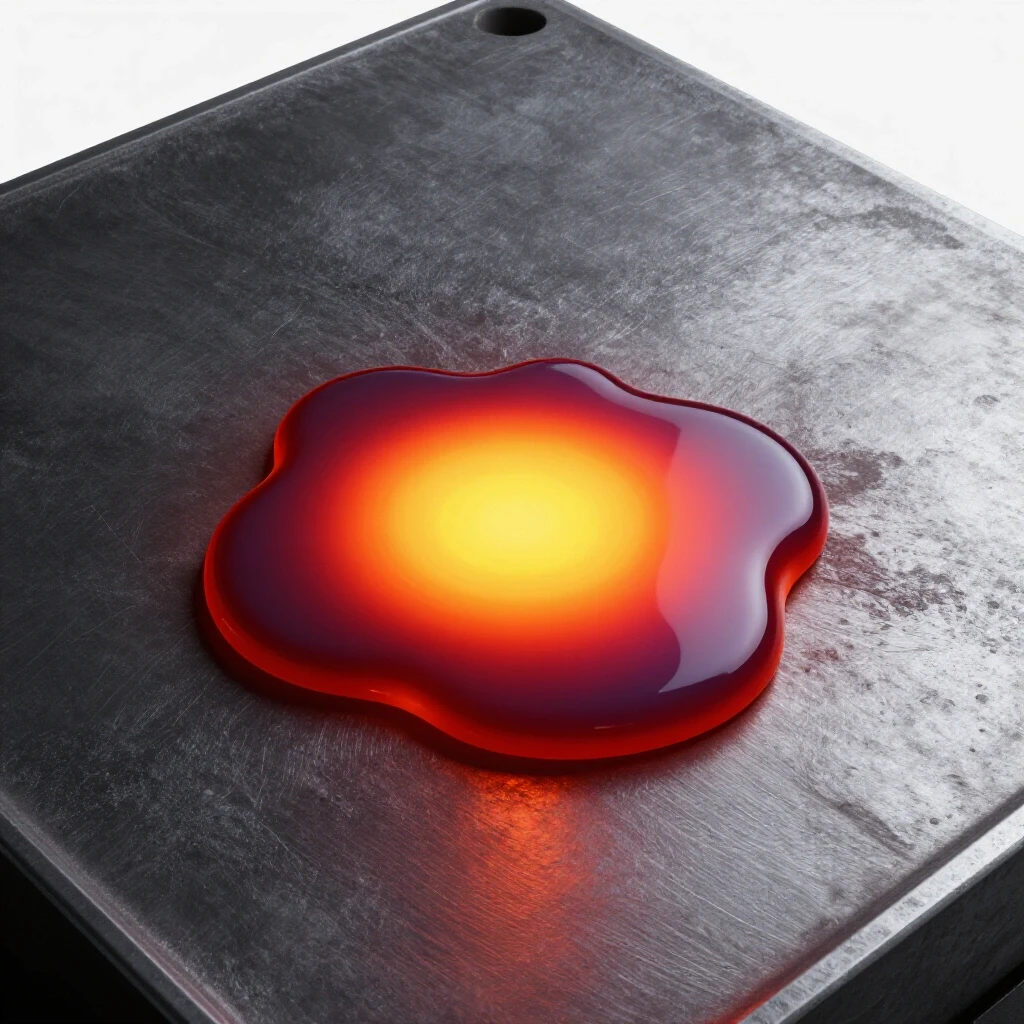
Reading the puddle means watching the molten pool of metal to see how it flows and reacts to your torch movements. In structural work, the puddle is your only real-time indicator of whether the metal is actually fusing or just sitting on the surface.
When you are learning metal fabrication, you must learn to distinguish between the “slag” (the waste material) and the “puddle” (the liquid steel). The puddle should look like a bright, glowing oval. If the back of the oval is pointed like a teardrop, you are moving too fast. If it is a wide, lazy circle, you are moving too slow and putting too much heat into the part.
Building this skill takes time. I recommend a practice drill where you intentionally vary your speed. Start a bead at a normal pace, then slow down until the puddle almost drips, then speed up until the bead becomes thin and stringy. By seeing these extremes, your brain learns to recognize the “perfect” puddle shape, which is usually a slightly elongated oval with a consistent width.
Setting Baseline Machine Power for Thick Plate
Machine parameters are the settings for voltage, wire speed, or amperage that determine how much heat you are pushing into the steel. For heavy equipment, you cannot use the same settings you would use for a thin garden gate.
I always tell my students to start with the manufacturer’s suggested settings and then “tune” them by ear. A MIG welder on thick plate should sound like a steady “hiss” or “bacon frying.” If it sounds like a machine gun, your wire speed is too high. If it is popping and extinguishing the arc, your voltage is too low.
| Material Thickness | Amperage (Stick) | Voltage (MIG) | Wire Speed (MIG) |
|---|---|---|---|
| 1/4 inch | 125-140A | 19-21V | 280-320 IPM |
| 3/8 inch | 150-170A | 22-24V | 350-400 IPM |
| 1/2 inch | 180-210A | 24-26V | 420-480 IPM |
Preparing Clean Zones and Beveling Cracks
Preparation is the act of cleaning the metal and grinding a “V” shape into a crack so the new weld can reach the bottom of the joint. In structural repairs, you cannot simply weld over a crack; you must remove the damaged metal first.
If you don’t grind a bevel, the weld will only sit on the surface, leaving the crack underneath to grow again. I use a “clean zone” rule: I grind the metal back to shiny silver at least two inches away from the joint on all sides. Any rust, paint, or grease left behind will turn into gas bubbles, causing “porosity” or tiny holes in your weld that weaken the structure.
When repairing a crack in a frame, I also use a technique called “stop-drilling.” I find the very end of the crack and drill a 1/8-inch hole right through the metal. This stops the crack from spreading further while I am heating the area during the repair. It is a simple step that makes a massive difference in the longevity of the fix.
Practicing Multi-Pass Bead Consistency
Multi-pass welding is the process of stacking several smaller beads on top of each other to fill a large gap. For heavy equipment, one single pass is rarely enough to provide the necessary strength.
The biggest mistake I see is “humping,” where the first bead is too tall and rounded, making it hard to stack the next one. Your first bead, or the “root pass,” should be flat. To achieve this, you need to maintain a consistent 10-15 degree drag angle. If your torch is too vertical, the bead will pile up. If it is tilted too far, you will lose penetration.
- Root Pass: Focus on deep penetration into the bottom of the “V.”
- Fill Passes: Use a slight side-to-side “weave” to tie the edges of the joint together.
- Cap Pass: This is the final layer. It should be slightly above the surface of the original metal with a smooth, uniform ripple pattern.
Why Travel Speed Rules the Puddle
Travel speed is the rate at which you move the torch along the joint, usually measured in inches per minute (IPM). It is the most common variable that causes beginners to fail their structural repairs.
If you move too fast, the metal doesn’t have time to melt, leading to a “cold” weld that will eventually snap. If you move too slow, you create a “heat-affected zone” that is too large, which can actually make the surrounding steel brittle. I suggest aiming for a travel speed of 8-12 inches per minute for most structural joints.
To master this, I use a “timed drill.” Mark a 6-inch line on a piece of scrap plate. Try to weld that line in exactly 45 seconds. Do this ten times in a row. By the tenth time, your hand will begin to “feel” the rhythm. This type of welding technique progression is how you move from a hobbyist level to a professional standard.
Overcoming Technique Plateaus through Structured Drills
A technique plateau is a period where your skills seem to stop improving despite regular practice. This usually happens because you are repeating the same mistakes without realizing it.
To break through, you must change how you practice. Instead of just “welding things,” spend an hour doing “dry runs.” This means going through the motions of a weld with the machine turned off. Focus on your body position, your breathing, and your path of travel. If you hit an obstacle or your arm gets stuck halfway through the motion, you need to adjust your stance before you ever strike an arc.
Another powerful tool is video analysis. Set up your phone to record your hands while you weld. When you watch it back, you will often see that your torch angle is changing or your hand is shaking in ways you didn’t feel at the time. This objective data is the best way to measure your progress.
Tracking Progress with a Metal Welding Practice Guide
A practice log is a written record of your settings, the materials you used, and the results of your welds. It turns “guessing” into “knowing.”
I have kept a log for years, and it is the single most important tool in my shop. When I encounter a specific type of steel or a difficult joint, I can look back and see exactly what settings worked for me three years ago. This removes the “frustrating learning curve” and allows me to get straight to work.
- Date and Material: Note the thickness and type of steel.
- Settings: Record Amperage, Voltage, and Wire Speed.
- The Goal: Write down what you are practicing (e.g., “consistent travel speed”).
- The Result: Give yourself a grade from 1 to 10 on visual appearance and penetration.
- The Correction: Note one thing you will change on the next pass.
Identifying and Correcting Common Joint Defects
Self-assessment is the ability to look at your own work and identify what went wrong. In structural repairs, being honest about your mistakes can prevent a dangerous equipment failure.
The most common defect in heavy repairs is “undercut.” This is a small groove melted into the base metal right at the edge of the weld. It acts like a perforated line on a piece of paper, making the metal easy to snap. Undercut is usually caused by having your voltage too high or moving too fast. If you see it, you must grind it out and weld it again.
Another issue is “overlap,” where the weld metal just sits on top of the surface without fusing. This is caused by low heat or a travel speed that is too slow. A good weld should look like it is “sunk” into the metal, with the edges blending smoothly into the base plate. If the edge of the weld looks like a sharp cliff, you have overlap.
Heat Input and Metal Recrystallization
Heat input is a calculation of how much energy you are putting into the metal. When you weld thick sections of heavy equipment, the heat can change the internal structure of the steel, a process called recrystallization.
If you put too much heat into a small area, the grains of the steel grow larger, which makes the metal weaker and more likely to crack next to the weld. This is why we use “interpass temperature” control. I use a temp-stick or an infrared thermometer to make sure the metal has cooled down to about 400 degrees Fahrenheit before I start the next pass.
Building this habit ensures that your repair is just as strong as the original factory frame. It’s not just about the bead looking good; it’s about the science happening inside the steel. Mastering torch control includes knowing when to stop and let the metal rest.
Transitioning from Flat to Vertical Repairs
Most heavy equipment isn’t conveniently sitting on a table; it’s often vertical or overhead. Vertical welding is significantly harder because gravity wants to pull the molten puddle out of the joint.
To handle this, you must reduce your heat slightly—usually by about 10-15%—and use a “shelf” technique. You start at the bottom and create a small bead of metal that acts as a shelf for the next bit of molten steel to sit on. You “stack” the puddle upward, moving in a slight “V” or “inverted-U” shape.
This is a high-level skill that requires excellent muscle memory. I recommend practicing “vertical down” first to get the feel of the motion, but remember that for structural strength, “vertical up” is almost always required. It provides much deeper penetration.
Practical Benchmarks for Skill Verification
How do you know when you are ready to move from practice to a real repair? You need objective benchmarks to measure your skill.
A simple test is the “fillet break test.” Weld a T-joint on one side only using 3/8-inch plate. Once it cools, put the plate in a large vise and use a sledgehammer to bend the vertical piece over the weld. If the weld snaps and you see shiny, un-melted metal in the middle, you didn’t get enough penetration. If the metal itself bends or tears next to the weld, your technique is solid.
- Visual Pass: No visible holes (porosity), no undercut, and consistent ripple spacing.
- Measurement Pass: The weld “leg” length should be equal to the thickness of the metal.
- Consistency Pass: You can repeat the same quality bead five times in a row.
Final Steps in the Fabrication Learning Journey
Mastering structural repairs is a marathon, not a sprint. It is a physical craft that requires your brain and your muscles to work in perfect synchronization.
Don’t get discouraged by a bad day in the shop. Even after twelve years, I still have moments where my hand isn’t as steady as I want it to be. The difference is that now I have the data and the drills to fix it. Start with small, non-critical repairs, keep your logbook updated, and focus on your body mechanics.
Your next step should be to set up a dedicated practice area. Get some scrap 3/8-inch plate, clean it to a bright shine, and start your timed travel-speed drills. Consistency is the foundation of all professional-grade fabrication.
FAQ: Frequently Asked Questions on Structural Welding
What is the best welding process for heavy equipment repairs?
For most shop-based repairs on thick steel, MIG (GMAW) with a solid wire and shielding gas is efficient, but Stick (SMAW) is often preferred for field repairs or very thick, dirty metal. Stick welding with a 7018 electrode is the industry standard for structural work because it is very strong and handles contaminants well.
How do I know if I am getting enough penetration on thick plate?
Look at the edges of your weld bead. They should flow smoothly into the base metal without a sharp “shelf.” If you can see the original “V” groove after your first pass, you are moving too fast or your heat is too low. The root pass must completely consume the bottom of the joint.
Why does my weld have tiny holes in it?
This is called porosity. It is almost always caused by poor cleaning or a draft blowing away your shielding gas. Ensure you have ground the metal to a “clean zone” at least two inches from the weld and check that your gas flow is set correctly (typically 25-30 cubic feet per hour).
What is the difference between a “drag” and a “push” angle?
A “drag” angle means the torch is pointed back toward the completed weld, which produces deeper penetration and a narrower bead—ideal for thick structural steel. A “push” angle means the torch points toward the un-welded joint, which produces less penetration and a wider, flatter bead, better for thin sheet metal.
How do I stop the metal from warping during a repair?
Warping, or distortion, is caused by uneven heating. To minimize this, use “tack welds” to hold the parts in place. You can also use a “back-stepping” technique, where you weld short sections in the opposite direction of the overall travel. This spreads the heat more evenly across the frame.
Is it necessary to preheat the steel before welding?
For very thick sections (over 3/4 inch) or high-carbon steels, preheating the metal to 200-400 degrees Fahrenheit is essential. It slows down the cooling rate, which prevents the weld from becoming brittle and cracking. For standard 1/4-inch or 3/8-inch mild steel, preheating is usually not required unless the ambient temperature is very cold.
How can I improve my shaky hands while welding?
Focus on your “three-point contact” and your breathing. Brace your body against a solid object and use your non-dominant hand to support the torch or your dominant wrist. Practice “dry runs” to find a comfortable path of travel before you start the arc.
What should I do if I find a crack in a weld I just finished?
You must grind it out completely. Do not just weld over a crack, as it will likely reappear. Grind a new bevel into the area, ensure it is perfectly clean, and check your heat settings. Often, a crack in a new weld is a sign that the metal cooled too quickly or the joint was under too much tension.
How do I choose the right filler metal for a repair?
For structural steel, you want a filler metal that matches or slightly exceeds the strength of the base metal. A “70” series electrode (like E7018 or ER70S-6 wire) provides 70,000 psi of tensile strength, which is the standard for most heavy equipment frames made of mild steel.
Why is my weld bead too tall and narrow?
This is usually a sign that your travel speed is too slow or your voltage/amperage is too low. The metal is piling up because it isn’t hot enough to flow out and “wet” the edges of the joint. Increase your heat or move slightly faster while maintaining a consistent arc length.
(This article was written by one of our staff writers, Thomas Langley. Visit our Meet the Team page to learn more about the author and their expertise.)