How to Build a Complete Metal Workshop on a Budget (Guide)
When I stood in my empty two-car garage back in 2013, I had exactly $2,000 and a stack of printed forum posts. The space felt cavernous and intimidating. As a former industrial maintenance technician, I knew what a professional floor looked like, but translating those high-end standards to a residential setting on a shoestring budget was a different challenge. I spent weeks over-analyzing tool brands and circuit loads, terrified that one wrong purchase would drain my savings. Since then, I have documented every dollar spent and every layout change, helping others navigate the same “analysis paralysis” that almost stopped me from striking my first arc.
Establishing a functional fabrication space does not require a massive inheritance or a commercial-grade shop. It requires a methodical approach to prioritizing tools, managing power constraints, and ensuring your air stays breathable. The goal is to create a workspace that evolves with your skills, starting with the bare essentials and adding complexity only when your projects demand it. By focusing on the core functions of cutting, joining, and finishing, you can build a highly capable area without the financial stress often associated with metalworking.
Evaluating Your Workspace Footprint and Electrical Capacity
Assessing your available square footage and power supply is the first step in planning a functional metal fabrication area. This phase involves mapping out where heavy equipment will sit and determining if your existing electrical circuits can handle the high amperage draw of welders and grinders without constantly tripping breakers.
Before you buy a single wrench, you need to know what your garage can actually support. A standard 15A household circuit is often the biggest bottleneck for a beginner metalworker. When I started, I tried to run a small flux-core welder and a shop vacuum on the same circuit. The result was a blown fuse within seconds. Interestingly, most entry-level welders require a dedicated 20A circuit to operate at their full potential. If you are sharing a circuit with a refrigerator or garage door opener, you will face constant interruptions.
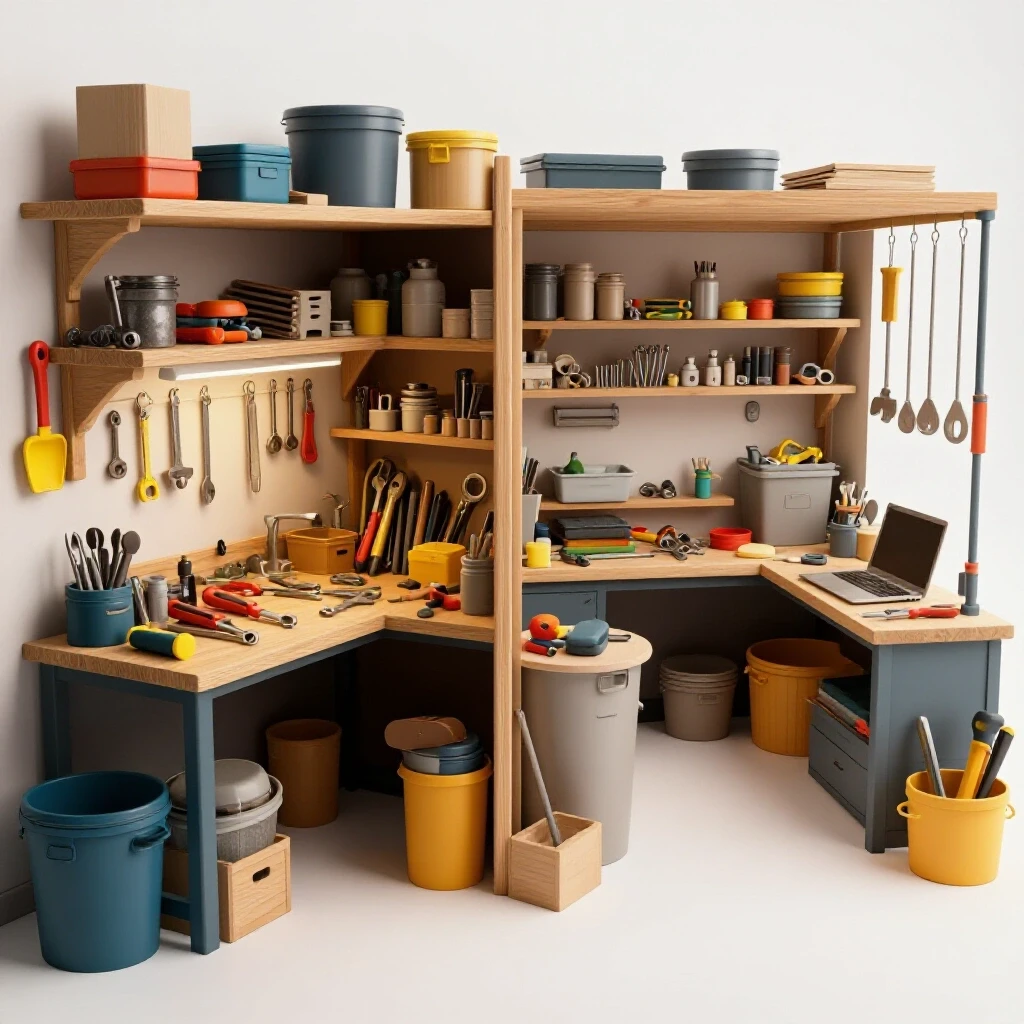
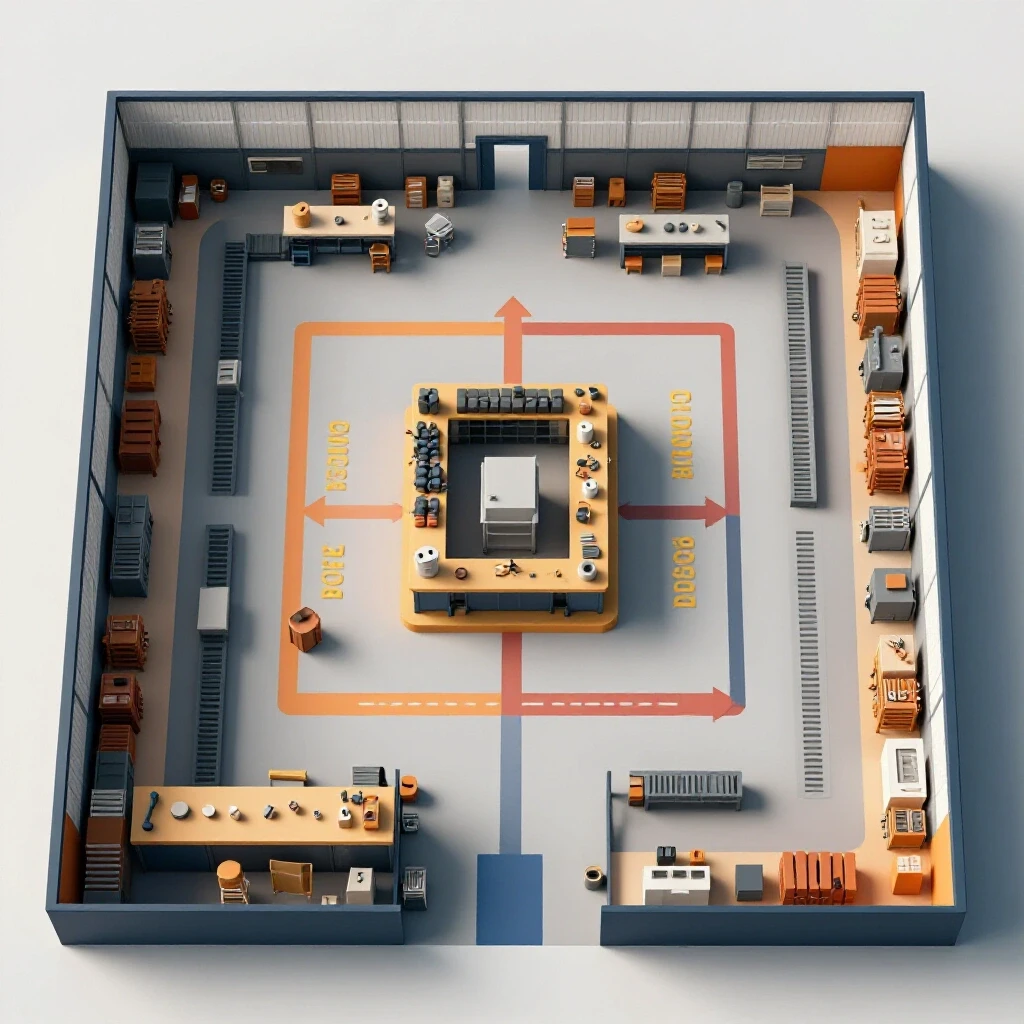
The physical layout is equally important. I recommend a “U-shaped” or “L-shaped” configuration to minimize steps between tools. You should designate a “Hot Zone” for welding and grinding, kept far away from flammable materials or chemical storage. This zoning is a simplified version of industrial safety standards, ensuring that sparks from a grinder do not land on a pile of oily rags or a plastic fuel can.
| Tool Class | Typical Amperage Draw | Recommended Circuit |
|---|---|---|
| Angle Grinder (4.5″) | 6A – 10A | 15A Standard |
| Entry-Level MIG Welder | 15A – 20A | 20A Dedicated |
| Bench Grinder | 3A – 5A | 15A Standard |
| Chop Saw | 15A | 20A Dedicated |
| Shop Vacuum | 8A – 12A | 15A Standard |
A starter metal workshop layout should prioritize the flow of material. You need enough “infeed” and “outfeed” space to handle long pieces of steel, such as 10-foot square tubing. If your workbench is tucked in a corner with no side clearance, you will struggle to cut long stock. I found that placing my primary cutting station on heavy-duty locking casters allowed me to roll it to the center of the floor for long cuts and tuck it away when finished.
- Measure your total square footage and subtract 20% for walking paths.
- Identify all outlets and map them to your breaker box.
- Mark “Hot Zones” on the floor with tape to visualize spark paths.
- Ensure at least 3 feet of clearance around stationary machines.
Strategic Tool Prioritization for the First Phase
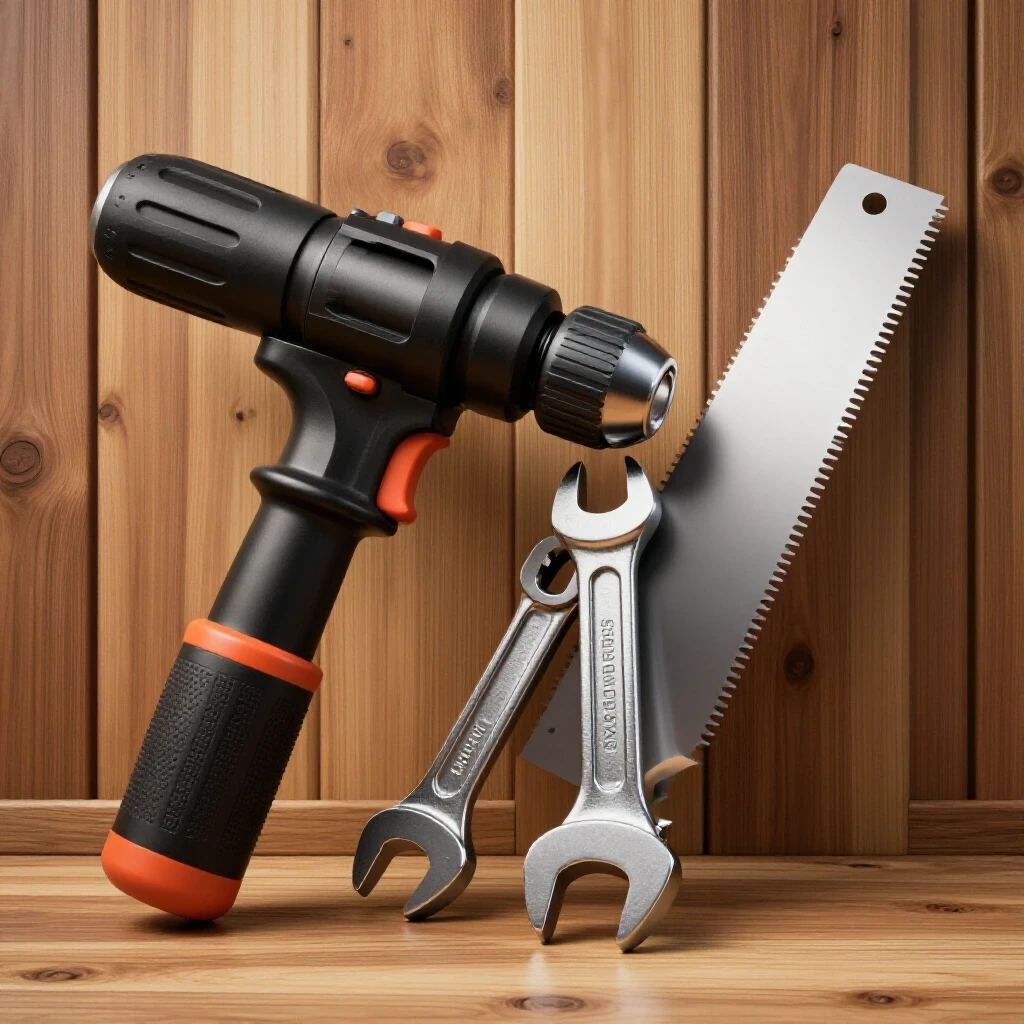
Choosing affordable fabrication tools requires a balance between cost and longevity. This stage focuses on acquiring the “Big Three” capabilities: the ability to cut metal, the ability to join it, and the ability to clean the finished product, while avoiding the temptation of low-quality “all-in-one” kits.
One of the most common mistakes I see is spending 90% of the budget on a high-end welder and having nothing left for the tools needed to prepare the metal. In reality, welding is only about 15% of the work. The rest is measuring, cutting, and grinding. I suggest an initial budget allocation where 30% goes toward high-quality safety gear and precision measuring tools, while the remaining 70% is split between the machines.
Building on this, the used market is your best friend. I purchased my first heavy-duty bench vise and a drill press from a local estate sale for less than $100 total. These older, cast-iron tools are often more stable than modern, budget-friendly versions sold at big-box stores. When vetting budget metalworking tools, look for “heavy and simple.” A vintage vise with a bit of surface rust is a better investment than a brand-new, thin-walled version that might crack under pressure.
- Cutting: A 4.5-inch angle grinder is the most versatile tool you can own. It cuts, grinds, and brushes.
- Joining: A small 120V MIG or flux-core welder is the standard starting point for home shops.
- Measuring: A high-quality steel square and a 25-foot tape measure are non-negotiable.
- Workholding: At least four C-clamps or F-clamps are required to hold pieces steady during welding.
As a result of my tracking, I noticed that “cheap” abrasives—the cutting discs and grinding wheels—actually cost more over time. A $1 cutting disc might wear out after two cuts, while a $3 high-performance disc from a reputable supplier might last for ten. Always factor in the “cost per cut” rather than the initial price tag.
Implementing Essential Safety and Ventilation Systems
Safety integration involves setting up personal protective equipment (PPE) and air exchange systems to mitigate the risks of sparks, ultraviolet light, and toxic fumes. This process ensures the workshop meets basic safety logic, protecting both the operator and the residential structure from long-term damage.
Metalworking is inherently messy and potentially hazardous. When you weld, you are creating intense UV light and vaporizing metal, which creates fine particulate matter. Garage workshop ventilation is not just about opening a window; it is about moving a specific volume of air. For a standard two-car garage, you should aim for at least 1,500 to 2,000 Cubic Feet per Minute (CFM) of air movement to clear fumes effectively.
Interestingly, I found that a simple high-velocity floor fan placed behind me, blowing across the work area toward an open door, was more effective than a small ceiling exhaust fan. This creates a “cross-draft” that pulls fumes away from my face. I also strictly adhere to ANSI Z87.1 ratings for all eye protection. Never compromise on your welding helmet; a “true color” auto-darkening lens helps beginners see the weld puddle clearly, which reduces frustration and improves the learning curve.
| Safety Item | Standard/Rating | Why It Matters |
|---|---|---|
| Welding Helmet | ANSI Z87.1 / Shade 10-13 | Protects eyes from “arc flash” and UV burns. |
| Safety Glasses | ANSI Z87.1+ | Protects against high-velocity metal chips. |
| Respirator | N95 or P100 Filter | Blocks toxic metal fumes and grinding dust. |
| Welding Gloves | Heavy Leather | Protects against heat and sharp metal edges. |
| Fire Extinguisher | Class ABC | Essential for electrical or chemical fires. |
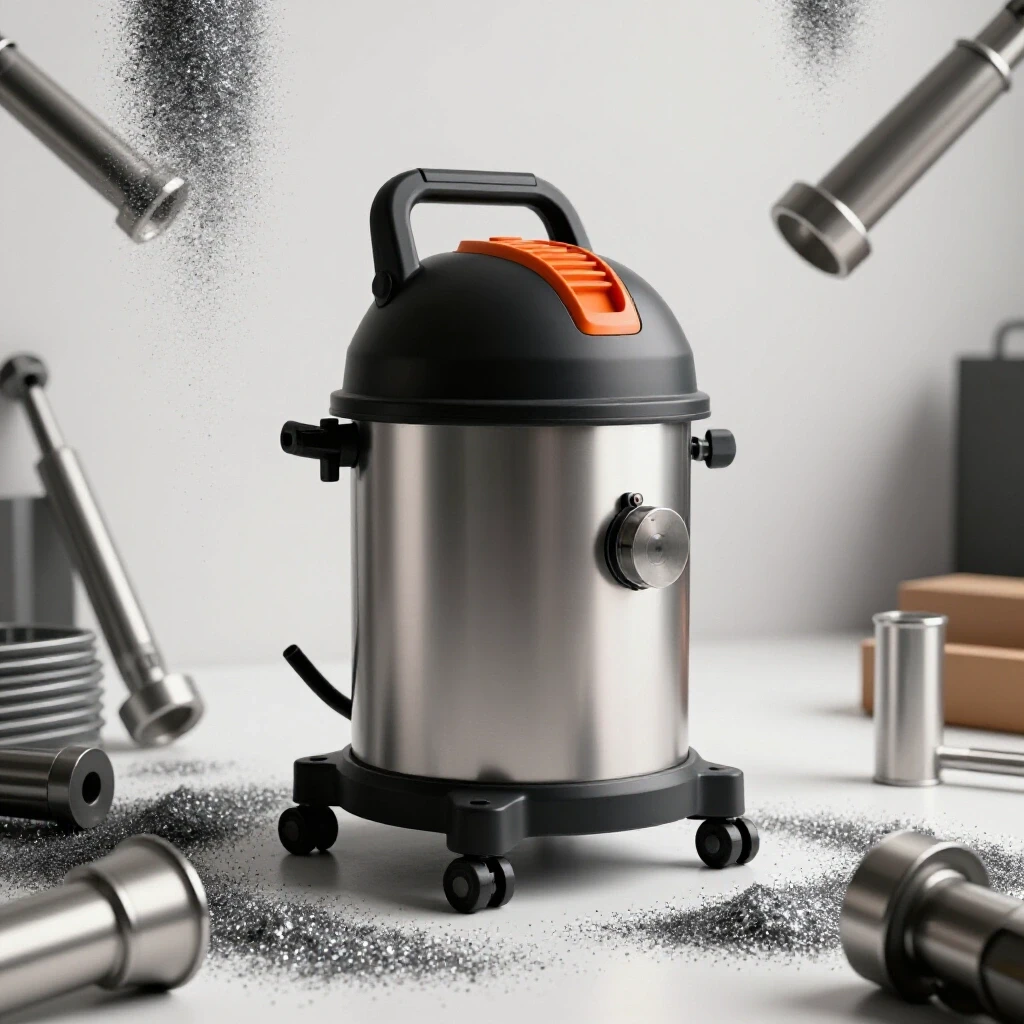
Building a safe environment also means managing your “grinding dust.” This fine metallic powder is conductive and can settle inside your electronics or even your welder, causing a short circuit. I make it a habit to blow out my shop with compressed air once a week and keep my welder covered when I am doing heavy grinding.
Designing a Functional Fabrication Workbench
The workbench is the heart of the shop, providing a flat, heat-resistant surface for assembly and welding. A budget-friendly build often utilizes a steel plate top or a heavy wooden frame with a removable metal skin, allowing for grounded welding and sturdy workholding.
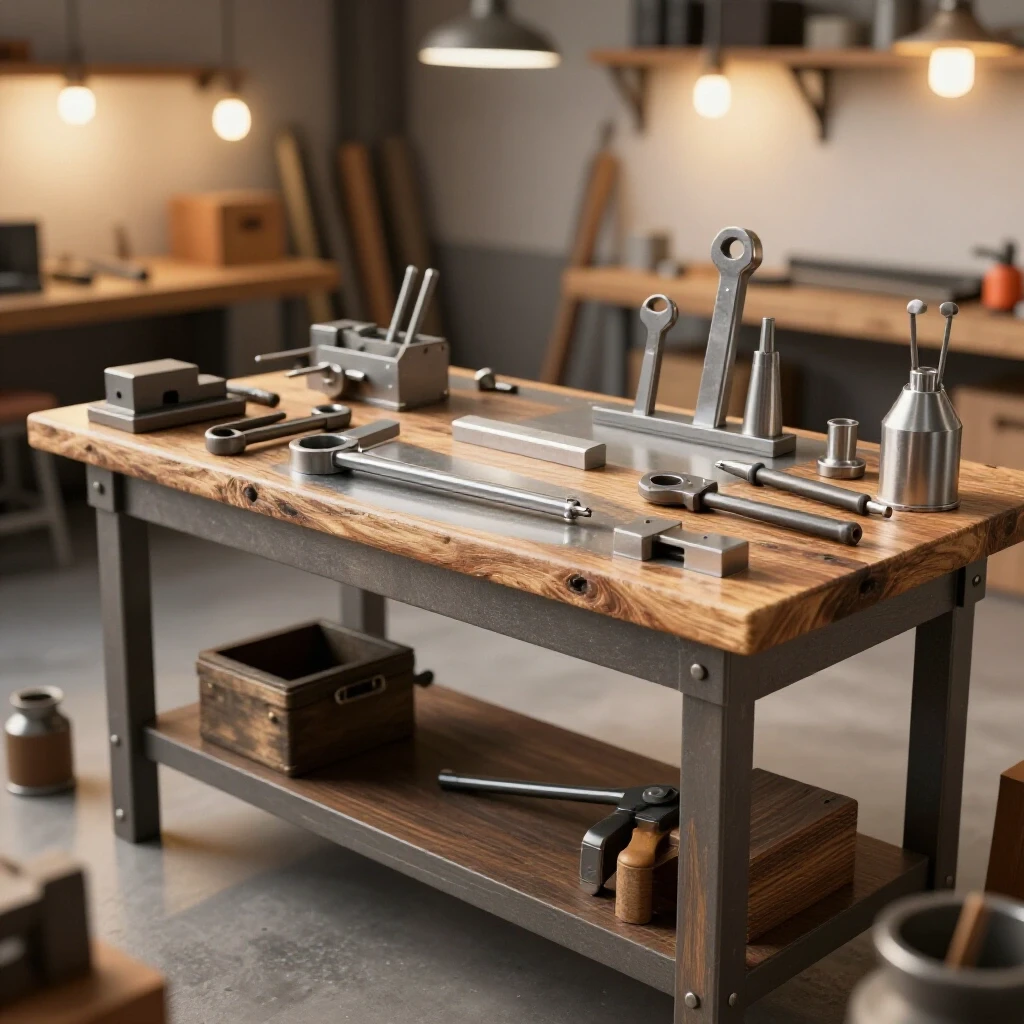
My first “welding table” was actually an old solid-core door I found on a curb, which I topped with a 3/16-inch thick sheet of mild steel. It wasn’t fancy, but it was flat and heavy. In metalworking, weight is your friend. A light table will move when you are trying to bend a piece of steel or hammer a joint into alignment.
When planning your bench, consider the height. Most standard workbenches are 34 to 36 inches high, but for detailed welding, some prefer 38 inches to reduce back strain. I recommend building a bench that is roughly 2 feet by 4 feet. This size is large enough for most home projects but small enough to keep your workshop electrical setup checklists within reach. If you use a steel top, you can clip your welder’s ground clamp directly to the table, making the entire surface part of the electrical circuit.
- Frame Construction: Use 2×2 inch square tubing or heavy 4×4 lumber.
- Surface Material: Aim for at least 1/8-inch thick steel plate to prevent warping from heat.
- Leveling: Use threaded feet or shims to ensure the table is perfectly level; otherwise, your projects will come out crooked.
- Storage: Add a lower shelf to store your welder and grinders, keeping the top clear for work.
Managing Material Storage and Scrap
Organizing raw steel and scrap pieces is vital for maintaining a clear floor and preventing tripping hazards. This involves creating vertical or horizontal racks that keep heavy material off the ground while making it easy to inventory what you have on hand.
Steel is heavy and awkward. If you lean it against a wall, it will eventually slide or bow. Early in my shop journey, I built a simple vertical rack using leftover 2x4s and some PVC pipe to separate different types of metal (flat bar, angle iron, and tubing). This kept my floor clear and allowed me to see exactly how much material I had left before starting a project.
I also suggest keeping a “Scrap Bin” for pieces shorter than 12 inches. Beginners often throw these away, but they are perfect for practice beads or small brackets. Labeling your metal is another pro-tip; use a paint marker to write the dimensions and material type (e.g., “1/8 MS” for mild steel) on the end of the piece. This prevents you from accidentally trying to weld stainless steel with mild steel wire.
- Store long stock horizontally on wall brackets if space allows.
- Keep “clean” metal (new) separate from “rusty” metal (reclaimed).
- Use a magnetic sweeper daily to pick up metal shavings and offcuts.
- Organize scrap by shape (rounds, flats, squares) to save time.
The First Test Cuts and Machine Calibration
Initial testing involves running your new tools through a series of controlled exercises to ensure they are set up correctly. This phase verifies that your circuits can handle the load and that your equipment is producing square cuts and strong welds before you begin a real project.
Once your shop is set up, don’t rush into building a complex project. Start with “calibration cuts.” Take a piece of scrap angle iron and practice cutting it at a perfect 90-degree angle with your grinder. Measure the result with your square. If it’s off, adjust your technique. This is the time to check your beginner welder power requirements. Run a few long beads on a thick piece of scrap and listen to the breaker. If it trips, you know you need to reduce your settings or find a different outlet.
I always keep a “Safety Log” and a “Project Journal.” In the log, I note when I replaced my grinder brushes or changed the filter in my respirator. In the journal, I track the settings for my welder (voltage and wire speed) for different thicknesses of metal. This data-backed approach removes the guesswork from future projects. Interestingly, your “best” settings will change depending on the ambient temperature and the length of your extension cord, so keeping these records is invaluable.
- Test 1: Cut a 2-inch square from a flat plate and check for squareness.
- Test 2: Weld two T-joints and use a sledgehammer to test the strength of the weld (the “bend test”).
- Test 3: Use a flap disc to grind a weld flush and check for “porosity” (tiny holes in the weld).
- Test 4: Run all lights and your primary tool simultaneously to check for voltage drop.
Workshop Setup Checklist and Benchmarks
To keep your progress on track, use these benchmarks to measure the functionality of your space. These numbers are based on my 12 years of shop evolution and industrial maintenance background.
- Electrical Threshold: Your welder should be able to run a 2-minute continuous bead without the breaker tripping or the plug feeling hot to the touch.
- Air Quality Benchmark: After 5 minutes of grinding, the air should remain clear enough to see the far wall of the garage; if it’s hazy, increase your CFM.
- Tool Lifespan Estimate: A budget angle grinder should last 50–100 hours of use if you don’t force it; if it burns out sooner, you are likely applying too much pressure.
- Clearance Boundary: You should be able to walk a full 360 degrees around your primary workbench without moving other equipment.
- Budget Tracking: If you find yourself spending more than 10% of your total budget on “emergency” trips to the hardware store, your initial planning needs more detail.
Building this space is an incremental process. My shop in 2013 looked nothing like it does today, but that first $2,000 setup allowed me to complete dozens of projects that eventually paid for the upgrades. By focusing on the data, the safety standards, and the core tools, you can avoid the expensive mistakes that sideline so many beginners.
Frequently Asked Questions
Can I run a welder on a standard 15A household outlet? Most entry-level 120V welders can run on a 15A circuit at low power settings, but you will likely trip the breaker when welding thicker material (1/8 inch or more). For consistent results, a dedicated 20A circuit is highly recommended to provide the necessary “headroom” for the machine’s inrush current.
What is the single most important tool for a beginner metalworker? The 4.5-inch angle grinder is the most essential tool. It performs three critical tasks: cutting metal (with a cutoff wheel), removing material (with a grinding wheel), and cleaning surfaces (with a wire brush or flap disc). Without it, you cannot prepare metal for welding.
How do I prevent my garage from catching fire while welding? Clear all flammable materials within a 35-foot radius of your work area, as sparks can travel surprisingly far. Keep a Class ABC fire extinguisher within reach, and always perform a “fire watch” for 30 minutes after you finish working to ensure no hidden embers are smoldering.
Is a flux-core welder better than a MIG welder for a budget shop? Flux-core is often cheaper initially because it doesn’t require a gas cylinder or regulator. It is also more portable and works better in breezy conditions. However, it produces more smoke and “spatter,” which requires more cleanup compared to the cleaner welds of a MIG setup.
How much should I spend on my first welding helmet? Expect to spend between $80 and $150 for a quality entry-level auto-darkening helmet. Look for one with a large viewing area and at least four sensors. Avoid the ultra-cheap $30 options, as their sensors can be slow, leading to “eye flicker” and discomfort.
How do I know if my garage ventilation is sufficient? A simple test is the “smoke path” test. Use a small incense stick or even the smoke from a recently extinguished candle. If the smoke lingers or drifts toward your face rather than toward an exhaust point, your ventilation is inadequate. You want a clear path from the work area to the outdoors.
What is the best way to clean metal before welding? Use your angle grinder with a flap disc or a wire wheel to remove all mill scale (the dark grey coating on new steel), rust, paint, or oil. The metal should be shiny and “bright” where you intend to weld. Dirty metal leads to weak, porous welds.
Can I use a wooden workbench for metalworking? Yes, but you must protect the top. Covering a heavy wooden bench with a sheet of 11-gauge (1/8 inch) steel makes it fire-resistant and provides a conductive surface for your welder’s ground clamp. Ensure the steel is securely bolted to the wood to prevent shifting.
What are “duty cycles,” and why do they matter? A duty cycle is the percentage of a 10-minute period a welder can operate before overheating. For example, a 20% duty cycle means you can weld for 2 minutes but must let the machine cool for 8 minutes. Budget machines usually have lower duty cycles, which requires more patience.
Should I buy new or used tools for my first shop? Buy used for “dumb” tools like vises, anvils, and heavy drill presses, as these have fewer parts to fail and are often built better than modern budget versions. Buy new for “smart” tools like welders and grinders to ensure you have a warranty and the latest safety features.
(This article was written by one of our staff writers, Michael Thompson. Visit our Meet the Team page to learn more about the author and their expertise.)