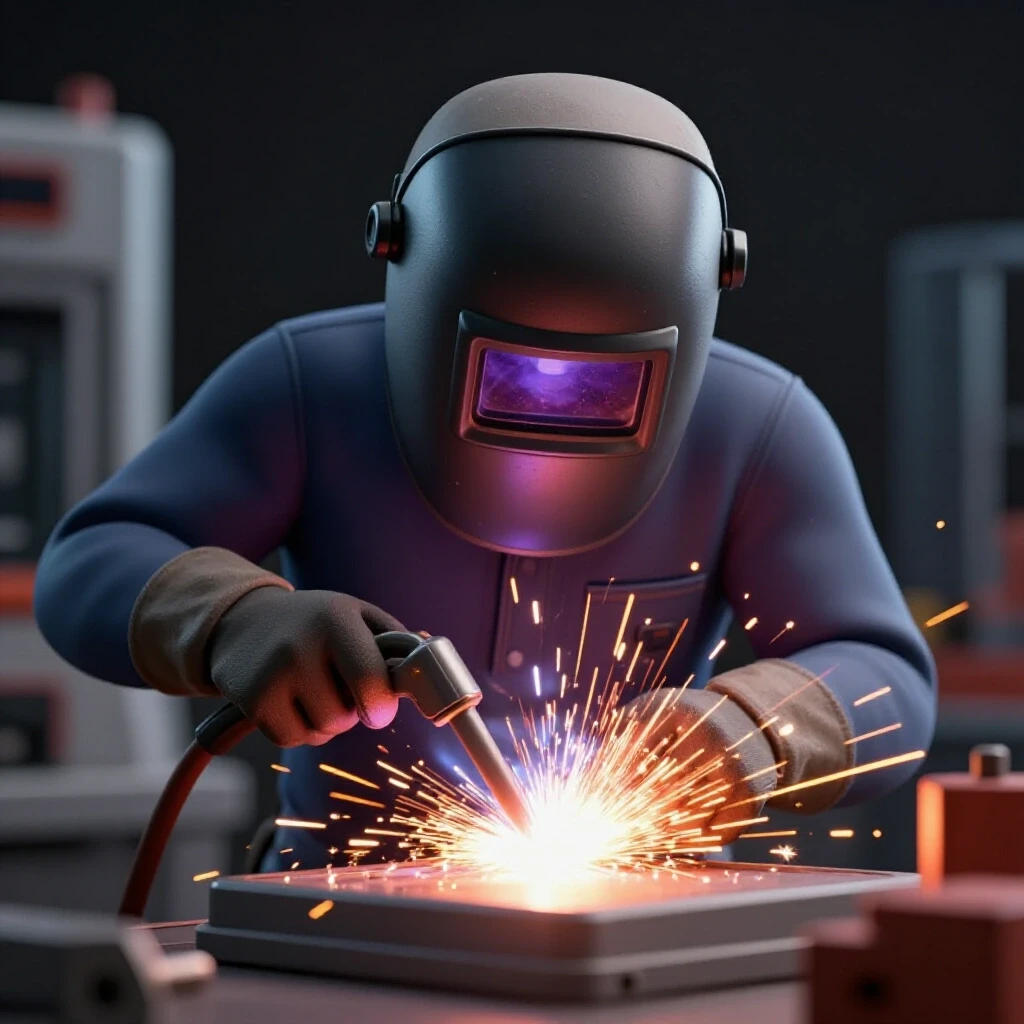
How to Improve Your Welding Hand Stability Fast (Tutorial)
When I first started metalworking twelve years ago, my biggest hurdle wasn’t understanding the science of metallurgy or the settings on a machine. It was the simple, frustrating reality of a shaky hand. I remember staring at a piece of 1/8-inch mild steel, my torch trembling as I tried to maintain a consistent arc gap. My early beads looked more like a jagged mountain range than a professional weld. I realized then that welding is as much a physical discipline as it is a technical one.
Through years of tracking my own progress and teaching others in small shop settings, I have found that consistency is not a gift. It is a result of structured practice and deliberate body positioning. You do not need to be born with “surgeon’s hands” to produce clean, high-quality work. Instead, you need a systematic approach to muscle memory and a clear understanding of how your body interacts with the torch.
This guide focuses on the physical mechanics of the craft. We will look at how to brace your body, manage your breathing, and set your equipment to support a steady movement. By treating your shop time as a series of measurable drills rather than random projects, you can overcome skill plateaus and start seeing professional-grade results in your fabrication work.
Establishing Body Mechanics for Better Torch Control
Body mechanics refers to the way you position your limbs, torso, and head to create a stable platform for manual tasks. In welding, your body acts as a tripod. If your foundation is unstable, your hand will inevitably shake, leading to inconsistent bead widths and erratic penetration.
When you step up to the workbench, your goal is to minimize the number of muscles required to hold the torch. If you are standing unsupported, your core, legs, and shoulders are all working to keep you upright. This creates micro-vibrations that travel straight to your fingertips. I always tell my students to “find a lean.” Lean your hip against the table or rest your elbow on a firebrick.
One of the most effective ways to stabilize your movement is the three-point contact rule. This involves having your feet firmly planted, your torso or non-welding arm braced against a solid surface, and your welding hand supported by a rest. This reduces the range of motion to just your wrist and fingers, which are much easier to control than your entire arm.
The Role of Breathing and Grip Pressure
Breathing and grip pressure are subtle physical factors that determine how much tension exists in your hand and forearm. Holding your breath or squeezing the torch too tightly causes muscle fatigue and tremors. Learning to relax your grip allows for fluid, rhythmic movements across the joint.
I used to catch myself holding my breath during a long pass, only to have my hand jump the moment I finally exhaled. Now, I practice a “low and slow” breathing pattern. Take a breath before you strike the arc, and exhale slowly and steadily as you move. Similarly, hold the torch like you would a heavy marker—firm enough to guide it, but loose enough that your knuckles aren’t turning white.
Mastering Torch Manipulation and Visual Cues
Torch manipulation involves the precise movement of the electrode or wire to distribute heat and filler metal evenly. It requires a high level of hand-eye coordination to respond to the changing state of the molten puddle. Developing this skill involves learning to “read” the metal in real-time.
The puddle is your primary feedback loop. If the puddle is growing too wide, you are moving too slowly or your heat is too high. If it looks pointed or “chased,” you are moving too fast. To develop a steady hand, you must learn to watch the leading edge of the puddle and the “toes” where the weld meets the base metal.
Understanding Travel Angles and Arc Gaps
Travel angle is the position of the torch relative to the direction of travel, while the arc gap is the distance between the electrode and the metal. Maintaining a consistent 10 to 15-degree drag or push angle is essential for proper gas coverage and penetration. Even a slight wobble in this angle can cause the arc to wander.
- Work Angle: Usually 90 degrees to the joint surface.
- Travel Angle: 10 to 15 degrees in the direction of the weld (drag for MIG/Stick, usually push for TIG).
- Arc Gap: Generally 3/32″ to 1/8″. A gap that is too wide increases voltage and creates a messy, wide bead.
| Joint Type | Travel Angle | Arc Gap / Stick-out | Primary Focus |
|---|---|---|---|
| Flat Bead | 10-15° Drag | 1/8″ | Uniform width |
| Fillet (T-Joint) | 45° Work / 10° Drag | 3/32″ | Root penetration |
| Lap Joint | 60-70° Work | 1/8″ | Avoiding top edge melt |
| Outside Corner | 90° Work | 3/32″ | Consistent build-up |
Reading the Fluid Puddle and Managing Travel Speed
Travel speed is the rate at which you move the torch along the joint, measured in inches per minute (IPM). It is the most common variable that beginners struggle to keep consistent. If your speed varies, your heat input fluctuates, leading to sections of the weld that are either under-filled or blown through.
To improve your speed consistency, I recommend using a “dry run” technique. Before you pull the trigger or scratch the start, move the torch across the entire length of the joint. Ensure your arm isn’t going to hit an obstacle and that your cable has enough slack. This simple step prevents the mid-weld “stutter” that ruins so many beads.
Calculating Heat Input for Consistency
Heat input is a formula used to understand how much energy is being put into the metal. While you don’t need to do math for every weld, understanding the relationship helps you realize why a steady hand is so important. If you slow down, the heat input rises exponentially, which can warp thin materials.
The basic formula is: Heat Input = (Amps x Volts x 60) / (Travel Speed x 1000). This shows that if your travel speed drops by half because your hand snagged on the table, you are effectively doubling the heat going into that specific spot of the metal.
Setting Reliable Machine Parameters for Predictable Results
Machine parameters are the voltage, amperage, and wire feed settings that dictate how the arc behaves. If your settings are wrong, you will find yourself fighting the machine, which makes it impossible to maintain a steady hand. A “cold” weld will stick and stutter, while a “hot” weld will feel out of control.
I always suggest starting with the manufacturer’s door chart but treating it as a baseline. For 1/8-inch mild steel using MIG, a common starting point is 17-18 volts and 190-210 IPM wire speed. Once the machine is “dialed in” and sounds like frying bacon, your hand can relax because the arc is doing the work for you.
Establishing a Parameter Log
One of the most impactful habits I developed was keeping a small notebook by my welder. I track the material thickness, the joint type, and the exact settings I used. When I find a setting that feels “smooth” and produces a clean bead, I highlight it. This removes the guesswork from future sessions and allows me to focus entirely on my physical movement.
- Record material type and thickness.
- Note the gas flow rate (usually 20-25 CFH).
- Log the Voltage and Wire Feed Speed (MIG) or Amperage (TIG/Stick).
- Rate the “hand feel” on a scale of 1 to 10.
- Photograph the resulting bead for visual reference.
The Clean-Zone Protocol for Metal Preparation
Metal preparation is the process of removing contaminants like mill scale, rust, and oil from the welding zone. Many stability issues are actually caused by the arc reacting to impurities in the metal. If the arc is jumping around trying to find clean steel, your hand will naturally try to compensate, leading to a shaky, erratic motion.
I follow a “one-inch rule.” I grind the metal back to shiny silver at least one inch away from the joint on all sides. This creates a “clean zone” where the arc can remain stable. Using a flap disc or a dedicated wire wheel ensures that the surface is smooth, which also helps the torch nozzle or TIG cup glide effortlessly across the workpiece.
Why Surface Friction Matters
If you are resting your hand on the metal to stabilize it, the texture of that metal matters. Mill scale is often sticky or tacky when it gets warm. By grinding the area where your hand or “pinky prop” will slide, you reduce friction. A smooth surface allows for a continuous, gliding motion rather than a “stick-slip” movement that creates ripples in your weld bead.
Structured Practice Drills for Technique Progression
Structured practice is the intentional repetition of specific movements to build muscle memory. Instead of jumping straight into building a project, spend the first 15 minutes of your shop time on “bead-on-plate” drills. This removes the complexity of fit-up and allows you to focus solely on your hand stability and travel speed.
A great drill is the “stringer bead challenge.” Take a flat piece of scrap and draw straight lines with a soapstone marker every half inch. Try to lay a bead directly over the line without wavering. This forces you to coordinate your visual focus with your hand movement. Once you can do this consistently, move on to overlapping beads, where each new bead covers half of the previous one.
Progression from Flat to Fillet Joints
Once your flat beads are consistent, the next step in a metal welding practice guide is the T-joint or fillet weld. This introduces the challenge of managing heat in two different planes. You have to maintain a 45-degree work angle while still keeping your 10-degree travel angle.
- Level 1: Bead-on-plate (Focus on straight lines).
- Level 2: Overlapping beads (Focus on “stacking” and heat control).
- Level 3: Lap joints (Focus on not melting the top edge).
- Level 4: T-joints (Focus on root penetration and equal leg length).
Tracking Progress and Analyzing Weld Defects
To improve, you must be able to look at your work objectively and identify what went wrong. Most beginners see a “bad weld” and just try again without diagnosing the cause. By using a systematic evaluation, you can determine if your hand was too shaky, your speed was too fast, or your angle was off.
Common defects like undercut (a groove melted into the base metal) are often caused by a travel speed that is too fast or a torch angle that is too steep. Porosity (small holes) is usually a gas coverage issue or dirty metal. If your bead is “ropey” or sits high on the metal, you are likely moving too fast or your heat is too low.
Using Video Analysis for Self-Correction
One of the most modern and effective trade school practice drills is recording your arc with a smartphone. Many modern phones can handle the light of an arc if you place a welding lens in front of the camera. Watching yourself in slow motion reveals habits you might not notice in real-time, such as a slight wrist flick at the end of a weld or a tendency to pull the torch away as you move.
- Set up a tripod with a #10 or #11 welding lens over the camera.
- Record a 6-inch stringer bead.
- Review the footage to see if your arc gap stayed consistent.
- Check for “stuttering” in your travel speed.
- Compare the video to the physical bead on the table.
Actionable Tracking Framework for Skill Building
Building professional-level skills requires more than just “burning rod.” It requires a data-driven approach to your shop time. By using a practice log, you can turn frustrating plateaus into manageable milestones. I recommend a simple weekly checklist to keep your development on track.
- Monday: 15 minutes of dry runs (no arc) focusing on body positioning and bracing.
- Tuesday: 10 stringer beads on flat plate. Measure each for width consistency.
- Wednesday: Adjust parameters. Run 5 beads “cold” and 5 “hot” to feel the difference.
- Thursday: Focus on the “stop-start.” Practice joining two beads seamlessly.
- Friday: Fillet weld practice. Focus on maintaining the 45-degree work angle.
Skill Verification Checklist
Before you move from “beginner” to “intermediate” projects, ensure you can check off these fundamental physical markers: * Can you run a 6-inch bead without lifting your bracing hand? * Is your bead width consistent within 1/16th of an inch over the entire length? * Can you maintain a consistent arc gap even when moving around a corner? * Do you feel relaxed and “heavy” in your chair or stance while welding?
Conclusion
Improving your physical coordination in the shop is a journey of inches, not miles. It is easy to get discouraged when a bead looks messy, but remember that every “bad” weld is a data point. By focusing on your body mechanics, bracing yourself properly, and keeping a detailed log of your parameters, you are building the foundation of a master fabricator.
The most important thing you can do today is to stop “trying” to weld and start “practicing” to weld. Take a piece of scrap, grind it clean, find a comfortable lean, and focus on nothing but the tiny, molten puddle in front of you. Consistency will follow the structure you put in place. Keep your tools clean, your eyes on the puddle, and your notebook full of data.
Frequently Asked Questions
How can I stop my hand from shaking when I start the arc?
Hand tremors at the start of a weld are often caused by “anticipation tension.” To combat this, ensure you are braced in at least two places. Use your non-dominant hand to support the neck of the torch or the barrel of the MIG gun. Take a deep breath, exhale halfway, and relax your shoulders before pulling the trigger.
Why does my weld bead get thinner as I move along the joint?
A thinning bead usually indicates that your travel speed is increasing. This often happens because your arm is reaching the end of its comfortable range of motion. To fix this, perform a dry run to ensure your arm can move the full length of the joint without stretching or straining.
What is the best way to brace myself when welding at a table?
The best brace is the “hip-and-elbow” method. Lean your hip against the workbench and rest your elbow on the table surface. If you are TIG welding, you can also use a “finger prop” where you slide your pinky finger along the cool metal just ahead of the weld to maintain a consistent height.
How do I know if my travel speed is too fast or too slow?
If your speed is too fast, the bead will be narrow, “stringy,” and may have undercut at the edges. If it is too slow, the bead will be wide, tall, and the heat may cause the metal to warp or burn through. Aim for a speed that allows the puddle to form a consistent “C” shape behind the arc.
Does the weight of the welding lead affect my stability?
Yes, a heavy lead pulling on the back of the torch can cause significant hand fatigue and shaking. Always drape the lead over your shoulder or over a hook on the table so that the only weight you feel is the torch itself. This allows for much finer motor control.
How often should I practice to see real improvement?
Consistency is better than intensity. Practicing for 20 minutes three times a week is more effective for building muscle memory than a single five-hour session once a month. Short, focused drills prevent fatigue and allow your brain to process the physical cues more effectively.
Should I look at the arc or the puddle?
Never look directly at the arc flash; always focus on the “puddle,” which is the molten pool of metal behind the arc. Specifically, watch the “toes” (the edges) of the puddle to ensure they are fusing into the base metal, and the “trailing edge” to monitor your bead shape.
What is the most common mistake beginners make with their grip?
The most common mistake is the “death grip.” Squeezing the torch too tightly restricts blood flow and causes muscles to tire quickly, leading to tremors. Your grip should be firm but relaxed, similar to how you would hold a flashlight or a heavy kitchen knife.
(This article was written by one of our staff writers, Thomas Langley. Visit our Meet the Team page to learn more about the author and their expertise.)