Pre-Weld Fit-Up Tools for Straight Frame Alignment (Review)
When I first started working with metal twelve years ago, I thought the most important part of the job was the spark and the flame. I spent all my time worrying about the machine settings and ignored the quiet, steady work that happens before the power is even turned on. It took me a long time, and many crooked projects, to realize that a project is won or lost during the alignment phase. If your frame isn’t square and straight before you start, no amount of skill can save it later.
Learning metal fabrication is a journey of physical coordination and mental discipline. In the beginning, my hands felt clumsy when trying to hold a heavy steel tube while simultaneously tightening a clamp. I would get frustrated when a corner shifted just a fraction of an inch, throwing the entire structure out of alignment. Over time, I developed a systematic approach to using the right tools to hold everything in place. This guide is designed to help you build that same steady hand and eye for detail, focusing on the equipment that ensures your frames are perfectly registered.
The Mechanics of Structural Registration
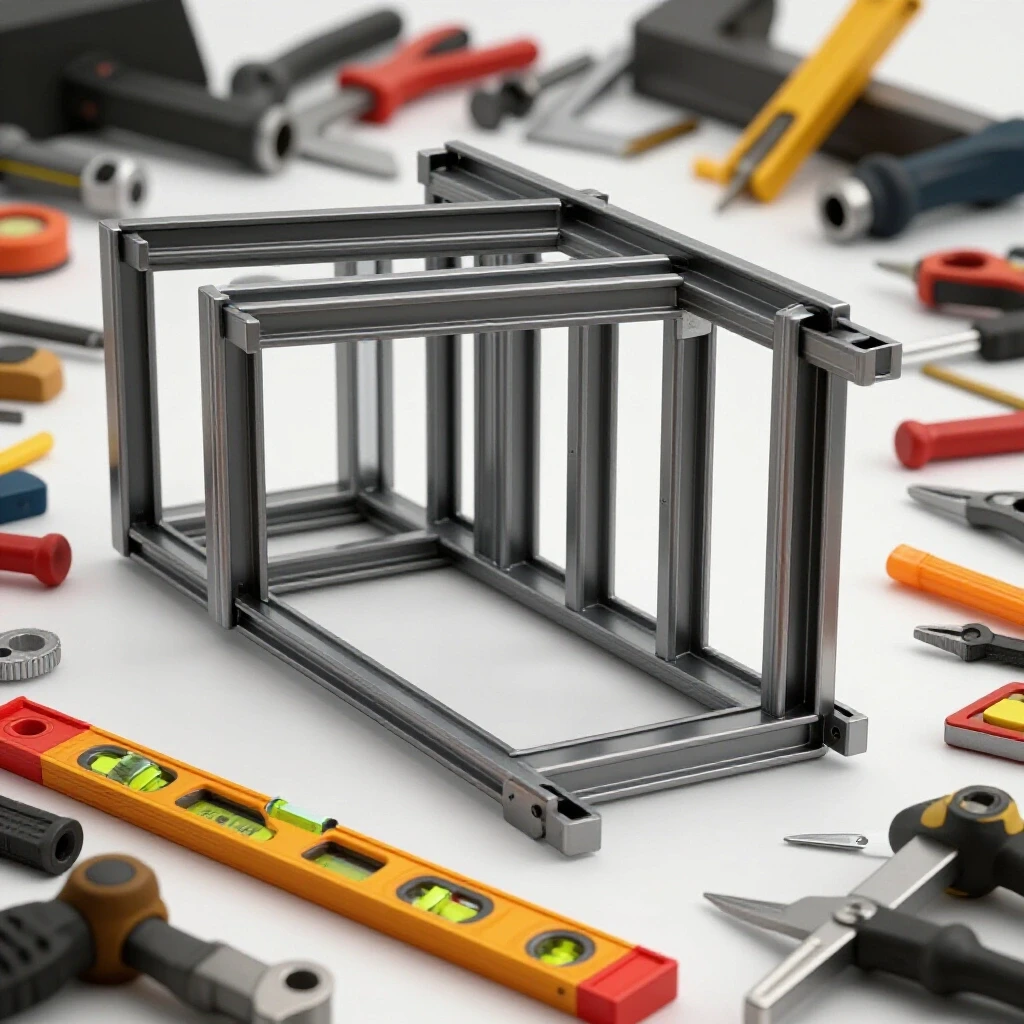
Structural registration is the process of ensuring that every piece of metal in a frame is positioned exactly where it belongs in three-dimensional space. This involves using physical barriers and pressure to prevent movement along the X, Y, and Z axes. By mastering these mechanics, you create a stable foundation that allows for repeatable results across different projects.
To understand why this matters, think of your frame as a skeleton. If the bones aren’t set correctly, the rest of the body will never function right. In my shop, I treat the setup phase as a series of checkpoints. Before I even think about the next step, I verify that my pieces are flush, my angles are true, and my distances are exact. This discipline reduces the mental load and lets you focus on the physical act of assembly.
Precision Squares for Angular Accuracy
A precision square is a fixed-angle tool used to verify that two pieces of metal meet at exactly ninety degrees. These tools are often made of hardened steel or aluminum and provide a physical reference point that does not change. They are essential for checking both internal and external corners during the initial stages of a frame build.
When I was a beginner, I used a cheap plastic square from a hardware store. I quickly learned that in metalwork, a tiny error at the corner becomes a massive gap at the end of a four-foot rail. Now, I rely on heavy-duty steel squares that can withstand the rough environment of a workshop. When using a square, always ensure the edges of your metal are clean and free of burrs, as even a small piece of debris can throw off your reading by several degrees.
Straightedges for Linear Verification
A straightedge is a long, flat bar used to check the flatness of a surface or the alignment of multiple components along a single line. Unlike a standard ruler, a straightedge is designed specifically for its lack of deviation over its entire length. It acts as a visual and physical guide to ensure that long frame rails do not bow or twist.
I use a four-foot straightedge to check the “run” of my frames. If you are building a table base, for example, you need to make sure the top rails are perfectly in line with each other. By laying the straightedge across the members, you can see light passing through any low spots or feel the tool rock on any high spots. This feedback is critical for making micro-adjustments to your clamps before you finalize the position.
Clamping Systems for Rigid Hold-Down
Clamping systems are the muscles of your workshop, providing the force necessary to keep metal components from shifting during assembly. These tools come in various shapes and sizes, each designed to apply pressure in specific directions to counteract gravity or accidental bumps. Without strong clamping, your carefully measured alignment will fall apart the moment you move.
In my early practice sessions, I often didn’t use enough clamps. I thought I could hold a piece with one hand and adjust it with the other. I was wrong. A professional setup involves “locking down” the work so it cannot move even if you lean against it. This creates a safe and predictable environment where you can measure twice and be certain that nothing has changed between the first and second check.
C-Clamps and F-Clamps for Vertical Pressure
C-clamps and F-clamps are the most common tools used to apply vertical pressure, squeezing a workpiece down onto a flat surface or holding two pieces together. C-clamps offer a very high amount of force but are slower to adjust, while F-clamps use a sliding bar for quick positioning. Both are fundamental for securing metal to a workbench.
- C-Clamps: Best for heavy-duty holds where you need maximum security.
- F-Clamps: Excellent for quick setups and reaching across wider spans.
When using these, I always look for “clamping creep.” This is when the rotational force of the screw pushes the metal slightly to the side as you tighten it. To avoid this, I use a “finger-tight” approach first, re-check my square, and then apply final pressure while holding the metal firmly in place.
Corner Clamps for Intersecting Joints
Corner clamps are specialized tools that hold two pieces of metal at a fixed 90-degree angle, often leaving the joint area open for inspection. These tools are lifesavers for solo builders because they act as a “third hand,” keeping the miters or butt joints perfectly aligned while you verify the overall dimensions of the frame.
I remember struggling to hold two pieces of square tubing at a perfect right angle while trying to reach for a tape measure. A corner clamp solves this by doing the holding for you. Some versions have adjustable jaws that can accommodate different material thicknesses, which is helpful if you are joining a thick rail to a thinner cross-member.
| Tool Type | Primary Use | Precision Level | Physical Effort |
|---|---|---|---|
| Machinist Square | Checking 90-degree angles | High | Low |
| F-Clamp | Securing metal to table | Medium | Moderate |
| Corner Clamp | Holding 90-degree joints | High | Moderate |
| Straightedge | Checking linear alignment | High | Low |
| Locking Pliers | Quick, temporary holds | Low | High |
Magnetic Positioning Aids
Magnetic positioning tools use powerful magnets to hold metal pieces in place at specific angles, such as 45, 90, or 135 degrees. These are incredibly fast to set up and are perfect for light-duty framing or temporary tacking. However, they require a clean surface to work effectively and can sometimes pull small metal shavings into the joint.
In my workshop, I use magnets for the “rough-in” phase. They allow me to quickly mock up a frame to see how it looks before I commit to the heavy clamping. You must be careful, though; magnets can be bumped out of alignment more easily than a mechanical clamp. I always follow up a magnetic hold with a physical measurement to ensure the magnet hasn’t shifted during the placement of other parts.
Switchable Magnets vs. Fixed Magnets
Switchable magnets have a knob or lever that allows you to turn the magnetic field on and off. Fixed magnets are always “on” and can be harder to position precisely because they want to grab the metal as soon as you get close. Switchable versions are much easier to clean because you can turn them off to let the metal dust fall away.
- Fixed Magnets: Cheap and durable, but they attract every piece of grit in the shop.
- Switchable Magnets: More expensive, but they offer much better control and stay cleaner.
I prefer switchable magnets for precision work. Being able to slide the magnet into the exact spot and then “lock” it with a switch prevents the jarring “snap” that often happens with fixed magnets, which can knock your alignment off by a sixteenth of an inch.
Modular Fixturing and Jig Tables
A modular jig table is a heavy steel work surface with a grid of precision-drilled holes. These holes allow you to bolt down various stops, pins, and clamps to create a custom “jig” for your frame. This is the gold standard for consistency, especially if you are building more than one of the same item.
When I finally invested in a modular setup, my productivity tripled. Instead of measuring every single corner with a square, I could set up “stops” on the table. Once the stops are locked in, every piece of metal I drop into the jig is automatically aligned. This removes the “human error” factor and ensures that the tenth frame I build is exactly the same as the first.
Using Stops and Pins for Repeatability
Stops and pins are small metal blocks or cylinders that drop into the holes of a jig table. They act as physical boundaries that the metal rails butt up against. By using three points of contact (two on the long side and one on the short side), you can lock a piece of metal into a perfectly repeatable position.
- Stops: Provide a flat surface for the metal to rest against.
- Pins: Useful for internal alignment or marking specific hole locations.
My practice drill for this involves setting up a simple rectangular frame jig. I time myself to see how quickly I can place the stops, drop in the metal, and verify the diagonals are equal. This builds the muscle memory needed to understand how much pressure is required to keep the metal seated against the stops without bowing it.
Measuring and Verifying Alignment
Measuring is the final act of the setup process, and it is the most critical. You are looking for two things: dimensional accuracy (is it the right size?) and geometric accuracy (is it square?). Even with the best clamps, you must always verify the final position before moving to the next stage of fabrication.
I always tell my students that a tape measure is a precision instrument, but only if you know how to use it. You have to account for the thickness of the “hook” at the end and ensure the tape is pulled tight and flat. For frame alignment, the “diagonal check” is the most reliable method we have.
The Diagonal Check Method
The diagonal check involves measuring from one corner of a rectangular frame to the opposite corner, and then doing the same for the other two corners. If the two measurements are identical, the frame is perfectly square. If they are different, the frame is a “parallelogram” and needs to be adjusted.
- Measure from top-left corner to bottom-right corner.
- Measure from top-right corner to bottom-left corner.
- Compare the numbers.
- If the first number is larger, “squeeze” those two corners together or “push” the shorter corners apart.
I aim for a tolerance of 1/32 of an inch over a four-foot span. It takes practice to get this right, but once you develop the “eye” for it, you will notice even a tiny deviation. This level of precision is what separates a hobbyist from a professional fabricator.
Using Calipers for Gap Management
While a tape measure is great for long distances, calipers are used for measuring small gaps and material thicknesses. In frame alignment, you often need to ensure a consistent gap between two rails or check that a tube is centered on a plate. Calipers provide a digital or dial reading that is much more accurate than a standard ruler.
I use calipers to check the “fit-up” of my joints. If there is a gap between two pieces of metal, it needs to be the same all the way across. A wedge-shaped gap means one of your pieces isn’t cut straight or your clamp is pulling it at an angle. By measuring these tiny gaps, you can troubleshoot your setup before it becomes a permanent problem.
Developing Muscle Memory for Setup
Setting up a frame is a physical skill just like any other. It requires a balance of strength and finesse. You have to learn how to tighten a clamp with one hand while keeping the metal flush with the other. You have to learn the “feel” of a square as it slides against a steel tube.
To build this skill, I recommend structured practice drills. Don’t wait until you have a real project to learn how to use your tools. Take some scrap pieces of metal and practice aligning them into different shapes. Focus on the speed and accuracy of your setup, and track your progress over time.
Practice Drill: The Perfect Square
This drill is designed to build your speed and accuracy in basic frame alignment. You will need four pieces of square tubing (cut to the same length) and a set of clamps and squares.
- Step 1: Place the four pieces on your table in a rough square shape.
- Step 2: Use a square to align the first corner and apply a clamp.
- Step 3: Move to the opposite corner and do the same.
- Step 4: Align the remaining two corners.
- Step 5: Perform a diagonal check.
- Step 6: If the diagonals are off by more than 1/16″, loosen the clamps and try again.
When I started, this would take me ten minutes. Now, I can do it in under two. The goal isn’t just to be fast, but to be consistently accurate. Record your times and your “deviation” (how far off your diagonals were) in a logbook.
Practice Drill: The “H” Frame Alignment
An “H” frame consists of two long rails with a cross-member in the middle. This tests your ability to keep parts parallel and centered.
- Set the two long rails parallel to each other using a straightedge.
- Measure the distance between them at both ends to ensure they are the same.
- Mark the center point on both rails.
- Position the cross-member and clamp it.
- Verify that the cross-member is square to the rails and that the rails haven’t bowed inward.
This drill teaches you how to manage multiple points of alignment at once. It’s easy to get one side right only to find the other side has shifted. Learning to “see” the whole frame at once is a key milestone in your progression.
Tracking Your Progression and Metrics
In any trade, you can’t improve what you don’t measure. I keep a detailed log of my setups, especially when I’m working on a new type of structure. By tracking how long it takes to achieve a square frame and how often I have to readjust, I can identify where my technique is failing.
I use a simple table to track my practice sessions. This data provides objective proof of improvement, which is a great way to push through the plateaus that every learner faces. If you see your setup time dropping while your accuracy stays high, you know your muscle memory is becoming more efficient.
| Date | Task | Target Tolerance | Actual Deviation | Setup Time |
|---|---|---|---|---|
| 10/12 | 12″ x 12″ Square | 1/32″ | 1/16″ | 8 min |
| 10/15 | 12″ x 12″ Square | 1/32″ | 1/32″ | 6 min |
| 10/18 | 24″ x 48″ Rectangle | 1/16″ | 1/8″ | 15 min |
| 10/22 | 24″ x 48″ Rectangle | 1/16″ | 1/16″ | 11 min |
Visual Assessment and Self-Correction
Part of tracking your progress is learning to “read” your setup. After you have clamped everything down, take a step back and look at the frame from different angles. Does it look straight? Do the lines flow naturally? Often, your eyes can catch a twist in the metal that a square might miss if you only check it in one spot.
I also recommend using a phone to take slow-motion videos of yourself as you set up a frame. Watch how you handle the tools. Are you fumbling with the clamps? Are you struggling to hold the metal steady? Seeing yourself from the outside can reveal awkward body mechanics that are slowing you down or causing inconsistency.
Common Mistakes in Frame Alignment
Even with the best tools, things can go wrong. Recognizing these common errors early will save you hours of frustration. Most mistakes come down to rushing the process or not understanding how the tools interact with the metal.
- Over-tightening Clamps: Applying too much pressure can actually bow the metal or lift it off the table. Use just enough force to prevent movement.
- Ignoring Surface Cleanliness: A single metal chip under your square will make your 90-degree corner look like 89 degrees. Always wipe down your table and tools.
- Measuring from the Wrong Side: Always measure from the same edge of the metal to maintain consistency across the entire frame.
- Using Damaged Tools: A dropped square is no longer a square. Periodically check your tools against a known reference to ensure they are still accurate.
I once spent three hours trying to square a frame, only to realize my square was bent. I felt foolish, but it taught me a valuable lesson: trust your tools, but verify them often. Now, I start every major project by checking my squares against each other to ensure they agree.
Summary of Best Practices for Beginners
To achieve professional-grade results, you must treat the setup phase with the same respect as the final assembly. It is a slow, methodical process that rewards patience and precision. By following a structured approach, you can overcome the plateaus that often discourage new fabricators.
- Start with a clean, flat surface. Your table is your primary reference point.
- Use more clamps than you think you need. Stability is key to accuracy.
- Perform the diagonal check on every rectangular frame. It is the only way to be 100% sure of squareness.
- Practice your setups as a standalone skill. Don’t wait for a project to build your muscle memory.
- Log your metrics. Track your time and accuracy to see your growth.
The road to becoming a master fabricator is paved with thousands of small, correct decisions. Each time you take the extra minute to check a measurement or adjust a clamp, you are building the habits of a professional. Don’t be discouraged by the learning curve; every expert was once a beginner struggling with a crooked frame.
Frequently Asked Questions
How do I know if my square is actually square? You can check a square by drawing a line against a straightedge, then flipping the square over to see if the edge still aligns with the line. If there is a gap at the top or bottom, the square is out of alignment. This is called the “flip test” and is a standard way to verify precision tools.
What is the most important tool for a beginner to buy first? A high-quality 12-inch steel square and a set of four F-clamps are the best starting point. These tools allow you to perform the vast majority of basic frame setups and provide the accuracy needed for learning the fundamentals of registration.
Why does my frame shift when I tighten the clamps? This is usually caused by the rotational force of the clamp’s screw. As the screw turns, it wants to “walk” the metal in the direction of the rotation. To prevent this, hold the metal firmly with your other hand or use a “stop” to block the movement.
How accurate do I really need to be? For most general fabrication, a tolerance of 1/16 of an inch is acceptable. However, for precision work or structures that must fit into a specific opening, you should aim for 1/32 of an inch. The more accurate your setup, the easier the final assembly will be.
Can I use magnets instead of clamps? Magnets are great for temporary holding, but they are not a replacement for mechanical clamps. They can be easily bumped and don’t provide the “downward” pressure needed to keep a frame flat against a table. Use magnets for layout, but use clamps for the final hold.
How do I keep long rails from bowing in the middle? Use a long straightedge to check the rail and place “mid-point” clamps to pull the metal back into line. If the rail is naturally bowed, you may need to use a jig or a heavy-duty beam to force it straight before securing it.
What should I do if my diagonals are off? Identify which diagonal is longer. You need to bring those two corners closer together. You can do this by using a large clamp across the long diagonal or by gently tapping the corners with a dead-blow hammer while the other clamps are slightly loose.
Is a dedicated jig table necessary for a hobbyist? While not strictly necessary, it makes the work much easier and more consistent. If you can’t afford a professional table, you can build a “sub-plate” out of thick steel with a few drilled holes to act as a mini-jig for smaller projects.
How do I measure a frame that is too large for a tape measure? For very large structures, you can use a laser distance measurer or a long piece of non-stretching string. Mark the string at the first diagonal distance and then compare it to the second. While less precise than a tape, it can help you get “in the ballpark” for massive frames.
How often should I clean my alignment tools? After every use. Metal dust, oil, and grit can build up on the surfaces of your squares and clamps, leading to inaccuracies and rust. A quick wipe with a rag and a light coat of oil will keep your tools accurate and functional for years.
(This article was written by one of our staff writers, Thomas Langley. Visit our Meet the Team page to learn more about the author and their expertise.)