How to Assemble Complex Square Tube Metal Frames (DIY Plan)
I remember the first time I tried to build a three-dimensional project from square steel tubing. I had spent weeks practicing bead-on-plate drills, and I thought I was ready. However, as soon as I tried to join two mitered corners, everything went wrong. The metal warped, my gaps were too wide, and my torch hand started shaking the moment the arc struck. It was a humbling moment that taught me a vital lesson: building dimensional structures is not just about the weld; it is about the physical coordination and the systematic preparation that happens before the trigger is even pulled.
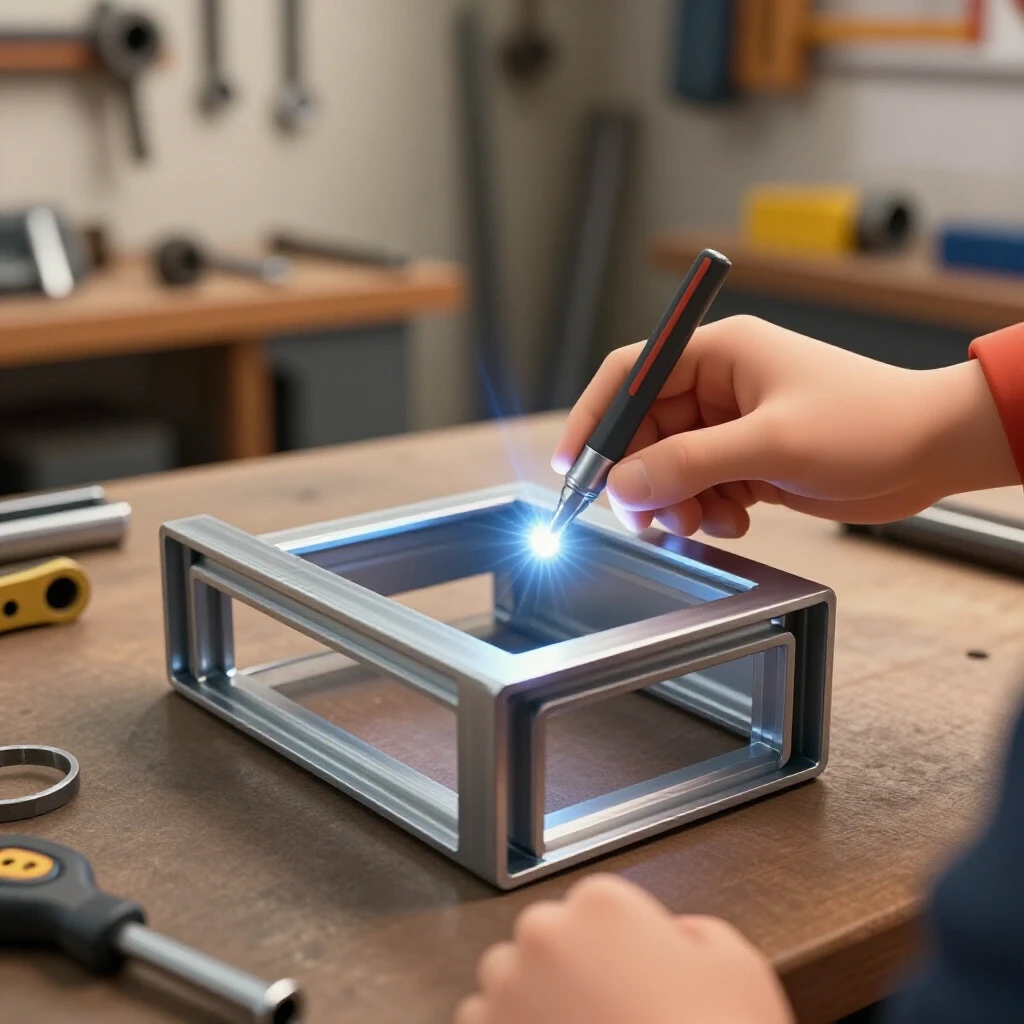
Over the last 12 years, I have logged thousands of hours in my shop, tracking every failure and success in a series of detailed notebooks. I have moved from being a frustrated beginner to a fabricator who relies on data and muscle memory. In this guide, I want to share the structured approach I used to overcome those early plateaus. We will focus on the physical mechanics of torch control, the science of heat management, and the step-by-step logic of assembling multi-axis structures without losing your mind—or your squareness.
Mastering Body Mechanics for Stable Fabrication
Body mechanics refers to how you position your torso, arms, and hands to create a stable base for movement. In metalwork, your body acts as a human jig, providing the steady platform necessary to maintain a consistent arc length and travel speed across a joint.
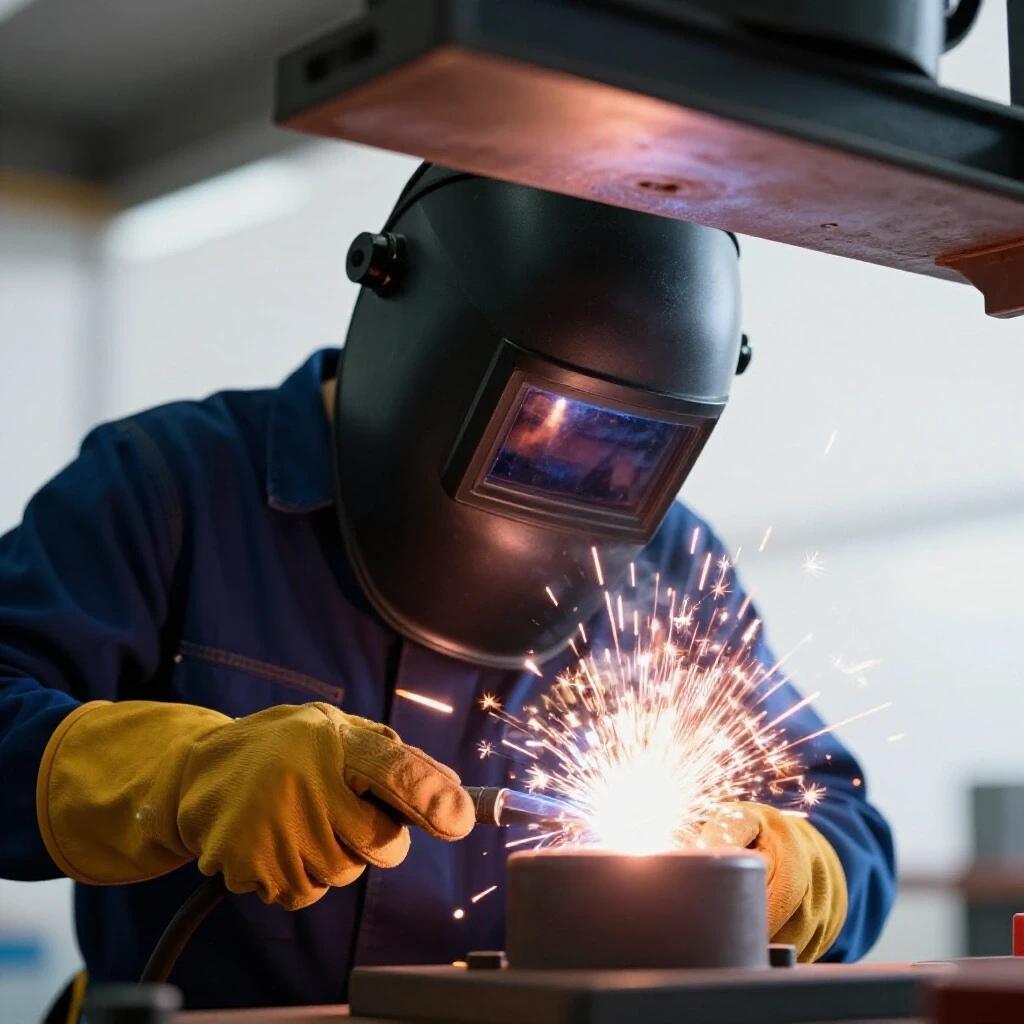
When I started, I tried to “free-hand” every weld, holding my breath and tensing my shoulders. This led to erratic beads and early fatigue. Now, I teach the “Tripod Method.” This involves finding three points of contact: your feet firmly on the ground, your non-welding hip or shoulder leaning against the workbench, and your gloved hand or elbow resting on a stable surface. This triangulation eliminates the micro-tremors that cause inconsistent penetration.
Before you turn on the machine, perform a “dry run.” Move your torch along the entire length of the joint without striking an arc. If your elbow hits your ribs or your glove catches on a clamp halfway through, you need to reposition. A successful weld is often decided by the comfort of your stance before the arc begins.
The Importance of the Torch Grip and Wrist Mobility
The torch grip is the way you hold the welding gun or TIG torch to balance control with flexibility. A proper grip allows for subtle adjustments in the torch angle while maintaining a steady distance from the metal surface, known as the arc gap.
I tell my students to hold the torch like a heavy pen, not a hammer. If you grip too tightly, your forearm muscles will tire, leading to a “jerky” motion. Instead, use a light grip and let the weight of the torch rest in the crook of your hand. Your wrist should be the primary pivot point for small movements, while your shoulder handles the long, linear travel. This separation of duties prevents the “stair-step” pattern often seen in beginner welds.
Understanding Material Selection and Surface Preparation
Material selection involves choosing the right wall thickness and alloy for your project, while surface preparation is the process of removing contaminants to ensure a clean weld. These steps are the foundation of structural integrity and prevent defects like porosity or lack of fusion.
For most home-shop projects, 1/8-inch (11-gauge) square tubing is the “sweet spot.” It is thick enough to handle significant heat without blowing through, yet light enough to cut with basic tools. When you buy steel, it often comes with a layer of dark grey “mill scale.” This scale is an insulator and will cause your arc to sputter. You must create a “clean zone” by grinding the steel back to shiny silver at least one inch away from any area where you plan to weld.
Creating the Clean Zone for Optimal Conductivity
A clean zone is a specifically prepared area of bare metal where the mill scale, rust, and oils have been removed. This ensures that the electrical circuit is completed efficiently and that no impurities are pulled into the molten puddle during the welding process.
- Mechanical Cleaning: Use a flap disc (60 or 80 grit) on an angle grinder.
- Chemical Cleaning: After grinding, wipe the area with acetone to remove any residual cutting oils.
- Ground Clamp Placement: Always place your ground clamp on clean, bare metal as close to the work area as possible to prevent arc blow.
Precision Cutting and Mitering for Tight Fit-Ups
Precision cutting is the act of sawing your tubing to exact lengths and angles, while mitering refers to the 45-degree cuts used to form 90-degree corners. A tight fit-up means there are no visible gaps between the joining pieces, which is essential for managing heat and preventing warping.
In my early years, I thought I could “fill the gap” with extra weld wire. I quickly learned that large gaps lead to excessive heat input, which pulls the frame out of square. If you can see light through your joint, it is too wide. Aim for a fit-up where the pieces touch or have a gap no wider than 1/16 of an inch. This allows for consistent penetration without the risk of the metal collapsing into a hole.
Using a Miter Saw for Repeatable Accuracy
A miter saw or a cold saw is a tool designed to make repeated, accurate angled cuts. For complex frames, the ability to cut four identical pieces at exactly 45 degrees is what separates a professional-looking project from a crooked one.
- The “Double Check” Rule: Measure your piece, mark it, and then check the angle of the saw blade with a machinist’s square before cutting.
- Blade Speed: If using an abrasive saw, let the blade do the work. Pushing too hard creates heat that can burr the edges and throw off the angle.
- Deburring: Always use a file or a deburring tool to remove the sharp “flash” left by the saw. This ensures the pieces sit flush against each other.
| Joint Type | Recommended Gap | Torch Angle (Drag) | Difficulty Level |
|---|---|---|---|
| Butt Joint | 0 – 1/16″ | 10-15 Degrees | Intermediate |
| Corner Miter | Flush | 5-10 Degrees | Beginner |
| T-Joint (Fillet) | Flush | 45 Degrees to Joint | Beginner |
| Multi-Axis Corner | Flush | Variable | Advanced |
Setting Machine Parameters and Heat Control Baselines
Machine parameters are the settings on your welder, such as voltage and wire feed speed, that determine how much heat is delivered to the metal. Heat control is the ability to manage the temperature of the weld puddle to ensure it melts the base metal without burning through it.
I recommend starting with a “base setting” provided by your machine’s door chart, but don’t treat it as law. Every shop’s power supply is different. I use a “scrap-test” method: take two pieces of the same tubing you are using for your project and run a test bead. If the bead is “tall” and ropy, you need more heat (voltage). If it is flat and the metal is turning bright red or sagging, you have too much heat.
The Relationship Between Voltage and Wire Speed
Voltage controls the width and fluidity of the weld puddle, while wire feed speed (WFS) controls the amount of filler metal and the amperage. Balancing these two is the key to achieving a smooth, consistent bead that penetrates deeply into the square tube.
- Set Voltage First: For 1/8″ steel, try 17.5 to 18.5 volts.
- Adjust Wire Speed: Start around 210-230 inches per minute (IPM).
- Listen for the “Sizzle”: A well-tuned MIG welder should sound like bacon frying. A “pop-pop” sound means the wire speed is too high; a wandering, silent arc means it is too low.
The Art of the Tack and Sub-Assembly Sequencing
A tack weld is a small, temporary spot weld used to hold pieces in alignment before the final bead is run. Sequencing is the specific order in which you weld the joints to counteract the natural tendency of metal to pull and warp as it cools.
This is where I see most beginners fail. They weld one entire side of a frame and then wonder why the other side is two inches off. Metal expands when hot and contracts when cold. If you weld the inside of a corner first, it will pull the tube inward. To combat this, I use a “star pattern” or “opposite side” sequence. Tack all four corners of a frame first, check for squareness, and then weld in short increments, jumping from one corner to the opposite one.
Verification of Squareness During Assembly
Squareness is the state of two pieces being exactly 90 degrees to each other. Verification involves using tools like speed squares, framing squares, or digital angle finders to check the frame at every stage of the build.
- The Diagonal Measurement: For a rectangular frame, measure from corner to corner diagonally. If the two measurements are identical, your frame is perfectly square.
- Tack, Check, Adjust: After your first tacks, the metal will likely move. Use a rubber mallet to gently tap the pieces back into square while the tacks are still small.
- Clamping Strategy: Use F-clamps or C-clamps to hold the tubing against a flat table. This prevents the metal from lifting off the surface as the heat builds up.
Mastering Torch Control and Travel Speed
Torch control is the physical ability to maintain a consistent angle and distance from the work, while travel speed is the rate at which you move the torch along the joint. These two factors determine the shape, height, and penetration of your weld bead.
In my practice logs, I found that my biggest issue was “speeding up” as I approached the end of a weld. This happens because our brains want to finish the task. To fix this, I started counting “one-one-thousand, two-one-thousand” in my head to match my travel speed to the puddle’s growth. For 1/8″ tubing, you should be moving at a rate of roughly one inch every 5 to 7 seconds (approx. 8–12 IPM).
Identifying and Correcting Common Bead Defects
Defects are irregularities in the weld that can weaken the structure. Learning to “read” your finished bead is the best way to diagnose what your hands are doing wrong during the process.
- Undercut: A groove melted into the base metal next to the weld. Cause: Moving too fast or having the voltage too high.
- Overlap (Cold Lap): The weld sits on top of the metal without melting into it. Cause: Moving too slowly or having the voltage too low.
- Porosity: Small holes in the weld (like Swiss cheese). Cause: Dirty metal or lack of shielding gas.
- Inconsistent Width: Cause: Varying your arc gap (the distance from the tip to the metal).
Building a Skill Progression Log
A skill progression log is a data-driven record of your practice sessions. By tracking your settings, the time spent, and the visual quality of your welds, you can identify patterns and break through plateaus.
When I was learning, I felt like I wasn’t getting better. It wasn’t until I looked back at my log from three months prior that I realized my travel speed had become 40% more consistent. I recommend using a simple notebook or a digital spreadsheet to track your progress.
Sample Practice Log Template
- Date and Duration: (e.g., Oct 12, 45 minutes)
- Material and Joint: (e.g., 1.5″ Square Tube, Mitered Corner)
- Machine Settings: (e.g., 18.2V, 225 IPM)
- Focus Area: (e.g., Maintaining 15-degree drag angle)
- Self-Assessment: (e.g., “Bead was flatter today, but I still have undercut at the end of the run. Need to slow down at the finish.”)
- Next Goal: (e.g., Practice the ‘wrap’ around the corner without stopping.)
Advanced Techniques: Welding Around Corners
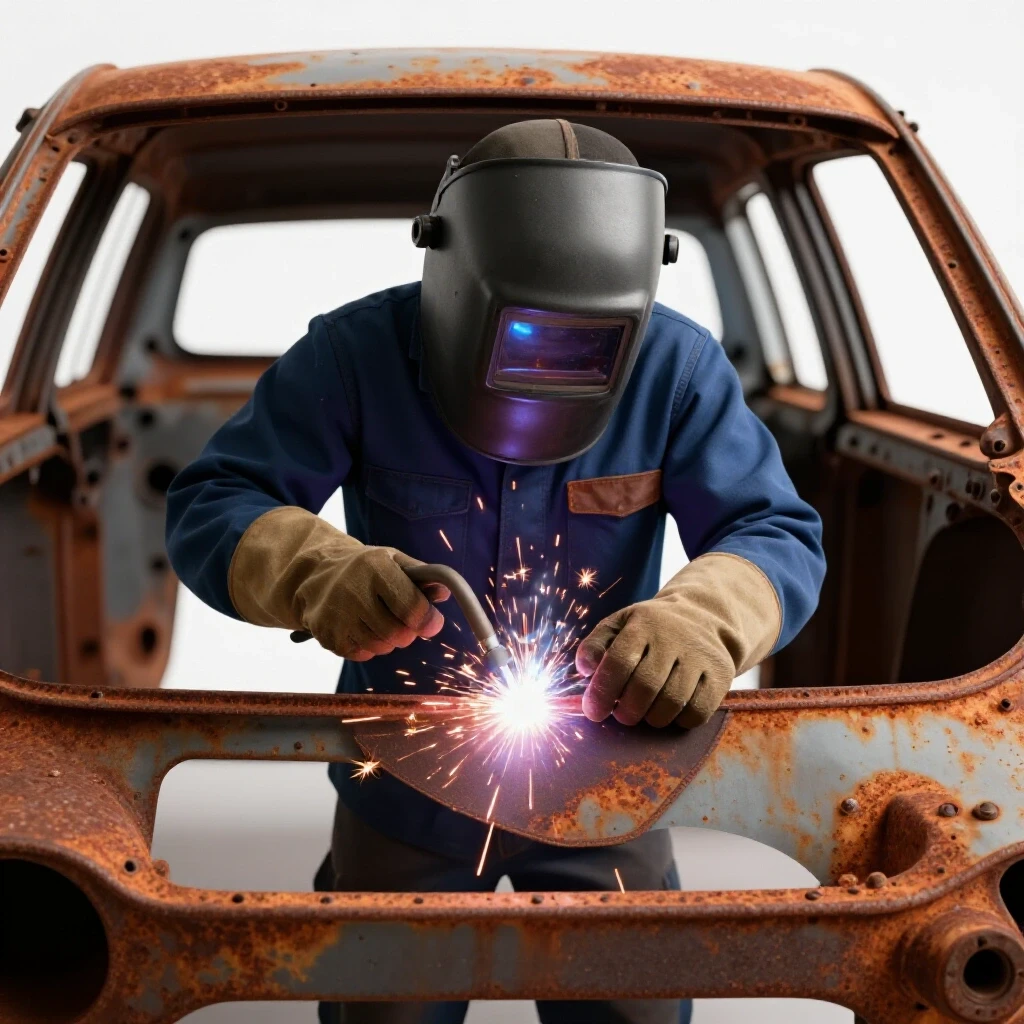
Welding around a corner is one of the most difficult parts of constructing tube structures. It requires you to rotate your wrist and the torch simultaneously while maintaining a consistent arc gap as you transition from one face of the tube to the next.
The trick is the “pivot and pause.” As you reach the corner, pivot your wrist to follow the radius of the tube. Pause for a split second at the very edge to allow the puddle to “wrap” around the corner. This ensures there are no weak spots or gaps in the weld at the most critical structural point. If you find this too difficult, it is perfectly acceptable to stop, reposition your body, and restart the weld on the new face—just be sure to “tie in” the new weld by starting 1/4 inch back over the previous bead.
Troubleshooting Structural Warpage
Warpage is the unwanted bending or twisting of the metal caused by the uneven heating and cooling of the welding process. Even with perfect tacks, a complex frame can still twist into a “potato chip” shape if you aren’t careful.
If you notice the frame starting to pull, stop immediately. You can often use “counter-heating” to pull it back. This involves heating the side opposite the weld with a torch to create a counter-contraction. However, the best cure is prevention. Use heavy clamps and a thick steel welding table to “sink” the heat away from the workpiece.
Heat Input Formula for the Curious
While we don’t need complex engineering, understanding the basic Heat Input formula helps you realize why travel speed matters so much.
Heat Input = (Amps x Volts x 60) / (Travel Speed in inches per minute)
If you slow down your travel speed, the heat input goes up exponentially. This is why staying “on the move” is the best way to prevent warping your square tube frames.
Final Assembly and Finishing Touches
Once the structural welding is complete, the final stage is cleaning and protecting the metal. This is where you remove any weld spatter and smooth out the joints for a professional appearance.
Use a chipping hammer or a wire brush to remove the “islands” of silica or spatter. If you want a seamless look, you can use a grinding disc followed by a sanding flap disc to flush the welds with the tubing. Be careful not to grind too deep, as you can thin the base metal and weaken the joint. Finally, wipe the entire frame down with a degreaser and apply a thin coat of paste wax or a basic metal primer to prevent rust.
Key Takeaways for the Developing Fabricator
- Body Positioning First: Never strike an arc until you have performed a dry run and confirmed your stance is stable.
- Prep is 90% of the Work: Clean your metal to a mirror finish and ensure your miters are tight.
- Tack and Track: Use a strategic tacking sequence and keep a log of your machine parameters.
- Manage the Heat: Move at a consistent speed and jump between joints to prevent localized overheating.
- Practice the Wrap: Focus on the corners, as they are the most common failure points in tube frames.
Building complex structures is a journey of a thousand small movements. Each bead you run and each joint you fit is an opportunity to refine your muscle memory. Don’t be discouraged by a warped frame or a messy weld; those are just data points in your logbook. Keep your head down, watch the puddle, and stay consistent.
Frequently Asked Questions
Why does my square tubing always pull out of square after I weld the first corner?
Metal shrinks as it cools. When you weld one side of a joint, the cooling weld bead acts like a powerful rubber band, pulling the two pieces toward the weld. To prevent this, place small tack welds on all four sides of the joint before doing any long runs. This creates a mechanical “lock” that resists the shrinking forces.
What is the best way to cut a 45-degree angle without an expensive cold saw?
A standard abrasive chop saw is the most common DIY tool. To get better accuracy, use a machinist’s square to verify the fence is actually at 45 degrees, as the built-in scales are often inaccurate. Alternatively, a portaband saw with a miter stand or even a high-quality angle grinder with a cutting guide can work if you take your time and file the edges afterward.
How do I know if my weld has enough penetration on 1/8″ tubing?
On the inside of the tube (if you can see it), you should see a slight discoloration or a small “heat tint” line. If you see a small, consistent “bead” of metal on the inside, you have achieved full penetration. On the outside, the weld should be relatively flat, not sitting on top of the metal like a bead of caulk.
Should I push or drag the welding torch when building frames?
For MIG welding with gas (GMAW), most instructors recommend a “push” angle (pointing the torch in the direction of travel) because it provides better visibility of the joint and a flatter bead. However, for flux-core welding (FCAW), you must “drag” the torch (pointing the torch back at the completed weld) to keep the slag from being trapped inside the puddle.
My welds look like “popcorn” and don’t stick to the metal. What am I doing wrong?
This is usually a sign of one of three things: the metal is not clean (mill scale is still present), your ground clamp is on a painted or rusty surface, or your wire feed speed is too high for your voltage. Start by grinding the metal to a shine and checking your ground connection.
How can I stop the “shaking” in my hands when I start a weld?
Hand tremors are common and usually caused by muscle tension or “arc anxiety.” Use the Tripod Method mentioned earlier: rest your elbow or your non-welding hand on the table to stabilize your torch hand. Take a deep breath and exhale slowly as you start the weld to relax your shoulders.
Can I weld square tubing with a 110V household welder?
Yes, most 110V welders can handle up to 1/8″ or 3/16″ steel. However, they have a limited “duty cycle,” meaning they can only weld for a few minutes before needing to cool down. If you are building a large frame, you will need to take frequent breaks to avoid overheating the machine.
What is the “clean zone” and why is it exactly one inch?
The clean zone is the area where you have removed all mill scale and oil. We recommend one inch because the heat of the arc can pull contaminants from the surrounding metal into the molten puddle through capillary action. A one-inch buffer ensures that only clean metal is involved in the fusion process.
How do I fix a gap that is too wide in a mitered corner?
If the gap is wider than 1/8″, it is best to recut the piece. If you must weld it, use a “pulsing” technique where you trigger the welder for a second, let the metal turn from bright red to dull orange, and then trigger it again. This builds up a “bridge” of metal without putting too much heat into the joint at once.
Why does my welding wire keep “nesting” or bird-nesting inside the machine?
This usually happens because the tension on the drive rolls is too tight or there is a kink in the torch liner. It can also happen if the contact tip is the wrong size or has become clogged with spatter. Check that your tip matches your wire size and keep the torch cable as straight as possible during use.
(This article was written by one of our staff writers, Thomas Langley. Visit our Meet the Team page to learn more about the author and their expertise.)