How to Build a Lightweight Steel Trailer Cargo Rack (Plan)
I still remember the first time I tried to build a structural frame in my garage. I had spent hours measuring, cutting, and deburring every piece of square tubing. My layout looked like a work of art on the floor. But the moment I finished the final weld and released the clamps, the entire frame sprang upward like a Pringles chip. It was out of square by nearly an inch. That day, I learned that steel isn’t a static material; it is a living, breathing thing that moves when you apply heat.
Over my 13 years as a prototype technician, I have seen many DIY builders face this same frustration. You follow the plan, you use a square, and yet the metal seems to have a mind of its own. Building a lightweight cargo assembly for a trailer requires more than just a welder and a grinder. It requires a strategy to fight the physics of heat. In this guide, I will walk you through the exact process I use to keep frames straight, joints tight, and costs under control.
How Do I Plan an Accurate Cut List for a Steel Frame?
Planning a cut list involves calculating the exact length of every component while accounting for the material removed by the saw blade. This step prevents the “creeping” dimensions that often lead to frames being too wide or too narrow for their intended mounting points.
When I start a project, I always begin with a “Master Cut List.” For a utility rack, I typically use 1-inch or 1.5-inch square steel tubing with a 14-gauge wall thickness. This provides the best balance between weight and strength. However, you cannot simply subtract the width of the tube from the total length. You must account for the kerf.
Kerf is the width of the material that the saw blade turns into dust. If you are using an abrasive chop saw, your kerf might be 1/8 of an inch. If you use a cold saw or a portable band saw, it might be closer to 1/16 of an inch. If you make ten cuts without accounting for a 1/8-inch kerf, your final piece could be over an inch short.
Metal Kerf Allowances by Cutter Type
| Cutter Tool Type | Average Kerf Width | Accuracy Level | Heat Input |
|---|---|---|---|
| Abrasive Chop Saw | 0.125″ (1/8″) | Low | High |
| Portable Band Saw | 0.035″ – 0.042″ | Medium | Low |
| Cold Saw | 0.062″ (1/16″) | High | Very Low |
| Plasma Cutter (Hand) | 0.150″ – 0.200″ | Low | Very High |
I recommend marking your steel with a fine-point scribe or a silver streak pencil rather than a thick soapstone. A thick line can be 1/16 of an inch wide on its own. Always cut on the “waste side” of your line. This ensures the remaining piece is exactly the length you intended. For custom fabrication projects, I aim for a dimensional tolerance of +/- 1/16th inch across the entire 4-foot span.
Why is Fixturing the Secret to a Straight Cargo Carrier?
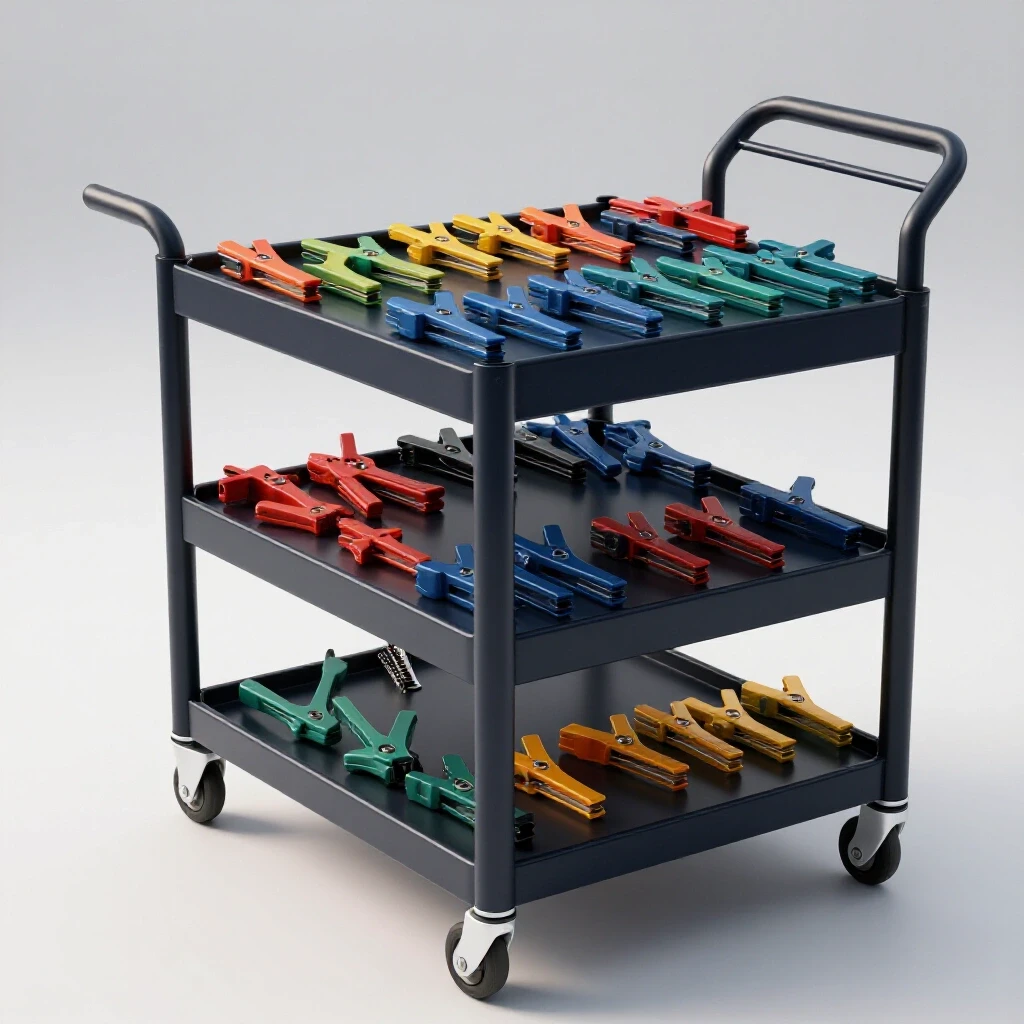
Fixturing is the practice of using physical restraints, such as clamps, blocks, or dedicated tables, to hold metal in place during welding. Without fixtures, the cooling weld bead will act like a powerful spring, pulling the metal toward the heat source.
In my shop, I don’t always have a $5,000 professional welding table. Instead, I build workshop jigs using what I have. A common mistake is trying to weld a frame while it sits on uneven concrete. I use a pair of heavy-duty sawhorses and two lengths of thick C-channel steel to create a flat “ladder” to work on. This ensures that the base of my project is on a single plane.
Fixturing Span Recommendations
| Tubing Size (Square) | Wall Thickness | Max Clamp Spacing | Jig Material Min. |
|---|---|---|---|
| 1.0″ x 1.0″ | 14 Gauge (0.083″) | 12 Inches | 3/16″ Plate |
| 1.5″ x 1.5″ | 14 Gauge (0.083″) | 18 Inches | 1/4″ Plate |
| 2.0″ x 2.0″ | 11 Gauge (0.120″) | 24 Inches | 3/8″ Plate |
When setting up your layout, use “stop blocks.” These are small scraps of metal tacked to your table or jig that the frame pieces can butt against. This allows you to remove a piece, grind it, and drop it back into the exact same spot. It ensures repeatability, which is vital if you are building a symmetrical rack.
What Are the Best Tack Welding Techniques for Structural Rigidity?
Tack welds are small, localized welds used to hold parts in alignment before the final welding passes are made. A common rookie mistake is making tacks too small or putting them all on one side of a joint.
I follow a “four-point tack” rule for square tubing. I place one tack in the center of each of the four sides of the joint. I start by tacking the “outside” corners of the frame first. Then, I check for square by measuring the diagonals. If the diagonal measurements are within 1/16th of an inch of each other, the frame is square.
- Tack Size: For 14-gauge tubing, your tack should be about 3/16 of an inch in diameter.
- Tack Strength: A good tack should be able to withstand a light blow from a dead-blow hammer but be small enough to be “consumed” by the final weld bead.
- Checking Square: Always check the diagonals after every four tacks. If the frame moves, you can “cold shrink” it back by tapping it with a hammer before the tacks are fully set.
If you find that your frame is pulling out of square during tacking, it is usually because you are putting too much heat into one corner. Space your tacks out. Move from the front-left corner to the back-right corner. This distribution of heat is the foundation of a successful weld sequencing layout.
How Can I Manage Weld Sequencing to Stop Metal Warping?
Weld sequencing is the specific order in which you lay down your weld beads to balance the internal stresses caused by thermal expansion and contraction. When metal is heated, it expands. As the weld pool cools, it shrinks. This shrinkage is incredibly powerful and can bend even thick steel.
To combat this, I use a “staggered” welding sequence. I never finish all four sides of a single joint at once. If I weld the top of the front-left joint, I immediately move to the bottom of the back-right joint. This pulls the frame in opposite directions, effectively canceling out the distortion.
Weld Sequencing and Distortion Control
| Step | Location | Purpose | Result |
|---|---|---|---|
| 1 | Outer Corner (Top) | Set outer perimeter | Establishes width |
| 2 | Opposite Outer Corner (Bottom) | Balance tension | Prevents “parallelogram” effect |
| 3 | Inner Vertical (Left) | Lock vertical plane | Prevents twisting |
| 4 | Opposite Inner Vertical (Right) | Final structural lock | Maintains squareness |
Interestingly, the “angular pull” of a weld is usually about 1 to 3 degrees depending on the thickness of the material and the heat of the welder. By welding on the side opposite to the previous weld, you use that 1-degree pull to pull the metal back into alignment. This is one of the most effective metal warping solutions available to a garage builder.
How Do I Correct Layout Errors and Post-Weld Distortion?
Even with the best planning, some warping is inevitable. In my years building custom chassis, I have learned that “straight” is often a result of correction rather than luck. If your cargo rack has a slight bow after welding, you have two main options: mechanical force or heat shrinking.
Mechanical force involves using a large F-clamp or a hydraulic jack to physically push the metal back into place. I often over-bend the piece slightly past the “straight” point because the metal will “spring back” once the pressure is released. This is known as exceeding the elastic limit of the steel.
Heat shrinking is a more advanced technique. If a rail is bowed upward, you can use an oxy-acetylene torch or a TIG welder to heat a small triangular spot on the “long” side of the curve. When that spot cools, it will shrink more than the surrounding metal, pulling the rail straight.
- Identify the high point of the warp.
- Apply heat to a small “V” shape pointing toward the center of the bend.
- Let the metal air cool (never quench with water, as this can make the steel brittle).
- Re-measure the alignment.
Build Log: A 48-Inch Lightweight Steel Rack
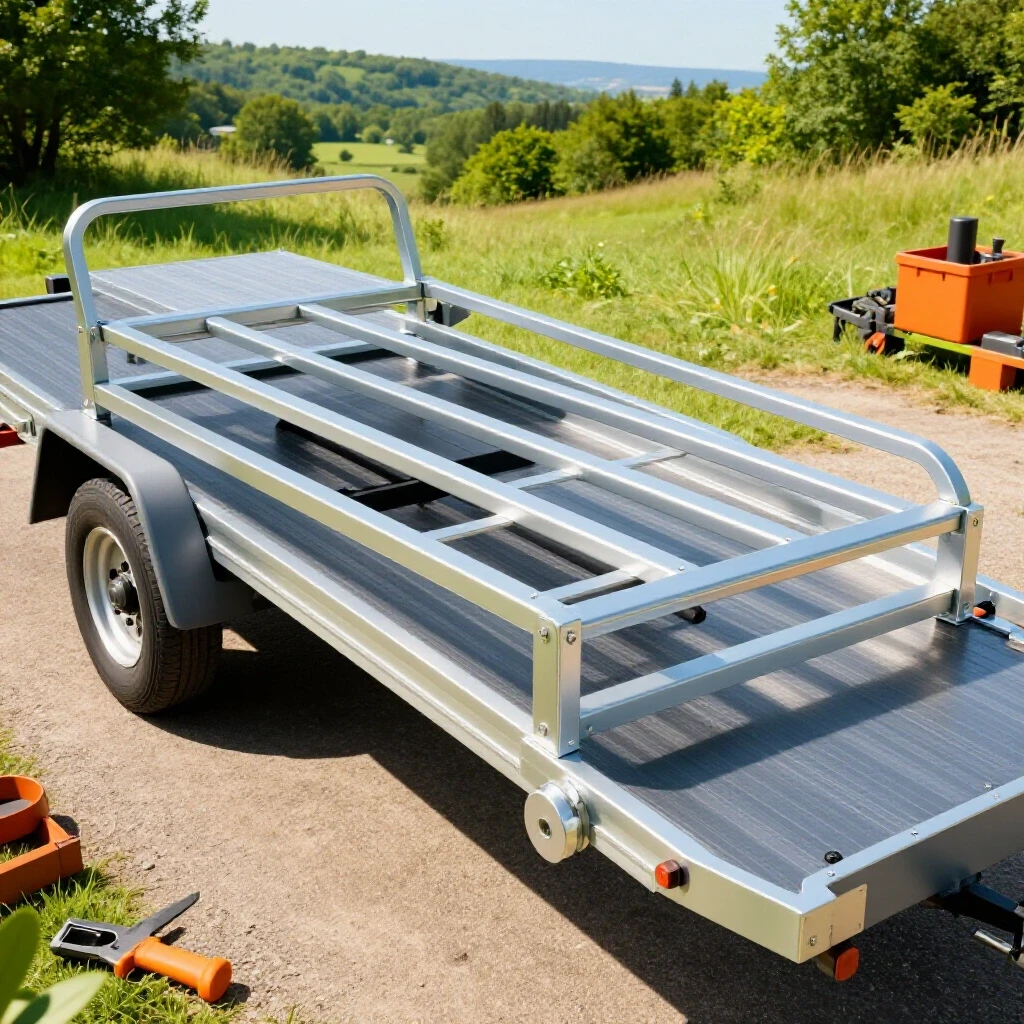
To give you a practical example, let’s look at a build log for a standard 48″ x 24″ cargo carrier. I chose 1.5-inch square tubing with a 0.083-wall thickness.
- Total Material Cost: $85.00 (Steel and welding wire).
- Total Time: 6 hours (2 hours cutting/prep, 4 hours assembly/welding).
- Weight: 32 lbs.
During the build, I encountered a major obstacle. My chop saw was cutting at a 1-degree angle, which I didn’t notice until I had cut all eight cross-members. This meant my joints had a 1/16-inch gap on one side. Instead of recutting, I used my workshop jigs to clamp the pieces tightly. I used a slightly higher voltage setting on my MIG welder to “bridge the gap” while being careful not to blow through the thin 14-gauge wall.
I tracked my weld sequence in a notebook. I welded the four top corners first, then flipped the entire rack and welded the four bottom corners. This kept the frame within 1/8 of an inch of perfectly flat. For a utility project, that is a highly acceptable tolerance.
Frequently Asked Questions
What is the best steel thickness for a lightweight trailer rack?
For most DIY projects, 14-gauge (0.083″) square tubing is the “sweet spot.” It is thick enough to weld easily without burning through, yet light enough that the finished rack won’t weigh down your trailer. 16-gauge is lighter but requires much more heat control to avoid warping.
How do I stop the frame from twisting into a diamond shape?
This is usually caused by uneven clamping or welding one side completely before starting the other. Always measure the diagonals of your rectangle. If the diagonals are equal, the frame is square. Use “corner magnets” or “90-degree clamps” to hold the shape during the initial tacking phase.
Can I build this without a professional welding table?
Yes. I often use a flat garage floor and a set of “jack stands” leveled with shims. The key is to ensure the four corners of your project are on the same horizontal plane. You can use a long level or even a laser level to verify this before you start tacking.
How big should my tack welds be?
Your tacks should be roughly twice the thickness of the metal you are welding. For 14-gauge steel (about 0.08″ thick), a tack that is 0.15″ to 0.20″ wide is sufficient. If the tack is too small, it will crack as the metal moves during the final welding.
Why does my metal warp even when I use clamps?
Metal expands when hot. If it is clamped tightly, it cannot expand outward, so it “upsets” or thickens. When it cools, it shrinks in all directions. If your clamps are too far apart, the metal will bow between them. Try placing a clamp every 12 inches for thin-wall tubing.
What is the best way to cut square tubing for beginners?
A portable band saw (often called a “portaband”) with a stand is the most accurate and safest tool for a DIY builder. It produces very little heat, which means no metal warping during the cutting phase, and the kerf is very thin and predictable.
How do I calculate the total weight of my project before building?
Steel tubing weight is usually listed per foot. 1.5″ x 1.5″ x 14ga tubing weighs approximately 1.62 lbs per foot. Multiply your total linear feet by this number and add about 5% for the weight of the weld wire and any mounting hardware.
Should I weld the inside or outside of the corners first?
I always weld the outside corners first. This creates a “shell” that holds the dimensions. If you weld the inside corners first, the heat will pull the ends of the tubes inward, making the frame narrower than you intended.
How do I handle “blow-through” on thin steel?
If you burn a hole in 14-gauge tubing, stop immediately. Let the area cool. Clean the soot with a wire brush. Then, use a series of quick “spot welds” or “trigger pulls” to bridge the hole, letting it cool for a few seconds between each pulse.
Is it necessary to grind my welds flat?
For structural utility projects, I recommend leaving the weld bead intact if it is a good, penetrating weld. Grinding the weld flat can remove up to 50% of the joint’s strength if you aren’t careful. Only grind for fitment or if you are confident in your penetration.
What is the most common mistake in custom fabrication projects?
The most common mistake is rushing the layout. Most builders want to start “throwing sparks” immediately. However, for every hour I spend welding, I spend three hours measuring, squaring, and clamping. Accuracy in the layout is what separates a professional-looking project from a “backyard” one.
Conclusion
Building a straight, lightweight utility frame is a test of patience and physics. By focusing on accurate square cuts, using robust workshop jigs, and following a strict weld sequencing layout, you can overcome the natural tendencies of steel to warp and twist. Remember to account for your saw’s kerf, keep your tacks consistent, and always move your heat around the project to balance the stresses.
Your next step is to take your measurements and create a Master Cut List. Once you have your steel, set up your leveling sawhorses and take the time to get your first four corners perfectly square. The effort you put into the layout will be reflected in a project that fits perfectly and lasts for years. Happy fabricating.
(This article was written by one of our staff writers, Robert Kline. Visit our Meet the Team page to learn more about the author and their expertise.)