How to Build a Quick-Access Holder for Tape Measures (Tips)
I’ve spent over 13 years in prototype shops and backyard garages, and if there is one thing I’ve learned, it’s that a project is only as good as the layout. I remember building a 16-foot utility trailer a few years back. I was moving fast, tossing my tape measure onto the welding table between every tack. Somewhere around the third crossmember, I knocked the tape into a pile of hot slag. The spring jammed, I grabbed a backup tape that had a slightly bent hook, and by the time I finished the frame, the passenger side was 5/8 of an inch longer than the driver side. That frustration taught me that organized tool placement isn’t just about being neat; it’s about maintaining the accuracy of your custom fabrication projects.
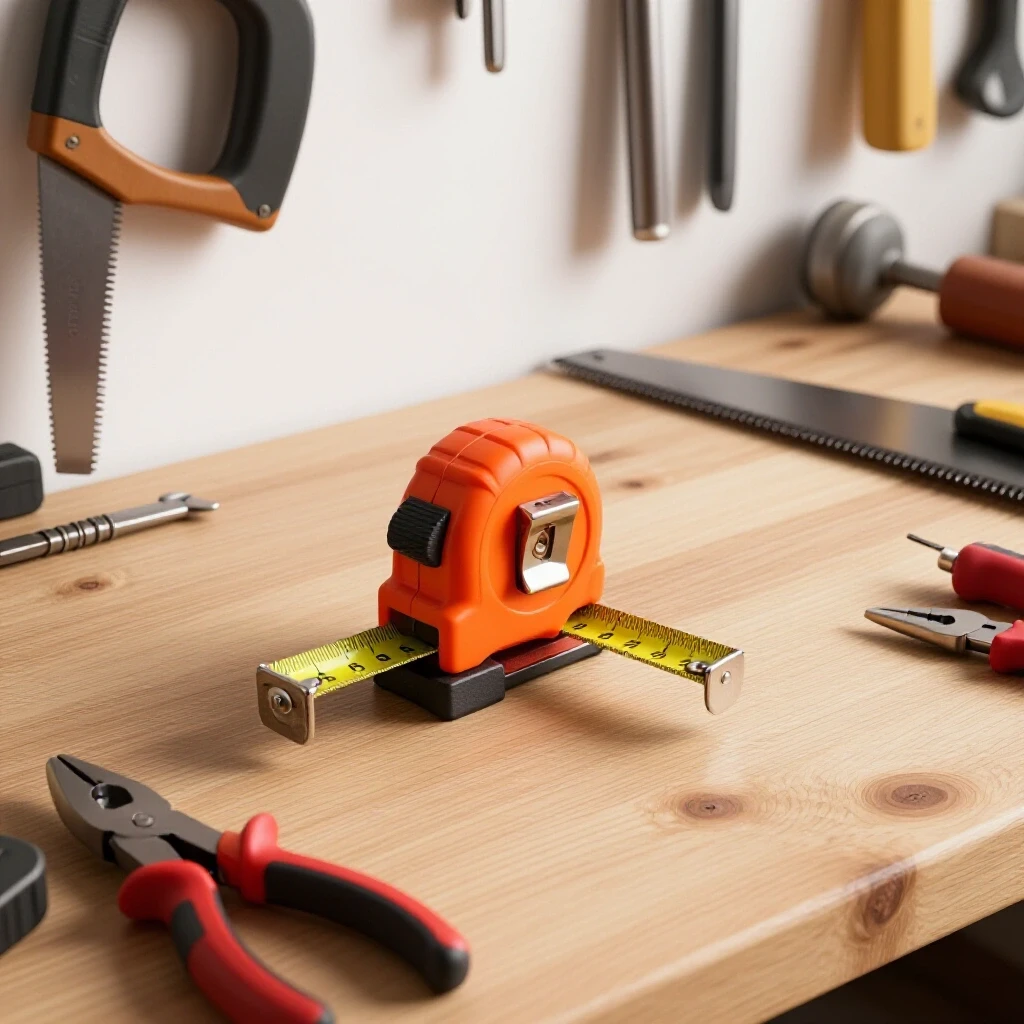
When you are in the middle of a complex weld sequencing layout, you cannot afford to hunt for your measuring tools. You need a dedicated, rugged spot for them that can withstand the heat and vibration of a working shop. Building a custom steel storage bracket for your tapes is a perfect “lunchbox project” that lets you practice precision layout and heat control on a small scale before you tackle a full vehicle chassis or heavy equipment repair.
Designing a Precision Steel Tool Station
A well-planned tool fixture serves as the backbone of an efficient workspace, ensuring that your most-used instruments are always within reach without occupying valuable table real-see. This phase involves drafting a clear blueprint that accounts for the specific dimensions of your gear and the thickness of the metal you choose.
Before I strike an arc, I always start with a detailed cut list. For a heavy-duty wall-mounted bracket, I prefer using 11-gauge (1/8 inch) mild steel sheet or 1-inch angle iron. If you use material that is too thin, like 16-gauge, the heat from the welder will warp the bracket into a pretzel. If you go too thick, you’re just wasting money and adding unnecessary weight to your wall. I aim for a dimensional tolerance of +/- 1/16th inch. This might seem overkill for a simple holder, but practicing tight tolerances on small items builds the muscle memory needed for large-scale structural work.
Calculating Kerf and Material Allowances
Kerf is the width of the material removed by a cutting tool, such as a saw blade or a plasma torch, and it must be factored into every measurement to ensure final parts fit correctly. Ignoring this small gap often leads to cumulative errors that can throw a whole assembly out of square.
In my shop, I use a variety of cutting tools, and each one requires a different “math” for the layout. If I’m using a cold saw, I calculate a 0.100-inch kerf. For a standard abrasive chop saw, it’s closer to 1/8 inch. If you are using a 4.5-inch angle grinder with a 0.045-inch zip wheel, you can get away with a much tighter allowance.
| Cutting Tool Type | Typical Kerf Width (Inches) | Best Use Case |
|---|---|---|
| Abrasive Chop Saw | 0.125 (1/8″) | Rough structural cuts |
| Cold Saw | 0.100 | Precision square cuts |
| Plasma Cutter | 0.060 – 0.080 | Curved shapes/Sheet metal |
| Angle Grinder (Zip Wheel) | 0.045 | Tight fits/Field repairs |
| Bandsaw | 0.035 – 0.042 | Repeatable production cuts |
When I lay out the parts for a bracket, I mark my lines with a carbide scriber rather than a soapstone. A soapstone line is nearly 1/16th of an inch wide on its own. If you cut to the “left” of the line on one piece and the “right” on another, you’ve already introduced a 1/8-inch error before you’ve even turned on the welder.
The Physics of Metal Distortion and Shrinkage
Welding distortion occurs when the intense heat of the arc causes the metal to expand, followed by a contraction as the weld pool cools and solidifies. This “pull” can easily bend a straight piece of steel or pull a 90-degree corner into an acute angle.
Understanding angular weld shrinkage is vital when building workshop jigs and fixtures. When you lay a bead in a T-joint—like welding the shelf of your tape holder to the backplate—the cooling weld metal acts like a tiny, powerful winch. It pulls the two pieces toward the side where the weld was placed. In my experience, a standard fillet weld can pull a joint 1 to 3 degrees out of alignment if it isn’t properly restrained.
To combat this, I use a “pre-setting” technique. If I know the weld will pull the shelf “up,” I might tack it so it sits about 2 degrees “down.” As the weld cools, it pulls the piece right into the 90-degree position. It takes some trial and error, but it’s a more professional approach than trying to beat the metal back into shape with a sledgehammer after it’s cold.
Precision Cutting for Slotted Fixtures
Creating clean, functional slots in metal requires a combination of steady hands and the right sequence of tool operations to prevent the material from overheating or tearing. Slotted designs are particularly useful for tool holders because they allow the clip of the tape measure to slide in and out without snagging.
For a quick-access bracket, I like to create a 1/2-inch wide slot. I start by drilling a 1/2-inch hole at the “bottom” of where the slot will be. This provides a clean, radiused end that prevents stress fractures. From there, I use an angle grinder with a cutting wheel to remove the material from the edge of the plate down to the hole.
- Step 1: Mark the center point of the radius 1 inch from the edge.
- Step 2: Use a center punch to ensure the drill bit doesn’t wander.
- Step 3: Drill a pilot hole with a 1/8-inch bit, then follow with the 1/2-inch bit.
- Step 4: Cut the “legs” of the slot using a guide or a steady hand.
- Step 5: Use a needle file to deburr the edges. A sharp edge will ruin the clip on your tape measure in a week.
Building Workshop Jigs for Small Assemblies
Jigs are temporary structures used to hold workpieces in the exact position required during the fabrication process, ensuring repeatability and accuracy. For small projects, a jig can be as simple as a heavy piece of C-channel or a dedicated welding table with holes for clamps.
I never weld “in the air.” For a tool holder, I’ll clamp the backplate flat to the table and use a machinist’s square to position the shelf. I use copper heat sinks—basically just thick blocks of copper—placed near the weld zone. Copper doesn’t stick to steel welds and it sucks the heat away, which drastically reduces metal warping solutions. If you don’t have copper, a thick piece of aluminum scrap can work in a pinch, though it’s not as effective.
Executing the Proper Weld Sequencing Layout
Weld sequencing is the strategic order in which you place your welds to balance the thermal stresses and minimize the overall distortion of the final part. By jumping from one side of a project to the other, you allow the heat to dissipate more evenly.
When I’m ready to join the components of the holder, I follow a strict tacking and welding sequence. If you weld one side completely before starting the other, the part will twist.
- Place four small tacks: One at each corner of the joint. These tacks should be no larger than 1/8 inch.
- Check for square: Use a square after tacking. If it moved, you can usually “bump” it back into place because the tacks are small.
- Weld the center: Start your bead in the middle of the joint and move outward.
- Opposing sides: If you are welding a bracket with two sides, weld 1 inch on the left, then move to the right side and weld 1 inch there.
- Cooling: Let the part air cool. Never quench a weld in water; this makes the steel brittle and can cause the weld to crack.
Managing Heat and Tack Weld Sizing
The size and placement of your tack welds are the “insurance policy” for your layout, holding everything in place while the main beads are laid down. A tack that is too large is hard to weld over, while a tack that is too small will snap under the tension of the cooling metal.
For 11-gauge steel, I aim for a tack spacing of about 2 inches. On a small tape holder, this usually means just two tacks per side. I use a slightly higher amperage for tacks than I do for the final bead. This ensures deep penetration so the tack doesn’t pop when the main weld starts pulling on the metal. If I see a tack crack as it cools, I know I have too much stress in the joint or the fit-up is too tight.
Mounting Solutions for High-Efficiency Workflows
The final step in creating a functional tool station is determining how it will attach to your workspace, whether through permanent bolts or versatile magnetic mounts. This choice depends on whether you need the holder to stay in one spot or move with you across a large project like a trailer frame.
I often use rare-earth magnets for my tool holders. I’ll weld a small cup or a flat tab to the back of the bracket and epoxy a 95-pound pull magnet into it. This allows me to “stick” the tape measure holder directly onto the side of a large project I’m working on. If you prefer a permanent mount, drill 5/16-inch holes for 1/4-inch lag bolts. Always oversize your mounting holes slightly; this gives you a bit of “wiggle room” if your wall studs aren’t perfectly plumb.
| Mounting Method | Pros | Cons |
|---|---|---|
| Bolt-on (Fixed) | Maximum stability, won’t move | Permanent, requires drilling |
| Magnetic (Mobile) | Can move to the work area | Can be knocked off, attracts metal dust |
| Tab-and-Slot | Very strong, self-aligning | Requires more complex cutting |
| Weld-on | Fastest to install | Cannot be removed without a grinder |
Finishing and Surface Preparation
A professional finish protects your hard work from rust and makes the tool holder easier to clean in a dusty shop environment. This involves removing all mill scale, slag, and sharp burrs before applying a protective coating.
I start by using a flap disc (60 or 80 grit) on my angle grinder to smooth out the welds. I don’t grind them completely flat—that weakens the joint—but I take off the “hump.” After grinding, I use a degreaser to remove any oils. For shop fixtures, I’m a big fan of “appliance epoxy” paint. It dries harder than standard spray paint and resists the scratches that come from sliding a metal tape clip in and out hundreds of times.
Case Study: The Warped Workbench Bracket
A few years ago, I was building a series of organizers for a client’s mobile welding rig. I got lazy and didn’t use a jig for the small 90-degree bends. I figured since the parts were only 4 inches wide, the “pull” wouldn’t be noticeable. I welded the internal corners first, and the heat caused the backplate to bow by nearly 3/16th of an inch.
When I tried to bolt it to the flat side of the rig, the bracket wouldn’t sit flush. Every time the truck hit a bump, the bracket rattled. I had to cut the welds, flatten the plate in a hydraulic press, and re-weld it using the sequencing I described above. That mistake cost me two hours of rework. It’s a reminder that even on small utility items, skipping the layout and heat control steps will always catch up to you.
Actionable Checklist for Your Fabrication Project
To ensure your next tool organization project goes smoothly, follow this sequence of benchmarks.
- Verify Material: Use a caliper to check your steel thickness; don’t trust the “pile” at the steel yard.
- Scribe Lines: Use a carbide scriber for +/- 1/32-inch accuracy.
- Check Square: Test your square against a known 3-4-5 triangle if you haven’t dropped it lately.
- Tack Sequence: Tack the corners, check for square, then tack the centers.
- Heat Management: If the metal starts glowing dull red beyond the weld zone, stop and let it cool.
- Deburr: Every edge should be smooth enough to rub your thumb across without catching.
- Final Log: Record your amperage settings and the “pull” you observed for future reference.
Conclusion
Building a custom steel holder for your measuring tools is more than just a weekend organization task. It is a practical exercise in managing the forces that every fabricator faces: heat, shrinkage, and layout errors. By focusing on accurate square cuts and disciplined weld sequencing, you create a tool that isn’t just a convenience—it’s a testament to your growth as a builder.
The next time you are standing over a pile of steel, frustrated by a frame that won’t stay square, look at the small fixtures you’ve built. The same principles of physics apply whether the part is four inches or forty feet long. Start small, master the heat, and your larger projects will naturally follow suit in quality and precision.
FAQ
How do I prevent the bracket from bending when I weld the shelf? The best way is to use a “back-to-back” clamping method. If you are building two holders, clamp them back-to-back so the heat pull of one cancels out the other. If you are only building one, clamp the backplate firmly to a thick welding table or a piece of heavy C-channel to act as a heat sink and physical restraint.
What is the best welding process for small shop fixtures? MIG (GMAW) is generally the most efficient for these projects because it provides good heat control and is fast. However, TIG (GTAW) is superior for very thin sheet metal or when you want the cleanest possible look with minimal grinding. If you only have a Stick (SMAW) welder, use small diameter rods like 3/32-inch E6013 to avoid burning through the material.
Why does my tape measure clip keep getting stuck in the slot? This is usually caused by “burrs” or a slot that is too narrow. Always cut your slot at least 1/16th of an inch wider than the clip. After cutting, use a small round file or a deburring tool to smooth the inside edges. If you paint the holder, remember that the paint adds thickness, so account for that in your initial slot width.
Can I use magnets instead of welding the components together? While you can use magnets to hold the bracket to a wall, the bracket itself should be welded or bolted for durability. Magnets alone usually won’t hold up to the constant “tugging” of pulling a tape measure in and out, especially if the tape is a heavy 25-foot or 35-foot model.
How much gap should I leave between parts before welding? For 1/8-inch steel, a “dead fit” (no gap) is usually fine for MIG welding. If you want 100% penetration, you can leave a tiny gap—about the thickness of a business card. This allows the weld to penetrate all the way through the joint, making it much stronger.
What should I do if the bracket warps after I’ve finished welding? If it’s a minor warp, you can often “cold straight” it by placing it in a vise and gently pulling it back. If it’s a major warp, you may need to use a torch to heat the “long” side of the warp (the side opposite the weld). As that heated spot cools, it will shrink and pull the part back toward straight.
Is 11-gauge steel really necessary for a tape holder? You can use 14 or 16-gauge, but it becomes much harder to weld without blowing holes in the metal. Thinner metal also vibrates more, which can be annoying in a shop environment. 11-gauge (1/8 inch) is the “sweet spot” for durability and ease of fabrication for most DIYers.
How do I make sure the mounting holes are aligned? Always drill your mounting holes before you weld the shelf onto the backplate. It’s much easier to put a flat plate on a drill press than a finished 3D bracket. Use a center punch to keep the drill bit from “walking” off your mark.
How do I calculate the “pull” of a weld? A general rule of thumb is that a standard fillet weld will pull a joint about 1 degree for every pass. For a small project like this, one pass is all you’ll need. Try “over-extending” your joint by about 1 or 2 degrees in the opposite direction of the weld before you start.
What is the best way to clean mill scale off the steel? Mill scale is the dark grey coating on hot-rolled steel. It’s a poor conductor and makes for messy welds. Use a “strip disc” or a fiber disc on an angle grinder to take the metal down to shiny white silver before you tack anything. Your welds will be much stronger and look significantly better.
(This article was written by one of our staff writers, Robert Kline. Visit our Meet the Team page to learn more about the author and their expertise.)