How to Build a Metal Hanger Rack for Workshop PPE (DIY Plan)
I remember the first time I tried to build a heavy-duty frame for my shop. I had spent hours measuring every piece of square tubing to the exact sixteenth of an inch. I clamped everything down, felt confident, and started laying long, beautiful beads. When I unclamped the project, my rectangular frame had pulled into a trapezoid. The heat from the welder had physically moved the steel, teaching me a lesson that every fabricator eventually learns: metal is alive when it gets hot.
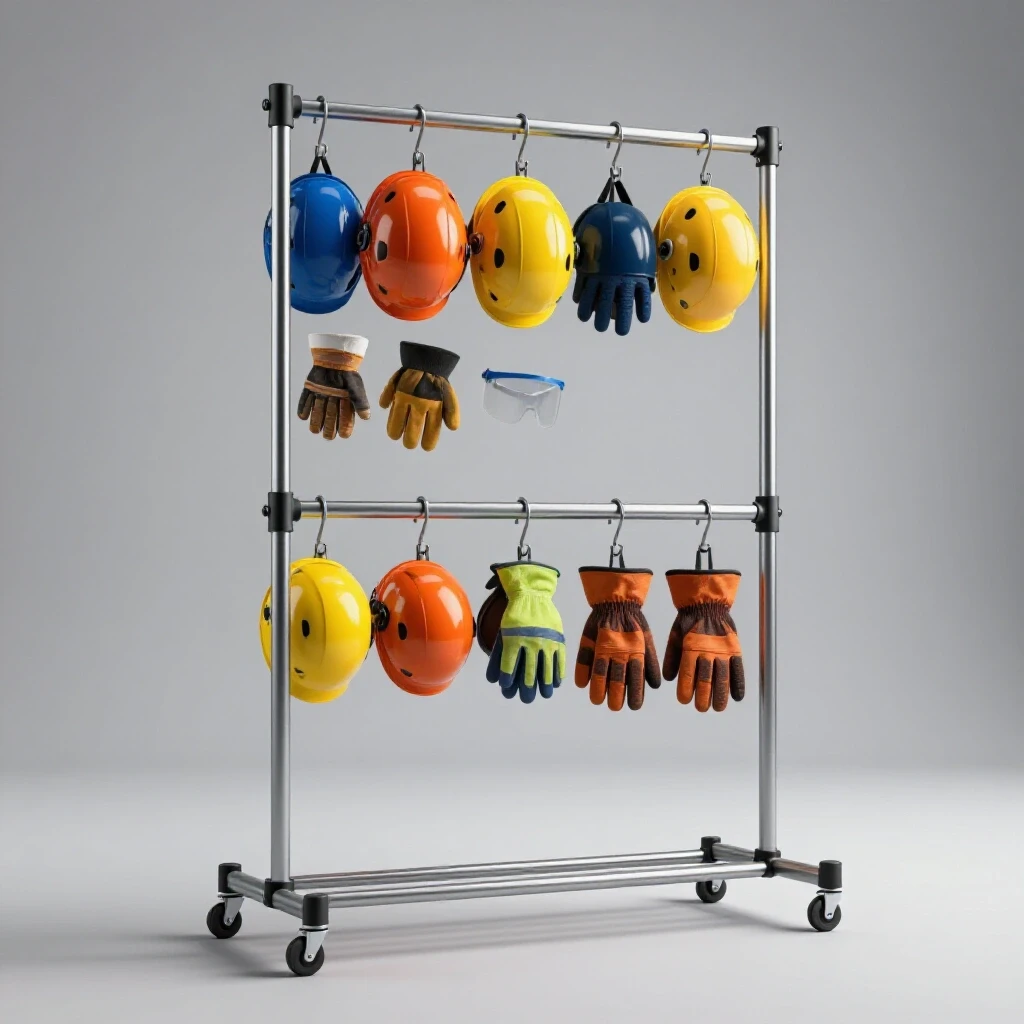
Building a dedicated storage system for your welding helmets, heavy leather jackets, and respirators is a great way to practice controlling these forces. When you are constructing a wall-mounted gear organizer, you aren’t just sticking metal together. You are managing thermal expansion, calculating blade kerf, and learning how to sequence your welds so the finished product actually sits flat against the wall. This guide will walk you through the process of building a professional-grade shop fixture while maintaining tight tolerances.
Designing the Blueprint and Material Selection
Designing the blueprint involves selecting the right steel profiles and wall thicknesses to handle the weight of heavy shop gear. This stage requires a detailed material list and a clear understanding of how individual components will intersect to form a rigid, functional wall-mounted storage unit. Proper planning at this stage prevents mid-build design changes.
For a standard 48-inch wide organizer, I prefer using 1-inch square steel tubing with a 14-gauge wall thickness (approximately 0.083 inches). This provides a great balance between strength and weight. If you go too thin, like 18-gauge, you risk blowing through the metal during welding. If you go too thick, the rack becomes unnecessarily heavy for wall mounting.
Choosing Between Square Tubing and Angle Iron
Selecting the right metal profile depends on the required strength and the visual style of your organizer. Square tubing offers high torsional rigidity for the main frame, while angle iron is often easier to drill and mount against flat wall surfaces for secondary supports. Both materials are common in custom fabrication projects.
I often use square tubing for the main perimeter because it looks cleaner and resists twisting. However, I’ll use 1-inch by 1/8-inch flat bar for the actual hanging hooks. Flat bar is easy to bend into “J” shapes using a bench vise and a piece of pipe for leverage. This combination of materials ensures the rack can hold three or four heavy welding leathers without sagging.
Calculating Material Costs and Waste
Accurate material tracking is essential for keeping your custom fabrication projects within a reasonable budget. By creating a cut list before visiting the steel yard, you can minimize “drops” or wasted offcuts. Most steel suppliers sell in 20-foot sticks, so your design should aim to utilize as much of that length as possible.
- Main Frame: Two 48-inch pieces, two 12-inch pieces (10 feet total).
- Internal Dividers: Three 11-inch pieces (approx. 3 feet total).
- Hanging Hooks: Six 8-inch strips of flat bar (4 feet total).
- Total Estimated Material: 17 to 18 feet of steel.
Mastering Accurate Square Cuts and Kerf Allowances
Accurate square cuts are the foundation of any successful metal project, as even a one-degree error can result in massive gaps during fit-up. Understanding kerf allowances—the width of the material removed by the saw blade—is critical for ensuring that your final assembly dimensions match your initial shop drawings exactly.
When I talk about “kerf,” I am referring to the thickness of the blade. If you mark a line at 48 inches and cut directly on the line, your piece will be short by half the width of the blade. For a standard abrasive chop saw, that could be 1/8 of an inch. Over a large frame, these small errors compound, leading to a rack that is out of square.
| Cutter Type | Typical Kerf (inches) | Accuracy Level | Best Use Case |
|---|---|---|---|
| Abrasive Chop Saw | 0.125″ (1/8″) | Low | Rough framing, thick plate |
| Cold Saw | 0.090″ (3/32″) | High | Precision frames, no burrs |
| Portable Bandsaw | 0.025″ – 0.035″ | Medium | On-site cuts, thin tubing |
| Plasma Cutter | 0.040″ – 0.060″ | Variable | Curved shapes, thick plate |
Using a Layout Fluid for Precision
Metal layout tips often include the use of layout fluid, a blue or red dye that makes your scribed lines stand out. Instead of using a thick sharpie, which can have a 1/16-inch wide tip, use a carbide scriber. This allows you to hit a tolerance of +/- 1/32 of an inch, which is vital for tight miter joints.
Always measure from the same end of the tube for every cut. This is known as “datum-based measuring.” If you measure the first piece, cut it, then measure the second piece from the new cut edge, you are carrying over any errors from the previous cut. Measuring everything from a single clean end ensures consistency across all your components.
Building Workshop Jigs and Alignment Fixtures
Workshop jigs and fixtures are temporary structures used to hold workpieces in precise alignment during the fabrication process. They act as a physical constraint against the powerful forces of weld shrinkage, ensuring the frame remains flat and square throughout the assembly. Using fixtures is the best defense against warping.
You don’t need a professional laser-cut welding table to get good results. I often build a “framing jig” right on my workbench using scraps of angle iron and C-clamps. By clamping your square tubing against a known straight edge, you force the metal to stay put while you apply heat.
Squaring the Frame with the 3-4-5 Rule
Before you strike an arc, you must verify that your corners are at exactly 90 degrees. While a speed square is helpful, the 3-4-5 triangle method is more accurate for larger frames. Measure 3 inches on one side, 4 inches on the perpendicular side, and the diagonal between those points must be exactly 5 inches.
For our 48-inch gear rack, you can scale this up to 30 inches and 40 inches, with a 50-inch diagonal. If your diagonal measurement is even 1/8 of an inch off, your rack will look crooked once it is mounted on the wall. I always check both diagonals of a rectangular frame; they must be identical for the frame to be perfectly square.
Structural Tacking and Weld Sequencing Layout
Tack welding involves placing small, temporary beads at critical junctions to lock components in place before the final pass. A strategic tacking sequence balances the internal stresses of the metal, preventing the heat from pulling the entire assembly out of alignment. This is where most builders succeed or fail.
A tack weld should be about the size of a pencil eraser. For 14-gauge tubing, I place tacks at every corner, but I don’t just go in a circle. I tack the top-left, then the bottom-right, then the top-right, and finally the bottom-left. This “cross-pattern” helps distribute the initial shrinkage forces evenly across the frame.
Why Weld Shrinkage Warps Square Structures
Weld shrinkage occurs because molten steel occupies more volume than cold steel. As the weld pool cools, it contracts and pulls the surrounding metal toward the center of the bead. If you weld only one side of a joint, the metal will “draw” or bend toward that weld, ruining your alignment.
To combat this, I use a technique called “opposing welds.” If I weld the outside corner of a joint, I immediately move to the inside corner of the same joint. The second weld pulls in the opposite direction, effectively canceling out the distortion from the first bead. This is a fundamental skill in managing metal warping solutions.
The Precise Order to Lay Your Beads
Once your tacks are set and you’ve re-verified your squareness, it is time for the final passes. Never weld an entire joint at once. Instead, move around the project to keep the heat input localized and balanced.
- Weld the 1-inch vertical seams on all four corners first.
- Flip the frame over and weld the corresponding vertical seams on the back.
- Weld the horizontal top seams in a “star” pattern, jumping from corner to corner.
- Allow the metal to cool to the touch before removing your clamps or fixtures.
Correcting Heat Distortion and Final Straightening
Thermal distortion is the warping or twisting of metal caused by the uneven heating and cooling cycles of the welding process. Even with the best sequencing, some movement is inevitable. Learning how to identify and correct these minor bows is what separates a hobbyist from a professional fabricator.
If you find that your 48-inch main rail has a slight “crown” or bow in it after welding, you can often use “mechanical straightening.” This involves placing the tube across two blocks and applying pressure in the center with a large clamp or a hydraulic press. Because we are working with relatively thin 14-gauge steel, it doesn’t take much force to bring it back to straight.
Heat Shrinking as a Correction Tool
In cases where a frame is severely pulled, you can use a torch to “heat shrink” the opposite side. By heating a small spot to a dull red and then quickly cooling it with a wet rag, you force that side of the metal to contract. This pull can counteract the original weld distortion. However, I recommend this only as a last resort, as it can change the temper of the steel.
Mounting and Finishing for Shop Use
A wall-mounted storage rack is only as good as its attachment points. Since this fixture will hold heavy PPE, including potentially 20 to 30 pounds of leather and helmets, you must mount it directly into the wall studs. I prefer drilling 5/16-inch holes through the back of the square tubing to accommodate heavy-duty lag bolts.
- Hole Spacing: 16 inches or 24 inches on center (to match your wall studs).
- Fasteners: 3-inch long, 1/4-inch diameter lag screws with washers.
- Finish: Clean the steel with acetone and apply a coat of self-etching primer followed by a durable enamel paint to prevent rust.
When you finally bolt the rack to the wall, you’ll see the value of all that layout work. A rack that was built flat will sit flush against the drywall without any gaps. The hooks will be level, and the frame will look like a professional piece of equipment rather than a weekend accident.
Practical Build Log: The 48-Inch Gear Organizer
I recently completed a version of this project for a local shop. The builder wanted to organize four welding helmets and several pairs of gloves. We used a 1/16-inch tolerance for all cuts and followed a strict weld sequence. The result was a frame that stayed within 1/32 of an inch of “flat” across the entire four-foot span.
Step-by-Step Execution Framework
- Cut Phase: Cut the 1-inch tubing using a cold saw to ensure 90-degree faces. Accounted for a 0.090-inch kerf.
- Layout Phase: Used a 4-foot level as a straight edge on the welding table. Scribed mounting hole locations before assembly.
- Jigging Phase: Clamped the perimeter tubes to the table using four F-clamps and two 90-degree corner magnets.
- Tacking Phase: Placed eight tacks (two per corner). Verified diagonals: both were exactly 49.5 inches.
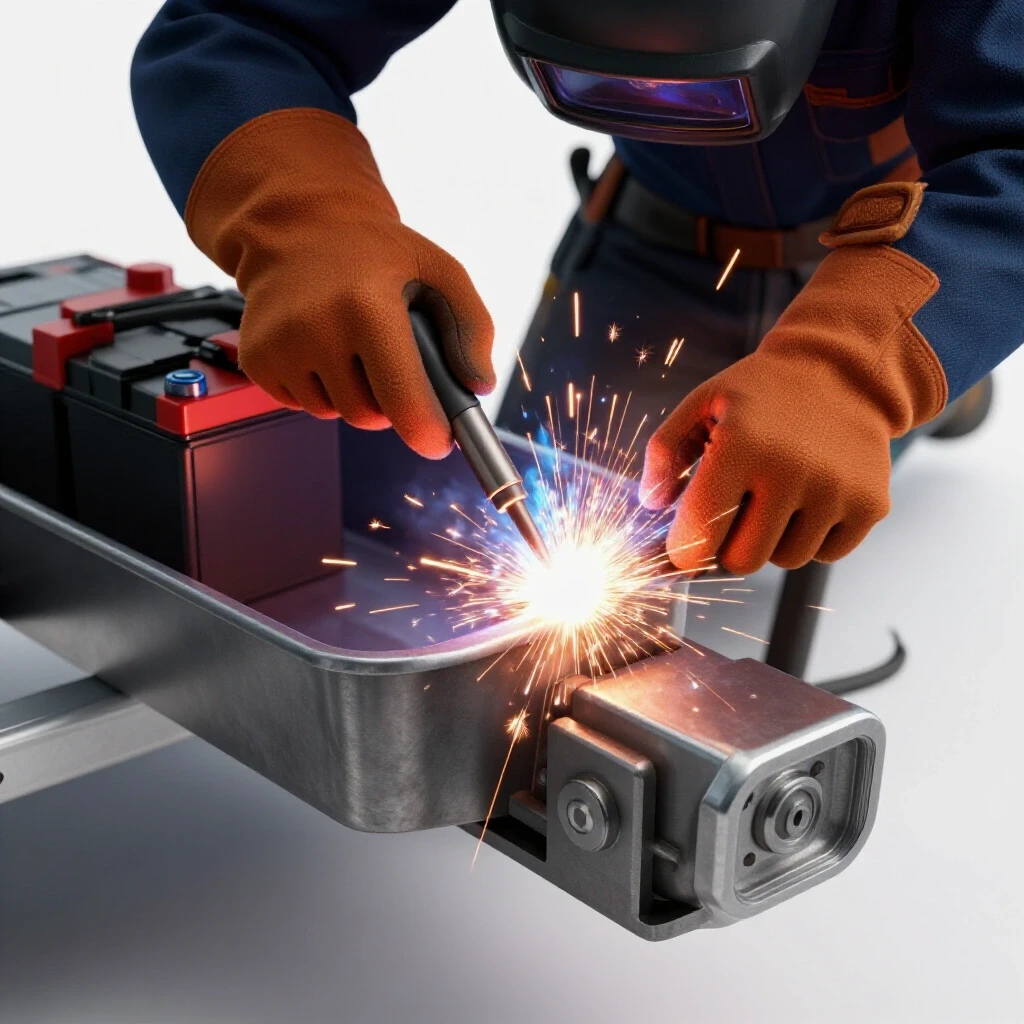
- Welding Phase: Used a MIG welder at 18.5 volts and 280 inches per minute wire speed. Welded in 1-inch increments, alternating sides.
- Finishing Phase: Ground the corner welds flush for a seamless look. Applied a “Hammered” texture spray paint to hide minor surface imperfections.
This project is more than just a place to hang your hat. It is a lesson in how to control the physical properties of steel. By focusing on the layout, the kerf, and the heat, you build the skills necessary for much larger projects, like utility trailers or custom vehicle chassis.
FAQ: Common Questions About Metal Fabrication Layouts
How do I prevent the square tubing from crushing when I tighten the mounting bolts? You can slide a small piece of 3/4-inch pipe (a “crush sleeve”) inside the 1-inch tubing at the bolt location. This allows the bolt to tighten against the sleeve rather than the thin walls of the tubing.
What is the best way to ensure my hooks are all at the same angle? Create a small “bending jig” by welding two short pieces of scrap steel to your table with a 1/8-inch gap between them. Slide your flat bar into the gap and pull to a set stop point to ensure every hook has the same radius.
Can I use a flux-core welder for this project? Yes, but flux-core produces more heat and more splatter. You will need to be even more diligent with your weld sequencing and spend more time cleaning the metal with a wire brush before painting.
How do I check for square if my tape measure hook is loose? Most tape measure hooks are designed to slide by the thickness of the hook itself to account for “inside” vs. “outside” measurements. This is normal. Just ensure you aren’t “pulling” too hard on one measurement and “pushing” on the other.
Why did my miter joints have a gap even though I cut them at 45 degrees? This usually happens if the tubing wasn’t clamped perfectly flat in the saw. If the tube is tilted even slightly, the 45-degree cut becomes a compound angle, creating a gap at the top or bottom of the joint.
Is it better to miter the corners or use butt joints? Miter joints (45 degrees) look more professional and seal the ends of the tube. Butt joints (90 degrees) are easier to cut but leave the “ends” of the tubing open, which requires plastic end caps or “capping” them with small steel squares.
What should I do if the rack warps and won’t sit flat on the wall? If the bow is minor, the lag bolts will often pull the rack flat against the wall as you tighten them. However, if the gap is larger than 1/4 inch, you should use the mechanical straightening method mentioned earlier.
How do I calculate the weight capacity of the rack? For 1-inch, 14-gauge tubing over a 48-inch span, the “point load” in the center is quite high. Provided it is bolted into at least three studs, this rack can easily support 100+ pounds of gear without significant deflection.
Should I weld the hooks on before or after the main frame is finished? Weld the main frame first and let it cool completely. Then, lay out your hook spacing. Welding the hooks on last prevents their heat from interfering with the squareness of the main perimeter.
What is the best way to clean the steel before welding? Use a flap disc (80 grit) on an angle grinder to remove the “mill scale”—the dark grey coating on new steel. Welding on clean, shiny metal produces stronger, prettier beads with less porosity.
By following these steps and respecting the way heat moves through metal, you can build a shop organizer that is both functional and a testament to your fabrication skills. Take your time with the layout, watch your heat, and always measure twice.
(This article was written by one of our staff writers, Robert Kline. Visit our Meet the Team page to learn more about the author and their expertise.)