Small Metalworking Accessories That Improve Accuracy (Guide)
When I set up my first 400-square-foot garage workshop back in 2013, I made a mistake that almost every beginner makes. I spent nearly my entire $2,000 budget on the largest machines I could find. I thought a heavy drill press and a used manual mill would automatically turn out professional-grade parts. I quickly learned that a machine is only as good as the tools used to set it up. Without a few specific, low-cost precision aids, my “accurate” machines were producing scrap metal.
In my years as an industrial maintenance technician, I saw how multi-million dollar production lines relied on simple, hand-held accessories to maintain tolerances. You do not need a massive budget to achieve high-quality results in a home shop. You simply need to prioritize the right small-scale measurement and alignment tools. These items, usually under six inches in size, bridge the gap between “close enough” and “dead on.”
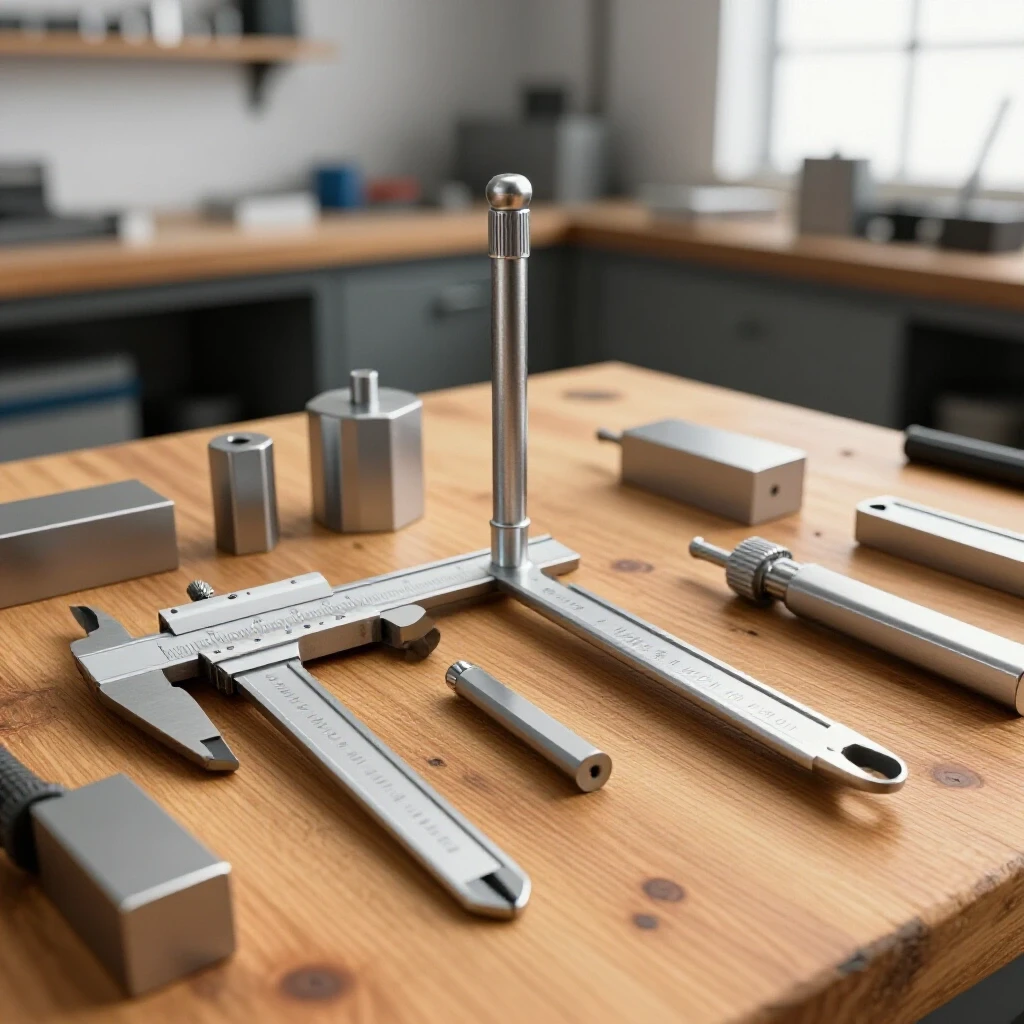
This guide focuses on the specific mechanical aids that help you find edges, set heights, and verify that your equipment is square. By investing in these foundational items early, you can avoid the frustration of wasted material and the high cost of replacing poorly made parts. Let’s look at how to build a precise fabrication space from the ground up without overspending.
Mastering the Art of Manual Layout
Manual layout is the process of physically marking a workpiece to guide cutting, drilling, or milling operations. It transforms a raw piece of metal into a roadmap for your tools, ensuring that every hole and edge lands exactly where the design intends. This stage is where most errors begin, making precision aids essential.
When I first started, I used a standard tape measure and a Sharpie. I soon realized that a felt-tip marker creates a line nearly 1/16th of an inch wide. In the world of metalworking, that is a massive margin of error. To improve, I shifted to using layout fluid and a carbide-tipped scribe. The fluid, often a deep blue or red, coats the metal so that a scribe can scratch a hair-thin, high-contrast line into the surface.
A critical tool for this process is the 1-2-3 block. These are hardened steel blocks ground to exactly 1 inch by 2 inches by 3 inches. They are the most versatile accessories in a budget shop. I use them as spacers, as squares to check my scribe lines, and as weights to hold thin sheet metal flat. For a beginner, a pair of these blocks provides a reliable physical reference that never changes.
- Layout Fluid: Provides a high-contrast background for thin scribe lines.
- Carbide Scribe: Creates a permanent, precise mark that doesn’t smudge like ink.
- 1-2-3 Blocks: Act as a physical standard for measuring and squaring.
- Steel Rules: Look for etched graduations rather than painted ones for better durability.
| Tool Category | Primary Function | Estimated Cost (Budget) | Expected Lifespan |
|---|---|---|---|
| 1-2-3 Blocks | Squaring and Spacing | $25 – $40 (Pair) | 10+ Years |
| Layout Fluid | Visual Contrast | $15 – $20 (Bottle) | 1-2 Years |
| Carbide Scribe | Precision Marking | $8 – $12 | 5+ Years |
| Steel Rule (6″) | Linear Measurement | $10 – $15 | Lifetime |
Why Setup Blocks are the Backbone of a Budget Shop
Setup blocks are fixed-size metal gauges used to set the distance between a cutting tool and a machine table or fence. Instead of squinting at a ruler, you place a block of a known thickness between the tool and the work. This removes the guesswork and human error associated with visual alignment.
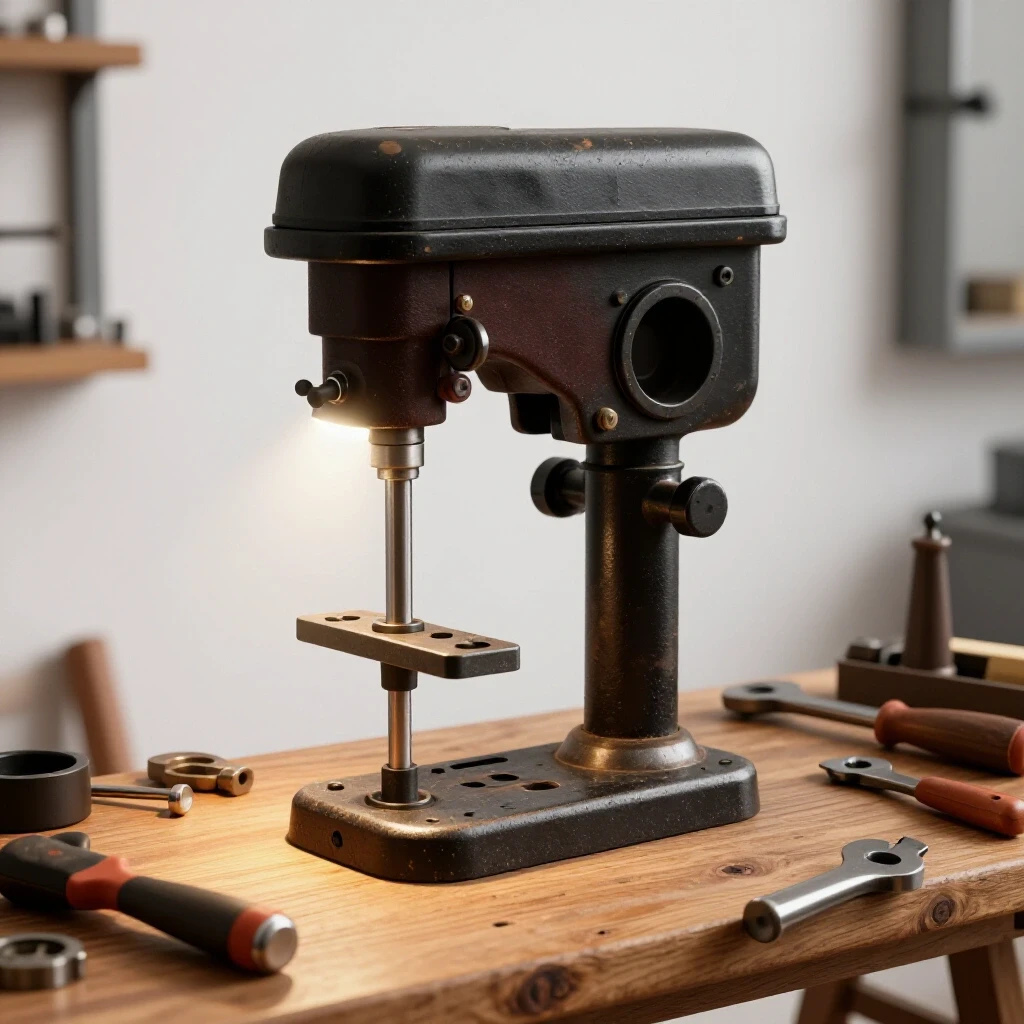
In my early shop days, I struggled to set the depth of my drill press consistently. I started using a set of aluminum setup bars, which are often sold in increments like 1/8, 1/4, and 1/2 inch. By stacking these blocks, I could set my machine height to within a few thousandths of an inch. This is a “physical stop” method, which is much more repeatable than trying to read a moving scale on the side of a machine.
For those on a strict budget, you don’t need a 50-piece set. A simple five-piece set of brass or aluminum blocks will cover 90% of your needs. Because these are mechanical standards, they don’t require batteries or calibration. They are “truth” in physical form, helping you reconcile your tool height with your project blueprints every time.
- Repeatability: Blocks allow you to return to the exact same setting later in a project.
- Speed: Sliding a block into place is faster than measuring with a caliper.
- Versatility: They can be used on drill presses, band saws, and manual mills.
- Durability: Solid metal blocks are nearly impossible to break in a home environment.
Centering and Edge Finding on a Limited Budget
Edge finding is the technique of locating the exact starting point of a workpiece relative to the center of a machine’s spindle. In metalworking, you cannot simply “eyeball” the start of a cut. An edge finder is a small, two-piece mechanical tool that tells you exactly when you have touched the side of your material.
I remember the first time I used a mechanical edge finder. It consists of a shank and a tip held together by an internal spring. You spin the tool in your drill chuck or collet. As it touches the edge of the metal, the tip “kicks” to the side. This visual snap indicates that the center of your spindle is exactly half the diameter of the tool away from the edge. It is a simple, elegant solution that costs less than $20 but improves accuracy by tenfold.
Center finders work on a similar principle but are designed to find the middle of a round bar or a pre-drilled hole. For a beginner, these tools are vital because they prevent “offset errors,” where a hole is drilled slightly to the left or right of where it should be. Mastering these small accessories is the difference between a part that bolts together perfectly and one that requires a round file to fix.
- Mount the tool: Place the edge finder in a high-quality collet or chuck.
- Set the speed: Run the spindle at approximately 1,000 RPM.
- Approach slowly: Move the workpiece toward the spinning tool using the machine’s handwheels.
- Watch for the “kick”: The moment the tip jumps sideways, you have found the edge.
- Account for the radius: Move the machine’s dial by exactly 0.100 inches (for a standard 0.200″ tip) to find the true edge.
Using Indicators to Diagnose Machine Inaccuracy
A dial test indicator is a precision instrument used to measure small distances or “runout,” which is the amount of wobble in a spinning tool. These tools use a tiny needle and a clock-like face to show movements as small as one-thousandth of an inch. They are essential for verifying that your setup is straight.
Early in my career, I bought a used drill press that produced oval-shaped holes. I thought the machine was junk. However, after using a dial test indicator mounted on a magnetic base, I discovered the chuck was simply dirty and sitting crooked. By cleaning the mounting taper, I brought the machine back to factory specs. This tool saved me from buying a new machine I didn’t need.
A magnetic base is a heavy, switchable magnet that holds your indicator firmly in place on any steel surface. This allows you to “sweep” a surface to see if it is level or to check if a vise is mounted perfectly parallel to the machine’s travel. For a home shop, a 1-inch travel dial indicator and a basic magnetic base are the most powerful diagnostic tools you can own.
- Runout Check: Ensures your drill bits aren’t wobbling.
- Squareness: Verifies that your vise is aligned with the machine’s axis.
- Flatness: Checks if a workpiece is sitting level on the table.
- Alignment: Helps center a four-jaw chuck on a lathe.
| Tool Component | Purpose | Budget Allocation |
|---|---|---|
| Dial Indicator | Measures linear movement | 40% |
| Magnetic Base | Holds the indicator in place | 40% |
| Fine Adjustment Arm | Allows for precise positioning | 20% |
The Role of Precision Parallels in Vise Work
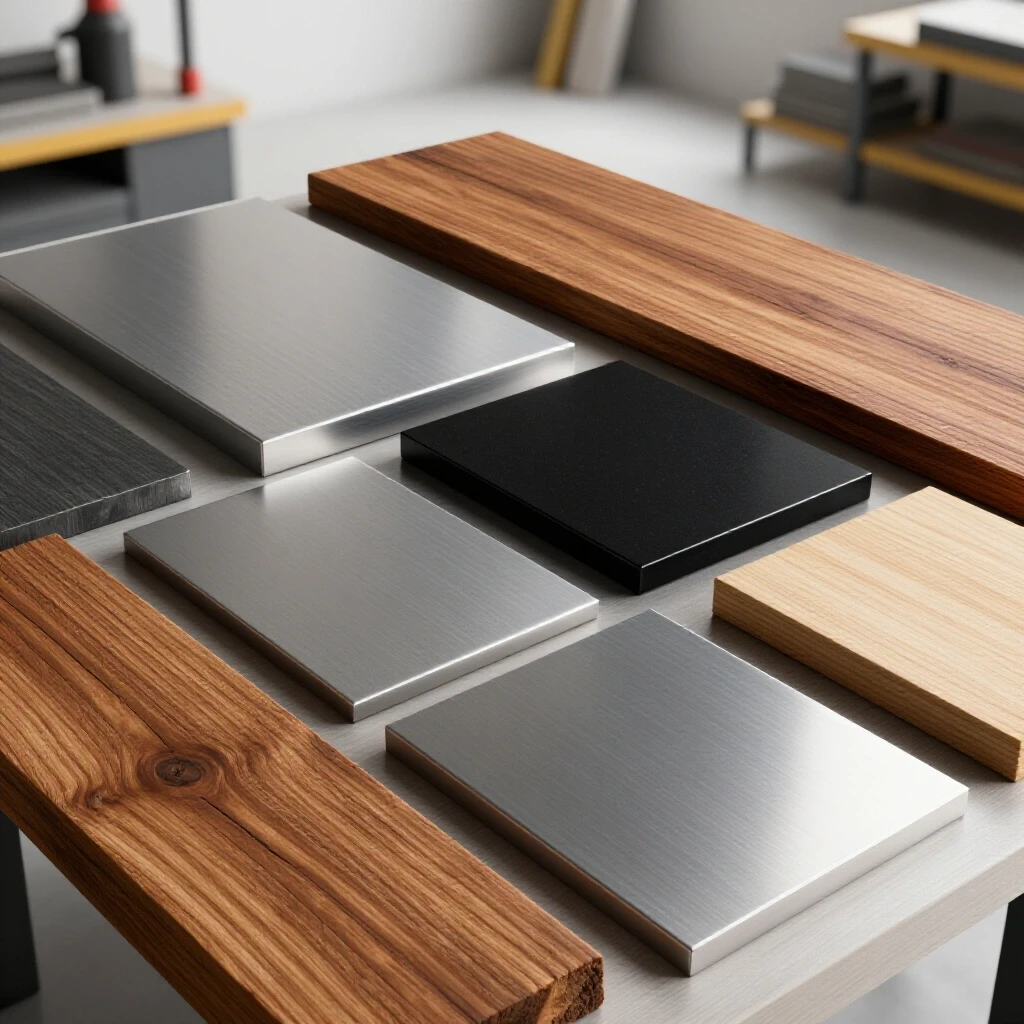
Precision parallels are rectangular bars of hardened steel, usually sold in pairs, that are ground to very tight tolerances. They are placed inside a machine vise to support the workpiece. Their job is to keep the material level and at the correct height so that the top surface stays parallel to the bottom surface during machining.
If you place a piece of metal directly on the bottom of a vise, it might sit at a slight angle due to debris or the way the vise jaws move. By using parallels, you lift the work up where you can see it and ensure it is supported by two perfectly matched surfaces. In my workshop, I keep a “thin” set of parallels, which are about 1/8-inch thick, because they allow me to drill through a part without hitting the parallel itself.
When choosing your first set, look for a “6-inch” set that includes various heights in 1/8-inch increments. This variety ensures you can always find a pair that supports your metal while still leaving enough of the part exposed for cutting. It is a simple mechanical fix for a common problem: parts that come out “wedge-shaped” instead of flat.
- Support: Keeps thin parts from bowing under jaw pressure.
- Elevation: Raises the work above the vise jaws for better visibility.
- Alignment: Ensures the top and bottom surfaces remain parallel.
- Protection: Prevents your cutting tools from hitting the expensive vise body.
Organizing Your Precision Tool Kit for Longevity
Precision aids are sensitive to rust, dust, and physical impact. In a garage workshop, temperature swings and humidity can quickly ruin a dial indicator or a set of parallels. I have always followed a strict “clean and oil” policy to protect my investment. After every use, I wipe my steel tools with a light coat of machine oil or a dedicated rust preventative.
I recommend dedicated storage for these items. A small plastic or wooden box with foam inserts prevents the tools from banging into each other. Back when I was tracking every dollar of my $2,000 startup cost, I realized that replacing a rusted $40 indicator was a major setback. Proper storage isn’t just about being tidy; it is about protecting the accuracy of your measurements over the long term.
- Wipe down: Remove all metal chips and coolant after use.
- Oil lightly: Use a non-detergent oil to prevent oxidation.
- Store flat: Do not stack heavy items on top of precision blocks or indicators.
- Labeling: Keep sets together so you don’t mix up matched pairs of parallels.
- Check for burrs: If a block drops, check for small raised nicks that could throw off a measurement.
Budgeting for Accuracy: A Tooling-to-Machine Ratio
A common mistake is spending 95% of a budget on the machine and only 5% on the accessories. In my experience, a much healthier ratio is 70/30. If you have $1,000 for a drill press or a small mill, you should plan to spend $700 on the machine and $300 on the precision aids that make it useful.
This $300 “accuracy kit” should be built in stages. Start with the basics: a steel rule, layout fluid, and a scribe. Next, move to 1-2-3 blocks and an edge finder. Finally, add a dial indicator and a set of parallels. This phased approach allows you to learn how to use each tool before moving to the next, preventing the “analysis paralysis” that comes with buying too much gear at once.
- Phase 1 ($50): Steel rule, scribe, layout fluid, 1-2-3 blocks.
- Phase 2 ($75): Mechanical edge finder, basic setup blocks.
- Phase 3 ($100+): Dial indicator, magnetic base, precision parallels.
By following this sequence, you ensure that every dollar spent directly translates to better parts. You are building a system of measurement, not just a collection of tools. This methodical approach is what separates a frustrated hobbyist from a capable fabricator.
Frequently Asked Questions
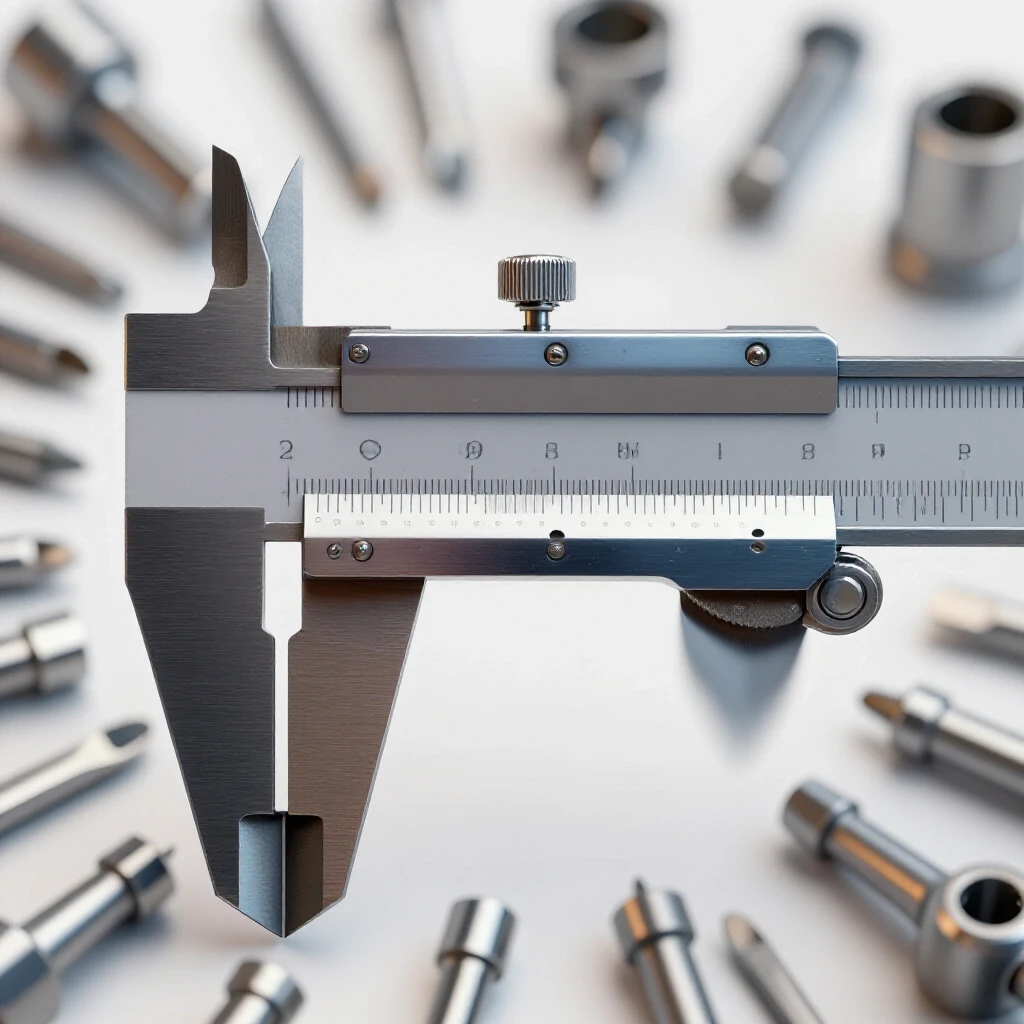
Why shouldn’t I just use a digital caliper for all my measurements? While digital calipers are useful, they are not setup tools. A caliper measures a part after it is made, whereas setup blocks and edge finders help you position the machine before you make the cut. Using a caliper to set machine height is often awkward and leads to inconsistent results because the tool can tilt or flex.
How do I know if my 1-2-3 blocks are actually accurate? For most home shop applications, even “budget” 1-2-3 blocks are far more accurate than the machines they are used on. You can verify them by using a dial indicator to compare one block to another. If the needle doesn’t move when you slide the indicator from one block to the next on a flat surface, they are matched closely enough for your work.
What is the difference between a dial indicator and a dial test indicator? A dial indicator usually has a long travel (1 inch or more) and a plunger that moves straight up and down. It is great for measuring overall distances. A dial test indicator has a small swinging tip and a very short range. It is much more sensitive and is used for “clocking in” parts or checking for tiny amounts of wobble (runout).
Do I really need precision parallels if my vise has a flat bottom? Yes. Even a high-end vise can have small bits of metal trapped in the corners. Parallels lift your work away from these corners and ensure it is supported by two surfaces that are guaranteed to be the same height. This is essential for keeping your parts square and preventing them from tilting when you tighten the vise.
Can I use these tools on a standard wood-working drill press? Absolutely. In fact, these tools are even more important on lower-cost machines. A wood-working drill press often has more “play” or flex than a metalworking mill. Using a dial indicator to check your table squareness and an edge finder to locate your holes will significantly improve the quality of metal parts made on a budget machine.
How long does a mechanical edge finder last? If you don’t crash it into the workpiece at high speed, a mechanical edge finder can last 10 to 15 years. The most common point of failure is the internal spring. Many manufacturers sell replacement springs for a few dollars, making these one of the most cost-effective precision tools you can own.
Is layout fluid really necessary? While you can use a permanent marker, layout fluid is superior because it is much thinner. A thick layer of marker ink can actually hide your scribe line or make it look wider than it is. Layout fluid provides a crisp, brittle surface that “flakes” away exactly where the scribe tip travels, leaving a much cleaner line.
What should I do if I drop a precision block or parallel? If you drop a hardened steel tool on a concrete floor, it will likely develop a “burr” or a small raised edge at the point of impact. You should carefully rub the surface with a fine sharpening stone to remove the burr. If you don’t, that tiny bump will throw off every measurement you make with that tool.
(This article was written by one of our staff writers, Michael Thompson. Visit our Meet the Team page to learn more about the author and their expertise.)