How to Build a Safe Mobile Torch Soldering Station (DIY Plan)
I’ve spent over a decade in shops, and if there is one thing I’ve learned, it’s that heat is both your best friend and your worst enemy. I remember building my first utility cart years ago. I had measured every piece of square tubing to the sixteenth of an inch. I was proud of the layout. But as soon as I started running long beads on the corner joints, the frame began to twist. By the time I finished, one caster was hanging a full half-inch off the floor. That “rocking chair” cart taught me a hard lesson about weld shrinkage and the need for a dedicated, heat-resistant workspace.
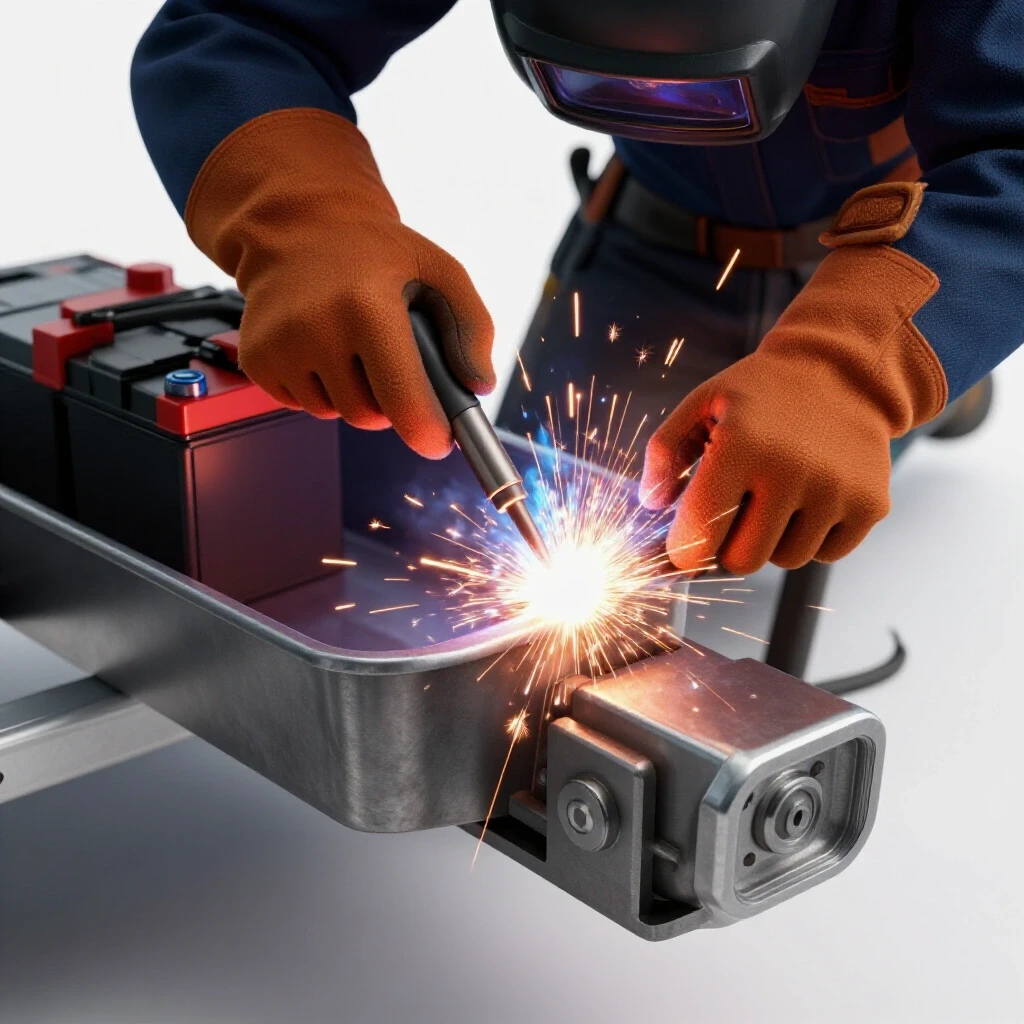
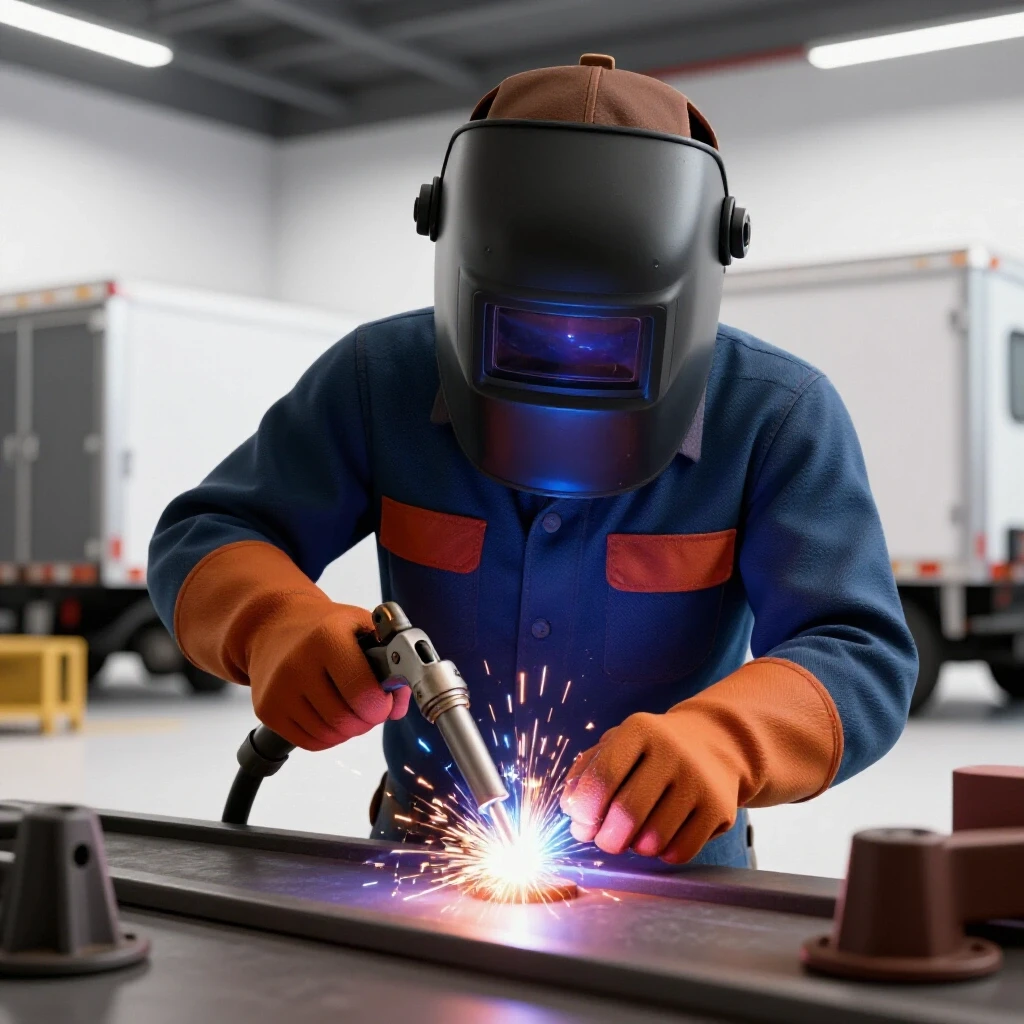
When you are working with a handheld torch for brazing or silver soldering, you aren’t just dealing with a tiny flame; you are dealing with concentrated heat that wants to move your metal. A standard wooden workbench is a fire hazard, and a cluttered steel table makes it hard to get the right angles on your workpiece. Building a dedicated, portable unit for torch work allows you to manage that heat safely while keeping your tools organized. This project is about more than just sticking metal together; it is about mastering the layout and sequencing required to keep a frame straight and true.
Planning Your Portable Brazing and Soldering Cart Layout
Designing a portable unit requires more than just a sketch on a napkin. You need to account for tank weight, heat shielding, and the exact dimensions of your fireproof surface to ensure the frame supports the load without twisting or sagging under the weight of fuel cylinders.
Before I spark the saw, I always start with a detailed cut list. For a mobile station, I prefer 1.5-inch square steel tubing with a 1/8-inch wall thickness. This provides enough mass to resist warping during assembly but keeps the cart light enough to roll easily. You have to consider the “envelope” of the cart. It needs to be narrow enough to fit through a standard 32-inch shop door but stable enough that it won’t tip when you’re pulling on a stuck hose.
I typically design these carts to stand about 36 to 38 inches high. This height reduces back strain during detail-oriented soldering tasks. I also plan for a lower shelf to hold oxygen and acetylene (or propane) tanks. Keeping the center of gravity low is vital. If you place heavy tanks too high, the cart becomes a safety risk every time you hit a crack in the garage floor.
- Frame Material: 1.5″ x 1.5″ x 1/8″ Square Tubing
- Shelf Material: 10-gauge expanded metal or 1/8″ sheet steel
- Target Squareness Tolerance: +/- 1/16″ across diagonals
- Working Surface: Firebrick or 1/2″ thick steel plate
Calculating Metal Kerf and Accurate Cut Lists
Every cut removes a sliver of metal, known as the kerf. If you ignore this 1/16 to 1/8 inch gap, your final cart frame will be short, leading to gaps that pull your project out of square during welding or cause the casters to sit unevenly.
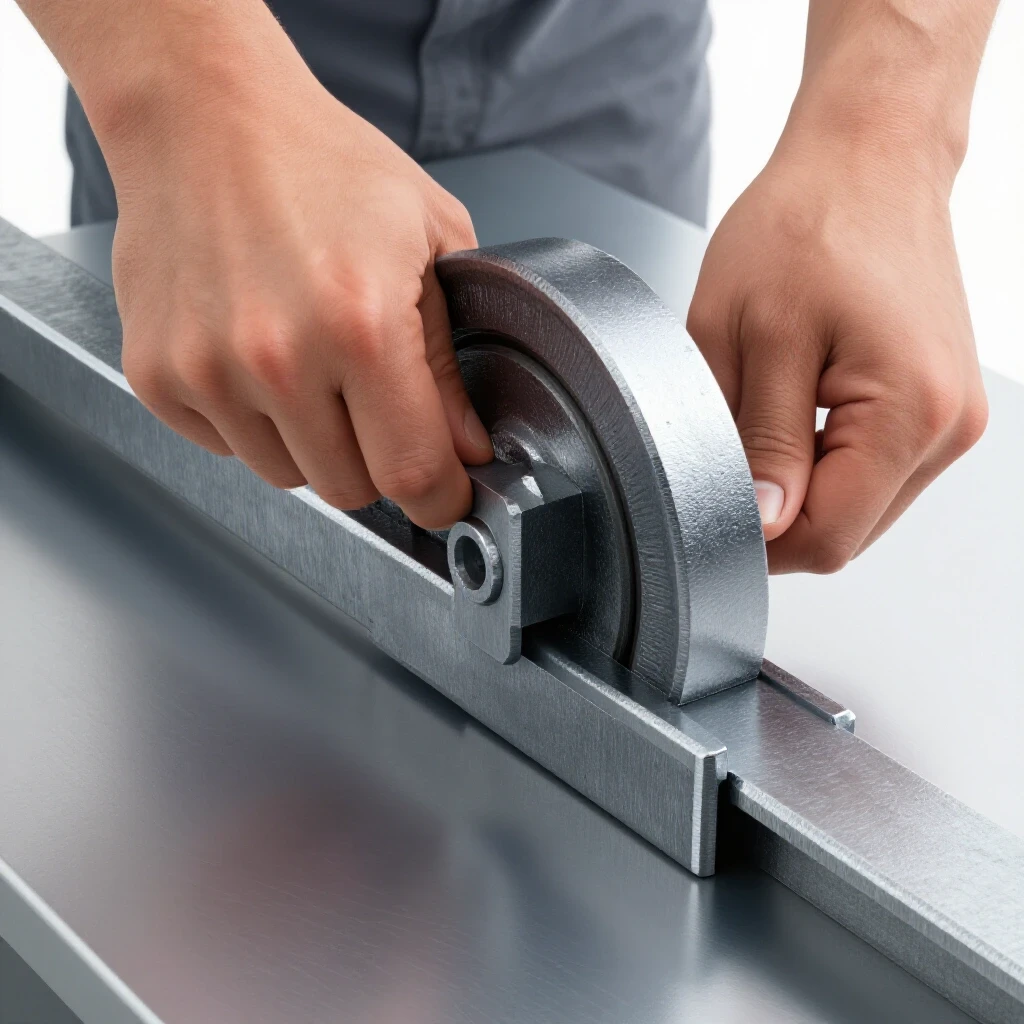
When I’m marking my steel, I don’t just draw a line; I account for the thickness of the blade. If you are using a standard abrasive chop saw, your kerf might be as wide as 1/8 of an inch. A cold saw or a portable band saw might only take 1/16 of an inch. If you have ten cuts in a row and ignore the kerf, your last piece will be over an inch short. I always “measure, mark, and cut to the waste side of the line.”
Inaccurate cuts are the primary cause of “gap-induced warping.” When you have a 1/8-inch gap in a corner joint, the weld metal has to fill that void. As the molten puddle cools, it shrinks significantly, pulling the two pieces of tubing toward each other. This is called angular distortion. The tighter your fit-up, the less weld metal you need, and the less your frame will move.
| Cutter Type | Typical Kerf Width | Best Use Case |
|---|---|---|
| Abrasive Chop Saw | 3/32″ – 1/8″ | Rough construction, fast cuts |
| Portable Band Saw | 1/16″ – 5/64″ | Precise angles, quiet operation |
| Cold Saw | 1/16″ – 3/32″ | High precision, cool-to-touch cuts |
| Plasma Cutter | 1/16″ – 1/8″ | Custom shapes, thick plate |
Building the Base Frame with Shop Jigs and Fixtures
A flat work surface is your best friend when assembling a mobile chassis. Using simple angle iron jigs or heavy-duty clamps helps keep your square tubing aligned while you lay down the initial tacks, preventing the “diamond” effect where the frame shifts out of square.
I don’t recommend welding on the floor. Even a concrete garage floor is rarely flat. If you don’t have a professional welding table, you can create a temporary fixture by clamping two long, straight pieces of channel iron across a pair of sawhorses. This creates a “ladder” that defines a flat plane.
When I start the assembly, I use 90-degree corner clamps to hold the first two pieces of the base frame. I check the squareness using the 3-4-5 triangle method or by measuring the diagonals. If the diagonal measurements from corner to corner are within 1/16 of an inch, the frame is square. I then apply small, strong tacks at each corner—usually about 1/4 inch long. Do not weld the full seams yet. Tacking allows the frame to hold its shape while still giving you the ability to make minor adjustments with a dead-blow hammer.
- Clean the joints: Remove all mill scale and oil within 2 inches of the weld zone.
- Set the jig: Clamp your tubing to a known flat surface.
- Check diagonals: Ensure the frame isn’t “parallelogramming.”
- Tack the corners: Use four tacks per joint (top, bottom, and both sides).
- Re-verify squareness: Check the diagonals again after tacking.
Managing Heat Warp with Strategic Weld Sequencing
Metal moves when it gets hot, and it moves even more as it cools. By jumping your welds from corner to corner and using small tacks, you can counteract the natural shrinkage that happens as the steel cools down, keeping your cart legs vertical.
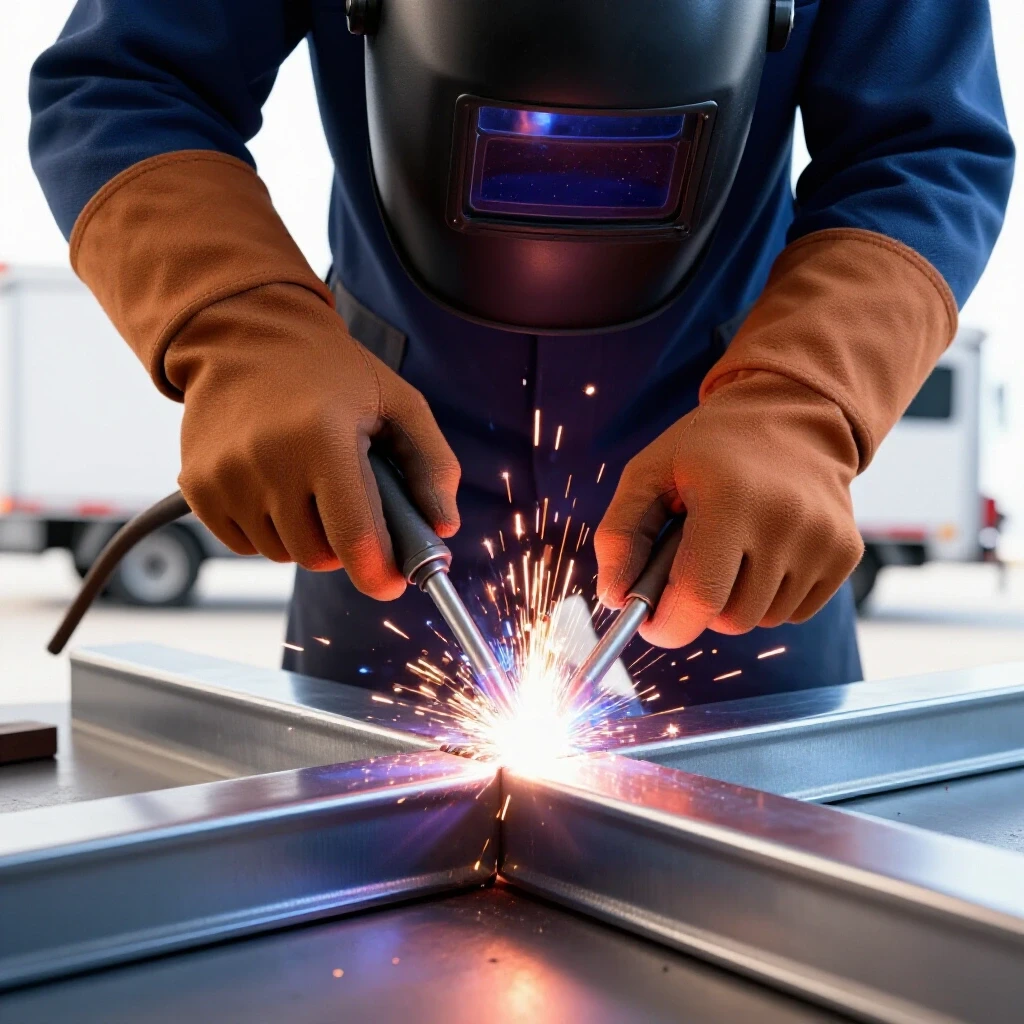
Weld sequencing is the art of balancing the “pull” of the metal. If you weld all the joints on the right side of the cart first, the heat will cause that side to contract, pulling the top of the cart to the right. Instead, I use a “staggered” approach. I’ll weld the front-left corner, then move to the back-right corner. This distributes the heat input across the entire structure.
Think of the weld as a cooling rubber band. As it solidifies, it wants to shorten. If you have a joint on the outside of a frame, the weld will pull the frame “open.” If the weld is on the inside, it will pull the frame “closed.” By alternating your weld locations, you allow the opposing forces to cancel each other out. I also recommend letting the metal cool naturally. Never quench a structural weld with water, as this can make the steel brittle and increase the internal stresses that cause warping.
- Weld 1: Front-Left Top
- Weld 2: Back-Right Top
- Weld 3: Front-Right Bottom
- Weld 4: Back-Left Bottom
- Wait: Let the metal return to a temperature where you can touch it before finishing the remaining seams.
Integrating Fire-Safe Surfaces and Spark Protection
A torch station needs a surface that won’t catch fire, crack, or explode when exposed to 2,000-degree flames. Using firebricks or thick steel plates provides a thermal mass that protects the cart frame while giving you a stable, non-combustible place to work.
For the top of my soldering station, I prefer a recessed tray design. I weld a lip of 1-inch angle iron around the top perimeter of the frame, facing inward. This creates a “pocket” where I can drop in firebricks. Firebricks are excellent because they reflect heat back into the workpiece, which is crucial for brazing large copper pipes or thick steel. They are also easily replaceable if they get covered in flux or slag.
If you prefer a solid metal top, use a plate that is at least 3/8-inch thick. Thinner sheets, like 11-gauge or 1/8-inch, will warp into a “Pringle” shape the moment you hit them with a torch. To prevent the cart from becoming a heat sink that sucks the temperature out of your project, you can place a ceramic fiber blanket or a piece of cement board between the steel frame and your firebricks. This insulation layer keeps the frame cool and prevents the casters from melting or the paint from bubbling.
- Firebrick (Soft): Best for reflecting heat; easy to pin workpieces into.
- Firebrick (Hard): More durable; handles heavy parts better.
- Steel Plate: Provides a flat, conductive surface; good for grounding.
- Spark Shields: 16-gauge sheet metal wings on the back and sides to catch stray sparks.
Mobility Hardware and Gas Line Management
Adding heavy-duty casters and secure tank mounts turns a static bench into a versatile tool. Proper hose routing prevents tripping hazards and keeps your fuel lines away from the open flame, which is the most critical safety aspect of a mobile setup.
When selecting casters, I always go for 4-inch or 5-inch polyurethane wheels. Smaller 2-inch casters tend to get stuck on zip ties, metal shavings, or uneven pavement. I prefer a “two swivel, two fixed” configuration. This makes the cart easy to steer like a shopping cart. Ensure at least two of the casters have total-lock brakes that stop both the wheel rotation and the swivel. There is nothing more frustrating (or dangerous) than a cart that rolls away while you are holding a lit torch.
For gas line management, I weld “J-hooks” or large rings onto the side of the cart. This allows you to coil your hoses neatly when they aren’t in use. I also build a dedicated “tank rack” at the rear of the cart. This usually consists of a base plate with a 1-inch lip and heavy-duty nylon straps or steel chains to hold the cylinders upright. Never rely on gravity to hold your tanks; a falling oxygen cylinder can become a rocket if the valve shears off.
- Caster Placement: Mount them as far toward the corners as possible for maximum stability.
- Tank Security: Use two points of contact (top and bottom) for each cylinder.
- Hose Routing: Keep hoses at least 12 inches away from the primary heat zone.
- Handle Design: Weld a sturdy handle at waist height, making sure it doesn’t interfere with the torch reach.
Troubleshooting Common Layout Errors and Distortions
Even with careful planning, metal can be stubborn. If you find that your cart frame has bowed or twisted, there are ways to correct it before you add the final shelves and accessories.
One common issue is “bowing,” where a long rail curves because of the heat from the shelf welds. If a rail bows upward, you can sometimes “heat-straighten” it. This involves applying heat to the side opposite the weld and then cooling it quickly with a damp rag. This causes the metal on that side to contract, pulling the rail back into alignment. However, this is an advanced technique and should be used sparingly.
If your cart has a “wobble” (one leg is shorter than the others), don’t just grind the other three legs down. First, check if the frame is twisted. Often, you can clamp the “high” corner to your welding table and apply a bit of heat to the nearest joint to let the stress relax. If the wobble is minor (less than 1/8 inch), you can often compensate by using shim washers between the caster plate and the frame.
- The “Rocking” Cart: Usually caused by welding the base on an uneven floor.
- The “Diamond” Frame: Caused by not checking diagonals after the first few tacks.
- The “Pringle” Top: Caused by using a top plate that is too thin for the heat load.
- Burnt Casters: Caused by welding the caster tabs too close to the wheels without removing the polyurethane.
Final Assembly and Safety Verification
Once the structural welding is complete, the final steps involve cleaning, painting, and verifying the safety of the gas system. A well-finished project not only looks better but also lasts longer in a shop environment where moisture and flux can cause rapid corrosion.
I always grind my corner welds smooth, not just for looks, but to ensure there are no sharp edges to snag a hose or a sleeve. After grinding, I wipe the entire frame down with acetone to remove oils. I recommend using a high-heat primer and paint, especially near the top of the cart where the torch will be active.
Before you ever hook up a torch, do a “tip test.” Push the cart from the side to see how much force it takes to make it feel unstable. If it feels tippy, you may need to add weight to the bottom shelf or widen the wheel track. Finally, once the tanks are mounted, use a leak-detection solution (or just soapy water) on all connections. Safety isn’t just about the build; it’s about the operation.
- Grind: Use a 40-grit flap disc for smoothing and a 120-grit for finishing.
- Paint: Use “Engine Enamel” or “Barbecue Paint” for the upper 6 inches of the frame.
- Check: Ensure all bolts for casters and tank straps are tight.
- Test: Perform a leak test on the regulator and torch handles.
Frequently Asked Questions
What is the best material for the top of a mobile torch station? I highly recommend using firebricks (either soft or hard) set into a steel angle-iron frame. They handle the direct flame of a torch much better than a steel plate, which can warp over time. If you use a steel plate, ensure it is at least 3/8″ thick to resist heat distortion.
How do I prevent my cart from warping while I weld the frame? The key is tack welding and sequencing. Place small tacks at all four corners of a joint before laying a bead. Once tacked, move your welds around the cart (e.g., front-left, then back-right) to prevent heat from building up in one area and pulling the frame out of square.
Can I use wood for the lower shelves of the cart? It is not recommended. Even though the lower shelf is away from the torch, sparks, hot slag, or “cherried” pieces of metal can fall. Stick to expanded metal or sheet steel for all components of the cart to ensure it remains fireproof.
What size casters should I use for a portable setup? Use at least 4-inch diameter casters. Smaller wheels struggle with shop debris like metal shavings or cord sets. Polyurethane wheels are a good choice because they don’t flat-spot like rubber but still offer some cushion over uneven floors.
How do I ensure the cart is perfectly square? Measure the diagonals of your rectangular frames. If the distance from the front-left corner to the back-right corner is the same as the front-right to the back-left, your frame is square. Aim for a tolerance of within 1/16 of an inch.
Is it necessary to use a shielding gas when welding the cart frame? If you are using MIG welding, yes, a 75/25 Argon/CO2 mix is standard for clean, strong welds on mild steel. If you are working outdoors or in a breezy garage, flux-core wire is a better option as it doesn’t require a shielding gas that can blow away.
How should I secure the gas tanks to the cart? Never rely on bungee cords. Use heavy-duty nylon ratcheting straps or steel chains. The tanks should be secured at two points—one high and one low—to prevent them from tipping or sliding during transport.
Why does my metal “pop” or “ping” after I finish welding? That sound is the metal contracting as it cools. It is a sign of internal stress. To minimize this, avoid over-welding (making beads larger than necessary) and ensure your joints have a tight fit-up before you start.
Should I paint the area where the firebricks sit? No. The high heat in that area will just burn the paint off, creating unpleasant fumes. You can leave that area as bare steel or use a very thin coat of high-heat “header” paint designed for automotive exhausts.
What is “kerf,” and why does it matter for my cut list? Kerf is the width of the material removed by the saw blade. If your blade is 1/8″ thick and you don’t account for it, every piece you cut will be 1/8″ shorter than intended. Always mark your steel and cut on the “waste” side of the line to maintain your dimensions.
(This article was written by one of our staff writers, Robert Kline. Visit our Meet the Team page to learn more about the author and their expertise.)