How to Safely Extract Broken Taps From Steel Holes (DIY Fix)
I have spent nearly two decades in the hum of fabrication shops, and few sounds are as disheartening as the sharp, metallic “tink” of a high-speed steel tap snapping off inside a workpiece. It usually happens just as you are nearing the end of a project. The machine stops, the rhythm of the shop shifts, and suddenly, a simple threading task becomes a high-stakes rescue mission. In my 15 years as a diagnostic specialist, I have learned that a broken tool is rarely an isolated incident. It is often a symptom of underlying issues like spindle misalignment, improper lubrication, or excessive tool chatter.
When a tap fractures inside a steel hole, your first instinct might be to reach for a drill bit and try to force your way through. Experience has taught me that this is the quickest way to turn a recoverable error into a scrapped part. High-speed steel (HSS) tools are significantly harder than the carbon steel they inhabit, often reaching a Rockwell hardness of C60 to C65. Attempting to drill through them with standard bits will only result in a ruined drill and a work-hardened hole. Instead, we must use a systematic diagnostic approach to evaluate the failure and choose a removal method that preserves the integrity of the steel threads.
Analyzing the Failure: Why Threading Tools Fracture in Carbon Steel
Understanding the mechanical and metallurgical causes behind tool failure helps prevent future breakage and informs the removal strategy. Before we pick up a tool to extract the remains, we need to know why the failure occurred. Was it a result of “chip packing,” where the metal shavings had nowhere to go? Or was it “torsional fatigue” from using a worn-out tool?
In my experience, tool chatter is a frequent culprit. Chatter is a resonant vibration that occurs when the cutting tool and the workpiece are not perfectly rigid. If your drill press or mill has a spindle backlash exceeding 0.002 inches, the tool can bounce within the hole. This creates micro-fractures in the brittle HSS material. Eventually, these fractures propagate under the torque of the threading process, leading to a clean snap.
| Factor | Diagnostic Observation | Root Cause |
|---|---|---|
| Chip Packing | Tap feels “spongy” before snapping | Improper flute clearing or lack of lubricant |
| Tool Chatter | High-pitched squealing or “rippled” threads | Spindle backlash or loose workholding |
| Misalignment | Tap enters at an angle | Poorly squared machine head or tilted workpiece |
| Work Hardening | Drill bit glazes over the steel surface | High RPM with low feed pressure during drilling |
The Preliminary Assessment: Mapping the Obstruction
A systematic visual and physical inspection determines if the tool is jammed by debris or seized due to friction. Before applying force, I always clear the area using compressed air and a specialized pick. You need to see the “clocks” or flutes of the broken tool. This assessment tells you if the tool is under tension or if it is sitting loosely in the bore.
I start by using a hardened steel scribe to see if the fragment has any “wiggle.” If the tool snapped because it bottomed out in a blind hole, it might be under significant back-pressure. If it snapped because of side-loading or misalignment, it might be wedged against one side of the threads. Understanding the “load” on the broken piece is the first step in our diagnostic checklist.
- Clear all metal chips using a magnet or vacuum.
- Apply a high-quality penetrating oil with a low viscosity to reach the threads.
- Inspect the break under magnification to identify the number of flutes (usually 2, 3, or 4).
- Test for movement by gently tapping the top of the fragment with a center punch.
Mechanical Extraction Frameworks: Isolating Variables for Success
Applying a structured approach to tool retrieval ensures the workpiece remains salvageable while minimizing further damage to the internal threads. Once the area is clean and lubricated, we move to mechanical isolation. The goal is to back the tool out the same way it went in. Because HSS is brittle, we can sometimes use that characteristic to our advantage, but our primary goal is a clean extraction.
Interestingly, temperature plays a massive role here. Steel expands and contracts at different rates than the high-speed steel used in taps. I often use a localized heat source, like a heat gun, to expand the surrounding steel workpiece. This can create a few microns of clearance, which is often all you need for the penetrating oil to do its job. Avoid using a torch that might change the temper of your steel unless the part is non-critical.
Manual Procedures for Recovering Seized Threading Components
Step-by-step physical interventions using hand tools to back out fractured high-speed steel segments from a pre-drilled bore are the bread and butter of shop-floor recovery. The most common tool for this is a multi-flute extractor. These tools have small “fingers” that slide down into the flutes of the broken tap. Building on this, the success of an extractor depends entirely on how well you cleared the chips earlier. If there are shavings jammed in the flutes, the extractor fingers won’t seat properly and will likely snap themselves.
If an extractor isn’t available, the “punch and hammer” method is a reliable fallback for intermediate fabricators. I use a small, sharpened center punch and a lightweight hammer. By placing the punch at an angle on one of the flutes and tapping gently in a counter-clockwise direction, you can often “walk” the fragment out. This requires patience and a steady hand. If you hit it too hard, you risk expanding the brittle HSS and wedging it even tighter against the steel walls.
- Finger Extractor Method: Slide the collar down to lock the fingers into the flutes. Use a tap wrench to apply slow, even pressure.
- Punch and Hammer Method: Focus on the outer edge of the flute for maximum leverage. Use light, rapid taps rather than heavy blows.
- Needle-Nose Pliers: Only effective if the break is above the surface. Ensure the pliers have a serrated grip to prevent slipping.
Precision Alignment and Re-tapping: Restoring Thread Integrity
After removal, verifying the hole’s dimensions and alignment is critical before attempting to re-cut the threads to the required tolerance. I never assume the hole is ready for a new tool immediately after an extraction. The process of the tool breaking and being removed often leaves behind microscopic burrs or hardened spots in the steel.
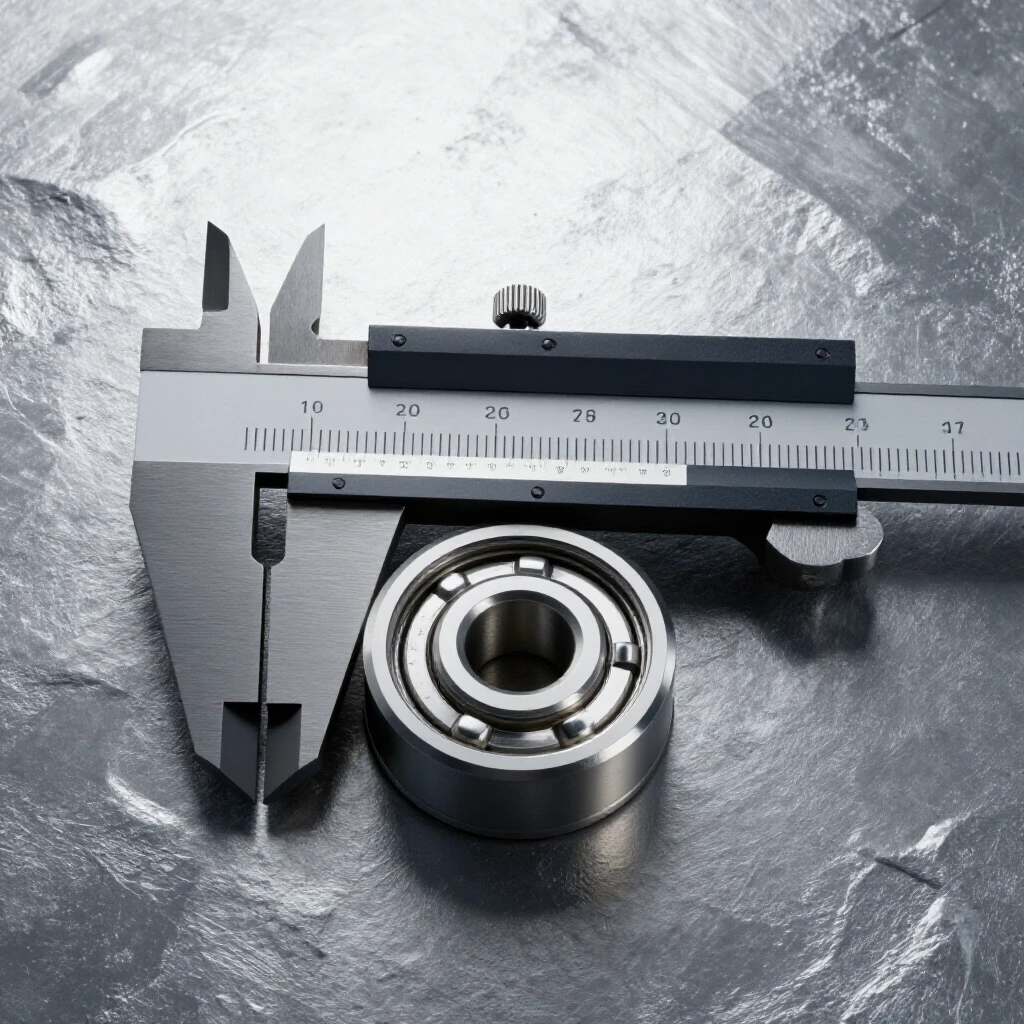
I use a digital caliper to check the hole diameter and a thread pitch gauge to ensure the existing threads haven’t been “smeared” or cross-threaded. If the threads are damaged, you may need to move up to the next standard size or use a thread repair insert. For example, if a 1/4-20 tap broke and ruined the hole, the systematic fix is to drill out the damage and tap for a 5/16-18 bolt or use a Helicoil to return it to the original 1/4-20 size.
Case Study: Resolving a Seized 1/2-13 Tap in A36 Structural Plate
I recall a project involving a heavy A36 steel baseplate where a 1/2-13 tap snapped about a half-inch below the surface. The operator had been using a hand-held power drill to drive the tap—a common mistake that leads to side-loading and misalignment. When I arrived, the tool was wedged tight.
I started by diagnosing the “seize.” It wasn’t just jammed; the heat from the power-tapping had caused the steel to gall (a form of wear caused by adhesion between sliding surfaces) onto the tap. I applied a mixture of 50/50 acetone and automatic transmission fluid, which is an old-school but highly effective penetrating oil. After letting it soak for 20 minutes, I used a three-flute extractor. By alternating between clockwise and counter-clockwise tension—moving only 5 degrees at a time—I broke the bond of the galling and successfully backed the tool out. The threads were saved with only minor cleaning required using a “chaser” tap.
Troubleshooting Tool Vibrations and Feed Rates to Prevent Breakage
Identifying the root causes of tool failure, such as spindle backlash or improper feed-per-tooth, prevents the need for extraction. If you find yourself breaking tools frequently, it is time to look at your machine’s calibration. In a professional shop, we look at the “Feed-Per-Tooth” or “Inches Per Tooth” (IPT). For steel, a common IPT for tapping is actually dictated by the lead of the thread, but the initial drilling of the hole is where many people fail.
If your drill bit creates a hole that is even 0.005 inches too small, the torque required for the tap increases exponentially. This is why I always refer to a standard drill and tap chart. For a 3/8-16 thread, you must use a 5/16 drill bit. Using a bit that is slightly smaller because “it’s all I had” is a guaranteed way to snap a tool.
- Check Spindle Runout: Use a dial indicator to ensure your spindle isn’t wobbling more than 0.001 inches.
- Verify Lubricant: Use a dedicated sulfur-based cutting oil for steel. WD-40 is a penetrant, not a high-pressure lubricant.
- Monitor RPM: Tapping should be done at low speeds. For a 1/2-inch tap in mild steel, 60 to 100 RPM is often the sweet spot.
Systematic Checklist for Workshop Tool Retrieval
When a tool breaks, follow this numbered sequence to maximize your chances of a successful recovery without damaging the workpiece.
- Stop immediately: Do not try to restart the machine or force the tool.
- Visual Inspection: Use a flashlight and a 10x magnifying loupe to see the orientation of the break.
- Chemical Application: Apply penetrating oil and allow it to sit for at least 10 minutes.
- Debris Clearance: Use a dental pick or a vacuum to remove any loose chips from the flutes.
- Thermal Expansion: If the part is large, use a heat gun to warm the steel surrounding the hole.
- Mechanical Engagement: Select the correct size of multi-flute extractor and seat it fully.
- Controlled Torque: Use a T-handle tap wrench for balanced pressure. Do not use an adjustable wrench, as it applies uneven side-load.
- The Rocking Motion: Turn the tool slightly forward, then back, to break the friction.
Actionable Tracking Framework: Diagnostic Log
Keeping a log of tool failures helps identify patterns in your shop. If you notice that you always break tools on the third hole of a specific part, you might be dealing with work-hardening or a dulling drill bit.
| Date | Tool Size | Material | Failure Point | Likely Root Cause |
|---|---|---|---|---|
| 10/12 | 1/4-20 HSS | 1018 Steel | Bottom of hole | Chip packing; no clearing |
| 10/15 | 3/8-16 HSS | A36 Plate | 1/4 inch deep | Misalignment of drill press |
| 10/22 | 1/2-13 HSS | 4140 Steel | Surface | Work-hardened hole from dull drill |
Conclusion
Mastering the removal of fractured tools from steel is a rite of passage for any serious fabricator. It requires a shift from “brute force” thinking to a “diagnostic” mindset. By isolating the variables—heat, lubrication, alignment, and mechanical leverage—you can resolve even the most stubborn obstructions. Remember that the goal is not just to get the broken piece out, but to understand why it broke so you can adjust your spindle speeds, feed rates, or lubrication strategy for the next hole. The next time you hear that dreaded “tink,” take a deep breath, reach for your penetrating oil, and follow the system.
FAQ: Frequently Asked Questions
What is the best penetrating oil for removing a seized tap? While many commercial brands work well, a 50/50 mix of acetone and automatic transmission fluid (ATF) consistently performs best in lab tests for reaching tight tolerances. The acetone acts as a carrier to pull the lubricating ATF into the microscopic gaps between the HSS tool and the steel threads.
Can I use a left-hand drill bit to remove a broken tap? Generally, no. Because taps are made of High-Speed Steel (HSS) or Cobalt, they are as hard or harder than most drill bits. A left-hand drill bit will likely dull instantly or break off on top of the tap, creating a much larger problem. This method only works if the tap is very small and you are using a specialized carbide drill.
Why did my tap break even though I used plenty of oil? Lubrication is only one part of the equation. You may have experienced “chip packing.” As the tap cuts, it creates curls of metal. If you don’t back the tap out every half-turn to break those chips, they pack into the flutes. Once the flutes are full, the torque required to continue increases until the tool snaps.
How do I know if the steel threads are ruined after extraction? Clean the hole thoroughly and inspect it with a bright light. Look for “torn” threads or areas where the metal looks shiny and smeared. The best test is to use a “thread plug gauge” or a brand-new bolt. If the bolt wobbles excessively, the threads are likely stripped and will require a repair insert.
Is it safe to heat the steel workpiece with a torch? You must be careful. Heating steel to a “cherry red” color (around 1,200°F) will change its metallurgical properties, potentially making it soft or brittle. For most DIY extractions, a heat gun or a very brief application of a propane torch is sufficient to expand the hole without ruining the temper of the steel.
What should I do if the extractor fingers snap off inside the tap? This is a difficult situation. You now have two hardened steel objects stuck in the hole. At this point, the most reliable “DIY” fix is to use a small, high-quality carbide endmill in a rigid setup to carefully grind away the center of the tap, though this requires extreme precision to avoid hitting the steel threads.
How much torque is too much when using an extractor? If you feel the extractor “springing” or twisting without the tap moving, you are at the limit. Most extractors are thinner than the taps they are designed to remove. If you apply more than 15-20 ft-lbs of torque on a small extractor, it will likely fracture.
Can I use a center punch to shatter the broken tap? Since HSS is very brittle, you can sometimes shatter it into small pieces by hitting it directly with a heavy punch and hammer. However, this is risky. The shards can embed themselves into the softer steel threads, making it impossible to clean the hole later. Use this only as a last resort.
Does the type of steel matter for the extraction process? Yes. Mild steels like A36 or 1018 are gummy and prone to galling, which “glues” the tap in place. Harder alloys like 4140 may not gall as much but can work-harden if you generate too much heat during the extraction, making it harder to re-tap the hole later.
How do I prevent tool chatter when tapping on a manual mill? Ensure your workpiece is clamped as close to the hole as possible to maximize rigidity. Check your spindle for “play” and adjust the gibs on your machine’s ways. If the setup isn’t rigid, the tap will vibrate, leading to poor thread quality and eventual tool failure.
(This article was written by one of our staff writers, Paul Whitaker. Visit our Meet the Team page to learn more about the author and their expertise.)