Cleaning Metal Surface Prep Before Spray Painting (DIY Fix)
In my fifteen years as a millwright and fabrication specialist, I have learned that the most frustrating failures are often the ones you cannot see until the job is done. I have spent countless hours troubleshooting weld porosity on critical structural joints and isolating the source of tool chatter in high-precision lathes. However, few things are as demoralizing as finishing a complex build, applying a fresh coat of paint, and watching it peel off in sheets two weeks later.
When a finish fails, it is rarely the fault of the paint itself. Much like a motor controller fault that stems from a loose ground wire, a poor finish usually traces back to a failure in the initial diagnostic and preparation phase. If you treat the surface of the metal as a foundational component of the machine, you can apply the same systematic troubleshooting steps you use for mechanical alignment or electrical gremlins.
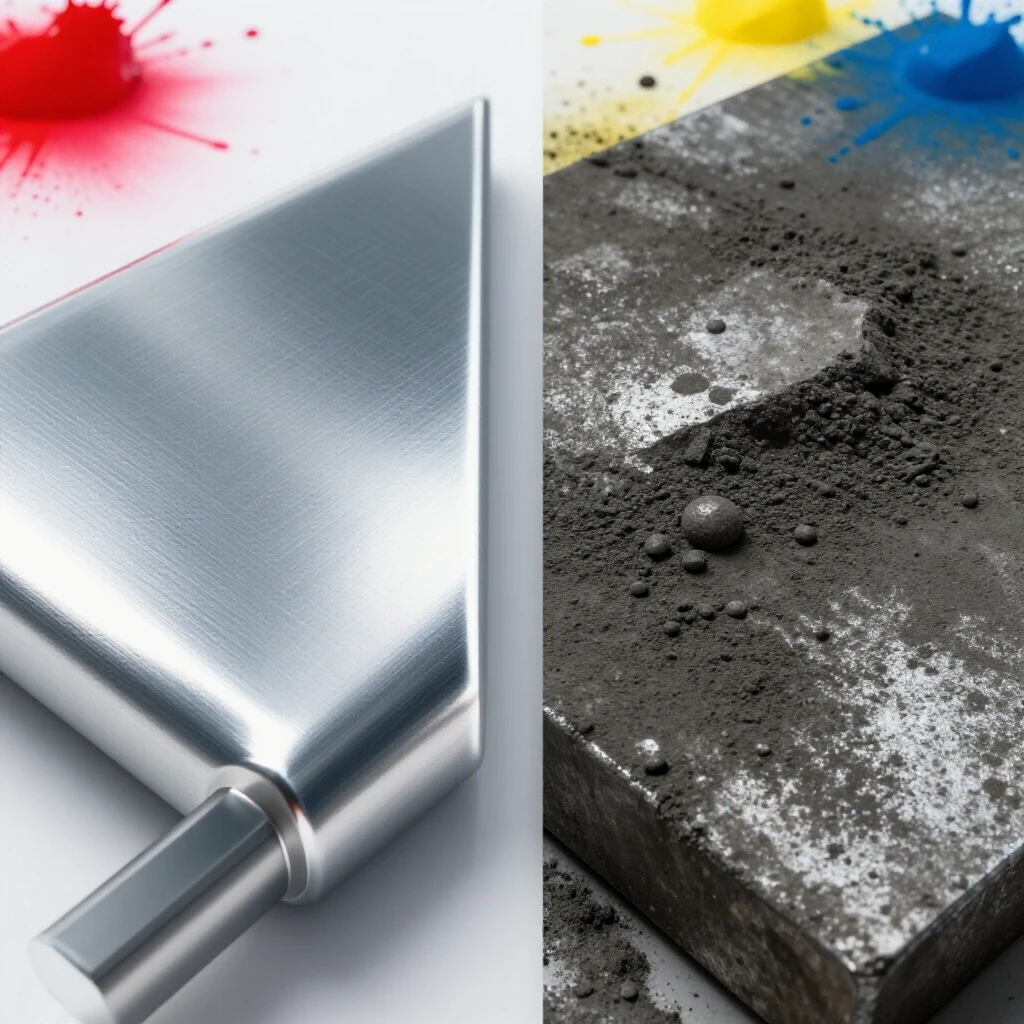
I remember a project involving a custom-built hydraulic press frame. The client wanted a high-gloss finish, but after three days, the paint began to “fish-eye” and bubble. We had used high-quality coatings, but we hadn’t accounted for the microscopic layer of cutting fluid that had seeped into the pores of the steel during the machining phase. That experience taught me that if you don’t diagnose the state of the substrate with the same rigor you use for a spindle backlash adjustment, the entire project is at risk.
Establishing a Systematic Framework for Metal Substrate Readiness
This stage involves identifying the specific types of contaminants present on the metal surface and determining the most effective method for their removal.
Before you pick up a grinder or a rag, you must observe the material. Is it hot-rolled steel with a thick layer of mill scale? Is it cold-rolled with a thin film of protective oil? Or is it an old casting covered in decades of grease and oxidation? Just as a metalworking diagnostic guide helps you isolate a vibration issue, a surface assessment helps you isolate the “root cause” of potential adhesion failure.
I use a three-step isolation process. First, I identify the visible contaminants like rust and scale. Second, I look for invisible barriers like oils, waxes, or silicones. Third, I evaluate the “tooth” or profile of the metal. If the metal is too smooth, the paint has nothing to grab onto. If it is too rough or dirty, the paint will bridge over gaps and trap air or moisture underneath.
Identifying Surface Contaminants and Their Impact
Contaminants are any substances on the metal that prevent a chemical or mechanical bond between the substrate and the coating.
The most common culprit I see in small shops is “invisible” oil. This often comes from handling parts with bare hands or using compressed air lines that aren’t properly filtered for moisture and oil. In the same way that shielding gas contamination causes porosity in a weld, these oils create a barrier that prevents the paint from wetting out.
- Mill Scale: A brittle, blue-black oxide layer found on hot-rolled steel. It looks solid but will eventually flake off, taking your paint with it.
- Oxidation (Rust): This is an active chemical reaction. If you paint over it without complete removal, the corrosion will continue to spread underneath the finish.
- Hydrocarbons: Oils, greases, and lubricants used during the fabrication process.
- Shop Dust: Fine particles from grinding or sanding that settle on the surface and prevent the paint from reaching the metal.
| Contaminant Type | Identification Method | Primary Removal Strategy |
|---|---|---|
| Mill Scale | Dark, flaky skin on new steel | Mechanical abrasion (grinding/sanding) |
| Surface Rust | Red or orange powdery residue | Wire brushing or sanding |
| Oils/Grease | Smearing when wiped; water beads up | Solvent degreasing |
| Embedded Dust | Grey residue on a clean white cloth | Tack cloth or high-pressure air |
Mechanical Methods for Stripping and Profiling
Mechanical preparation involves using physical force to remove heavy oxides and create a surface texture that promotes paint adhesion.
When I am fixing structural alignment faults, I rely on precision measurements. When I am prepping metal, I rely on the “profile.” The profile is the microscopic “peaks and valleys” created by abrasives. Think of it like the cross-hatching in an engine cylinder; it provides a mechanical lock for the coating.
For most workshop projects, I aim for a profile depth of approximately 1.5 to 2.0 mils (0.0015 to 0.002 inches). This is deep enough for the paint to anchor but shallow enough that the coating can still cover the “peaks” of the metal. If the peaks are too high, they will poke through the paint and become points where rust starts.
Choosing the Right Abrasive Tooling
Not all abrasives are created equal, and using the wrong one can lead to “smearing” contaminants deeper into the metal.
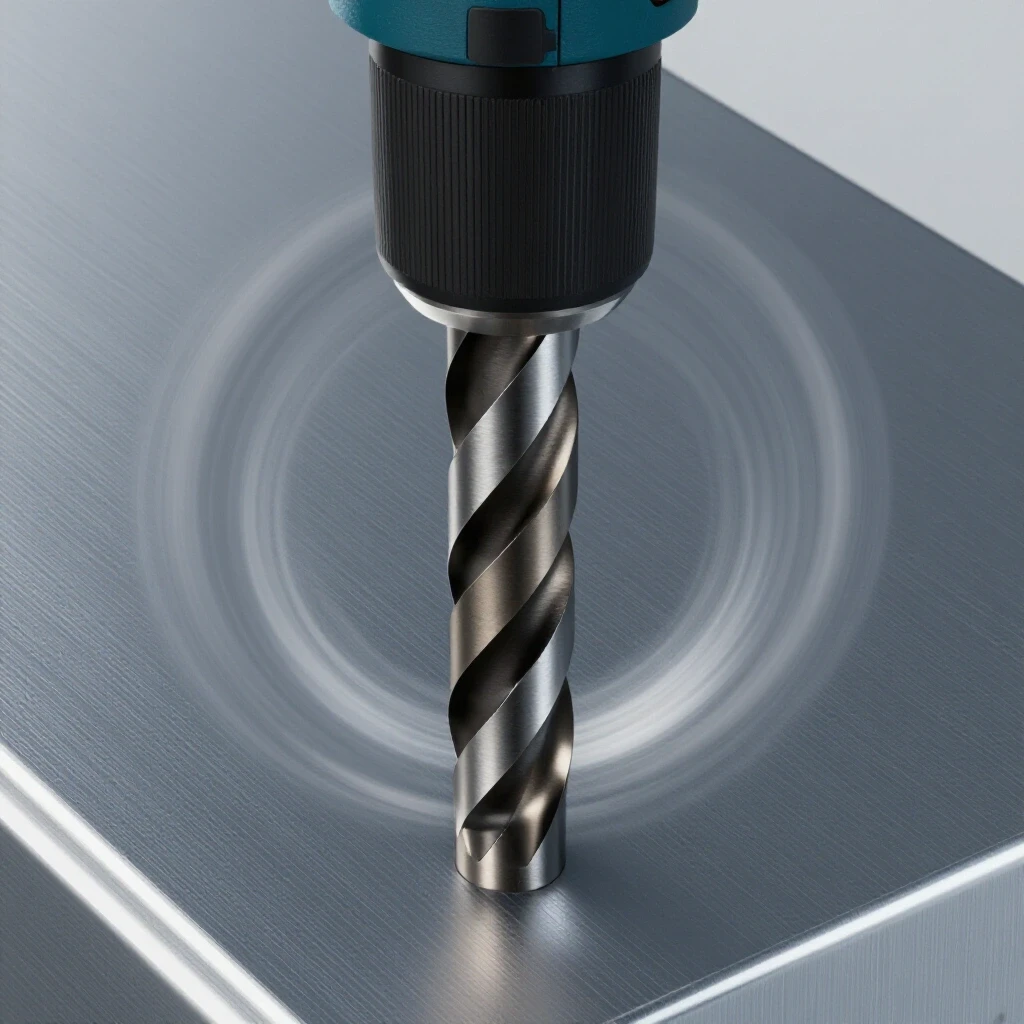
I prefer using flap discs or fiber discs over traditional grinding wheels for surface prep. A grinding wheel is too aggressive and can gouge the metal, creating uneven thickness in your final coat. A 60-grit to 80-grit flap disc is usually the “sweet spot” for removing mill scale while leaving a paint-ready profile.
- Wire Wheels: Excellent for removing loose rust, but be careful. They can “burnish” or polish the metal, making it too smooth for paint to stick.
- Sanding Disks: Use an orbital motion to avoid deep directional scratches that might show through the finish.
- Hand Sanding: Essential for tight corners where power tools cannot reach.
Resolving “Embedded Scale” Issues
Sometimes, mill scale is hammered into the surface during the rolling process. If you don’t remove it entirely, you are essentially painting over a loose scab. I use a simple “scratch test” with a hardened scribe. If I can flake off any of the dark surface layer, the mechanical cleaning isn’t finished. This is similar to checking for cracks in a weld; if you see a hint of a problem, you have to dig it out.
Chemical Decontamination and Solvent Selection
Chemical cleaning uses solvents to dissolve and lift oils that mechanical tools often leave behind or spread around.
If you have ever dealt with a motor controller fault caused by carbon tracking, you know that a surface can look clean but still be electrically conductive. Similarly, a metal surface can look shiny after grinding but still be chemically “dirty.” Solvents are the only way to ensure the hydrocarbons are gone.
I always follow a “two-cloth” system. You apply the solvent with one clean rag to dissolve the oils, and then you immediately wipe it off with a second, dry, clean rag. If you let the solvent air-dry, you are just moving the oil around and leaving a thin film of it behind once the liquid evaporates.
Solvent Options for the Workshop
Choosing the right solvent is a matter of balancing evaporation rates and cleaning power.
- Acetone: Very aggressive and evaporates quickly. It is great for final wipes but can be “too fast” in hot weather, drying before you can wipe away the dissolved oil.
- Mineral Spirits: Slower evaporation, which gives you more time to work. However, it can leave a slight oily residue if it isn’t a high-grade “odorless” version.
- Denatured Alcohol: Good for removing lighter oils and fingerprints, but it isn’t strong enough for heavy grease.
| Solvent | Flash-Off Time | Best Use Case |
|---|---|---|
| Acetone | < 30 seconds | Final wipe on steel/aluminum |
| Mineral Spirits | 5–10 minutes | Removing heavy shop grease |
| Denatured Alcohol | 1–2 minutes | Light cleaning/delicate parts |
Avoiding Cross-Contamination
One of the biggest mistakes I see in metal fabrication fixes is using the same rag for the whole job. Once a rag has touched an oily spot, it is now an applicator for oil. I buy boxes of lint-free shop towels and change them frequently. If you are troubleshooting a machine and get grease on your gloves, change them before touching the prepped metal. A single oily fingerprint can lead to a localized paint failure.
Diagnostic Testing for Surface Cleanliness
Verification is the cornerstone of any repair. Just as I use a dial indicator to check for 0.002 inches of backlash, I use the “water-break test” to verify surface readiness.
The water-break test is a simple, no-cost way to see if there are any remaining oils on the metal. You simply pour or spray clean water over the part. If the water sheets off evenly, the surface is chemically clean. If the water beads up or “breaks” around certain spots, you still have oils or waxes present.
How to Perform the Water-Break Test
- Clean the part using your chosen mechanical and chemical methods.
- Hold the part at a slight angle or lay it flat.
- Mist the surface with distilled water.
- Observe the water’s behavior for 30 to 60 seconds.
- If “beading” occurs, re-clean that specific area with solvent and repeat.
This test is as essential to me as a lathe alignment checklist. It provides an objective “pass/fail” metric before you commit to the expensive and time-consuming process of painting.
Environmental Variables and “Flash Rust” Prevention
The environment in your shop can change the chemistry of your metal in minutes. High humidity is the enemy of freshly cleaned steel.
Once you have removed all the oils and oxides, the metal is in a highly reactive state. In a humid shop, “flash rust”—a fine, powdery orange oxidation—can form within thirty minutes of cleaning. This is why I never prep more metal than I can paint in a single session.
Managing Temperature and Humidity
If the metal is colder than the surrounding air, moisture will condense on it. This is the same principle that causes “sweating” on cold water pipes. If you paint over this microscopic moisture, you are guaranteed to have adhesion issues.
- Temperature: Aim for a metal temperature at least 5 degrees Fahrenheit above the dew point.
- Humidity: Ideally, keep your workspace below 65% relative humidity.
- Air Quality: Ensure your shop is well-ventilated but not drafty, as drafts can pull in dust from other parts of the shop.
Case Study: Resolving Adhesion Failure on a Lathe Stand
A few years ago, I was restoring an old South Bend lathe. The cast-iron base was covered in fifty years of gear oil and coolant. My first attempt at painting failed miserably; the paint literally slid off the vertical surfaces.
I had to approach it like a mechanical troubleshooting steps exercise. I stripped the failed paint and realized that the cast iron was “bleeding” oil from its pores. Mechanical sanding wasn’t enough. I had to use a heat gun to gently warm the casting, which drew the oil to the surface, followed by repeated solvent wipes.
After four cycles of heat and solvent, the water-break test finally passed. I then used an 80-grit abrasive to restore the profile. That finish has now held up for five years of heavy use. The lesson was clear: you cannot rush the decontamination phase when dealing with porous materials.
Final Calibration Checklist for Surface Readiness
Before you reach for the spray trigger, go through this checklist. It is the final step in your metalworking diagnostic guide for a successful finish.
- Visual Inspection: Is all mill scale and red rust gone? Use a bright LED light at an angle to check.
- Tactile Check: Does the surface feel like fine-grit sandpaper (good) or polished glass (bad)?
- Solvent Wipe: Does a clean white cloth come away spotless after a final wipe with acetone?
- Water-Break Test: Does water sheet off the surface without beading?
- Environmental Check: Is the metal dry and warm? Is the humidity within acceptable limits?
- Compressed Air Check: If using air to blow off dust, spray it against a clean piece of cardboard first to ensure no oil or water is spitting from the nozzle.
| Diagnostic Tool | Purpose | Target Value |
|---|---|---|
| LED Inspection Light | Finding hidden rust/scale | No dark spots or shadows |
| 60-80 Grit Flap Disc | Creating mechanical profile | 1.5–2.0 mil depth |
| White Lint-Free Cloth | Checking for residue | No grey or black streaks |
| Distilled Water Spray | Water-break testing | 100% sheeting |
| Infrared Thermometer | Checking metal temperature | > 5°F above dew point |
Troubleshooting Common Prep Errors
Even with a systematic approach, things can go wrong. Recognizing the signs of a prep error early can save you hours of rework.
- Fish-Eyes: Small, circular craters in the wet paint. Cause: Silicone or oil contamination. Fix: Strip, degrease more aggressively, and re-paint.
- Peeling/Lifting: Paint comes off in large flakes. Cause: Painting over mill scale or a surface that was too smooth. Fix: Increase mechanical abrasion to create a better profile.
- Pinholing: Tiny holes that look like needle pricks. Cause: Outgassing from porous metal or trapped solvent. Fix: Allow longer flash-off times for solvents and avoid painting in direct sunlight.
By treating surface preparation as a diagnostic challenge rather than a chore, you ensure that your fabrication work lasts as long as the machines you build. It requires patience and a methodical eye, but the result is a professional, durable finish that stands up to the rigors of a working shop.
Frequently Asked Questions
Why is my paint peeling even after I sanded the metal? Peeling is often caused by painting over mill scale or failing to remove invisible oils. Sanding can sometimes just “smear” oils around rather than removing them. Ensure you follow up your sanding with a thorough solvent degreasing using the two-rag method to lift the oils off the surface.
Can I use gasoline or lacquer thinner as a degreaser? Never use gasoline; it leaves a heavy oily residue and is extremely dangerous. Lacquer thinner can work, but it often contains a mix of solvents that may leave their own film behind. High-purity acetone or dedicated wax and grease removers are much more reliable for achieving a chemically clean surface.
Do I really need to remove all the mill scale on new steel? Yes. Mill scale is a different material than the steel underneath. It is brittle and expands at a different rate when temperature changes. If you paint over it, the bond between the scale and the steel will eventually fail, causing the scale (and your paint) to pop off in flakes.
How do I know if I have sanded enough? The metal should have a uniform, matte appearance. If you see any shiny, dark, or “bluish” patches, that is likely remaining mill scale. Use a scribe to see if you can scratch any of the dark material away; if you can, keep sanding.
What grit sandpaper is best for metal prep? For most paints, 60 to 80 grit is ideal for the initial strip and profile. If you are using a very thin finish, you might move up to 120 or 180 grit, but going much finer than that can result in a surface that is too smooth for the paint to “bite” into.
How soon after cleaning should I paint? As soon as possible. In a typical shop environment, you should aim to get your first coat on within 30 to 60 minutes of the final solvent wipe. This prevents flash rust and the accumulation of shop dust on your clean surface.
Is a wire brush on a drill good enough for rust removal? A wire brush is good for removing loose, flaky rust, but it often fails to get into the “pits” of the metal. It can also polish the surface, which is bad for adhesion. It is usually better to follow a wire brushing with a coarse abrasive disk to ensure the metal is both clean and profiled.
What is the “two-rag method” exactly? You soak the first rag in solvent and wipe a small area to dissolve contaminants. While the surface is still wet, you use a second, clean, dry rag to wipe the dissolved mess away. If you let it dry on its own, the oils simply settle back onto the metal.
Why does my paint have tiny bubbles in it? This is often “outgassing.” If the metal was warm or if you used a fast-evaporating solvent that got trapped under the paint film, gas can push up through the wet paint. Ensure your solvents have fully “flashed off” (evaporated) for at least 15-20 minutes before painting.
Does aluminum require different preparation than steel? Yes. Aluminum forms a transparent oxide layer almost instantly. While you still need to degrease it, you should sand it and paint it immediately, as the oxide layer can hinder adhesion if left to thicken over several hours.
Can I use an air compressor to dry the metal after cleaning? Only if you are 100% sure your air is dry and oil-free. Most shop compressors spit a small amount of oil and moisture. If you don’t have a high-quality dryer and oil separator, you are better off letting the metal air dry or using clean paper towels.
What should I do if I touch the clean metal with my bare hands? Clean that area again with solvent. Your skin contains natural oils and salts that will cause “fingerprint rust” under the paint. Always wear clean, powder-free nitrile gloves when handling prepped parts.
(This article was written by one of our staff writers, Paul Whitaker. Visit our Meet the Team page to learn more about the author and their expertise.)